

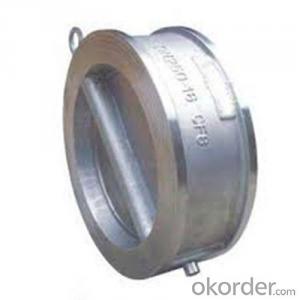
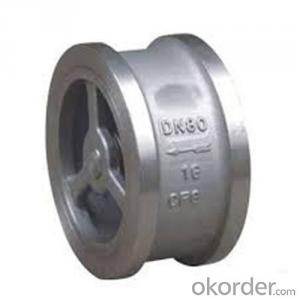
Swing Check Valve Wafer Type Double Disc Body Material CF3
- Ref Price:
-

- Loading Port:
- Shanghai
- Payment Terms:
- TT OR LC
- Min Order Qty:
- 10 pc
- Supply Capability:
- 100 pc/month
OKorder Service Pledge
OKorder Financial Service
You Might Also Like
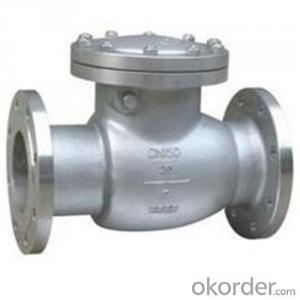
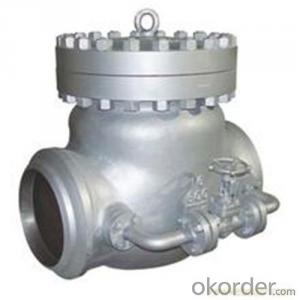
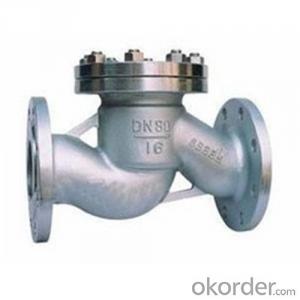


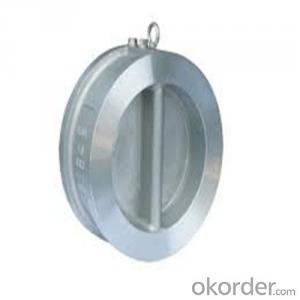
Products Description of Swing Check Valve
Check valves are used in pipes under pressures between PN1.6~16.0MPa(Class150~2500Lb), working temperatures-196~600℃, They are used in industries include oil, chemistry, pharmaceutical, fertilizer, and power gene-ration to prevent the backward flux of the media.
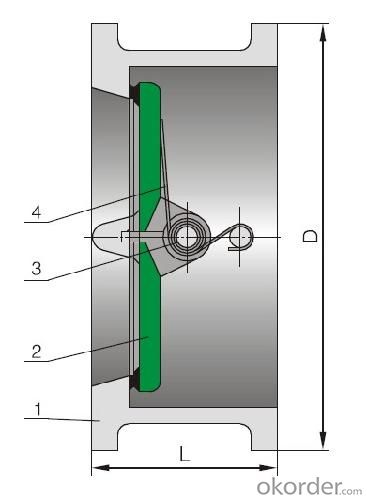
The main structure features of Swing Check Valve:
1、The products feature a reasonable structure, reliable seal, good performance and nice modeling.
2、Either soft or hard seal can be selected for the product upon different working conditions.The sealing face is built up with Co-based
carbide alloy, leaving a better wearability, corrosion and scrap resistance and a longer duration.
3、Small opening pressure, the disc can be opened fully with a very small pressure differential.
4、Inside-set bolt-bearing structure reduces leakage and reliable use.
5、PN≥16.0Mpa (class1500), the middle cavity uses a self-tightening sealing structure to have the sealing performance reinforced along
with the pressure rise so as to ensure the sealing performance.
6、Different parts materials and different sizes for flange, butt-welding are available for sensible combination according to different working facts and customers' requirements.
Parameter of Swing Check Valve:
Standard Criteria | GB customize |
Pressure Rating | 1 Mpa 1.6 Mpa 2.5 Mpa 4 Mpa 6.4 Mpa 10 Mpa 16 Mpa customize |
Valve Size | 50 mm 65 mm 80 mm 100 mm 125 mm 150 mm 200 mm 250 mm 300 mm 350 mm 400 mm 450 mm 500 mm 600 mm customi |
Actuator | Automatic customize |
Connection | Wafer customize |
Medium | Oil Steam Water customize |
Medium Temperature | -196~600℃ customize |
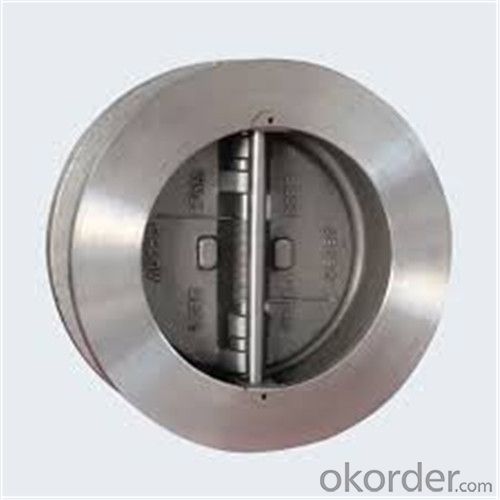
Structural style | Swing double-clack structure customize |
Application Fields | Agriculture Electricity Medical Petrochemical customize |
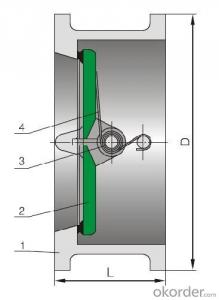
1-Body Material | CF3 CF8C CF8 WCB CF8M CF3M customize |
2-Disc | CF3 CF3M WCB CF8 CF8M CF8C customize |
3-Pivot | 1Cr13 1Cr18Ni9Ti 0Cr18Ni12Mo2Ti 2Cr13 customize |
4-Spring | 60Si2Mn 1Cr18Ni9Ti 4Cr13 0Cr18Ni12Mo2Ti customize |
Design Standard | GB/T 12224 customize |
Connection Standard | GB/T 9113 HG 20592 JB/T 79 customize |
Test Standard | JB/T 9092-1999 customize |
Face to Face | GB/T 15188.2-1994 customize |
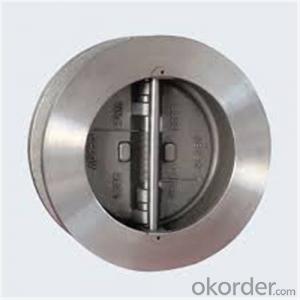
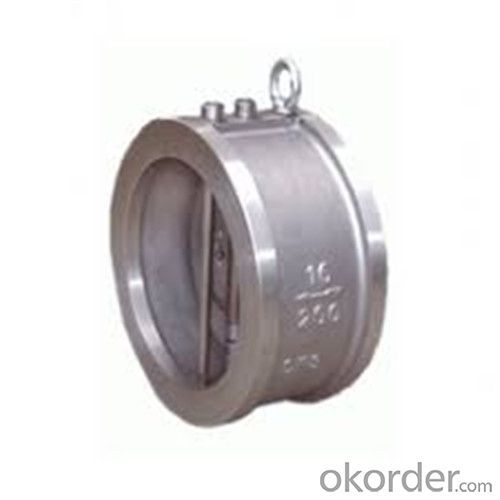
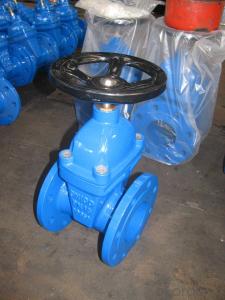
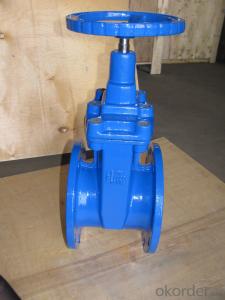
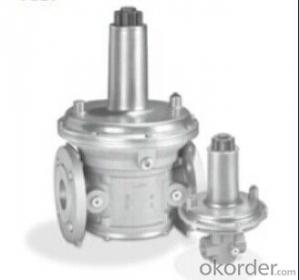
Images of Swing Check Valve:


FAQ of Swing Check Valve:
Q1:I can’t find the type of steel check valve which I need. what can I do?
The chart above only lists out some common composition of steel check valve parts.We may provide other different parts material composition according to the customer's request or the actual valve working condition.
Q2:Which certification do your products pass?
Our products are in accordance with ISO 9001、ISO 14001、API 6A、API 6D、TS CE、API607/6FA/BS6755.
Q3:How can I place an order?
The only one thing you should do is to tell us the sepecification about type 、quantity and mode of transportation, then we will send you quotation within 24 hours.
- Q: Pressure relief valve on boiler is dripping.Starts to drip more when the boiler is turned on.Bad relief valve?
- Yes you have a bad relief valve. The reason it drips more when the boiler is on is due to the amount of pressure and flow of water. These units typically dont rust depending upon the material of the housing. But they do fail there are o-rings internally on these relief valves. I would assume that you have an o-ring that is failing.
- Q: hi guys..What is different between globe valve and stop check globe? Is that stop check globe=SDNR JIS std?
- Sdnr Globe Valve
- Q: I have a 78 honda hawkii 400 or cb400TII and I need to know what the valve gaping needs to be set to
- download the manual free from HONDA.. Honda Cb400 Cb450 Cm400 Cm450 Twins Nighthawk (1978-1987) - Service Manual 400 Pag(Eng) pdf
- Q: When looking at the head on my chevy 350 how do I determine which is the intake valve and which is the exhaust valve?
- Intake valve will line up with the intake port from the intake manifold and the exhaust valve will line up with the exhaust port going to the exhaust manifold or header....intake is usually larger of the two.
- Q: We have a 4 station sprinkler set-up. On the 4 station (last station to run) the Sprinkler headers are struggle to pop up water. From inside the house I hear the valve making a noise, that continues through out the entire run cycle. Any ideas on what causes these 2 problems to occur?
- Sounds like you have a valve that is not opening up fully. Is the noise coming from within the valve box or from the plumbing inside the house? I am assuming that it is coming from the valve box itself. If the valve is not opeing fully at that 4th station, the low volume of water flowing through the opening is causing a humming sound. And, with a low volume of water entering the lateral lines, your last station heads will not popup all the way, or may not popup at all. Check to make sure that you have no soft, wet, mushy areas on the turf in the last station area that would indicate a lateral line breakage or leek. If you do not see this occuring, you more than likely need to change out the valve and replace it with a new one for that particular system... Hope this answers your question. ...Billy Ray
- Q: I'm installing a shut off valve under my sink. can you tell me all the materials that i need to install it by myself because to hire some body else is very expensive where i live. i need to change the old ones because they are leaking very bad when i want to use the sink.thanks a lot
- Get a shut-off valve with the same dimensions as the old one. You'll need the same sizes on both sides of the valve, one the tube end that goes in the wall and the end that goes to the pipe under the sink. If you can, shut the water off to the pipe that goes to that pipe. Take the valve off and bring it with you other wise it's all guess work. Get the compression rings. That's all you have to do is put it on. Don't over tighten the nuts and loosen the compression rings they'll drip. If you do, you can replace them by loosening them with a pliers gently and slipping them of, putting a new ring on. Should be it.
- Q: How do I know if the valve seals need replacing? From what type of smoke can I detect?
- A 'leak-down' test is the best bet, shows where in the system the compression is leaking and if it's around the valve stems than for sure the seals need replacing. Can't judge it by the smoke accurately as oil could be slipping past the rings also.
- Q: My doctor detectd a heart mumer. I am 48 years old. Had a echocardiogram performed. He says that I have a sightly irregular valve and I do not need to take precautions. I run three miles a day. I have heard that this condition makes your heart more suceptiable to infection. You should take antibiotics when dental work is done. My GP is a man of few words. Just says continue as usual and nothing needs to be done unless there is further symptomns. My question: Should I follow up with a heart specialist or would it be over doing it? Should I go on antibiotics when I get dental work? Can this Slightely irregular valve get worse?
- Hi not much help but i am a 26 year old female, My doc also found a mumer and then a leaking valve,said there was no need to worry this would never be a problem,but i have a history of heart disease and hypertension so I am getting a second opinion you know your body best get one to if you are concerned! Wish you the best, glad to hear i was not the only one told not to worry.
- Q: Please suggest some design or sketch giving details of its operation. I need to operate valves on a natural gas pipeline with actuators to sense and operate the valve after recieving the signals from level switch in the system. Please help me understand the mechanism and operation philosophy.Please also suggest your email address as I may have to revert for subsequent questions on the same. Your addresses will be safe here and won't be passed on to any undesired sites. Be rest assured.
- Use solenoids or mod valves. Use my profile to email me. Mod valves are for variable solenoids are for open shut. Email and tell me more about what you need to sense or what application.
- Q: what is meant by inherent characteristic for the steam control valve??
- There are different type of valves, (ball, gate, globe, needle, diaphram) each have their own characteristics in how they operate and the effect they have on flow. Inherent characteristic would be an effect that valve has on the fluid flowing through it.(steam can also be considered a fluid ) An example is a globe valve used to throttle a flow does so by adjusting the size of its opening. In essense its a variable orifice. Flow through an orifice results in a pressure drop across that orifice. So, an inherent characteristic of a globe valve is a pressure drop.
Send your message to us
Swing Check Valve Wafer Type Double Disc Body Material CF3
- Ref Price:
-
- Loading Port:
- Shanghai
- Payment Terms:
- TT OR LC
- Min Order Qty:
- 10 pc
- Supply Capability:
- 100 pc/month
OKorder Service Pledge
OKorder Financial Service
Similar products
Hot products
Hot Searches
Related keywords

