• High Quality Electro  Galvanized   Wire System 1
High Quality Electro  Galvanized   Wire

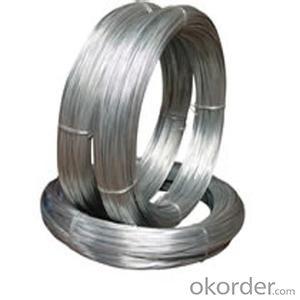
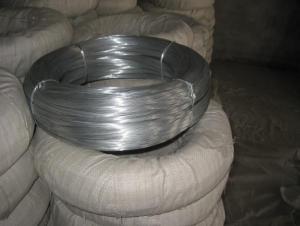
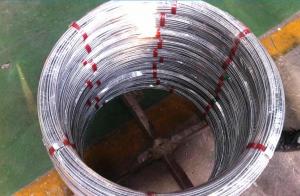
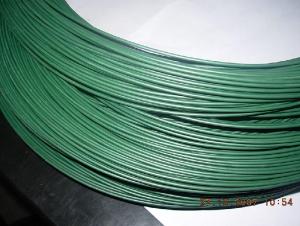
High Quality Electro Galvanized Wire

Ref Price:
get latest price
Loading Port:
China Main Port
Payment Terms:
TT OR LC
Min Order Qty:
-
Supply Capability:
-

Add to My Favorites

Follow us:


OKorder Service Pledge

Quality Product, Order Online Tracking, Timely Delivery

OKorder Financial Service

Credit Rating, Credit Services, Credit Purchasing

Packaging & Delivery

Packaging Detail:Spool, Reel, Coil,
Delivery Detail:2~5weeks

Specifications

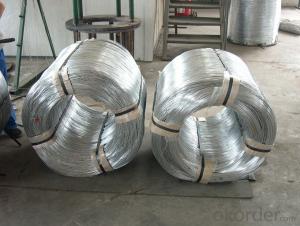
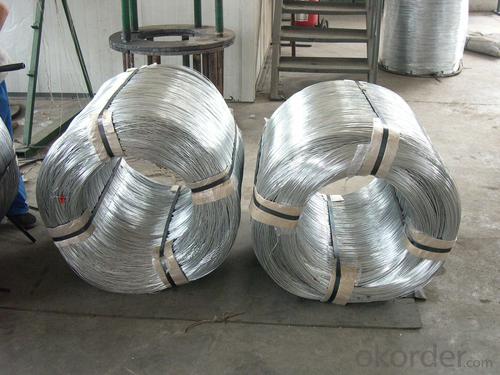
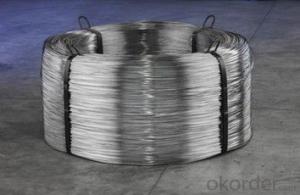
1) Bright and smooth surface
2) Different coil weight available
3) Small tolerance on wire diameter
4)ISO approved


Product Description


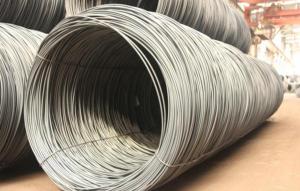
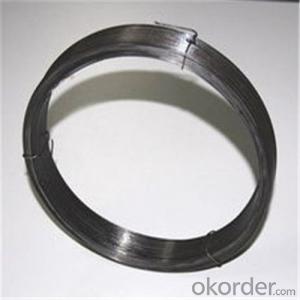
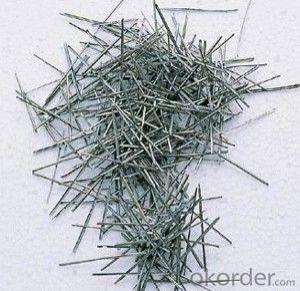
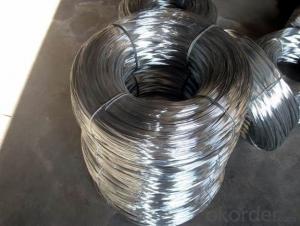
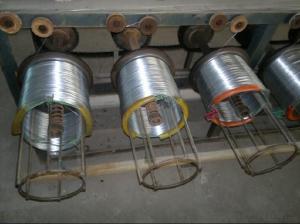
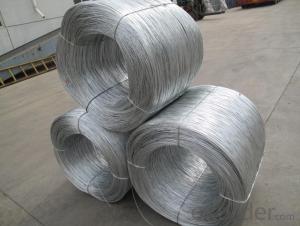
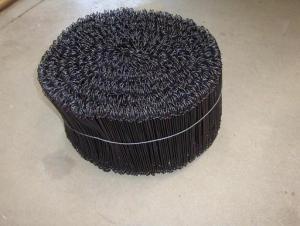
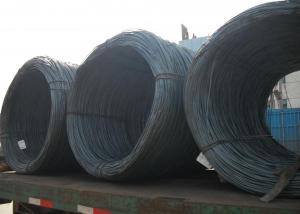
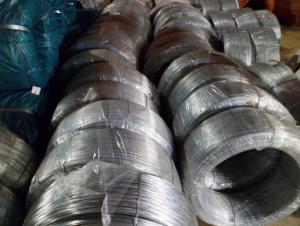
Electro Galvanized Wire

1)Application:

This kind of industrial wire is mainly used in construction, making of wire nails and wire ropes, express way fencing, binding of flowers and wire mesh weaving.

2) Material:

Carbon steel wire, mild steel wire

4) Surface:

Electro Galvanization

5)Diameter:

0.28mm~4.00mm

Tensile strength

320-500MPA

6) Technical Info:

Surface: hot-dipped zinc coated

     Tensile strength:340-500 N/mm2 for all sizes
      Elongation: Min. 10% for all sizes

7) Packing:

2kg~500kg, in small coils, big coils and on spool or drums

9) All can be produced according to customers’ actual requirement.


Q: I just installed a backup camera however I am having trouble wiring it. I've read that I need to tap into the reverse wire, however I went through many wires and couldn't figure out which one is it. My cameras wire is designed to be wired in the trunk, so the wire under the hood or dash is not a possibility. 2003 G35 Sedan
For the objective of? turning it on? NO! you should use that wire, faucet it for sure, with a speedy connect, for a 12V source wire, use a relay, and that 12V source wire, and that is advisable to do 2 body grounds, one for that 12V source wire for the relay to kick on/off, and one from the digital camera that you're powering from a right away link from the battery (use a 10A inline fuse)
Q: I bought Nexxtech Evolution series 16 gauge 30' wire to be able to bring my rear speakers farther back in my room. I have an Altec Lansing 5.1 speaker system with remote and all the speakers connect to the back of the sub. (front are red wire, center is blue, and rear is gray) they are all have the black wire and the colored wire. The wire I just bought are brown, and have a stripe of gray on the second wire (polarized wires) but the ones I bought are much thicker wire... will it still work to just strip/twist/tape the wires to extend the rear speakers? or did I buy the wrong wire? and also, how do I know which to twist with which? (the ones I bought aren't really that clear on which is which... which end is positive and which is negative).Answer quickly please!
incredibly, it could be greater advantageous to purchase the two yet another sub and an amp. the two-channel bridged at 4 ohms will purely output 380 watts RMS which would be divided between the two subs (a hundred ninety watts each). it incredibly is too low and you will no longer get lots thump. A 600-800 watt RMS monoblock could grant severe ability to 2 12 Kickers. an fantastic Kicker amp is the Kicker 08ZX750.a million which outputs 750 X a million RMS into 2 ohms. For driving in basic terms the sub you have, i could propose the Kicker Kicker 08ZX300.a million which outputs 3 hundred watts RMS into 2 ohms. And it incredibly is $40 off precise now at Crutchfield. the final answer utilising what you have is to circulate right into a mono sign to the amp. Use in basic terms one channel of the preamp outs and chop up it into the two amp inputs. Then twine each of your 4 ohm voice coils to a separate channel. the two coils popular will then be getting 250 watts RMS, nevertheless low yet greater advantageous than a hundred ninety.
Q: i am trying to wire my aftermarket tailight, and it did not come with the plug in adapter as the original. The three wires coming out of it are glued together in a bell type casing. Pls Help!!
The wire that is hooked to the tail light BODY is the ground wire.One wire goes to the brake light switch and the other one goes to the tail light hot wire.With a test light you can determine where each one is to be hooked to.
Q: My renter took apart a timer that was hooked to a ceiling fan because the timer was clicking loudly.Now, I just want to simply install a normal on/off switch in it's place. There are two sets of wires coming into the box. One set has a red,white, and black wire coming from it. The other set has just a white and black wire coming into the box. I'm sure this is relatively simple for someone who has wiring expertise. How do I wire a normal light switch to these wires?!?!
The set of black and white wires are coming from your breaker box (supply). The Black, white and red wires are leading to your ceiling fan (demand). This next part depends on how your fan is wired up. You will want to check first. USUALLY, the red wire controls the fan only, while the black wire supplies power to the light kit, but it could be reversed. This is the part that you want to check. The red wire may also be capped off in the ceiling box and only exists if the user wants separate fan/light control in the future. Assuming that the red wire is capped off: 1.) Turn off the breaker supplying the circuit you are working on. 2.) Use a wire nut to twist the white wires together. 3.) Use a second wire nut to cap off the red wire. 4.) Wrap the black [supply] wire clockwise around the bottom screw on your new switch and tighten.. 5.) Wrap the black [demand] wire clockwise around the top screw on your new switch and tighten. 6.) Attach the new switch to the wall box while carefully tucking the wires in behind the switch. 7.) Install cover plate. 8.) Restore power to the circuit. It IS possible that the person who installed the ceiling fan used the red wire as the hot instead of the black. If this is the case, you can either rewire the ceiling fan's box accordingly (disconnecting the red wire and using the black instead) or substituting red instead of black in the instructions above. The red wire would then connect to the top screw terminal of your switch. If the red is connected to the light kit (if applicable) and the black is connected to the motor (or vise versa), disconnect the light kit and wire it along with the motor.
Q: wiring kit, subwoofers
by wiring kit do you mean the amps power kit? some of which will include speaker wire for the subs anyway usually your amp will come with instructions that tell you what the minimum gauge is the amp will accept for power, this is the gauge power and ground cable you will want to get maximum power to the amp and to prevent overheating issues, typically amps under 400 watts rms power will do fine with 8 gauge, amps 400-1000 rms will use 4 gauge and 1000+ will use 2/0 gauge wire, for the subwoofer speaker wire you can never go too big gauge only too small, a kicker 12 gauge speaker wire will work for almost any application
Q: I made a kill switch for my car. All I need to do now is cut the wire that goes into my engine control module and join it with the switch I made. Would it be fine if I just use wire nuts or some sort of tape to join the wires instead of soldering? The instructions say quot;Step 6: Attach the killswitch wires one to each side of the wire you just cut. Step 7: Tape up all new connection.quot;It says to tape the new connections, but should I use exactly?
When you are cutting wires Especially when it concerns computers you should make a good mechanical connection and a good connection free from moisture and any type of corrosion. When I splice the wires together I use butt connectors with shrink warp and melt the shrink wrap around the wires after crimping the butt connectors together. You can buy heat shrink wrap at radio shack or any electrical supply store and buy heat shrink tubing to put over the wires. Some will say this is overkill, but since electricity passe's over the outside of the wire this is where you get corrosion and cause yourself headaches if the wire is not mechanically connected correctly. Wire nuts are for household connections like in florescent lamps or inside a connector box and normally used on single strand wire like romex 12/3 or 10/3 but not on multi strand wire. it's best to solder the wires together then heat shrink them if you know how to. Remember that .02 Ohms resistance can cause problems with computer operation hope this helps.
Q: does anyone have a wiring diagram for a rccb or can you explain how to wire one up . as an rcd has a wiring for connecting to earth but an rccb does not have that.
Assuming the lights are wire in a loop system, and not from a junction box. You'll need a three core and earth cable from the lamp or first lamp to the bathroom fan, or two twin and earth cable will do. Because you need a live feed and a switched wire, as well as the neutral to the fan. If it's wired from a junction box just take the three core and earth from the J' box to the fan. I trust the spot lights are specifically designed for bathroom use. Can't actually draw a diagram on here but hope this helps.
Q: when u first get braces do they put the bands and the wire or just the bands cuz im getting them monday
You get the brackets with bands and the wire. Rubber bands, though, come later.
Q: exact wiring
1995-96 Dodge Dakota Alarm, Remote Starter, Keyless Entry Wiring Information Constant 12V+ Pink/Black Ignition Switch Harness Starter Yellow Ignition Switch Harness Ignition Dark Blue Ignition Switch Harness Ignition 2 Black Ignition Switch Harness Accessory Black/Orange Ignition Switch Harness Tach Gray Coil Neutral Safety Wire Brown/Yellow Driver's Side of Trans. Brake Switch White or White/Tan Brake Switch Trunk Pin n/a Parking Lights Black/Yellow Light Switch Head Lamp Light Green Light Switch Hood Pin n/a Door Trigger Yellow (-) Driver's Pin Switch Door Lock Orange/Purple Driver's Kick Panel Door Unlock Pink/Purple Reverse Polarity Horn Wire Dark Green/Red (-) Fuse Panel Windows Up LF=Light Blue, RF=Brown/White Windows Down LF=White, RF=Purple/White
Q: ok got the mute wire figured out thanks to yahoo answers people..now i was wondering what the [ ILL] WIRE IS FOR ,ILLUMINATOR FOR SOMETHING?..also which wires on the speaker wires are pos and neg one is solid ,one is solid with stripe..not sure which is pos or neg thanks alot steve
ILL wire is for illumination. is for the dimmer wire from your aftermarket harness (enables the radio to dim with the rest of the interior lights when you turn your headlights or parking lights on). this wire is not required to be hooked up for the unit to fully operate as some vehicles may not have the proper 12v dimmer wire. The speaker wires that are solid in color (white, Grey, green, purple) are positive (+) and the wires with a solid color and a stripe is negative (-).

Send your message to us

This is not what you are looking for? Post Buying Request

Similar products

Hot products


Hot Searches