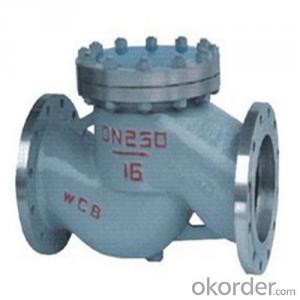
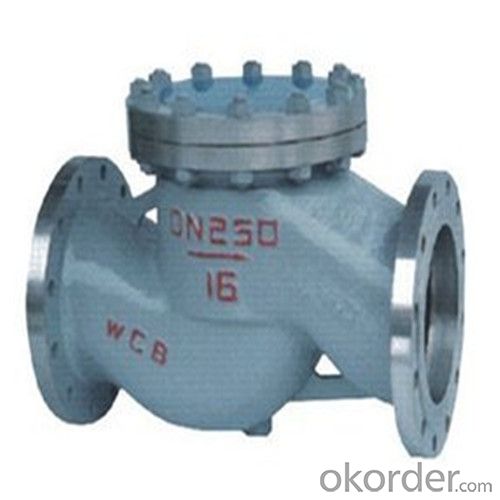
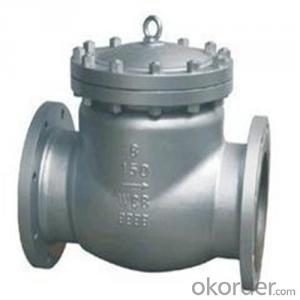
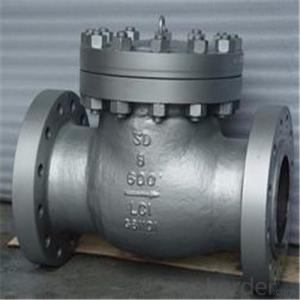
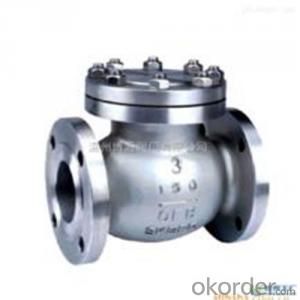
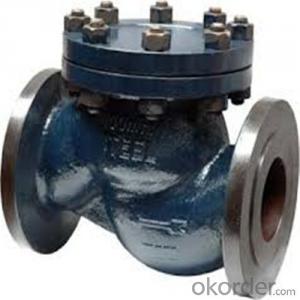
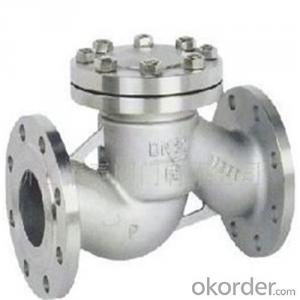
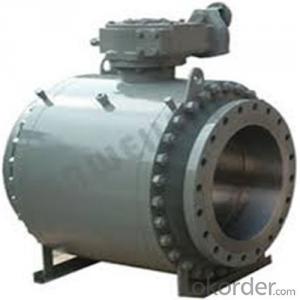
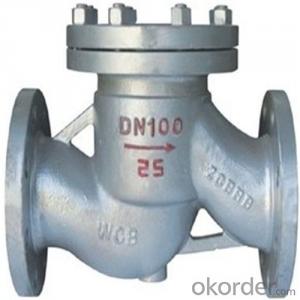
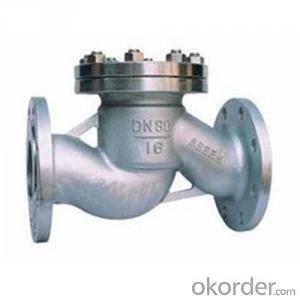
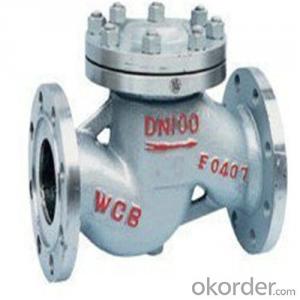
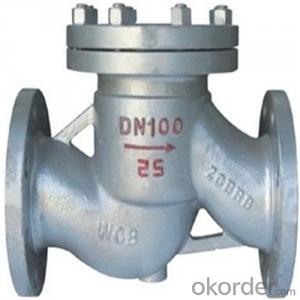
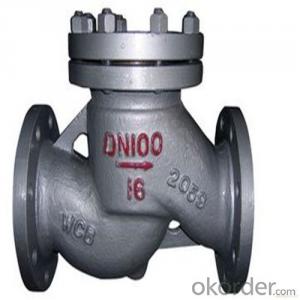
API Cast Steel Lift Check Valve Size 350 mm
- Loading Port:
- Shanghai
- Payment Terms:
- TT OR LC
- Min Order Qty:
- 10 pc
- Supply Capability:
- 100 pc/month
OKorder Service Pledge
OKorder Financial Service
You Might Also Like
API Cast Steel Lift Check Valve 150 Class
The features of Cast Steel Lift Check Valve
Bolted Bonnet;Swing and lift disc;Metallic seating surfaces.
Body and Bonnet Connection of Cast Steel Lift Check Valve:
The body and bonnet of Class150~Class900 check valves are usually with studs and nuts.And the body and bonnet of Class1500~Class2500 check valves are usually of pressurized seal design.
Body-To-Bonnet Joint of Cast Steel Lift Check Valve:
Stainless steel + flesible graphite wounded gasket is used for Class 150 and Class 300 check valve;Stainless steel + flexible graphite wounded gasket is used for Class 600 check valve,and joint gasket is also optional for Class 600 check valve;Ring joint gasket is used for Class900 check valve;Pressurized seal design is used for Class 1500~Class 2500 check valves.
Seat of Cast Steel Lift Check Valve:
For carbon steel check valve,the seat is usually forged steel.The sealing surface of the seat is spray welded with hard alloy specified by the customer.Renewable threaded seat is used for NPS<10 check="" valves="" and="" welded="" on="" seat="" can="" be="" also="" optional="" if="" being="" requested="" by="" the="" customer.welded="" is="" used="" for="" nps="">12 crbon steel gate valves .Forstainless steel check valve,integral seat is usually adopted ,or to weld hard alloy directly integrally.Threaded or welded on seat is also optional for stainless steel check valve if being requested by the customer.
Parameter of Cast Steel Check Valve:
Standard Criteria | ASME/ANSI/API customize |
Pressure Rating | 150 Class 300 Class 600 Class 900 Class 1500 Class 2500 Class customize |
Valve Size | 50 mm 65 mm 80 mm 100 mm 125 mm 150 mm 200 mm 250 mm 300 mm 350 mm 400 mm 450 mm 500 mm 600 mm 650 mm 700 mm 750 mm |
2 inch 2.5 inch 3 inch 4 inch 5 inch 6 inch 8 inch 10 inch 12 inch 14 inch 16 inch 18 inch 20 inch 24 inch 26 inch 28 inch 30 inch customize | |
Actuator | Automatic customize |
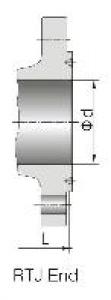
Connection | Butt Welding Flange RF Flange RTJ customize |
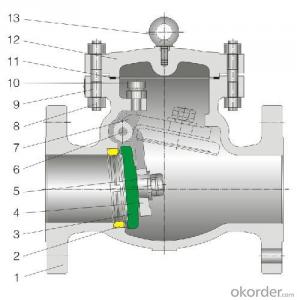
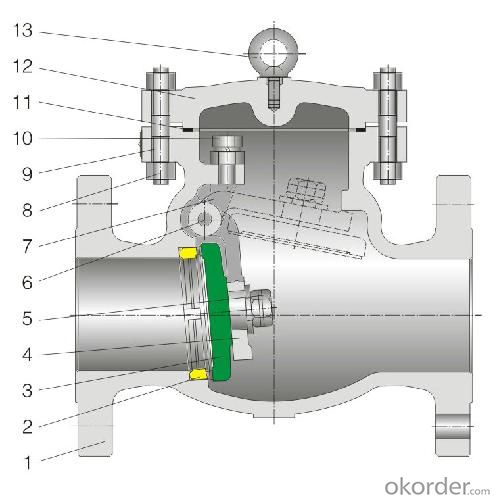
1-Body Material | A216 WCB A351-CF8 A351-CF8M customize |
2-Seat ring | A351-CF8 A351-CF8M A105+13Cr Tool Steel+A105 customize |
3-Disc | Tool Steel+A216 WCB A351-CF8M A351-CF8 A216 WCB+13Cr customize |
4-Arm | A351-CF8 A216 WCB A351-CF8M customize |
5-Nut | A194 8M A194-8 A194 2H customize |
6-Arm pin | A182-F6a A182-F316 A182-F304 customize |
7-Yoke | A351-CF8 A351-CF8M A216 WCB customize |
8-Bonnet nut | A194 8M A194-8 A194 2H customize |
9-Bonnet bolt | A193-B8 A193-B8M A193-B7 customize |
10-Bolt | A193-B7 A193-B8 A193-B8M customize |
11-Gasket | graphite+304 graphite+316 customize |
12-Bonnet | A216 WCB A351-CF8M A351-CF8 customize |
13-Eye bolt | A181 customize |
Design Standard | API 6D BS 1868 customize |
Connection Standard | API 605 ASME B 16.25-2007 ASME B 16.47A ASME B 16.47B ASME B 16.5 MSS SP-44 customize |
Test Standard | API 598 API 6D customize |
Face to Face | ASME B 16.10 customize |
Pressure-temperature ratings | ASME B 16.34-2004 customize |
Wall thickness dimension | API 600 BS 1868 |
FAQ of Cast Steel Check Valve:
Q1:I can’t find the type of steel check valve which I need. what can I do?
The chart above only lists out some common composition of steel check valve parts.We may provide other different parts material composition according to the customer's request or the actual valve working condition.
Q2:Which certification do your products pass?
Our products are in accordance with ISO 9001、ISO 14001、API 6A、API 6D、TS CE、API607/6FA/BS6755.
- Q: I am trying to replace a leaky valve stem. And I didn't know how to get to the valve core and when I get there how do I change it? The charge is recovered. It is a 2000 Impala. Thanks in advance.Noah
- You say you want to change out the valve stem but can't find the valve core but the charge has been recovered. How did the charge get recovered without knowing where the valve core is. That's where the charge was recovered through. Also, if you have a leaking valve stem how did you still have a charge to recover, it would have leaked out through the leaking valve stem.
- Q: i have a 98 ford escort SE. oil spils out the dipstick. we think its the pressure release valve. sadly we dont know where that is. any imput would be great
- as they said, pcv valve. What you're describing is on a turbo- pressure exhaust valve.
- Q: What are better valve cover gaskets for a car? Cork kind? Or the rubber kind? Or either rubber/cork kind?
- For the inexperienced I would choose rubber it is harder to mess up by overtightening and if you clean the surface it will seal good
- Q: My electric water heater relief valve keeps opening 30 min after turning it on.I turned it down to 90F and 30 min later overflow again.when power is off no leak with the water on uld the valve be opening because of over heating?I know it does'nt leak with cold running through it.
- First you need to replace the relief valve. Once it opens, sediment sits in there and it will not shut off properly. If still happens after that, two things may be happening: either too much water pressure, or thermal expansion. -Check if your water main has pressure reducing valve, a check valve or a backflow preventer installed by the water meter, and make sure they're working properly. -If too much water pressure coming in to the house you need to install a pressure reducing valve in the water main, then you'll need a thermal expansion tank by the water heater. -If none of those item are installed by your water meter, most likely is only thermal expansion, and a thermal expansion tank will do the job.
- Q: Is this possible? The valve is way too big to fit the rim. Is there a special inner tube for this rim? Thanks in advance.
- Yeap, you need a tube with a Presta valve. Do not drill your Bontrager rims to te able to use your Schrader valve, you will ruin them. Also, the base of the valve will not fit the V of the Bontrager. The plastic cup can be discarded but you better keep it to help keep dirt out of the delicate threads and the seal. You can use the plastic cup also to make an adapter so you can use the Schader pump, just cut off the dome at the end of the cup and presto your Presta. Some people always use the cut-off cup to avoid bending and damaging the Presta valve, this is particularly recommended whem kids are going to use the pump. I have only broken a Presta valve myself but it does happen, sometimes they get decapitated. Now, you say that the inner tube is Specialized? You are not trying to put the valve through the hole with the cap on, are you? Just checking.
- Q: So i finaly got my check valve and my airstone. The airstone is actually a flat round airstone and is 5 inches in diameter to be in my 10gallon. Is it to big? though i have a tetra whisper air pump for 10-30g.And how do i place the check valve? Do i put it closer to the tank or closer to the pump? (just to make sure since i heard so many different ways people put it). Or does it even matter?And lastly, do i put the OUT side of the check valve facing towards the tank or the pump?Thanks! after this im ready to install it!
- Adequate the purpose you let a tank cycle in the first place is due to the fact of Bactria needs to grow that will maintain your water clear. As for overstocked. I consider your proper on the threshold of being over stocked. Just preserve the tank walking a lil longer and spot if it clears up. But when your 15 gallon tank has the filter from the ten gallon tank that could be why to you dont have sufficient water moving around to scrub it
- Q: sprinkler valve leaking
- Most valves are either 3/4 or 1 with female connections. Use the same size male adaptors with teflon tape wraped around the threads and screw it into the valves. Take a photo before you start to refer to when rewiring.
- Q: used in pipe line
- To allow adjustment for different pressures. The bellows extends under pressure. It works against the resistance of a spring to open the valve at the desired pressure.
- Q: Exactly what is an EGR valve where is it located?
- EGR valve is the Exhaust Gas Recycling valve. This is for when a motor is cold and needs extra fuel to keep running. Back in the days of chokes you would restrict the air going into the carburator to make the car run richer. With fuel injection cars more fuel is added to the engine to richen the mixture. This richer mixture causes the exhaust to have unburnt hydrocarbons, meaning not good for the environment. The EGR opens and allows some of the exhaust to be added back into the intake to be reburned. Once the engine warms up to operating tempurature the EGR closes. The EGR should be a UFO looking item about the diameter of a big coffee cup. Should be brownish metal, lightly rusted from the heat. A a steel pipe, around 1/2 to 1 inch in diameter, will run from the EGR to the exhaust at the back of the engine. Some EGR valves are on the front of the engine, some at the rear. Most frontwheel drive cars with will be right above the exhaust manifold on the front of the engine. Good luck and happy holidays
- Q: A friend of mine is having open-heart surgery next week to replace a heart valve. He needs to decide whether he wants a mechanical valve or a biological one. He is 28 years old. Which would you choose and why?
- Ask the surgeon which would be most appropriate in,If you trust your surgeon let him make the decision if you don't get a different surgeon.
Send your message to us
API Cast Steel Lift Check Valve Size 350 mm
- Loading Port:
- Shanghai
- Payment Terms:
- TT OR LC
- Min Order Qty:
- 10 pc
- Supply Capability:
- 100 pc/month
OKorder Service Pledge
OKorder Financial Service
Similar products
Hot products
Hot Searches
Related keywords
