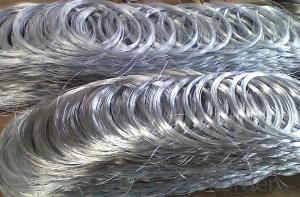
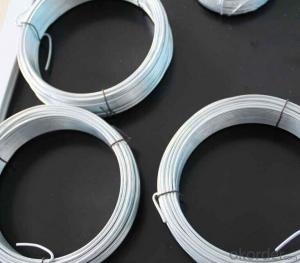
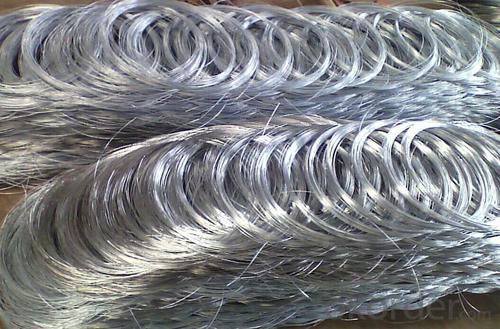
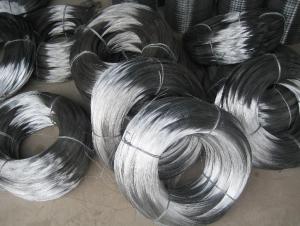
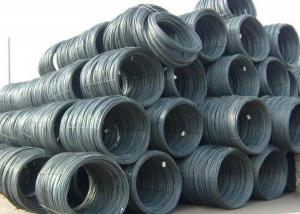
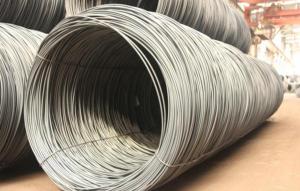
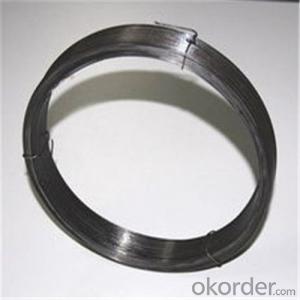
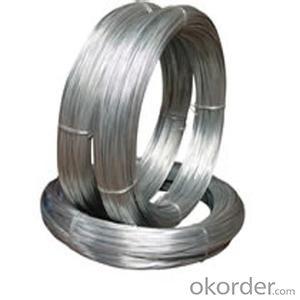
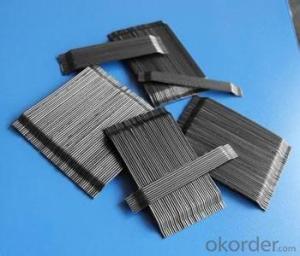
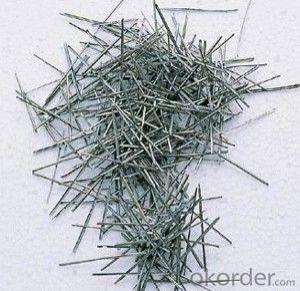
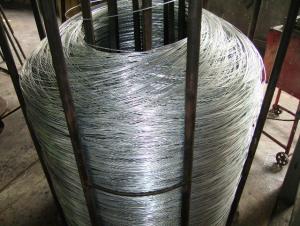
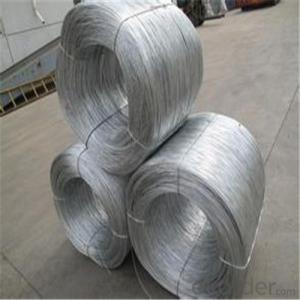
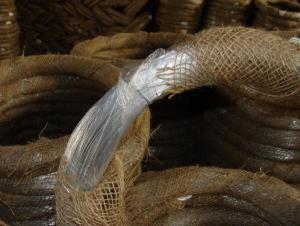
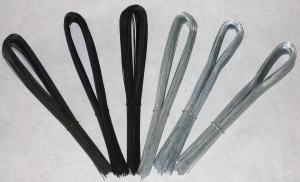
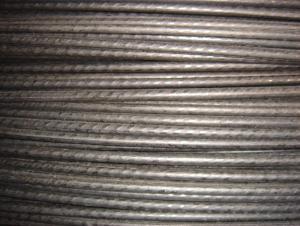
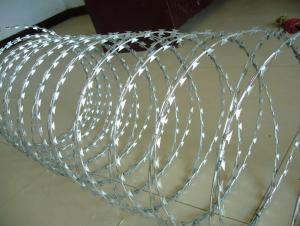
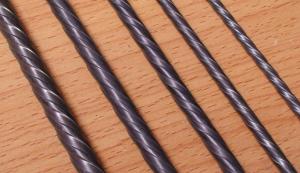
Hot DIP Galvanized Steel Wire for Garden
- Loading Port:
- Tianjin
- Payment Terms:
- TT OR LC
- Min Order Qty:
- 5 m.t.
- Supply Capability:
- 50000 m.t./month
OKorder Service Pledge
OKorder Financial Service
You Might Also Like
Specification
Wire style:
Electro Galvanized Iron Wire
Hot Dipped Galvanized Iron Wire
2. Use:
Mainly used in communication equipment, medical equipment and weaving nets, brushes, cables, filters, high pressure pipe, construction, handicrafts and other industries.
we can be made according to customers specific requirements
3.Features of Galvanized Wire:
Material: low carbon steel wire
Tensile Strength: 400--580Mpa
Standard wire gauge for electro galvanized iron wire: From 8# to 16#
Hot-DIP galvanized iron wire standard wire gauge: From 8# to 24#
Short Description:
1)BV, ISO certificates and SGS test can be provided to assure the quality of our products
2)We have long-term cooperated factory, you can get a competitive price with high quality.
3)Your enquiry will get quickest and most efficient response. We can provide samples for your evaluation as well as fastest delivery
Product Details:
| Hot Dip Galvanized Steel Wire for Garden | |
| Size | 0.5-25mm |
| Item type | Carbon Steel |
| Shape | Wire |
Material | Q235, SS400, A36, S235JR |
Technique | Cold Drawn |
Application | Struction, Decoration, etc... |
Surface treatment | Bright |
| Grade | Carbon steel |
| MOQ | 1ton |
| Packing Details | Big quantity: in bulk |
| Small order: hold in Containers | |
| 20ft container can hold 25tons, 40ft container hold 26 tons | |
| Delivery | about 7days after received the deposit or L/C |
Payment term:
| 1 | 100% T/T in advance. |
| 2 | 30% deposit by T/T;70% balance pay against copy of B/L; |
| 3 | L/C. |
Process: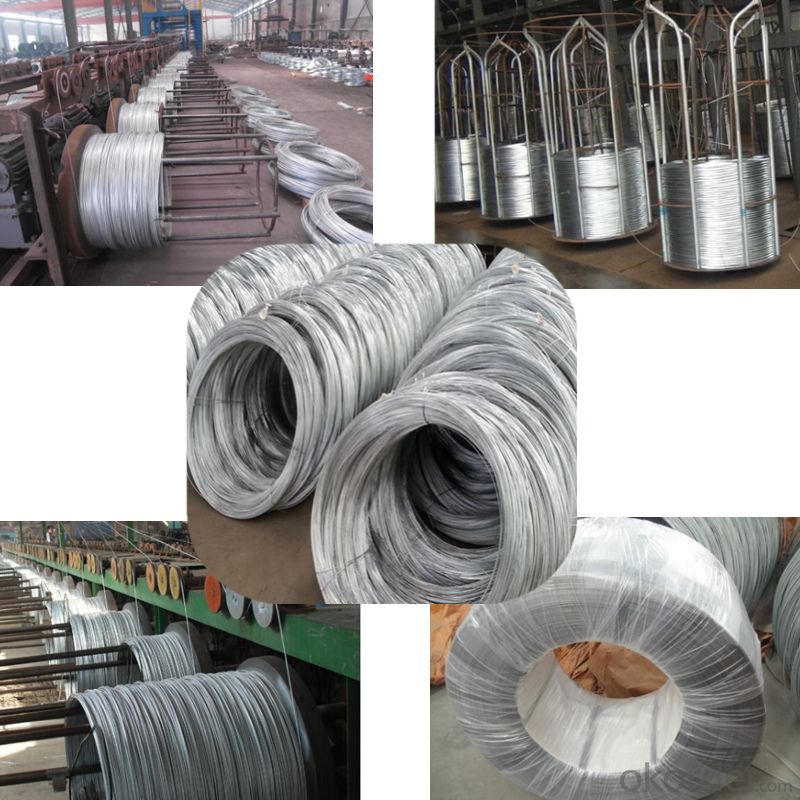
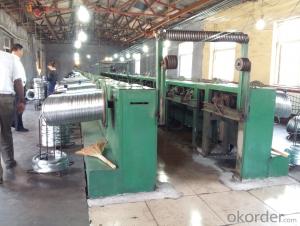
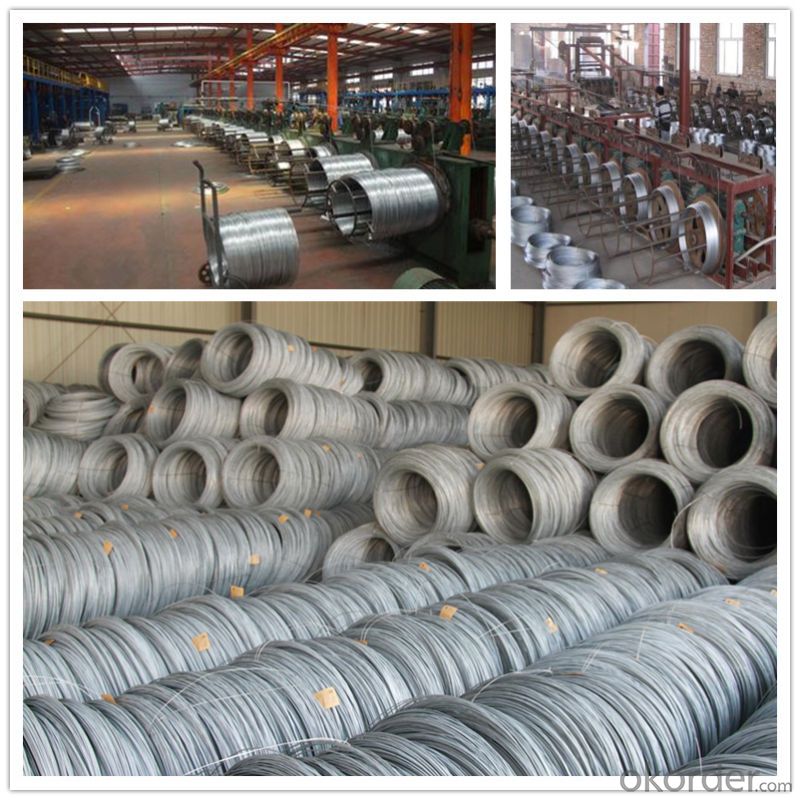
Factory Show:
Packing: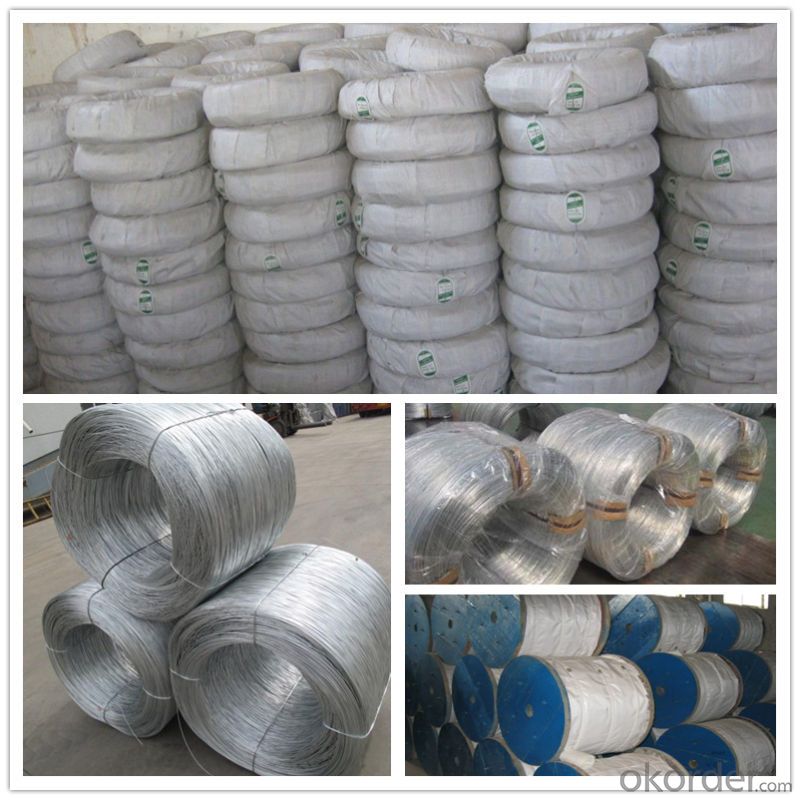
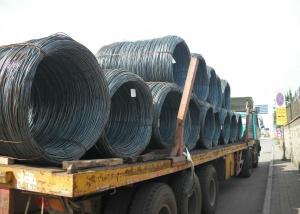
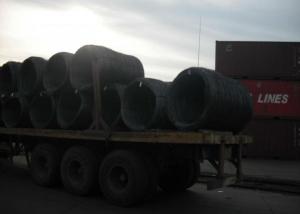
Transportation:
Applications:
- Q: The wire in my headphones broke right next to the jack plug. I had a pair of crappy earphones that I have cut up as a replacement jack plug but no matter what I do I cant get any response. Is it because headphone wires are not compatible with earphone wires?Thank you
- Wires are wires. They are definitely compatible. The problem is that if the wires you are replace are made of cheap components then the sound quality wont be great. Also if you aren't getting any response then you have either wired it up wrong or you have damaged the speaker drivers and they now no longer work. Make sure you have connected the ground to the ground on the jack and the positive to the positive. Look around on google for a wiring diagram
- Q: where does the expression 'down to the wire', come from?
- I found this online: The wire is used in a four-legged footrace-- at least I've only ever heard the word tape used for races involving bipeds. That and ribbon. The wire in question is an actual wire, and it's used in the Sport of Kings, horseracing. A tape or ribbon would be too stretchy to instantaneously trip the shutter on the finishing-line camera when it was crossed. A horse has no problem busting through a single strand of wire.
- Q: need to know how to properly wire this amp in a truck
- wow I have never heard of this amp until u mentioned it. the ratings seem good. ur best option would be to call sonic electronics have them send you a manual on how to wire this amp. they sell this amp. I mean u ask how to properly wire it. wire it to get power ? or to the woofers ? red wire + goes to your battery. black wire - goes to your ground (not your battery) to the frame of ur vehicle. then u need a blue wire, your remote this wire goes to ur stereo's remote wire it should be the same color or it will be marked. but if u do not know how to hook up an amplifier u should go to a professional shop due to the fact if u improperly hook ur amp up YOU CAN START A FIRE IN YOUR CAR.
- Q: my light stopped working ( a chandalier ). It has brown wires, blue wires, red wires, beige wires, and white wires.
- How many lamps (bulbs) does it have? Larger chandeliers are capable of being switched on/off in layers (so you might have 3 switches for a 12-lamp fitting) All you can do is trace the coloured wires to each lampholder to ID live/neutrals (Multimeter with power OFF)
- Q: In the ceiling is one black, one white and a ground. How do I connect a new ceiling fan to these two wires? The ceiling fan has black wire, white wire, a blue wire and a green wire. We don't have green in the ceiling nor do we have a ground...knob and tube perhaps? So, can we connect this fan or not?Thanks!
- Personally, I would not connect anything to old knob-n-tube wiring. I would replace all of it with modern wiring. And as for a ceiling fan, not only does it require a box designed for ceiling fan support (which I doubt you have right now), it also requires 3 wires, served by a 14/3 Romex with ground. It will have a black, white, red, and bare ground. The red wire is for the light, black for the fan, white neutral, and bare copper to green ground. On the wall, you will need a double-gang box containing 2 devices. One is a standard light switch controlling the light. The other is a fan controller unit ($12.49 at Home Depot) for the fan speed. It has 4 click-stops, High, Medium, Low, and Off. It uses a standard double-switch wallplate. On the fan itself, cut the chains off. Be sure the fan is set to HIGH, and the light ON when you cut them.
- Q: hi i have 2000 prizm the wires coming out of car doesnt match the colours of stereo wires does and body knows the wiring coding for car to sony cd player thanks
- 2000 Geo Prizm
- Q: I currently have a ceiling fan wired to a dimmer wall switch that controls the fan and the light, not good I know. I would like to set up the dimmer switch where it controls the light only and then i can use the fan pull switch for the fan. but i am not sure how to wire this with my current wires. In the wall box where the dimmer switch is I have two sets of wires coming from two different locations. one set has a black, red, white, and green. the other location has black, white and copper. currently the green and copper are connected and capped, the two whites are connected together and capped, two blacks are and connected to the black wire coming from the dimmer and the red is connected to the other black wire from the dimmer. how would I wire the dimmer switch to only control the light and not the fan? I want to make sure i do this safely.any assistance is greatly appreciated.
- enable me initiate out by making use of asserting that the cord's popping out of the ceiling bypass like this, Black cord is alway the warm cord the White cord is often the common floor cord the bare cord is the earth floor cord. if there's a purple cord popping out of the ceiling it is so which you would be able to turn the mild off at extra then one change . i'm uncertain what a hunter fan is ,yet what ever you do do no longer hook the black (warm) cord with the WHITE (floor) cord, in case you probably did try this ,you will could reset your breaker , it form of seems such as you may have 2 purple cord popping out of the ceiling , in case you do you may hook them to the Black / White cord, it is so which you would be able to paintings the mild from the two change.
- Q: A 5.07 m length of 2.1 mm diameter wire carries 703 mA current when 22.3 mV is applied to its ends. Determine the resistivity of the wire.
- Resistance of a wire in Ω R = ρL/A ρ is resistivity of the material in Ω-m L is length in meters A is cross-sectional area in m? A = πr?, r is radius of wire in m Use current and voltage to determine resistance. Plug that into the above and solve for ρ. Be sure to change numbers into meters.
- Q: putting new plug on wire. which wire connectswhere?
- If you're talking about a ''polarized'' plug the hot wire (usually all black) will attach to the narrow side. And the neutral (usually with a white stripe) will attach to the fat side.
- Q: installing ceiling fan, when remove light fixture, it has 4 wires system, wires used: white red and green with one light switch, what is black for, it has a wire nut, but has nothing connect to it
- Before I answer this again I would like to know. What has 4 wires the ceiling box or the fan/light kit. Are they comming out of a three wire together? (one piece of romex) from differant directions? Black is hot. colored(other than green) is wired to hot and may be hot also. White is neutral same as ground but should not be wired to or with a ground Green or bare copper is ground
Send your message to us
Hot DIP Galvanized Steel Wire for Garden
- Loading Port:
- Tianjin
- Payment Terms:
- TT OR LC
- Min Order Qty:
- 5 m.t.
- Supply Capability:
- 50000 m.t./month
OKorder Service Pledge
OKorder Financial Service
Similar products
Hot products
Hot Searches
Related keywords
