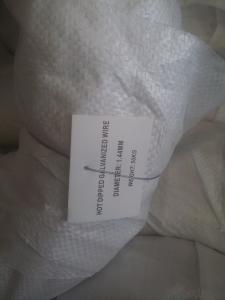
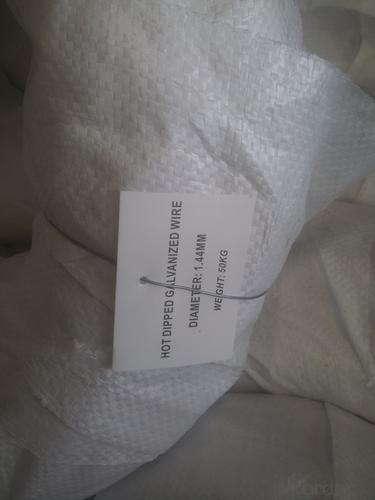
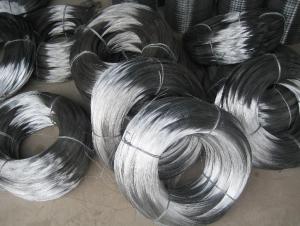
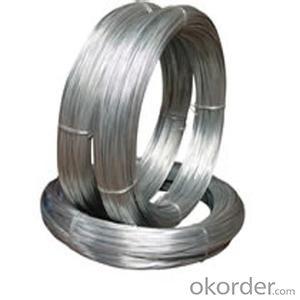
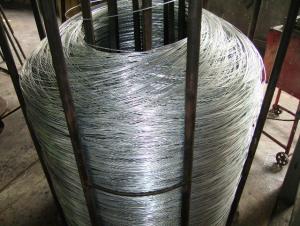
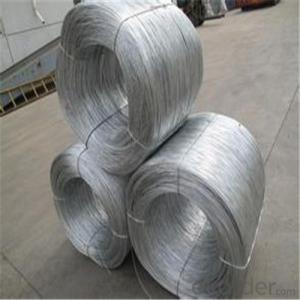
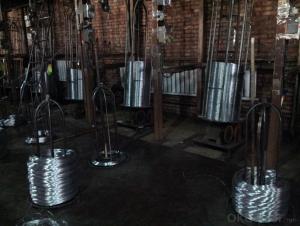
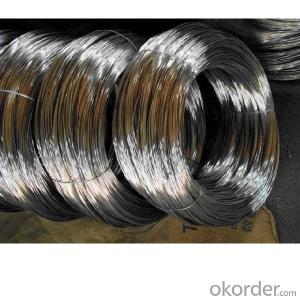
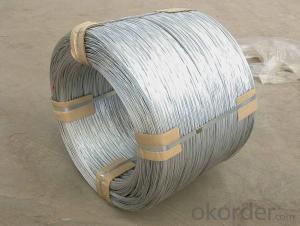
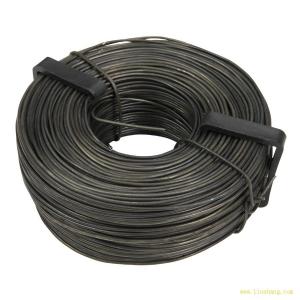
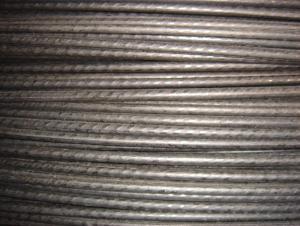
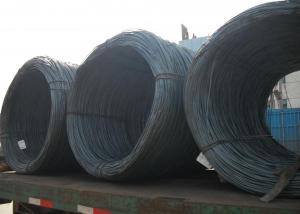
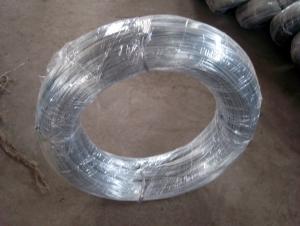
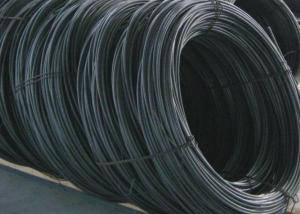
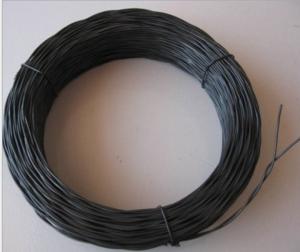
Hot Dip Galvanized Steel Wire For Wire Netting
- Loading Port:
- China Main Port
- Payment Terms:
- TT OR LC
- Min Order Qty:
- -
- Supply Capability:
- -
OKorder Service Pledge
OKorder Financial Service
You Might Also Like
Commercial Galvanised Steel Wire
(1) Quality : Meet GB/T 343 standard and other requirements of relevant standards .
(2) Zinc Coating: Meet GB/T 15393 standard and other requirements of relevant standards .
(3) Raw Material : Wire rod ——1006 , 1008 , 1018 , Q195 , etc, and zinc with 99.995% purity.
(4) Tensile Strength Range
Size (mm) | Tensile Strength (mpa) |
0.15-1.60 | 290-550 |
0.65-1.60 | 400-550 |
1.61-6.00 | 400-1200 |
(5) Application : Used in wire mesh , artware , metal hose , binding for agriculture and construction , etc.
(6) Packing
Size (mm) | Coil Size | Spool Packing | Big Coil Packing | |
ID (mm) | OD (mm) | |||
0.15-0.26 | 6 inch | 1-14kg/spool |
|
|
0.27-0.60 | 8 inch | 1-100kg/spool |
|
|
0.61-1.60 | 12/14/16 inch | 1-100kg/spool | 250-400 | 400-770 |
1.61-6.00 |
| 14-500kg/spool | 450 | 800 |
508 | 840 | |||
(7) Zinc Coating
Meet GB/T 15393 standard.
Size (mm) | Weight of Zinc-Coating ( g/m2 ) | |||||||
A | AB | B | C | D | E | F | ||
A1 | B2 |
|
|
|
|
|
| |
≤0.25 |
|
| 30 | 20 | 18 |
|
|
|
>0.25-0.40 |
|
|
| 30 | 25 | 20 |
|
|
>0.40-0.50 |
|
|
|
| 30 | 20 |
|
|
>0.50-0.60 |
|
|
|
| 35 | 20 |
|
|
>0.60-0.80 | 120 | 110 |
|
| 40 | 20 |
|
|
>0.80-1.00 | 150 | 130 |
|
| 45 | 25 |
|
|
>1.00-1.20 | 180 | 150 |
|
| 50 | 25 |
|
|
>1.20-1.40 | 200 | 160 |
|
| 50 | 25 |
|
|
>1.40-1.60 | 220 | 180 |
|
| 50 | 35 | 30 |
|
>1.60-1.80 | 220 | 180 |
|
| 70 | 40 | 30 |
|
>1.80-2.20 | 230 | 200 |
|
| 80 | 50 | 40 |
|
>2.20-2.50 | 240 | 210 |
|
| 80 | 55 | 40 |
|
>2.50-3.00 | 250 | 230 |
|
| 90 | 70 | 45 |
|
>3.00-4.00 | 270 | 250 |
|
| 100 | 85 | 60 | 30 |
>4.00-5.20 | 290 | 270 |
|
| 110 | 95 | 70 | 40 |
>5.20-6.00 | 290 | 270 | 245 |
| 110 | 100 | 80 | 50 |
- Q: my radio was stolen i'm trying to put in a old radio in but when someone stoled my radio they cut the wires so now i can't tell what go,s where can someone please help? it's a ford f150 pu trck w/ 4 speakers i just need the wire color codes to hook-up,plus thy stole the manal to the trck too. please help.ty
- You might have to go to a speaker shop and they have a little wire gadget there which tells them which wires are what. Don't know if you'll have to pay though or not. You might be able to buy one yourself.
- Q: does it matter what gauge speaker wire to use when hooking up a powered subwoofer?
- actual confident, the speaker twine could desire to continually be twelve gauge exceptionally in case you go with crystal-sparkling sound. and you could desire to get 4 gauge potential and floor wires besides. They sell great high quality audio cables at Walmart.
- Q: (For my PC)I want to have a quadrophonic speakers (4 channels), but i want to extend 2 speakers, but their wires are limited and cant extend enough to reach my rear? what should i do?is it as simple as, cut the speaker wires and extend it with a common copper wire that you mostly found on most appliance you found on your home?
- Yea ive tried extending and cutting the coper wires, this situation has its faults if you decide to do it this way so id suggest just grabbing another at a local shop or OKorder.
- Q: How to connect a 5 wire Harley LED tail light
- Harley Tail Lights
- Q: I am replacing a 2 wire circuit for a fan/light combo with a 3 wire fan/light combo switch. I ran a new 12/2 w/grnd to the switch box. I ran a 12/3 w/grnd to the ceiling box for the fan. I have a ceiling fan and light control switch that control light and fan separately. I can't figure out which wires go to what.
- Even though you gave an excellent explanation of the problem it is still too difficult to give you a proper answer without seeing the situation. If you have the money it is best for you to hire a pro. If not, then do you have a friend who knows a lot about wiring. The short you speak of is troubling and could be dangerous. You need to fix the problem soon. So get a pro or a qualified friend.
- Q: I plugged in my new Pioneer DEH-P6500it worked for a little bit until i moved it around a littlethe speakers started to go out but the subs still sounded finei messed around with it and found the wire responsible for it allits a red wireit says AAC or somethingif i messed with the copper twist the speakers would come in and outi stripped the wire a little and put it back together but now the head unit wont even turn onand im also left with like 2 inches of red wireis my only option to get a new pioneer wire harness?what is the problem?the red wire i think supplies the power to the whole head unit because when its not connected, the whole thing turns onbut only the speakers go on and off when i messed with itbut it wont turn on anymore
- The red wire is the ignition wire. There are two wires that supply power to your head unit. One is the yellow wire which is a constant source of power. This keeps all your settings on the radio and the clock. The red wire is used to switch on your head unit. When you turn on your car the wire gets power and turns your head unit on. First, like said before, make sure the wire is getting power by checking fuses. There should be one in the head unit and one in your car's fuse panel. If that is not it then you will want to see if the wire is split somewhere. An easy way to check if the wire is getting power is if you have a DMM (digital multimeter). Then just check if there is voltage in the wire. Your car must be on to check this though. Good Luck!!! Edit: DMMs are cheap, you can get one for around $15. They have even cheaper ones if you get it at Harbor Freight.
- Q: I am replacing old 3 button (vertically aligned) light switch. There is 1 thick wire wrapped in white, 1 thick wire wrapped in black and 4 thin wires wrapped in black. I attached the white wire to the common wire screw and put the remaining wires around the screws. I am also replacing a toggle switch that will control the vanity lights above the sink. There are 4 clumps of wire coming through the box. The copper grounds are all twisted together, and there are multiple strands of white covered wire twisted together and then the 5 black cover wires and 1 white covered wires. After hooking it all up, it doesn't do anything. No lights, fan or heat lamp. What did I do wrong?
- Common Wire Light Switch
- Q: Just need a wiring diagram link that shows all wires and possibly steps on installing an aftermarket stereo.
- See okorder ...
- Q: i want electrical symbol used in house wiring
- The electrical symbol for what? Different devices and types of devices have different symbols. Also, each architectural firm uses a slightly different set of symbols so that a particular symbol on one set of plans will mean one thing, but mean something else on a different set of plans by a different firm. An UGLY's Book will give you some of the more common electrical symbols.
- Q: I've been meaning to find floral wire for a DIY project I'm going to attempt. Does anyone know where to buy floral wire? I'm not sure if Michael's sells it. Please let me know from personal experiences.
- This Site Might Help You. RE: Where to buy floral wire? I've been meaning to find floral wire for a DIY project I'm going to attempt. Does anyone know where to buy floral wire? I'm not sure if Michael's sells it. Please let me know from personal experiences.
Send your message to us
Hot Dip Galvanized Steel Wire For Wire Netting
- Loading Port:
- China Main Port
- Payment Terms:
- TT OR LC
- Min Order Qty:
- -
- Supply Capability:
- -
OKorder Service Pledge
OKorder Financial Service
Similar products
Hot products
Hot Searches
Related keywords
