
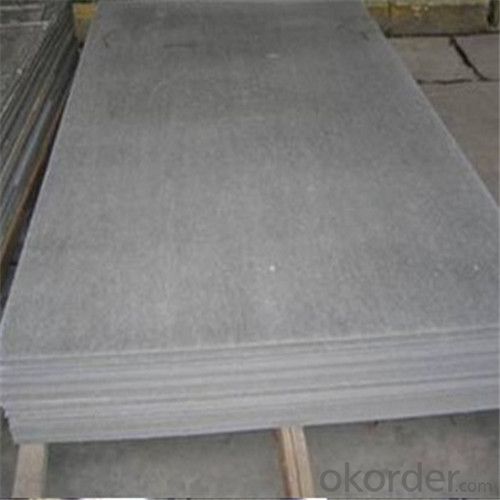
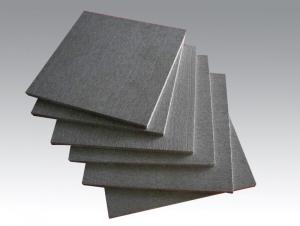
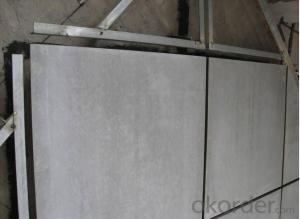
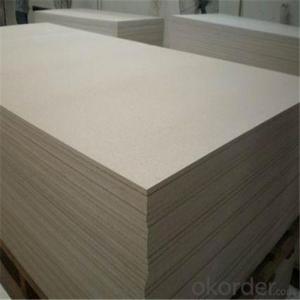
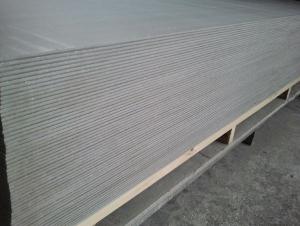
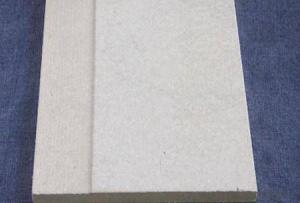
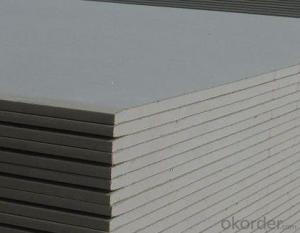
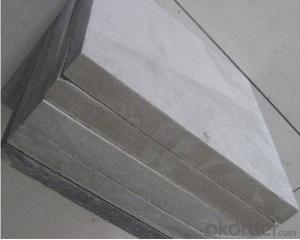
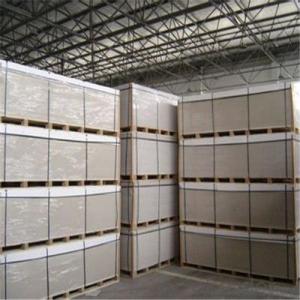
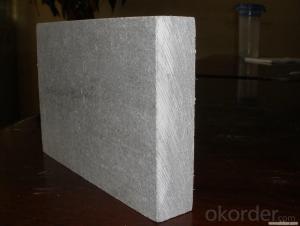
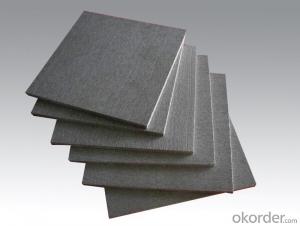
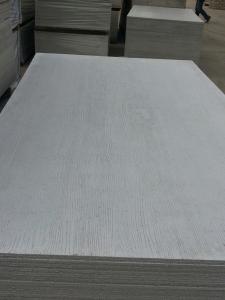
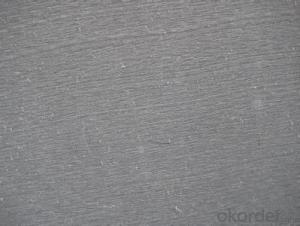
Popular Fiber Cement Board
- Ref Price:
-

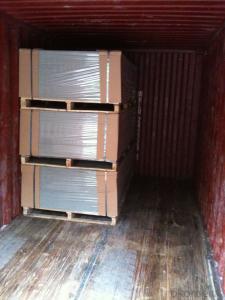
- Loading Port:
- China Main Port
- Payment Terms:
- TT OR LC
- Min Order Qty:
- -
- Supply Capability:
- -
OKorder Service Pledge
OKorder Financial Service
You Might Also Like
Products Introduction:
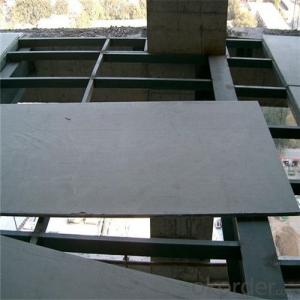
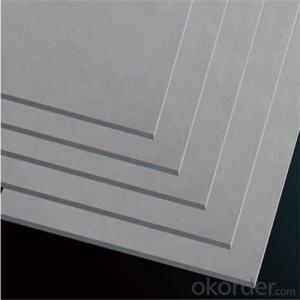
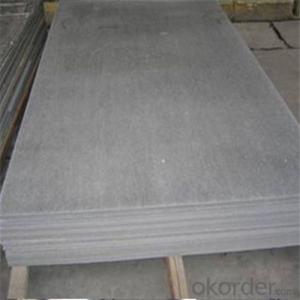
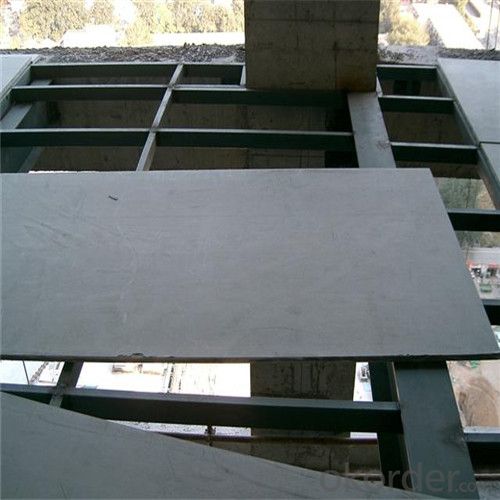
Sanle fiber cement board is made of high-grade cement and modified material, reinforced by natural fiber. Being processed by high pressure and high temperature advanced technologies, Sanle fiber cement board is a new building material with excellent performances.
Features
Fire Proof & Insulation
Class A non-inflammability, no toxic gas, low in perveance, good electric insulation material
Waterproof and Moisture Proof
In semi-outdoor area and under high temperature condition, performance of Sanle boards is stable and will not bend or deform.
Thermal Insulation and Sound Insulation
Low thermal conductivity, good heat insulation, high in density, sound proof
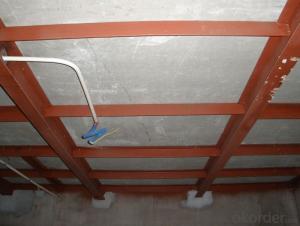
Light weight & High strength
Pressured by 5000-ton hydraulic machine, it is high in strength and light in weight. It is not easy to deform and bend, and good for flooring and roofing.
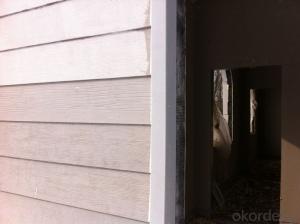
Easy installation
The installation of boards is dry operation, which is faster. It can be processed with ordinary wood working tool. The board is easy to be processed.
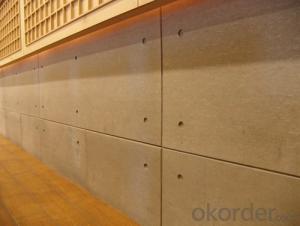
Economical and Good looking
The boards are light in weight. Together with the use of keels, they can save cost of construction and decoration. The painting is uniform, and the surface is smooth, making the exterior of buildings good-looking and attractive.
Safe and Harmless
Test result of Sanle boards is better than national radiation protection standards of building materials. The radiation from Sanle boards is equal to that from the lawn 20 meters away from the building. The lifespan of Sanle boards is very long, and they are resistant to acid and alkali, moisture and insects. The toughness and strength remains the same when time passes by. So they can be used for a long time.
Easy to install and easy to replace
Sanle boards can be drilled, cut, engraved, nailed, painted and covered by tiles or sticker when necessary..
Product parameters
Item | Unit | Requirement | ||||
Medium density | High density | |||||
Density | g/cm3 | 1.2<D≤1.5 | 1.5<D≤2.0 | |||
Water absorption | % | ≤30 | ≤25 | |||
Non-combustibility | GB 8624-2006, grade A | |||||
wet expansion | % | ≤0.25 | ||||
Beding strength | dry | MPA | Strength grade class III | 20 | Strength grade class IV | 24 |
Saturation with water | 12 | 14 | ||||
Applications
Exterior side boards, indoor partition walls, sound-proof ceiling, decoration boards, complex walls, outdoor billboards, division boards and floor boards
- Q: I'm putting in a new tub surround this weekend (gutting the bathroom wall and starting from scratch). After I put cement board on the studs and install the tub surround, there will be a space about foot high between the surround and the ceiling. The cement board will be exposed. Can I paint the cement board so it matches the colors of the bathroom? Do I need to buy special paint or something? Obviously, I've never done this sort of thing before and I appreciate any advice I can get.
- Can You Paint Cement Board
- Q: Can v board be glued directly on the wall?
- Saw board, the UV decorative panels according to the actual requirements of a block into a block.
- Q: I am in the Chicago area and it rained a few days ago.... I am also using molds and wood 4x4's
- You can pour the cement one day and let it dry over night --You should be able to nail the boards onto it the next day. Wait for a day with (no rain) to pour cement. We just built a fence and poured the cement and it set up real well by the next day--but it was not raining. Good Luck on your fence
- Q: where can i buy national gypsum perma base cement board?
- Try cshopping /buy
- Q: nothing to add...
- Sure. It may react a little differently because of the moisture absorbing properties of the cement board. Try some tests and experiment with moistening the cement board before applying the texture.
- Q: I have a porch that is currently covered in green turf carpet. I'd like to rip off the turf, clean the cement and mortar on small stone pavers. I will be placing the stones not only on the top, but the sides, and tread and risers of the stairs as well. Can I mortar directly onto the cement or should I use backer-board? If a backer-board is needed, how do I connect the backer-board onto the concrete? Will I need special screws?
- Lemme give you some alternatives to using mortar for this project. By small stone pavers,, are these really not thick like regular bricks but more like tiles--maybe 1/2 or 1 inch thick? Then if it were me this is how iwould proceede. First get rid of the carpet. Then wire brush off the floor and steps etc to get all the loose stuff off. Then get some construction adhesive that works with bricks,,and a short bristle brush. Lay the adhesive down using a notched trowel and RUB adhesive into the bottom of the brick. When you lay them in they will really adhere well using this method. Cover it up and let it dry or 2 days. Then get some mortar mix and use it like grout.
- Q: I'm preparing to replace the tiles in my foyer. It's a townhouse, about 20 years old with no basement. I don't know much in the way of construction, but since it's on ground level I think there might just be a cement slab underneath the existing tile. Can I install the tiles directly over the cement slab after removing the old tile or do I need a backer board? And if I do, how do I account for the height difference? Thanks in advance!
- Cement board is only 1/2 thick, concrete would be at least 2 ( probably 6 thick) you will know the difference by taping it with a hammer. You can remove the existing tiles and install new tiles onto the existing concrete. If any concrete is broken or damage, you will have to patch the broken concrete, let dry, and install tiles 24 hours later. Wait 24 hours before you grout.
- Q: We are using quality 3/4 plywood as the base - can we glue the tiles directly to this wood or does there need to be something between the wood and the glue/mortar?
- You can use two layers of 3/4 going cross grain to the bottom but there still is the possibility that the wood will swell and move if you don t glue and screw it together well. Its better to use a 1/2 cement board. And still use thin set between the 2 layers and nail ( galvanized roofing nails) or screw it well. Any questions you can e mail me through my avatar and check my qualifications there. GL
- Q: I'm not to good at figuring out quantities for sheetrock and cement board. I'm redueing my bathroom. I need to figure for how much sheet rock to get. My walls are 56L x 8'H, 6'Lx8'H, and 90Lx8'H. For my bathtub enclosure I have 61Lx82H, 3'Lx82H and 3'Lx82H.Any input on this would be greatly appriciated.
- You will need an 8' high sheet for each width you have. 56 + 72 + 90 + 61 + 36 + 36 351 inches 29 feet wide since they are 4 x 8 you have 29 / 4 7.3 sheets you should get more sheets for the waste and different sizes. Maybe 9 - 10 sheets.
- Q: This is a 1950s sink.
- I assume that you mean the tiles are attached to the counter-top. The process is called demolition, and it can get dusty. Safety glasses are a must, a dust mask is recommended. First, starting at the back-splash, slice any caulk at the seams where the tile joins the wall with a sharp knife. Then, crack the tiles, enough to get a pry-bar under them. Peel, pry or knock the tiles off, exposing the plywood or cement board underneath. If you can find screws or nails attaching the back-splash to the wall, remove them. Then, look underneath the counter for screw or nails which attach the cabinet to the wall, remove them. At this point, you can try prying the whole structure away from the wall(s). Be careful about pry-bar placement. You should only pry where there is a stud on the inside of the wall, typically every 16. If it doesn't budge, look for any fasteners you missed. NB- Before you start, turn off the water, disconnect all the plumbing, cover the drain pipe (to keep debris out of it and sewer gas inside it. A drop-cloth would help in the cleanup. expect to spend some time patching the wall when you're done. Good Luck
Send your message to us
Popular Fiber Cement Board
- Ref Price:
-
- Loading Port:
- China Main Port
- Payment Terms:
- TT OR LC
- Min Order Qty:
- -
- Supply Capability:
- -
OKorder Service Pledge
OKorder Financial Service
Similar products

Hot products
Hot Searches
Related keywords

