

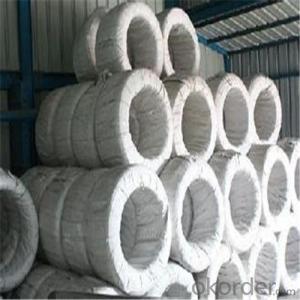
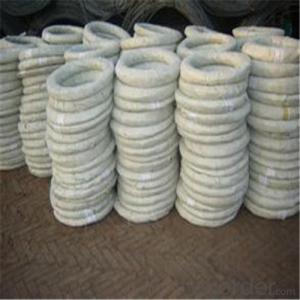
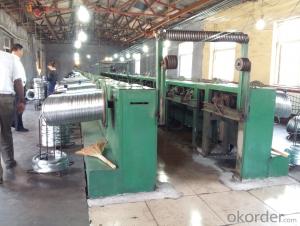
Hot Dipped Galvanized Steel Wires
- Ref Price:
-

- Loading Port:
- China Main Port
- Payment Terms:
- TT OR LC
- Min Order Qty:
- -
- Supply Capability:
- -
OKorder Service Pledge
OKorder Financial Service
You Might Also Like
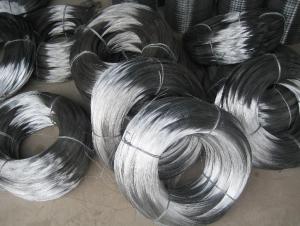
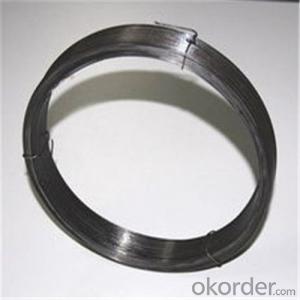
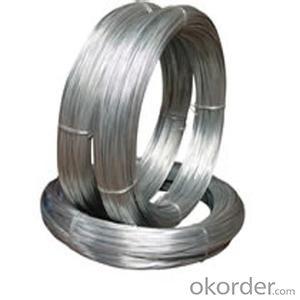
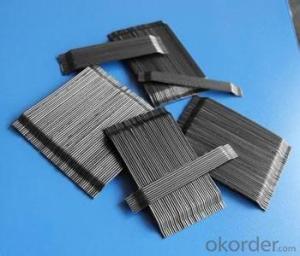
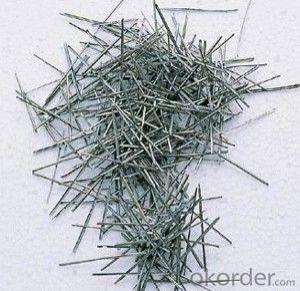
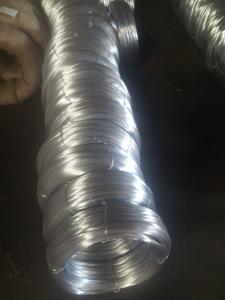
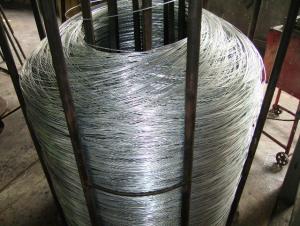
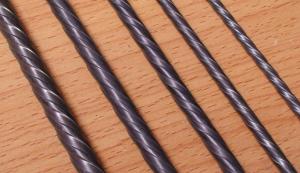
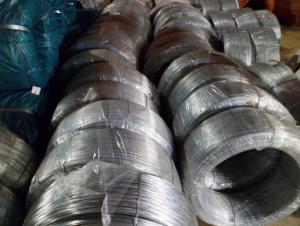
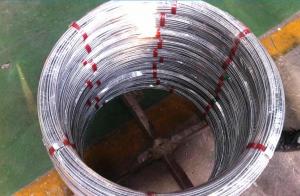
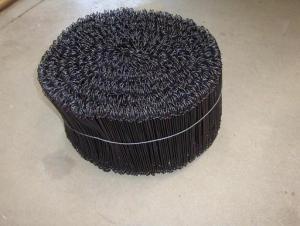
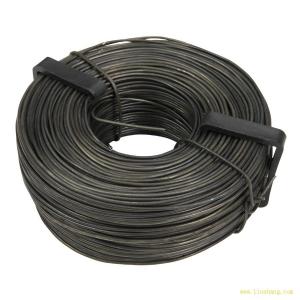
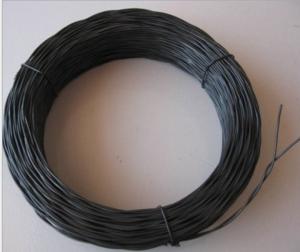
Galvanized Wire/Galvanized Steel Wire/ Gavanized Iron Wire
Diatmeters:0.15mm-6mm
Application | Weaving, braiding, fencing, cable armoring, knitting, tie wire, for redrawn, for binding or forming etc. |
Material | low carbon steel wire |
Diameter | 0.15mm~6.00mm |
Tensile strength | 350-500MPA, or higher |
Zinc coating | Min 12g/m2, min 25g/m2, min 200g/m2,min 300g/m2,610g/m2 |
Surface treatment | Hot dipped or electro galvanized |
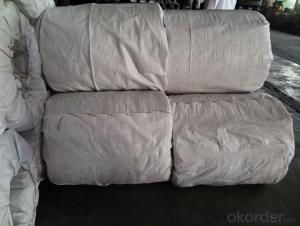
Packing | On spools In small coils of 25-50kg/coil, 10kg/coil In rosette coil of 100-800kg/coil |
Standard | ASTM 641, EN10257-1& EN10244-2 |
All can be produced according to customers’ requirements.
- Q: Should I just buy normal speaker wire for wiring my subs together inside my box?? With positive and negative and then pull the wire apart and use only 1 of the wires? Also is 10 gauge good for this if my subs are 600 RMS a piece and my amp is 1180 birthsheet RMS...2 Kicker L5 12sAlpine PDX-1.1000
- well speaker wire inside the box i never would wire them together but 10 gauge sounds ok but just buy an amp wireing kit and it will give you proper wires just to be safe make sure all your wires can handel the power other wise it will burn the wires up yes you should pull the apart cause it wont sound right i usaly do is like the wires i buy have a white stripe on them i use that 1 as a ground wire so i know whic 1 is what
- Q: I bought a single pole dimmer switch to install in my dining room and when I took the old switch out nothing looked right. There are two wires which were joined together by another single wire which was attached to the top screw. There was another single wire (I believe the ground wire) attached to the bottom screw. I disconnected the first two wires and attached them separately to the black wires on the dimmer and attached the ground wires together. It didn't work. I've tired several different times with no luck. I put the wires back the way they were and attached them to the old switch and they no longer work ether. Help! How can I fix this problem? The old wires appear to be a very thick copper covered in black plastic and cloth.....
- How To Install A Dimmer
- Q: so i got a few questions. on my 2000 chevy cavalier i got my audio system upgraded but toke it to a shop to get done i am ready to hook up a amp and woof but wanna do it my self to save a few hundred bucks as i was observing my car where to put stuff at i notice a blue wire that is going from where it looks like from my radio to my fuse box on the driver side and is hooked up to a fuse. what is that? and if its the remote wire can i hook up the remote wire for the amp with that blue wire to or is that to much?
- There should be a block in that fuse panel marked auxiliary or aux. That will be the 12V power conx but I advise you to be safe and let the pros do the job for you.
- Q: i have just got a radio from a 2004dodge durango my buddy bought a new radio and i tok his old one, so now i need the wiring diagram to find out what all the wires goo too their are way more wires on thios thing that im use to on stock radios. ive looked it up online and its not the right diagrams the colors dont match up on the wires. ny help pleaseeee
- check out the link this is where i always go and always im able to find the car listing im looking for goodluck!
- Q: I want to install a single-pole dimmer switch for a series of 4 pot lights in the same box (double gang) as a kill switch for a receptical already installed. There is a 14-3 wire (b/w/r/g) brigning power into the box from the main, and 14-2 wiring for the dimmer and 14-2 wire for the kill switch. How do I wire this? The single pole dimmer has a ground and two black wires. The switch to kill the receptical has only two brass screws on one side.
- Wires that have continual power are called source wires. One of the source wires (any color other than white or green) should be hooked up to one of the brass screws on your kill switch. The other brass screw will have the wire going to the receptacle. NOTE: A switch is used to connect/break the connection of power going to an appliance/fixture. The other source wire will go to one of the black wires on your dimmer switch. The other black wire on the dimmer switch will go to the 4 pot lights as its source, in which we call a switch leg. The ground wire of the dimmer switch is hooked to the ground wire in the box. No white or neutral wires are needed for this...Test the wires first so that you know what wire is for what. Then, make sure you turn off all power so that you don't damage the dimmer switch.
- Q: I need to wire a single 120v outlet from the 240v volt wire I use on my compressor. Im installing a 120v electric automatic drain valve on my large shop air compressor. The compressor is wired up with SJ00W 10-AWG, 4-wire power cable (red,green,black white wires). and is rated at 240v @ 15-amp(compressor not wire). The drain valve uses a normal house hold current wiring config. (black,white and open copper)The 240v power supply is the only supply I have near by, (two of them actually) Or I would just wire the automatic valve off an outlet and call it a day. So How do I wire a 120v 3-wire set up from the 240v 4-wire supply? Thanks
- Hud is correct. To accomplish this you would need to install a 30 amp subpanel with a 4 to 6 circuit configuration with a two pole breaker for feeding the compressor with # 10 wire and a one-pole 15 or 20 amp breaker with smaller wire (14 or 12 gauge respectively and the appropriate rated 120 volt outlet on that branch circuit). If you have regular 120 volt outlets somewhere nearby (as I think you are saying in your second to last sentence) I would go that route instead.
- Q: I just bought a set of performance sparkplug wires for my 2001 Chevy Cavalier. I went to install them and my engine is now misfiring like one of the wires in not connected. I have made sure all of the wires are on tight and in place. The wires did not come numbered so i just put them on according to size. What could be the problem???
- It sounds like you may have installed the wires out of order. On your car the firing order is 1-3-4-2; standing at the front of the car the cylinder count is from passenger side to driver side (#1 is passenger; then 2-3-4.) Make sure your #1 wire is coming off the #1 terminal on the coil pack, then #3 wire on the second terminal, #4 on the third, and #2 wire on the last one. If that doesn't do it, than you may have bad wires. Check with your mechanic.
- Q: I have a question on Razer Naga Epic.Does the USB charger wire also act as a mouse signal wire or is it still a warless signal even if it's plugged in thru a wire?Bottom line, is the wire in the Razer Naga Epic only for charging?
- Razer Naga Epic Cord
- Q: I've been asking questions to my mom about what is inside the new receiver and then suddenly i asked my mom, what is inside a wire? She didn't know what was inside a wire so i asked if i can post my question on yahoo answers, and then she said yes so i did it.
- An electrical wire is composed of a copper (sometimes steel, aluminum, or other metal) core, surrounded by a plastic cover to insulate it. The newer fiber optics wires for communications contain a translucent plastic core for transmitting light signals.
- Q: Whenever I'm making jewelry, I typically wind up using crimp beads (with toggle closures, in most cases). Whenever I cut off the beading wire at the end, after enclosing the crimp bead around it, there's always this itsy bitsy part of the wire that irritates me to no end when I wear the jewelry. It seems that I can only cut the wire so much before I wind up snipping at the crimp bead. How can I remedy the irritation fact of the left-over wire?Maybe put glue on the wire piece and let it dry? Idk. Grr.
- Here is the way to get rid of the scratchy wire: Take the wire on through the crimp bead and thread it down into the beads, and then crimp the wire. If you have a little wire sticking out there on down between the beads, just bend back the beads, and clip it with your jewelry wire cutters that have a side edge. Be sure and cut your wire with a couple inches to spare so you have enough wire to attach the clasp and thread the wire down. I was having trouble with the crimp bead scratching, no matter how I crimped it. I found out that they sell a crimp cover. It looks like an open clam shell, and you just slip it over the crimp bead, and close it with pliers. Beware, there is something called a clam shell, but it has a eye on it, it is for non-metal stringing materials. Another thing I found was a little tiny horseshoe called a guide. It goes above the crimp bead, and holds the clasp. It protects the wire from the wear and tear of the clasp. And it is so easy to pull the wire through it once it is on, you can adjust the length of the wire over and over. I was literally stuffing the wire down into the beads with a pliers. No more! Just pull on the end, and down the wire goes. No more ugly lengths of wire between the beads and the crimp bead. I found both these items in gold and silver colors, at Michaels, and Craft etc on line, and on other online sites. So, save the glue for working with elastic cord and gluing a bead over the knot to hide it.
Send your message to us
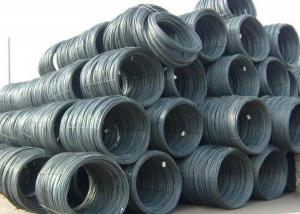
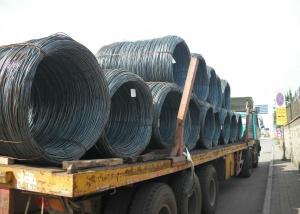
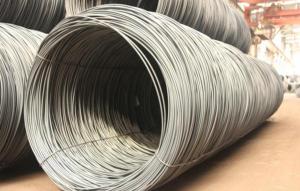
Hot Dipped Galvanized Steel Wires
- Ref Price:
-
- Loading Port:
- China Main Port
- Payment Terms:
- TT OR LC
- Min Order Qty:
- -
- Supply Capability:
- -
OKorder Service Pledge
OKorder Financial Service
Similar products
Hot products
Hot Searches
Related keywords

