• Hot Dip Galvanized Steel Wire For Wire Mesh And Cable Armouring System 1
  • Hot Dip Galvanized Steel Wire For Wire Mesh And Cable Armouring System 2
  • Hot Dip Galvanized Steel Wire For Wire Mesh And Cable Armouring System 3
Hot Dip Galvanized Steel Wire For Wire Mesh And Cable Armouring

Hot Dip Galvanized Steel Wire For Wire Mesh And Cable Armouring

Ref Price:
get latest price
Loading Port:
China Main Port
Payment Terms:
TT OR LC
Min Order Qty:
-
Supply Capability:
-

Add to My Favorites

Follow us:


OKorder Service Pledge

Quality Product, Order Online Tracking, Timely Delivery

OKorder Financial Service

Credit Rating, Credit Services, Credit Purchasing


Quick Details

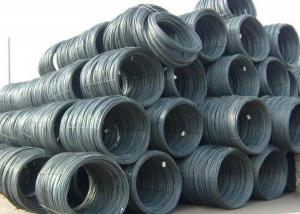
  • Steel Grade: 60#,65#,45#,50#,Q195,Q235

  • Standard: AISI, ASTM, BS, DIN, GB, JIS

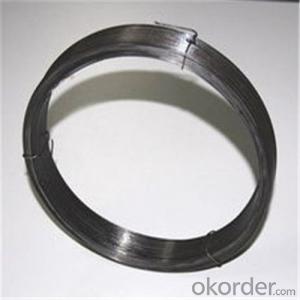
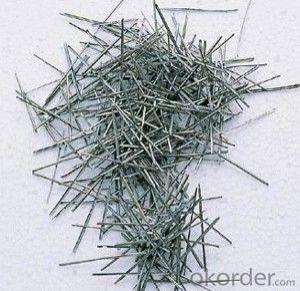
  • Wire Gauge: 0.15-8.0

  • Place of Origin: Tianjin, China (Mainland)
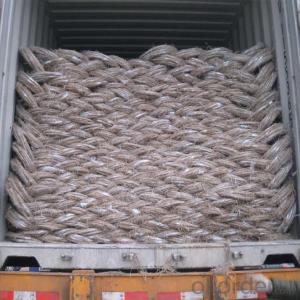
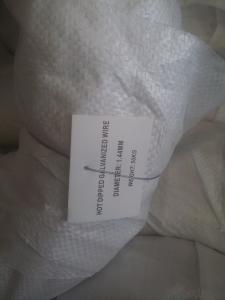
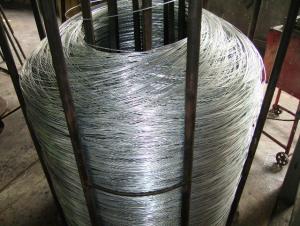
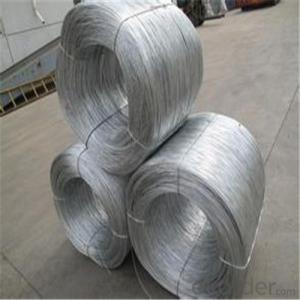
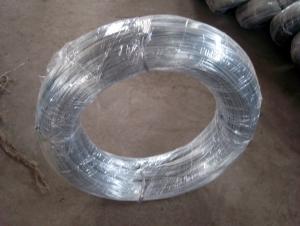
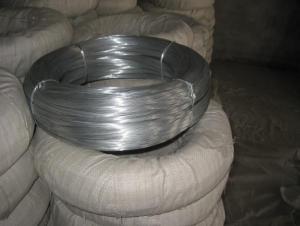
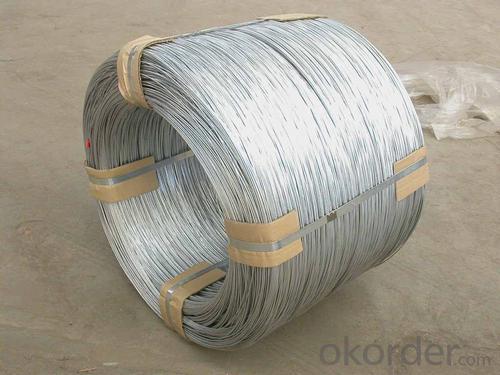
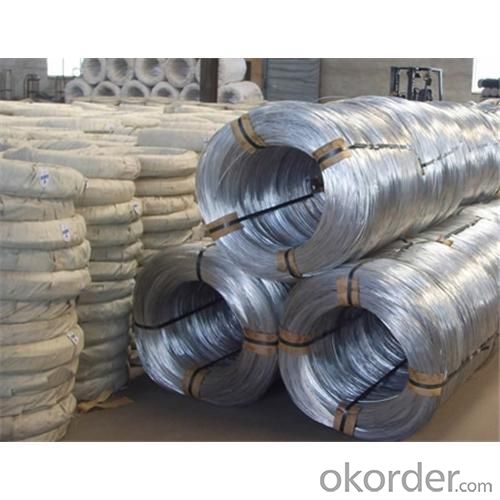
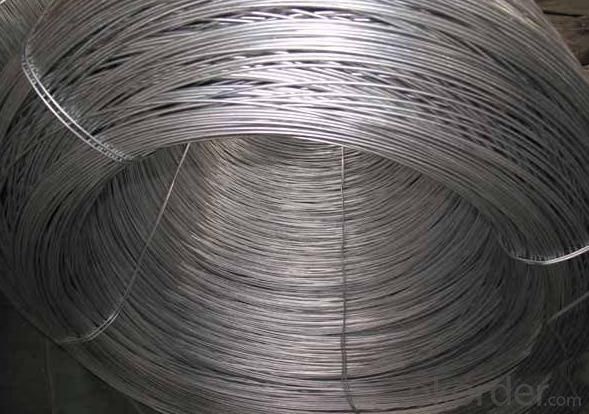
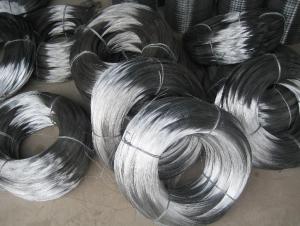
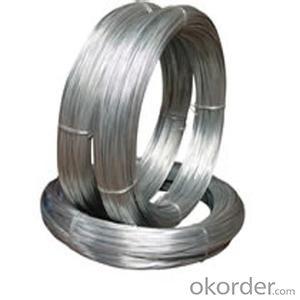
  • Type: Galvanized

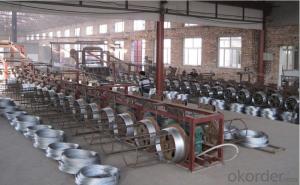
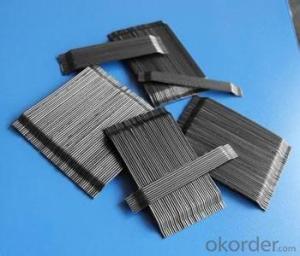
  • Application: Manufacturing

  • Alloy Or Not: Non-alloy

  • Special Use: Cold Heading Steel

  • Model Number:60#,65#,45#,50#,Q195,Q235

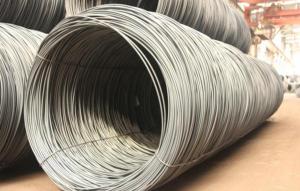
  • Zinc coating: Hot dip galvanized wire 30g/m2-820g/m2Size: Hot dip galvanized wire 0.15-8.0mm

  • Tensile Strength: Hot dip galvanized wire 355-560 N/mm2

  • Elongation: Hot dip galvanized wire ≥20%

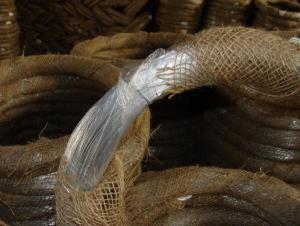
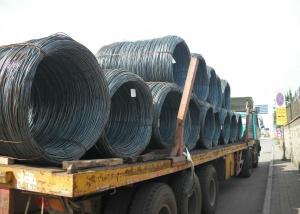
  • Package: Hot dip galvanized wire 20-1200kg/coil

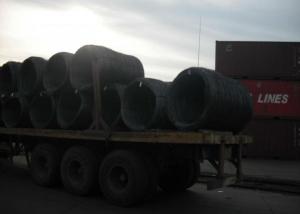
  • Departure port: Tianjin Port(Xingang Port)

  • Material: 60#,65#,45#,50#,Q195,Q235

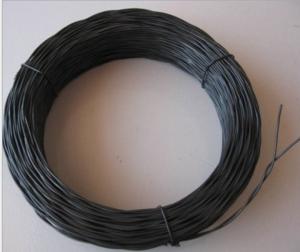
  • Packing: Coil. Spool. Reel. and so on

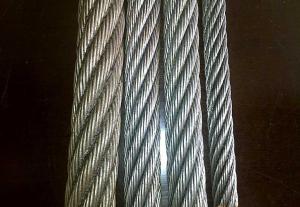
  • Galvanized way: Hot dip and ELC

  • Twist: Hot dip galvanized wire ≥20

Packaging & Delivery

Packaging Details:Coil. spool
Delivery Detail:After order 20days

Specifications

Hot dip galvanized steel wire
1)0.15mm-8.0mm
2)Low, middle,and high carbon wire
3)Zinc coating from 30g-820g/m2


Treat:hot dipped

Diameter mm

Tolerance mm

Weight of zinc coating(no less than) g/m²

Strength of extension Mpa

Rate of elongation LO=200mm(no less than)

Resistance coefficient Ωmm²/m(20°C)

1

2

1.5

+0.08

-0.04

150

230

355 ~ 540

12

Normal:ρ20≤0.132

With copper:

ρ20≤0.146

2.0

190

240

2.5

210

260

355 ~ 540

3.0

230

275

4.0

+0.10

-0.06

300

480

5.0

6.0

7.0
8.0


Q: just bought a brinks indoor motion sensor switch and having problems installing. the regular light switch has 2 black wires that was connected to one end and a red to the other. the white wires in the wall are already together. the motion sensor switch has black, blue, red wires and its ground wire. the instructions says not to use the red wire for single switch so confused on how to wire them.
There should not be a independent conductor on the change; or, are you checking this for the circuit on the panelboard? Or, do you propose you're analyzing 40 5 Volts between the ungrounded (warm) conductor and the change-leg? you ought to no longer get any modern analyzing from the change-leg whilst the change is opened. If there is modern modern, the change is undesirable. in case you have become a analyzing between the independent (the grounded conductor) and floor on the easy container, that must be the consequence of a multi-twine community, the place the independent is shared between 2 opposite circuits. The independent will carry any unbalanced load between the two circuits. because of fact of this you ought to by no potential assume the independent no longer wearing any modern circulate. attempt changing the change. purchase one that doesn't grant any lower back-stab connections, as they are additionally the source of many issues. If the priority extends previous that, my suggestion, as continuously, is to call a qualified, authorized electrician.
Q: I want to make wire art but I'm not sure what type of wire to use
They also sell rolls of other wire, click on metals in the top sequence, choose one then choose wire.
Q: I have a 1996 Cadillac Deville Sedan, and I bought a female wiring harness for it off of the internet. The Factory Wires doesn't include pink, but yet all the wiring codes say pink...the adapter I bought matches up to the Head Unit I want to replace the factory with, but when i put the battery back on and everything it doesn't turn on, I need to know how to wire this thing correctly, and if I bought the wrong adapter or not...Thank You.
Here is the original factory stereo dash wiring harness info this way you can use the new aftermarket wiring info and simply connect up the right ones to each other or at least figure out your problem. Car Radio Battery Constant 12v+ Wire: Orange Car Radio Accessory Switched 12v+ Wire: Yellow Car Radio Ground Wire: Black Car Radio Illumination Wire: Gray Car Stereo Dimmer Wire: Brown Car Stereo Antenna Trigger Wire: Pink Car Stereo Amp Trigger Wire: N/A Car Stereo Amplifier Location: N/A Car Audio Front Speakers Size: 5 1/4″ Speakers Car Audio Front Speakers Location: Doors Left Front Speaker Positive Wire (+): Tan Left Front Speaker Negative Wire (-): Gray Right Front Speaker Positive Wire (+): Light Green Right Front Speaker Negative Wire (-): Dark Green Car Audio Rear Speakers Size: 6″ x 9″ Speakers Car Audio Rear Speakers Location: Rear Deck Left Rear Speaker Positive Wire (+): Brown Left Rear Speaker Negative Wire (-): Yellow Right Rear Speaker Positive Wire (+): Dark Blue Right Rear Speaker Negative Wire (-): Light Blue Hope that helps and best of luck.
Q: The application is a bathroom light and exhaust fan combination. The fixtures wires are thiner than the supply wires. Should I wrap the thinner wire around the thicker wire or should I wrap them equally around each other? Then can I put a drop of solder on before I put the wire nut. Or is solder not a good idea?
First try twisting them together. Then put on the wire nut. Don't bother with solder since the wire nut makes a gas-tight permanent connection (but still could be removed if you want to make changes in the future).
Q: Steel wire or iron wire. spool of wire used mainly in the iron frame of the building foundation..
google for re bar
Q: How is commercial wiring differ from residental wiring in design,operation and etc?
For the best answers, search on this site https://shorturl.im/sbUNO electric tape is easier for the horse to see especially if you use a thick one so its safer but after time its hard to see breaks in the little wires that run through it so electric may not pass through as good or even short out. so wire is better in this respect if it breaks you can see it! i use tape for bottom and top, with wire running with the top tape to make sure the electric is getting round the field.
Q: I bought a bathroom vent fan today, the one that was in there hasnt worked since we bought the house. Anyways, i have a black wire, and a white wire coming from the light switch on the wall ran up to the ceiling where the fan is, and a black, white, and GREEN comin off the new fan i bought. Do i need to get in the attic and run a ground wire from outlet to fan? Or are the black and white good enough? The old fan didnt have a ground wire, just the other 2. Any info is greatly appreciated. Thanks
Green wire should be screwed into the inside of the receptacle box or pigtailed to the bare copper wire in the back of the box. If neither a bare wire or a green screw is present, call an electrician to run proper wiring to the box
Q: I attempted to change a bathroom fan to a new one with the help of a friend. He disconnected all the wiring without paying attention to what he was doing and what was wired where. We have a set of wires coming from somewhere (I presume the fuse box) to the fan that is hot regardless of the switch being on or off. That has a black, white and naked wire in it. Then we have another wire that comes from the switch that has black, white and naked as well. The fan has black, white and green. Can someone please tell me how to connect these as we have tried everything and the only thing that works is wired to the constant hot which of course won't allow us to turn the fan off with the switch...
Follow Eaglewatcher's instructions and not only will it work, but you will be in compliance with the National Electric Code. When ever a switch is fed with a black and white cable the white Must Be used as the Hot. And it Must Be Permanently Identified as such. Most of us use a sharpie or black tape to do this. NEC Article 200.7(C)(2) Good luck.
Q: I understand how to wire sprinkler valves in theory. But in practice, how is it done. For instance, starting at the last valves in the run, the common wire is attached, but in a 7-strand wire, you may only use 3 colored wires or so. What do you do with the unused wires? Just leave them dangling? Cap them off with a grease cap? Then, as you arrive at the next set of valves, do you cut the entire strand and splice, or just cut out the individual colored wires that you need to wire those valves?
As general practice (GP), phone company technicians wrap the extra wires around the end of the cable (both ends). This keeps them out of the way, yet they are there for later use, if necessary.
Q: I'm trying to install a ceiling fan and I'm looking for some help given my home's wiring. I have a single light switch in the room, and here's what's coming out of the ceiling: 2 white wires, 2 black wires and a ground wire. It seems like a set of white and black originate from the same location (in both cases). My celing fan with light has a remote connection, so there's one black, one white and one ground wire coming from my fan to connect to the ceiling. Can someone let me know how to hook it up so the fan and light both work? Thanks in advance.
if you have separated the wires from one another you have created a small problem which will require that you determine which pair are bringing the power in (line) You can buy a cheap 2-wire tester which us always a useful tool to have around. with the power on, carefully touch the the tester to one pair at a time (a black and white wire- don't let any of the wires touch each other, and the tester should light up. the other pair are running to the switch. note which pair is which. Have the switch extended out of the wall so that you can examine the wiring. Using wire nuts, ( the plastic screw-on caps) attach the hot black to the white wire of the non-hot pair and shove deep into the box out of your way...you are done with it.. that will deliver the power to the switch and now the black from the non-hot pair will bring it back to the fan becoming your new hot wire controlled now by the switch.. the switch should have the white wire and the black wire from the same pair attached to it..) the white wire from your remote receiver will attach to the white wire from ceiling box and the black and blue (light)wires from the receiver will connect with wire nuts to the newly established hot black. SWITCH AT WALL SHOULD NOW BE OFF. you can now continue the fan installation. Be mindful of the fact that the remote receiver slides into the space in the fan mounting bracket and there is very little room to get the receiver and all the connected wires in and under the canopy/cover. being as neat as posible with your wiring and wire placement is essential. good luck.

Send your message to us

This is not what you are looking for? Post Buying Request

Similar products

Hot products


Hot Searches