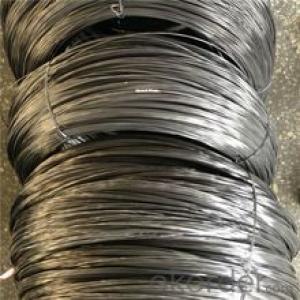
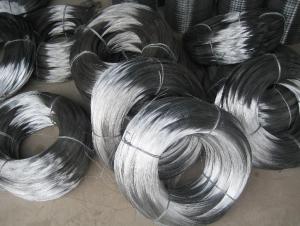
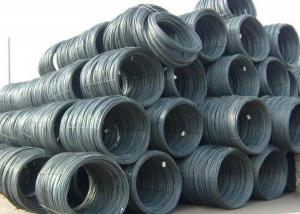
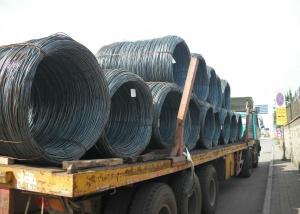
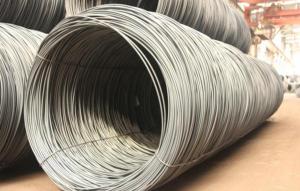
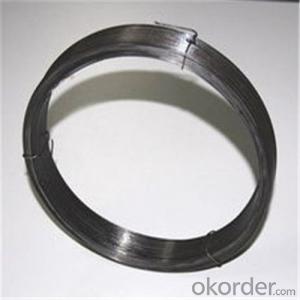
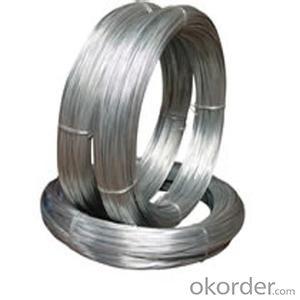
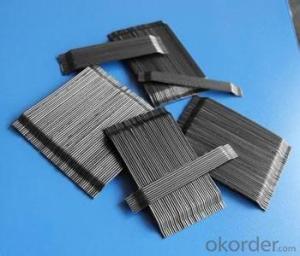
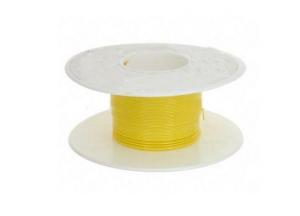
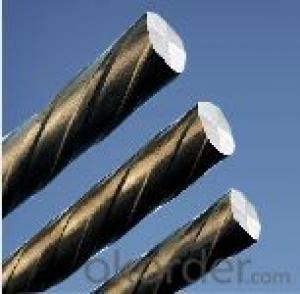
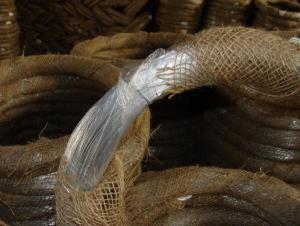
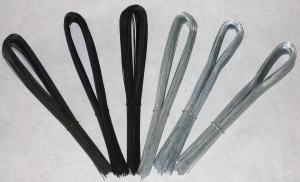
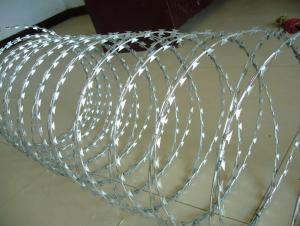
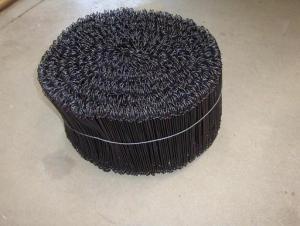
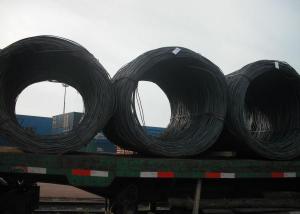
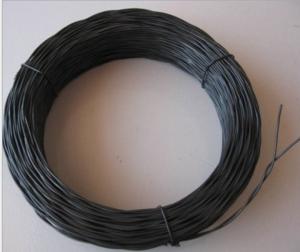
High Tensile steel wire
- Loading Port:
- China Main Port
- Payment Terms:
- TT OR LC
- Min Order Qty:
- -
- Supply Capability:
- 3000 m.t./month
OKorder Service Pledge
OKorder Financial Service
You Might Also Like
Quick Details
Steel Grade:45#,50#,60#,65#,70#,72A,72B
Standard:AISI, ASTM, BS, DIN, GB, JIS
Wire Gauge:0.40-4.0 mm
Place of Origin:Shandong, China (Mainland)
Type:Drawn Wire
Application:Manufacturing
Alloy Or Not:Non-alloy
Special Use:Cold Heading Steel
Model Number:steel wire
steel wire tensile strength:According to the customers' requirements.
steel wire torsion number:25 times and more
steel wire surface treatments:phosphating
Packaging & Delivery
| Packaging Details: | Coils Packing,Spools Packing or according to the customers'requirements. |
|---|---|
| Delivery Detail: | According to the customers' requirements. |
Specifications
High Carbon Steel Wire
Type:Drawn Wire
Wire Gauge:0.4-4.0mm
Steel Grade:45#,55#,60#,65#,70#
Standard:AISI,ASTM,BS,DIN,GB,JIS
High Carbon Steel Wire
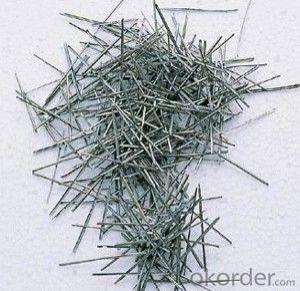
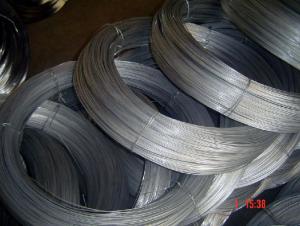
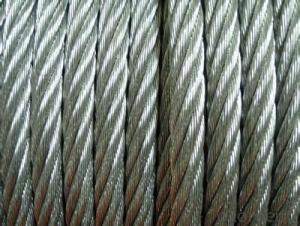
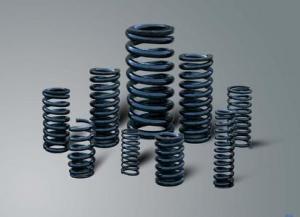
The steel wire we produce are high quality and widely used for making spring,rope,hose, spring mattress,etc.
High carbon spring steel wire specifications:
1.HS code:72171000
2.Material:45#,50#,55#,60#,65#,70#,72A,72B,80#
3.Diameter:0.40mm-4.00mm
4.Standard:AISI,ASTM,BS,DIN,GB,JIS
5.Packing: Coils packing, Spools packing or according to the customers' requirements.
6.Weight:According to the customers' requirements.
7.Delivery date: 15 days after received deposit or according to the customers' requirements.
8. 20"container:loading 20-25 Metric Tons.
9.Tensile strength of steel wire performance table
Tensile strength of steel wire | |||||
Wire Diameter(mm) | Tensile Strength(Mpa) | Wire Diameter (mm) | Tensile Strength(Mpa) | ||
Grade B | Grade C | Grade B | Grade C | ||
0.40 | 1910-2300 | 2250-2650 | 1.40 | 1620-1910 | 1860-2210 |
0.45 | 1860-2260 | 2200-2600 | 1.60 | 1570-1860 | 1810-2160 |
0.50 | 1860-2260 | 2200-2600 | 1.80 | 1520-1810 | 1760-2110 |
0.55 | 1810-2210 | 2200-2550 | 2.00 | 1470-1760 | 1710-2010 |
0.60 | 1760-2160 | 2110-2500 | 2.20 | 1420-1710 | 1660-1960 |
0.65 | 1760-2160 | 2110-2500 | 2.80 | 1370-1670 | 1620-1910 |
0.70 | 1710-2110 | 2060-2450 | 3.00 | 1370-1670 | 1570-1860 |
0.80 | 1710-2060 | 2010-2400 | 3.20 | 1320-1620 | 1570-1810 |
0.90 | 1710-2060 | 2010-2350 | 4.00 | 1320-1620 | 1520-1760 |
1.00 | 1660-2010 | 1960-2300 |
|
|
|
1.20 | 1620-1960 | 1910-2250 |
|
|
|
- Q: I've had my subs wired up for a while but want to see if there is a more efficient way to do it. Hardware: Sony Xplod 800w amp bridgeable amp - What's the best way to wire these up to get the most volume?
- wire the voice coils to series on each sub and then wire the subs in parallel to the amp and voila.
- Q: Someone Stole my stock radio out of my car (They cut it out) Now All i have in the is wires and I cannot afford to go get a new one installed.Here are the wires that are in my car
- what you need to do is buy the book for your car at autozone. and look at the radio wiring diagram. i had a similiar porblem but with the book it shall tell you were to hook the wires
- Q: I recently got a new dishwasher. My hubby and I are in the middle of installing, and are to the point of hooking it back up to the electricity. The cord that we have has 2 black wires, one is smooth the other ribbed, then on the dishwasher, we have a black, white, and green(ground). Which wires do I hook up to which?(cord) black smooth black ribbed (dishwasher)blackwhitegreen(ground)
- DONT HOOK IT BACK UP The cord you have is the wrong cord It is missing the ground and it sounds like it is the wrong size wire Sounds like you have a lampcord Where does the cord come from ? A box in the wall? From the floor?
- Q: I want to install an LED and I need to splice into a wire.How exactly do you connect a new wire to an old wire? Do I cut it? Then what? Solder?
- They make a part which wraps around the old wire clamps together with a connection for the new wire you want to add. See an auto part store.
- Q: The wire from the cicuit breaker
- Dryer is 220V and usually 30 amperes. Go with 10 gauge or larger (smaller number).
- Q: Can anyone give me some info or a website with info on which type of wire carries sound waves best?
- Wire does not carry soundwaves, at least not unless the ends of the wire have tin cans on them, and the wire is pulled taut between them! Wires can carry electrical signals which can be used to reproduce the sounds that caused them. This is how sound comes from such as your stereo system's speakers. Maybe that's what you actually mean? If so, copper wires (insulated, of course) are what you want, and if the distance you run the wires is great, the heavier the wire (gauge) the better. If you are transmitting high power to speakers, the wires have to be capable of handling the electrical current involved.
- Q: need color of sig wire on maf and witch wire is sig on 02 sensore
- Right!!!!! As if they're all the same. Did you want us to guess the year, make, model, and engine too?
- Q: I noticed when looking at the wiring sticking out of the end of one of my laptop power cables (the end that enters the battery), that of the green, grey and pink cables there, the green one had snapped. However, my laptop power still works fine, so what does that green wire do exactly?? Is it dangerous to use it even with that wire snapped?
- Power requires two wires, but a third wire called a ground wire is sometimes added. Usually the plug that goes into the wall has two or three prongs. If it has two prongs, no ground wire added. If it has three prongs, the ground wire is added. The ground is usually used when metal frames or cases are used. The purpose is to ground or short out the live (hot) wire should it accidentally come into contact with the metal frame, causing the circuit breaker to trip. If the ground wire was not there, it would allow a person to get shocked should they touch the metal frame.
- Q: I have an old house with old wiring. I have no colors to go by.
- By electrical code (not sure how old this code is, but I think very old) if there are 2 wires for a circuit the one with any type of marking is the neutral or negative wire. For instance, it is common for a cord to have 1 smooth wire and 1 ribbed wire (there are raised grooves that go the length of the wire), the ribbed wire is the neutral. Or in outlets the larger plug hole is the neutral. Testing the continuity to ground is the best method, but make sure to turn the breaker off before you test it, as you might break your meter if you test continuity of a hot circuit.
- Q: During a lab experiment, a straight piece of copper wire is connected across the terminals of an AC generator and the current through the wire was measured. If the wire is removed and a part of it is tightly wound into a loop of many coils and the wire is then reconnected to the generator, will the measured current through the wire be greater, lesser, or the same as it was before the wire was coiled? Explain your answer.
- bypass to the factors save and get a Chilton's! That way you're becoming photos appropriate in front of you to adventure up your application. They value approximately $15! the remarkable $15 you will ever spend. appropriate now you will have all your wires back on and not dropping time top right here with idiots which will greater suitable valuable than probable supply you the incorrect answer as nicely!
Send your message to us
High Tensile steel wire
- Loading Port:
- China Main Port
- Payment Terms:
- TT OR LC
- Min Order Qty:
- -
- Supply Capability:
- 3000 m.t./month
OKorder Service Pledge
OKorder Financial Service
Similar products
Hot products
Hot Searches
