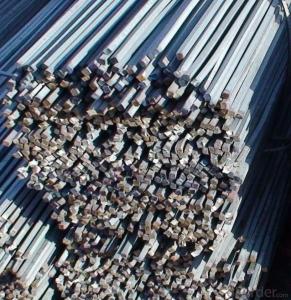
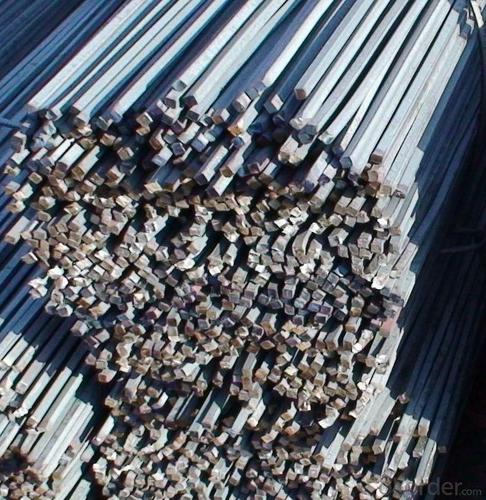
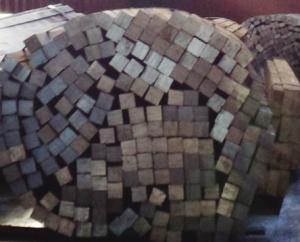
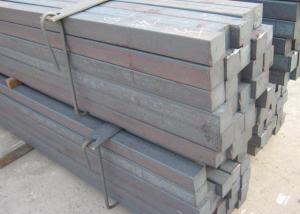
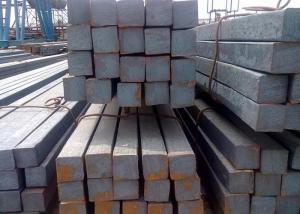
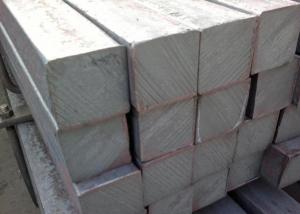
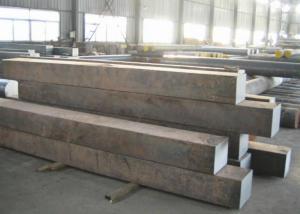
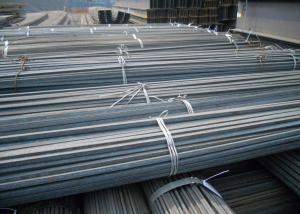
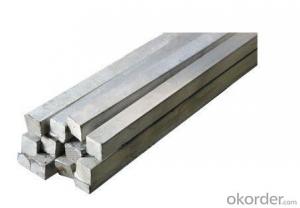
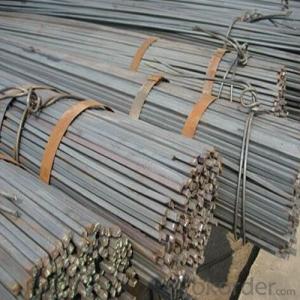
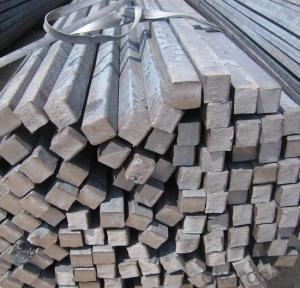
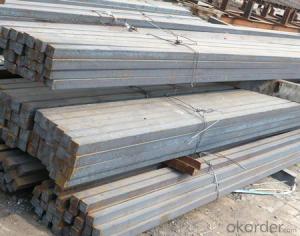
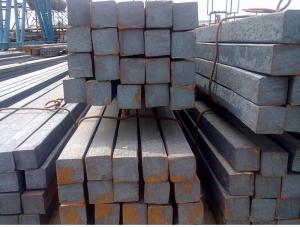
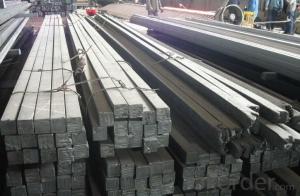
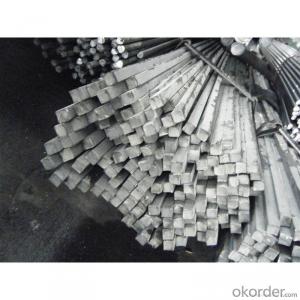
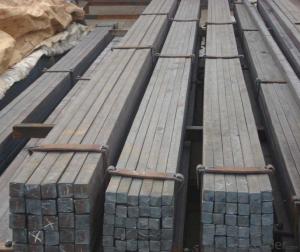
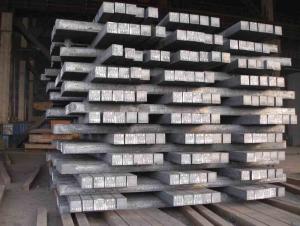
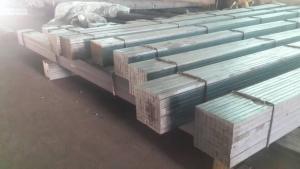
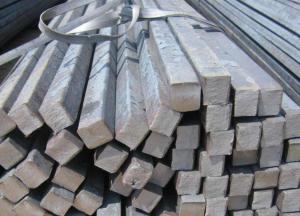
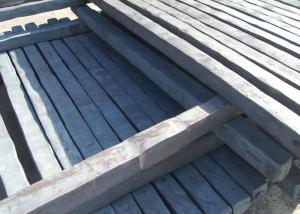
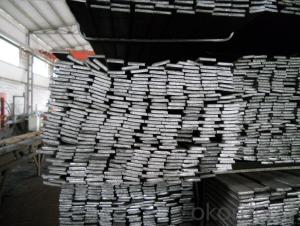
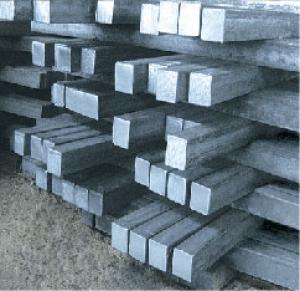
High Quality GB Standard Steel Square Bar 11mm-15mm
- Loading Port:
- Tianjin
- Payment Terms:
- TT OR LC
- Min Order Qty:
- 25 m.t
- Supply Capability:
- 10000 m.t/month
OKorder Service Pledge
OKorder Financial Service
You Might Also Like
Product Description:
-Standard: GB,
-Grade: Q195 or equivalent.
-Chemical Composition:
Standard | Grade | Element (%) | ||||
GB | Q195 | C | Mn | S | P | Si |
0.06~0.12 | 0.25~0.50 | ≤0.050 | ≤0.045 | ≤0.30 | ||
Measures of HR Square Bar (small measures):
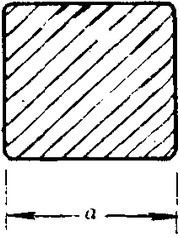
(Section of HR Square Bar)
-Length of a side and Theoretical weight of Square Bar.
Length of a side(mm) | Theoretical weight(kg/m) | Length of a side(mm) | Theoretical weight(kg/m) |
7 | 0.385 | 22 | 3.80 |
8 | 0.502 | 24 | 4.52 |
9 | 0.636 | 25 | 4.91 |
10 | 0.785 | 26 | 5.30 |
11 | 0.950 | 28 | 6.15 |
12 | 1.13 | 30 | 7.06 |
13 | 1.33 | 32 | 8.04 |
14 | 1.54 | 34 | 9.07 |
15 | 1.77 | 36 | 10.17 |
16 | 2.01 | 38 | 11.24 |
17 | 2.27 | 40 | 12.56 |
18 | 2.54 | 42 | 13.85 |
19 | 2.82 | 45 | 15.90 |
20 | 3.14 | 48 | 18.09 |
21 | 3.46 | 50 | 19.63 |
Notes:
1, The theoretical weights in the list, base on the density of 7.85 g/cm3.
2, Formula for theoretical weight of Square bar: (length of a side)2 * 0.00785
3, The numbers with *mean that they are not regular or we don’t offer them.
-Regular length of Square Bar:
Steel | Length of a side (mm) | Length of steel (m) |
Normal steel | < 25 | 4~10 |
> 25 | 3~9 | |
Steel of high quality | All measure | 2~6 |
Tool steel >75 | 1~6 |
Usage/Applications of HR Square Bar:
-The Square Bar is normally used as structure steel.
-Row material for other structure steel like steel angles, channels, I-beams, H-beams, etc…
Packaging & Delivery of HR Square Bar:
-Packing Detail: The products can be packed in bundles by steel wires.
-Marks: We make tag marks and color marks. The tag marks with white background and red company logo will be tied up to each bundle of the products. The information is usually including basic information of products and company and other information requested by customers. As for color marks, we will paint both ends of bundles to make sure that it will be more convenient for customers to distinguish them from other products.
-Delivery Detail: 30~45 working days after receive buyer’s T.T. or L/C.
Transportation:
-The products can be delivered by bulk vessel or by container. As for container, products with the length of 6m will be loaded in 20’ container, with 9m or 12m, in 40’ container.
-The maximum quantity of loading of container is 25 tons.
-The products are usually transported to the nearest port from the production place.
- Q: How do you use a steel square to find the square footage of a patio?
- To use a steel square to find the square footage of a patio, you need to follow a few steps. First, ensure that the steel square is clean and free from any debris. Next, measure one side of the patio using the long edge of the steel square. Place the steel square against the edge of the patio, aligning the long edge with the side you want to measure. Hold the square firmly in place and make sure it is flush against the edge. Once the square is properly aligned, take note of the measurement indicated on the steel square's short edge. This measurement represents the length of one side of the patio. Repeat the process for the remaining sides of the patio, measuring each side with the steel square. Take note of the measurements for each side. To find the square footage, multiply the length of one side by the length of the adjacent side. For example, if one side measures 10 feet and the adjacent side measures 12 feet, multiply 10 by 12 to get 120 square feet. If the patio has irregular shapes or curves, you can still use the steel square to measure the square footage. Break the patio into smaller sections with straight edges and measure each section individually. Then, add up all the individual measurements to get the total square footage of the patio. Remember to account for any openings or obstacles in your calculations, as you may need to subtract their square footage from the total area. Using a steel square to find the square footage of a patio ensures accuracy and precision in your measurements, helping you determine the right amount of materials needed for your project.
- Q: Can a steel square be used for checking the levelness of bookshelves?
- No, a steel square is not suitable for checking the levelness of bookshelves. It is primarily used for measuring angles and ensuring squareness in woodworking and construction projects. For checking the levelness of bookshelves, a level tool should be used instead.
- Q: Can a steel square be used for checking the levelness of a miter saw base?
- Indeed, the levelness of a miter saw base can be assessed using a steel square. This tool proves highly useful in verifying the accuracy and levelness of diverse surfaces, such as the base of a miter saw. By simply positioning the steel square against the miter saw base surface, it becomes effortless to determine its levelness. In the event that the saw base is not level, necessary adjustments can be executed to ensure the execution of precise and accurate cuts. Nevertheless, it is crucial to bear in mind that although a steel square can offer a rough approximation of the levelness, it may not match the precision achieved with a precision-leveling tool.
- Q: Can a steel square be used for crown molding installation?
- Yes, a steel square can be used for crown molding installation. A steel square is a versatile and accurate tool that can be used for various carpentry tasks, including crown molding installation. It can be used to mark and measure angles, ensuring precise cuts and a proper fit for crown molding pieces. However, it is important to note that using a steel square for crown molding installation may require some additional calculations and adjustments due to the complex nature of crown molding angles. It is advisable to consult a professional or refer to a comprehensive guide for accurate measurements and cutting techniques specific to crown molding installation.
- Q: Can a steel square be used for measuring and marking compound miter cuts?
- Indeed, compound miter cuts can be measured and marked using a steel square. The steel square, which is also referred to as a framing square or carpenter's square, is a versatile instrument that can undertake various measurement and marking tasks in woodworking. Although it is not exclusively engineered for measuring and marking compound miter cuts, it can still be effectively employed for this purpose. To employ a steel square for measuring compound miter cuts, one must comprehend the angles and calculations involved in creating such cuts. Compound miter cuts necessitate both a miter angle and a bevel angle, which can be determined based on the desired final shape of the workpiece. After determining the appropriate angles, one can utilize the steel square to mark these angles on the material being worked on. The extended edge of the steel square can be aligned with the material's edge, while the desired angles can be marked using a pencil or a scribe along the shorter edges of the square. By meticulously aligning the steel square and accurately marking the angles, precise and consistent compound miter cuts can be achieved. Nevertheless, it is important to note that specialized tools are available specifically designed for measuring and marking compound miter cuts, such as compound miter saws or digital angle finders. These tools can deliver more precise and efficient results, particularly for intricate or complex projects. Therefore, although a steel square can be utilized for measuring and marking compound miter cuts, employing dedicated tools may be a preferable choice in certain situations.
- Q: How do you use a steel square for marking and cutting dovetail joints?
- To use a steel square for marking and cutting dovetail joints, first, align the square's long edge against the end of the board to be marked. Then, use the square's shorter edge to mark the desired angle for the dovetail joint on the board's end grain. Next, use a marking knife or pencil to trace along the square's edge, creating precise guidelines for cutting. Finally, use a saw or chisel to cut along the marked lines, following the angles indicated by the steel square, ensuring a clean and accurate dovetail joint.
- Q: What are some common techniques for using a steel square in furniture repair?
- When it comes to furniture repair, the steel square stands out as a tool that is both versatile and indispensable. Let's explore some commonly employed techniques for utilizing a steel square in furniture repair: 1. Squareness verification: A primary function of the steel square in furniture repair is to ascertain the squareness of corners and joints. By placing the square against the corner or joint, one can determine if it is precisely 90 degrees or if adjustments are required. 2. Angle and line marking: Steel squares often come with markings of various measurements and angles on their surface. These markings serve to accurately mark angles or lines on the furniture piece being repaired. This proves particularly useful when cutting or aligning wood or other materials. 3. Measurement and dimension transfer: Steel squares typically possess a ruler edge that facilitates measuring and transferring dimensions. By aligning the square's ruler edge with the desired measurement, one can accurately mark or transfer the dimensions onto the furniture piece. 4. Flatness checking: In furniture repair, it is crucial to ensure that surfaces are flat and level. A steel square can be deployed to check for flatness by placing it against the surface and observing if any gaps or inconsistencies are present. 5. Assembly alignment: When assembling furniture pieces, a steel square can be used to ensure proper alignment of all components. By placing the square against the assembled parts, one can verify that everything is square and make any necessary adjustments. 6. Center point determination and marking: Steel squares often feature a notch in the center of one edge, which aids in determining the center point of a furniture piece. This proves particularly helpful when marking the center for tasks such as drilling holes. All in all, the steel square emerges as an essential tool in furniture repair, offering accuracy, precision, and versatility. By employing these common techniques, one can guarantee that furniture repairs are executed with the utmost care and professionalism.
- Q: How do you use a steel square to measure and mark irregular angles?
- To use a steel square to measure and mark irregular angles, you need to follow a few steps. First, position the steel square against the angle you want to measure, making sure one edge of the square aligns with one side of the angle. Next, tighten the square against the angle by holding it firmly in place. Once the square is secure, look at the markings on the square's body. These markings typically include degrees or angles, allowing you to accurately measure the angle you are working with. Align the appropriate marking on the square with the other side of the angle, and take note of the measurement. To mark the irregular angle, you can use a pencil or a scribe tool. Hold the square against the angle, aligning the desired measurement with the other side of the angle. With the square in place, use the pencil or scribe tool to mark the angle on the material you are working with. Be sure to hold the square steady while marking to ensure accuracy. If the angle you are working with is particularly complex or irregular, you may need to use additional tools or techniques to accurately measure and mark it. In such cases, consulting a professional or referring to specific resources for measuring irregular angles can be helpful.
- Q: Can a steel square be used for checking the squareness of a door frame?
- Yes, a steel square can be used for checking the squareness of a door frame. A steel square, also known as a framing square or carpenter's square, is a versatile tool commonly used in construction and woodworking. It has a 90-degree angle and is designed to help determine if something is square or perpendicular. To check the squareness of a door frame using a steel square, you would place one arm of the square flush against the inside edge of the door frame and the other arm against the inside edge of the adjacent wall. By visually inspecting the alignment of the square with the frame and wall, you can determine if the frame is square or if any adjustments need to be made. However, it is important to note that while a steel square can provide a good initial indication of squareness, it may not be as precise as some other specialized tools such as a laser level or a framing square. Additionally, it is essential to consider the overall stability of the door frame, as it may require additional checks and adjustment to ensure proper installation.
- Q: Can a steel square be used for marking out mortise and tenon joints?
- Yes, a steel square can be used for marking out mortise and tenon joints. Steel squares are commonly used in woodworking for accurate and precise measurements, making them suitable for marking out the necessary dimensions and angles required for mortise and tenon joints.
Send your message to us
High Quality GB Standard Steel Square Bar 11mm-15mm
- Loading Port:
- Tianjin
- Payment Terms:
- TT OR LC
- Min Order Qty:
- 25 m.t
- Supply Capability:
- 10000 m.t/month
OKorder Service Pledge
OKorder Financial Service
Similar products
Hot products
Hot Searches
Related keywords
