


Galvanized Hexagonal Wire Mesh Panel
- Ref Price:
-

- Loading Port:
- China Main Port
- Payment Terms:
- TT OR LC
- Min Order Qty:
- -
- Supply Capability:
- -
OKorder Service Pledge
OKorder Financial Service
You Might Also Like
Quick Details
| Place of Origin: | Wire Gauge: | Model Number: | |||
| Type: | Application: | Hole Shape: | |||
| Aperture: | Material: |
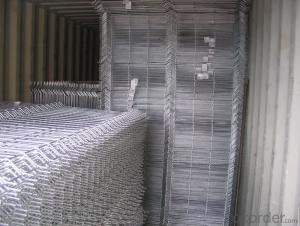
Packaging & Delivery
| Packaging Detail: | 1.With plastic weaving bags outside 2.With wooden pallet cloth 3.According to customer's request |
| Delivery Detail: | 30 days after receive the deposit |
Specifications
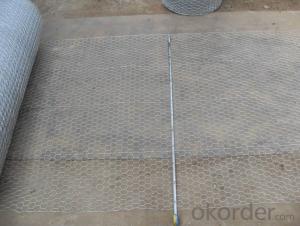
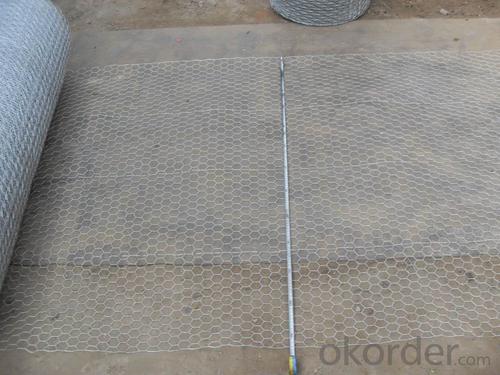
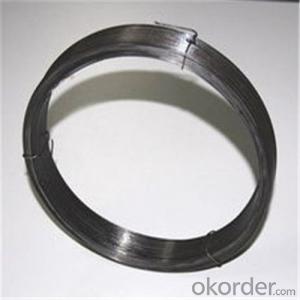
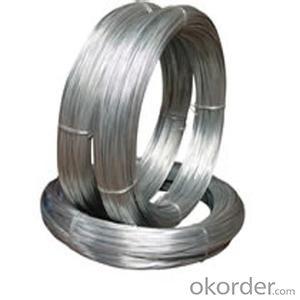
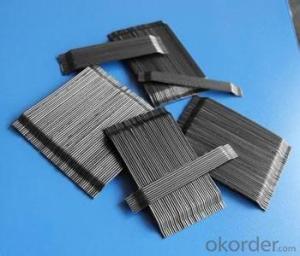
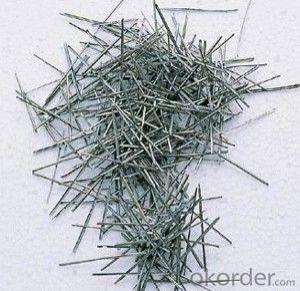
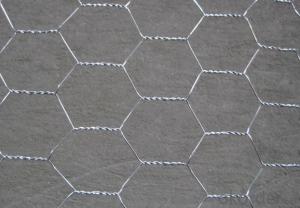
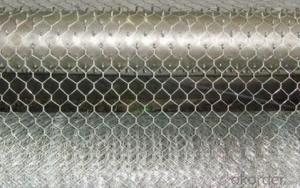
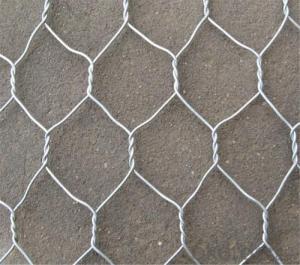
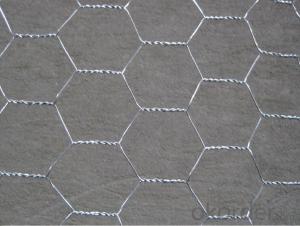
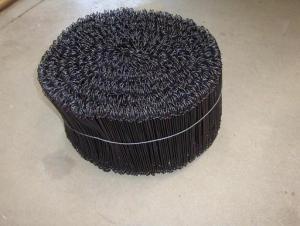
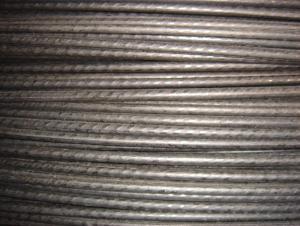
hexagonal wire mesh
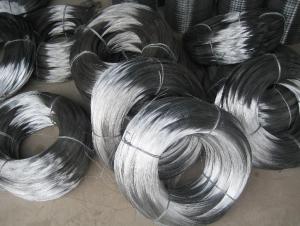
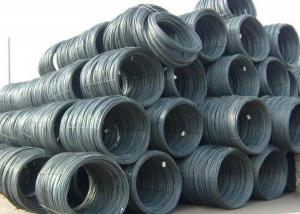
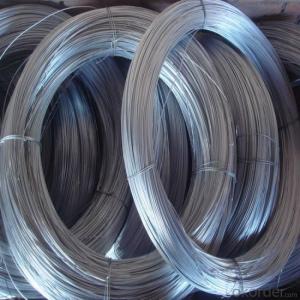
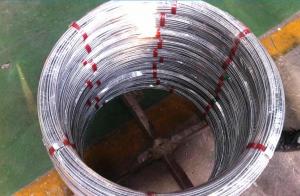
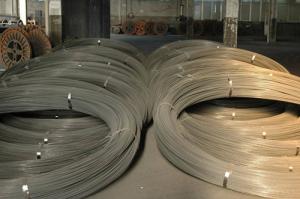
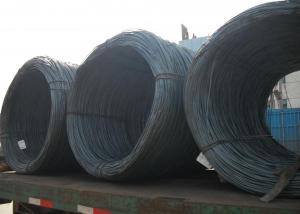
1>material: galvanized or plastic-coated wire
2>Mesh: 3/8" -4"
3>hole shape:hexagon
4>Length: 5-30m
Hexagonal wire mesh
Hexagonal wire mesh is also known by the name of chicken mesh.
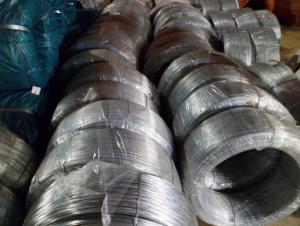
Wire materials: Hexagonal wire mesh is manufactured in galvanized iron or PVC coated wire.
Application: Hexagonal wire mesh with its good corrosion resistance and oxidation resistance, serves well as strengthening, protection and temperature keeping materials in the form of mesh container, stone cage, isolation wall, boiler cover or poultry fence in construction, chemical, breeding, garden and food processing industries.
Hex netting welded mesh(Galvanized before wearing) | ||||||
Spacing(mm) | Dia | Width(mm) | Length | |||
41 | 1.40mm | 450/600/1066 | 50m | |||
31 | 18g/19g | 900/1050/1200 | 50m | |||
50 | 18g/19g | 900/1050/1200 | 50m | |||
Hex netting welded mesh(Galvanized after wearing) | ||||||
Spacing (mm) | Diameter | Width (mm) | Length | |||
13 | 0.7mm/0.9mm/1.0mm | 900/2000 | 5m/10m/50m | |||
13 | 18g/19g/20g/22g/23g | 600/900/1200/1800 | 5m/10m/25m/50m | |||
19 | 0.7mm/0.9mm/1.0mm | 900/2000 | 5m/10m/50m | |||
25 | 0.7mm/0.9mm/1.0mm | 900/2000 | 5m/10m/50m | |||
25 | 18g/19g/20g/22g/23g | 600/900/1200/1800 | 5m/10m/25m/50m | |||
31 | 18g/19g/20g/22g/23g | 600/900/1200/1800 | 5m/10m/25m/50m | |||
50 | 0.7mm/0.9mm/1.0mm | 900/2000 | 5m/10m/50m | |||
50 | 18g/19g/20g/22g/23g | 600/900/1200/1800 | 5m/10m/25m/50m | |||
75 | 0.7mm/0.9mm/1.0mm | 900/2000 | 5m/10m/50m | |||
- Q: Should I just buy normal speaker wire for wiring my subs together inside my box?? With positive and negative and then pull the wire apart and use only 1 of the wires? Also is 10 gauge good for this if my subs are 600 RMS a piece and my amp is 1180 birthsheet RMS...2 Kicker L5 12sAlpine PDX-1.1000
- well speaker wire inside the box i never would wire them together but 10 gauge sounds ok but just buy an amp wireing kit and it will give you proper wires just to be safe make sure all your wires can handel the power other wise it will burn the wires up yes you should pull the apart cause it wont sound right i usaly do is like the wires i buy have a white stripe on them i use that 1 as a ground wire so i know whic 1 is what
- Q: I recently re-wired my house with 4 wire telephone wire. They all meet in the attic. How do I wire them together and is there some kind of junction plate I can use? Additionally, I did also wire my house with Cat6 wire, but would like to keep it strictly for Internet.
- (links just for reference, from search engine results)
- Q: do speakers function better with thick or thin wires??
- well thicker wire is best especially if you have amps and subs, you can go to walmart, autozone or advanced autoparts and buy speaker wire, you can buy a roll of it, it'll say speaker wire on the roll, but stock speaker like 6 1/2 or 6x9s only need the thinner wire but you'll need the thicker speaker wire for subs and amps
- Q: where does the expression 'down to the wire', come from?
- I found this online: The wire is used in a four-legged footrace-- at least I've only ever heard the word tape used for races involving bipeds. That and ribbon. The wire in question is an actual wire, and it's used in the Sport of Kings, horseracing. A tape or ribbon would be too stretchy to instantaneously trip the shutter on the finishing-line camera when it was crossed. A horse has no problem busting through a single strand of wire.
- Q: The drawing shows two long, straight wires that are suspended from the ceiling. The mass per unit of length of each wire is 0.050kg/m. Each of the four strings suspending the wires has a length of 1.2m. When the wires carry identical currents in opposite directions, the angel between the strings holding the two wires is 15 degrees. What is the current in each wire?? Im not sure what equations to use for this problem.
- Look at it this way a current I2 causes a magnetic field. if a current I1 is in a magnetic field then a force acts on it. F=I1*B*dl where B=I2*(mu0)/(2*pi*d) So the force between those two wires is given by this equation F=I1*I2*(mu0)*dl/(2*pi*d) mu0=4*pi*10power7 d the distance between them In this case I1=I2 dl which shows the lenght of the wire in the magnetic field equals 1 because you do not care about it's lenght from here on it is rather simple I hope
- Q: thats how my after market stereo is hooked up..i just got a system and was wondering if i join the remote wire to the accessory would it be ok? even if the accessory is already joined with the illumination
- You need to first disconnect the accesory wire on the aftermarket radio from the illumination wire from the car harness if you are using hose connection to turn on the radio. You need to connect the accesory wire from the aftermarket radio to the accesory wire from the car radio harness, if you are using a wire harness then it would be the red wire and if the factory radio harness is cut then u'll need a test light to locate the accesory wire. On the aftermarket radio harness/plug locate the blue/white wire that's where u will need to connect the remote wire to, in order to turn your amp on and off. Don't connect the remote wire to the illumination wire from the car, or the radio harness.
- Q: How can you make the fabric with silk fabric wrinkle free after washing?
- Hello, in order to prevent wrinkles after washing clothes, you should add the final rinse, softening agent, softening agent loss supplement when washing, in order to maintain the soft feeling, reduce wrinkles.
- Q: Wiring together 200 + different colored LEDs. Voltage per LED ranges from 2.5 - 3.6. What is the best way to go about wiring them together and what type of power source should i use?
- how the hell should i know?
- Q: I have an old sewing machine without a plug that needs wiring up but it doesn't have the modern wire colours. There's one red wire and one yellow. Does anyone know how to do this?Thanks =]
- It would be better for you to post a picture of your wires and where they are going to on the machine so that we can tell you what is what. Otherwise it would be difficult to say just by telling us one is red and one is yellow. No offense intended, there's just not enough information with just knowing the wire colors. ------------------------ WARNING! Red is NEVER used to indicate a earth connection as XOXO suggests! Damage to your machine or harm to you could result if you attempted to connect red to earth. ------------------------ OK, I see your picture (thanks): Yellow is most likely the common wire. It connects to your white wire. The red wire connects to the Hot (black) wire. If you have a switch in the system, the red wire would connect to your switch or foot (gas peddle). And of course the other side of your switch would be connected to your black wire of the power cord.
- Q: i bought a programable thermostat that says it needs a c wire to be able to use the remote...i dont have one of these wires on my old thermastat but im kinda understanding the c wire was just to power a clock on certan thermostats is there a way to rig a c wire to power what i need???
- The C is the 24 volt common. You will need an extra wire in the bundle from the stat to the furnace. You should have a C terminal in the furnace on the terminal strip. Look on the circuit board on the furnace low voltage board. If you have the extra wire, hook it up on both ends.
Send your message to us
Galvanized Hexagonal Wire Mesh Panel
- Ref Price:
-
- Loading Port:
- China Main Port
- Payment Terms:
- TT OR LC
- Min Order Qty:
- -
- Supply Capability:
- -
OKorder Service Pledge
OKorder Financial Service
Similar products
Hot products
Hot Searches
Related keywords

