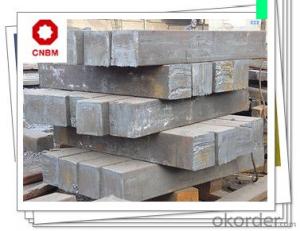


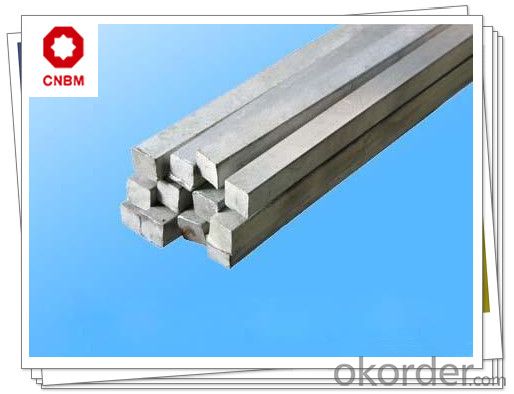
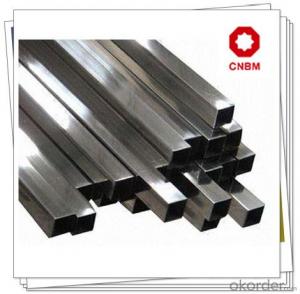
Carbon Structural Steel Square Bars S10C
- Ref Price:
-

- Loading Port:
- Shanghai
- Payment Terms:
- TT OR LC
- Min Order Qty:
- 400 m.t
- Supply Capability:
- 80000 m.t/month
OKorder Service Pledge
Quality Product, Order Online Tracking, Timely Delivery
OKorder Financial Service
Credit Rating, Credit Services, Credit Purchasing
You Might Also Like


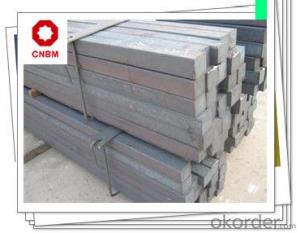
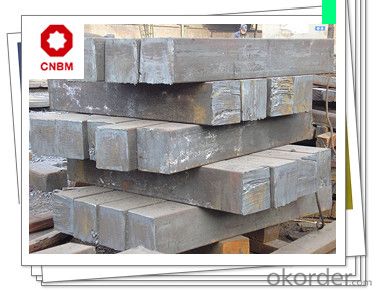
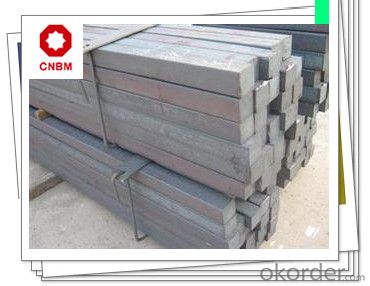
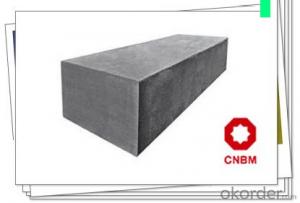
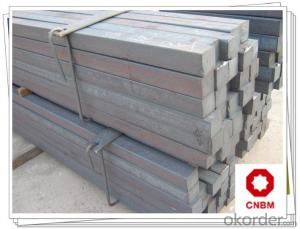
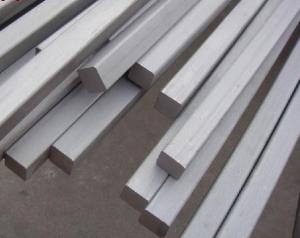
Carbon Structural Steel Square Bars S10C Specification 1, Size: 120*120mm; 130*130mm; 150*150mm; 160*160mm; 200*200mm 2, Length: Max 12m 3, Heat Treatment: Normalizing, Annealing, Tempering, Quenching 4, Surface Treatment: Black, Polished, Galvanized Chemical Composition % Mechanical Properties Strength of Extension Reduction of Area Products Show C Si Mn P S Cr Ni Cu 0.08-0.13 0.15-0.35 0.30-0.60 ≤0.030 ≤0.030 ≤0.20 ≤0.25 ≤0.25 Yield Strength Elogation Hardness ≥335(34) Mpa ≥205(21) Mpa ≥31% ≥55% ≤137HB


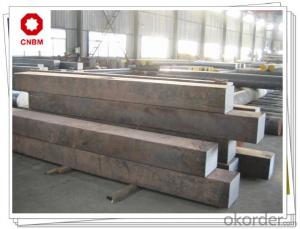
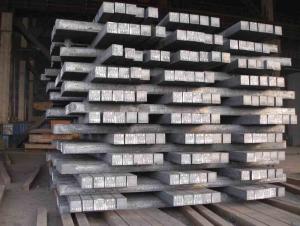
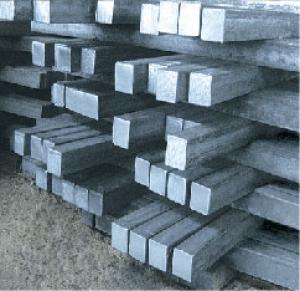
Work Shop

About Us


- Q: How do you use a steel square to measure and mark 202.5-degree angles?
- To use a steel square to measure and mark a 202.5-degree angle, you will need to follow a few steps. First, ensure that your steel square is accurate and in good condition. Place one arm of the square against the edge of the material or surface you want to mark. Next, locate the degree scale on the steel square. This scale is usually located on the longer arm of the square and is marked with various angles. Find the 0-degree mark on the scale and align it with the arm of the square against your material. Then, move your eyes along the scale until you reach the 202.5-degree mark. This may be indicated by a small tick mark or a number, depending on the type of steel square you have. Once you have found the 202.5-degree mark, hold the square firmly in place and use a pencil or marking tool to make a small mark on your material. This mark indicates the desired angle of 202.5 degrees. You can then use a straightedge or ruler to connect this mark with other reference points or lines as needed. Remember to always double-check the accuracy of your measurements and markings before proceeding with any cutting or other actions.
- Q: How do you use a steel square to determine the angle of a chamfer cut?
- To use a steel square to determine the angle of a chamfer cut, you need to follow the following steps: 1. Place the steel square against the edge of the material you want to chamfer, ensuring that one arm of the square is aligned with the surface you want to chamfer. 2. Hold the square firmly in place, making sure it doesn't move. 3. Use a pencil or a scribe to mark a line along the other arm of the square onto the surface of the material. 4. Measure the length of the line you just marked using a ruler or a tape measure. 5. Next, measure the thickness of the material you want to chamfer using a ruler or calipers. 6. Divide the length of the line by the thickness of the material. This will give you the tangent of the angle. 7. Use a calculator or consult a trigonometry table to find the angle whose tangent matches the value you calculated. 8. Once you have determined the angle, you can set your saw, router, or other cutting tool to that angle and proceed with making the chamfer cut. Remember to always double-check your measurements and calculations to ensure accuracy before making any cuts.
- Q: How do you use a steel square to determine the angle of a profile cut?
- To use a steel square to determine the angle of a profile cut, you will need to follow a few steps. First, ensure that your steel square is clean and free from any debris or rust. Next, place the steel square against the side of the material you wish to cut at a right angle, making sure that it is flush and snugly fits against the surface. Once the steel square is properly positioned, observe the markings on the square. Most steel squares have markings that indicate angles, typically ranging from 0 to 90 degrees. These markings can be found on both the blade and the tongue of the square. To determine the angle of the profile cut, locate the marking on the blade that aligns with the edge of the material. This marking will indicate the angle at which the cut needs to be made. If the marking on the blade does not align exactly, you can estimate the angle by looking at the nearest marking and measuring the difference. Once you have determined the angle, you can transfer it to your cutting tool or machine to make the profile cut accurately. It is important to note that the accuracy of the angle measurement depends on the precision and calibration of your steel square, so ensure that it is in good condition before using it for such measurements. Using a steel square to determine the angle of a profile cut is a simple and effective method, especially when working with materials that require precise and accurate cuts.
- Q: Can a steel square be used for checking the squareness of a band saw table?
- Yes, a steel square can be used for checking the squareness of a band saw table. A steel square is a tool that is commonly used to check the accuracy and squareness of various surfaces and angles. To check the squareness of a band saw table, you would place the steel square against the edge of the table and compare it to the blade of the band saw. If the blade aligns perfectly with the edge of the steel square, then the table is square. However, if there is any gap or misalignment between the blade and the square, then the table is not square and adjustments will need to be made. It is important to ensure that the steel square is straight and accurate to obtain precise results.
- Q: How do you use a steel square to measure the height of a step?
- To use a steel square to measure the height of a step, you can follow these steps: 1. Place the steel square on the step at the edge, ensuring that it is perpendicular to the step's surface. The longer side of the square should be horizontal, parallel to the ground. 2. Slide the square along the vertical face of the step until the shorter side of the square touches the top edge of the step. 3. Once the square is positioned correctly, take note of the measurement on the longer side of the square where it intersects with the top edge of the step. This measurement will indicate the height of the step. 4. Ensure that the square is held firmly in place to prevent any movement during the measurement process. It is also crucial to ensure that you are reading the measurement accurately. 5. Repeat the process for each step to measure the height consistently.
- Q: Can a steel square be used for crown molding installation?
- Indeed, crown molding installation can be accomplished with the aid of a steel square. This multipurpose and precise instrument proves invaluable for a multitude of carpentry endeavors, including the installation of crown molding. By utilizing a steel square, one can expertly delineate and gauge angles, guaranteeing the utmost accuracy in cuts and a seamless fit for crown molding segments. However, it is essential to recognize that utilizing a steel square for crown molding installation necessitates supplementary calculations and adjustments due to the intricate nature of crown molding angles. It is highly recommended to seek guidance from a professional or consult a comprehensive manual for precise measurements and cutting techniques tailored to the installation of crown molding.
- Q: How do you use a steel square for making accurate crosscuts?
- To use a steel square for making accurate crosscuts, you can follow these steps: 1. Place the steel square on the workpiece, aligning one edge of the square with the edge of the material where you want to make the crosscut. 2. Hold the square firmly in place, ensuring it doesn't move during the process. 3. Use a pencil or marking knife to mark a straight line along the other edge of the steel square onto the workpiece. This line will indicate where you need to make the crosscut. 4. Double-check the accuracy of the marked line by measuring from the opposite corner of the square to the marked line. This will help ensure that the crosscut will be perfectly perpendicular. 5. Once you're satisfied with the accuracy of the marking, use a saw or any suitable cutting tool to make the crosscut along the marked line. 6. Remember to maintain a steady hand and follow the line precisely for a clean and accurate crosscut. By using a steel square, you can rely on its straight edges to guide your markings and ensure the crosscut is made accurately, resulting in precise and professional-looking cuts.
- Q: What are some common applications for a steel square in roofing installations?
- Some common applications for a steel square in roofing installations include measuring and marking angles, cutting rafters and other framing materials, checking for squareness and straightness, and laying out roof lines and slopes.
- Q: How do you use a steel square to measure and mark out dado cuts?
- Making dado cuts using a steel square is a simple process. Here is a step-by-step guide: 1. Begin by determining the desired width and depth of the dado cut. Use a pencil or marking knife to measure and mark these dimensions on the workpiece. 2. Position the steel square against the edge of the workpiece, ensuring that one side of the square aligns with the edge. Confirm that it is securely in place. 3. Slide the square along the edge of the workpiece until the other side aligns with the marked width of the dado cut. Verify that the square remains aligned with the edge. 4. Once the steel square is properly positioned, use a pencil or marking knife to trace along the edge of the square, marking the width of the dado cut on the workpiece. 5. Rotate the steel square so that one of its legs aligns with the marked width line. Ensure that it is firmly against the edge of the workpiece. 6. Slide the square along the marked width line until the other leg aligns with the marked depth of the dado cut. Again, double-check the alignment of the square. 7. With the square in place, use a pencil or marking knife to trace along the edge of the square, marking the depth of the dado cut on the workpiece. 8. Repeat steps 5-7 if multiple dado cuts are required on the same workpiece. By following these instructions and utilizing a steel square, you can accurately measure and mark dado cuts on your workpiece. Always remember to double-check your measurements and ensure the proper alignment of the square to achieve precise and accurate results.
- Q: Can a steel square be used for laying out a foundation?
- Laying out a foundation can be achieved by utilizing a steel square. Known as a framing square or carpenter's square, this versatile tool plays a crucial role in carpentry and construction. It serves to measure and mark angles, as well as to assess the accuracy and squareness of lines and corners. To guarantee the squareness of corners and angles during foundation laying, the steel square comes into play. Its application involves measuring and marking the dimensions of the foundation, ensuring precise and accurate placement with the correct shape. The straight edges and right angles of the steel square render it an ideal tool for this specific task. Furthermore, the steel square finds usefulness in the layout of additional foundation elements like anchor bolts or anchor plates. By leveraging the steel square for measuring and marking the positions of these elements, their alignment can be precisely executed, harmonizing with the overall foundation layout. All in all, the steel square holds immense value in the process of foundation laying. Its usage guarantees accuracy, ensuring proper alignment and squareness of the foundation.
Send your message to us
Carbon Structural Steel Square Bars S10C
- Ref Price:
-
- Loading Port:
- Shanghai
- Payment Terms:
- TT OR LC
- Min Order Qty:
- 400 m.t
- Supply Capability:
- 80000 m.t/month
OKorder Service Pledge
Quality Product, Order Online Tracking, Timely Delivery
OKorder Financial Service
Credit Rating, Credit Services, Credit Purchasing
Similar products


Hot products


Hot Searches
Related keywords

