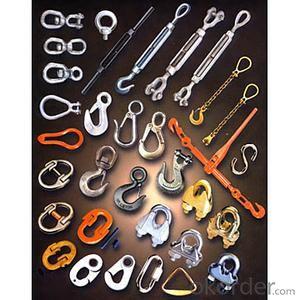
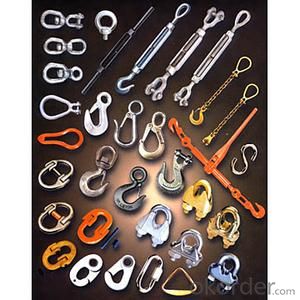
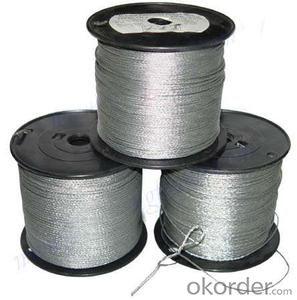
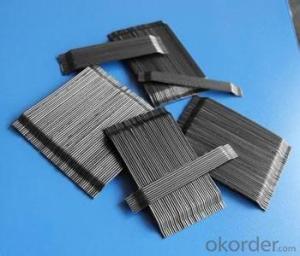
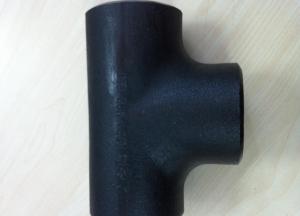
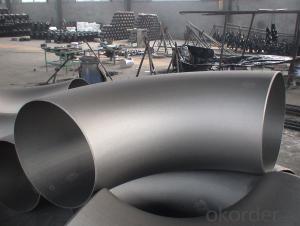
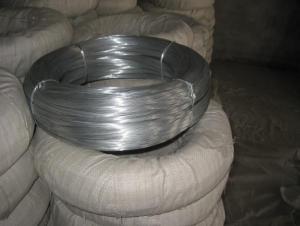
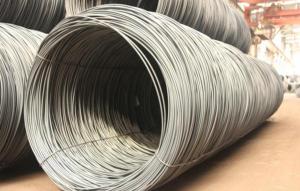
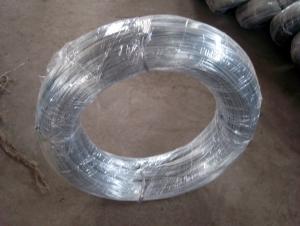
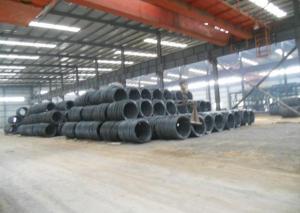
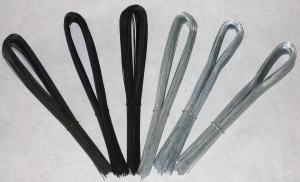
carbon Steel Rigging Hardware
- Loading Port:
- China Main Port
- Payment Terms:
- TT OR LC
- Min Order Qty:
- -
- Supply Capability:
- -
OKorder Service Pledge
Quality Product, Order Online Tracking, Timely Delivery
OKorder Financial Service
Credit Rating, Credit Services, Credit Purchasing
You Might Also Like
Quick Details
Place of Origin:Chongqing, China (Mainland)
Model Number:CHRH20101207
Packaging & Delivery
| Packaging Details: | Gunny bag,Carton or pallet |
|---|---|
| Delivery Detail: | 15days. |
Specifications
Rigging Hardware
Stainless Steel AISI304 or AISI316; Self-color , Electric Galvanized , Hot Dip Galvanized
ISO9001:2008
Rigging Hardware
Material: Carbon Steel and Stainless 304 or 316
Surface: Self-color, Galvanized , Hot dip Galvanized
Hooks
Links
Shackles
Load binders
Clips
Thimbles
Chain accessories
Eye bolts
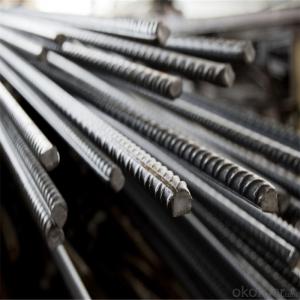
Steel stick
S.S. products
Chain accessories
Blocks
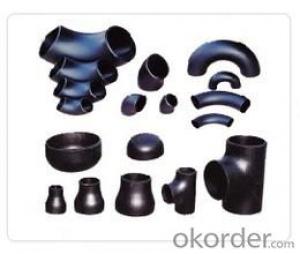
Pipe fittings
Turn buckles
- Q: so i got a few questions. on my 2000 chevy cavalier i got my audio system upgraded but toke it to a shop to get done i am ready to hook up a amp and woof but wanna do it my self to save a few hundred bucks as i was observing my car where to put stuff at i notice a blue wire that is going from where it looks like from my radio to my fuse box on the driver side and is hooked up to a fuse. what is that? and if its the remote wire can i hook up the remote wire for the amp with that blue wire to or is that to much?
- There should be a block in that fuse panel marked auxiliary or aux. That will be the 12V power conx but I advise you to be safe and let the pros do the job for you.
- Q: i Have a problem with my xeno portable dvd player..the ribbon wire inside is damaged..can somebody tell me where to buy a ribbon wire?
- Electronic parts stores carry ribbon wires, but there are many different kinds of ribbon wires, and they would have to look at the wires in the dvd player to know what kind you need. The biggest problem with the wires is connecting them to the circuit boards. An electronics repair shop might have a piece of ribbon wire they can adapt to fit your player. .
- Q: i need to know how to rewire it to make it fire the only wire that is still there is the one that runs to the distributor cap all the other wires are gone is it sopose to wire to the key please help
- The GM 250 i6 is a very simplistic engine. To wire to ignition: 1. Switch on the ignition find the + out wire 2. Run a wire to the positive side of the coil. 3. The negative side goes to the distributor. 4. The starter solenoid has two large terminal two small terminals. The small inside [closest to the block] is the start wire. On the opposite post place another wire also route it to the positive side of the coil. This provides power to the coil when the engine is cranking. Good luck + + +
- Q: I wanted to ask, im busy installing a new stereo headset for my car,when i replaced the old stereo with the new one, i used the wire harness from the old stereo and joint the wires to the back of new the stereo (which there is another black adapter that goes in the wire harness area on the the new stereo) i did this by connecting the wires from the stereo adapter to the wire harness that connects to the car, although the adapter that connects to the stereo has more wires than the wire harness that connects to the car,( i only connected the wires that were matching such as grey wire to grey wire, grey wire with black strip to grey wire with black strip, and so on, i obviously didn't connect the colours that didn't match to the wire harness wires, although i looked up online and apparently the yellow wire is a power wire, but i don't know where to connect it......if anyone could help, this would be greatly appreciated , i also wanted to ask, would this solve the problem if i buy a new wire harness? Thanks
- What kind of car is it? That's important, especially if it's a foreign make because those wires are so weird colored. Typically, yellow or ornage is power, red is memory, and the purple, gray, white, green wires are for the speakers .Black or brown wires are ground. Any blue wires you might come across are mainly just auxiliary signal wires that go to an aftermarket amp and subwoofer setup. Unless you have something like that, those wires can be taped off and forgotten about. Also, when wiring an aftermarket radio to your car, you will need to purchase an adapter harness that plugs into the stock wiring of the car and the wires connect to the radio wire harness correspondingly. I suggest soldering all the necessary wires and sealing them with shrink tube. It's the most solid, most sure way of a good connection without the worry of shorts and disconnections.
- Q: do i need a different wire for in-wall speakers or a regular speaker wire
- If you are installing in-wall wire, look for wire with CL3 or in-wall insulation. The wire is not the issue, but the CL3 means the plastic insulation around the wire is fire-resistant and wont act like a fuse to spread a fire. Many fire codes require this. Some of the Carol brand from Home Depot is CL3 rated or buy a spool of 12 ga from PartsExpress.
- Q: I am getting these 2 CVR 12's 4 ohm dvc and i am wiring them for a 2 ohm load (parallel). When you run a wire from voice coil 1 positive to voice coil 2 positive, then to amp. and the same for negative, what is the wire that is connecting the voice coils? is it a power wire, ground wire, speaker wire? please help!
- Speaker okorder
- Q: Thermostat has two red wires two black wires. The baseboard has one red one black wire.
- This Site Might Help You. RE: How to wire a thermostat to a 220 volt baseboard heater? Thermostat has two red wires two black wires. The baseboard has one red one black wire.
- Q: my questions is what wires go where. i just bought a Hunter thermostat model # 44155c. on my old thermostat the wires are as followes:W2-jumps to quot;F(Yellow Wire)F-Yellow WireO/B-Light Green WireR-Red WireG-Dark GreenC-Red Wire Y-Yellow WireMy new thermostat has these options:RH, RC, G, Y/O, W/B, Y1can anyone tell me what wires go where?thank you
- Well, unfortunately, this particular Hunter model isn't well-designed for operating heat pumps, which is what I'm assuming you've got, since you've got a W2 (aux heat) wire and and O/B (compressor reversal) wire. Still, you can sorta get it to work, but it might take some trial and error, when it comes to the O/B wire, as I'll explain in a minute. Here's the connections you should make: RH - 24VAC hot - connect to R wire RC - 24VAC cool - Jumper this to the RH connector G - Fan - connect to G wire Y - Compressor - connect to Y1 The O/B wire should connect to EITHER the Y/O or W/B, depending on your heat pump. If the reversing valve of the pump is supposed to operate when it heating mode, then you connect to the W/B terminal. If the reversing valve operates in cooling mode, you connect to the Y/O terminal. The other wires should be taped off with electrical tape and left disconnected. These wires are: W2 - auxiliary heat control - leave disconnected (your thermostat can't activate auxiliary heat) F - not sure what this is, to be honest; it might be for controlling a thermostat system check LED C - 24VAC common. Your thermostat doesn't need it.
- Q: i have a 00 gmc yukon and tried installing my cd deck. i pulled off the original harness from the stock deck radio and now its just all wires (its my first so i didnt know), i connect the alpine deck wires and tried to connect them all together. i had a few figure out, except a small noise coming from my stock tweeters every time i step on the pedal. then my speed odometer sensor was going with the bass of my subs... whats wrong? can someone find me a chart of what color wires supposed to go where? thanks for your help
- do now no longer combine the speaker outputs out of your head unit. you could harm the final unit this type. you at the instant are no longer harming something via using working a a hundred-watt speaker on a lots cut back powered amplifier (and you will now no longer inevitably boost the sound intense high quality via using switching to a speaker with a cut back skill score). The a hundred-watt score is only the optimal skill it truly is stated for this speaker; it does now no longer propose that it demands that lots skill. in case you pick for extra advantageous skill than your CD deck substances, you will might prefer to function an outdoors amplifier.
- Q: Hi, I'm extending my pc 5.1 sound system stereo cables. I have a M/F extension wire which I will cut to solder a seamless wire to the system. Problem is that in the system cable I have a white, green(or red) and bare wire. and ont he extension I have a black red and white. Which wire do I connect to which?thanks
- It doesn't matter as long as you keep it strait, when ever possable connect a white wire to white wire, red wire to red wire etc...if you have like a green wire original but no green extension wire then I would use green electrical tape to color code the extension wire to the same color as the original, you can buy electrical tape in almost any color and wrap it around the wire and connector ends for color coding...
Send your message to us
carbon Steel Rigging Hardware
- Loading Port:
- China Main Port
- Payment Terms:
- TT OR LC
- Min Order Qty:
- -
- Supply Capability:
- -
OKorder Service Pledge
Quality Product, Order Online Tracking, Timely Delivery
OKorder Financial Service
Credit Rating, Credit Services, Credit Purchasing
Similar products
Hot products
Hot Searches
Related keywords
