Structure Steel of Square Long Bar of 6 Meters and 12 Meters
- Loading Port:
- Tianjin
- Payment Terms:
- TT or LC
- Min Order Qty:
- 25 m.t.
- Supply Capability:
- 10000 m.t./month
OKorder Service Pledge
OKorder Financial Service
You Might Also Like
1. Structure of Structure Steel of Square Long Bar Description:
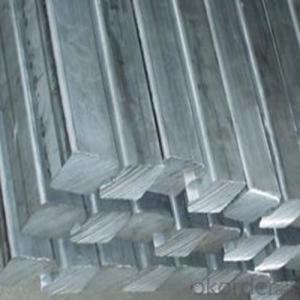
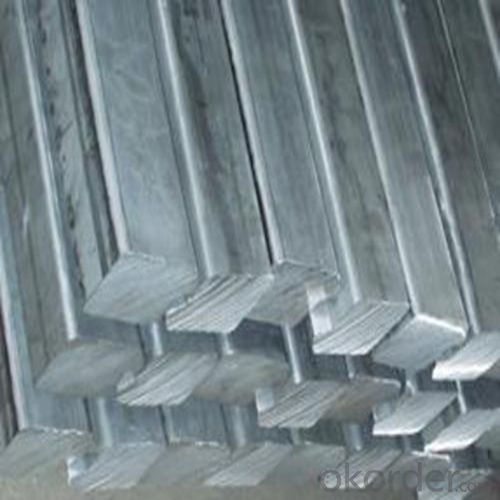
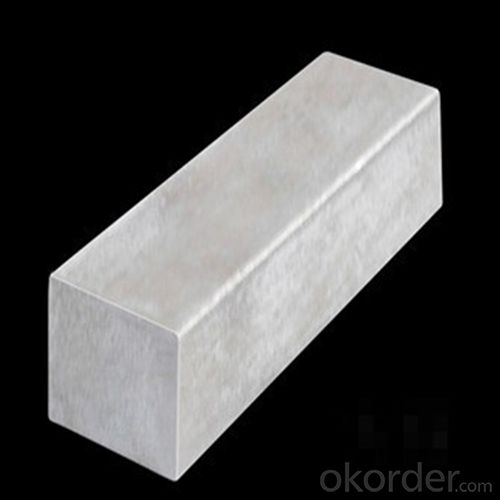
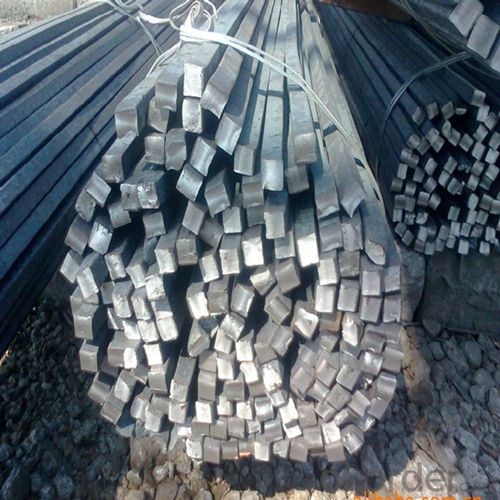
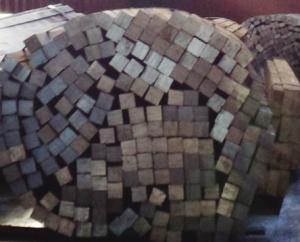
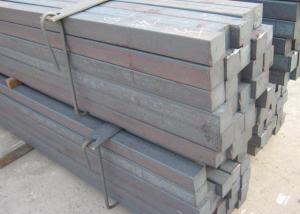
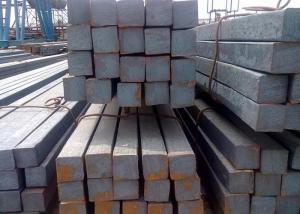
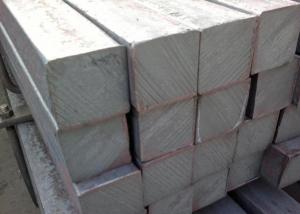
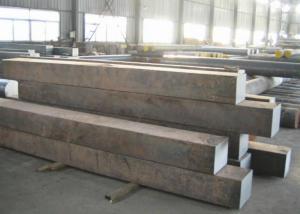
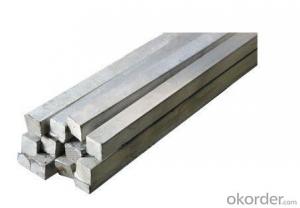
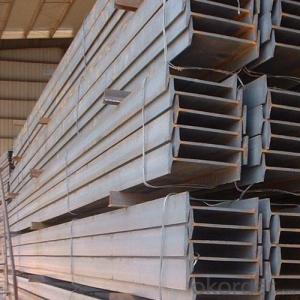
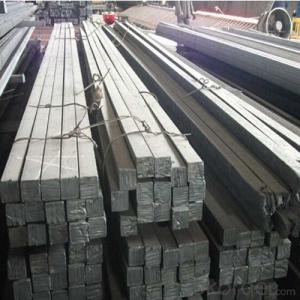
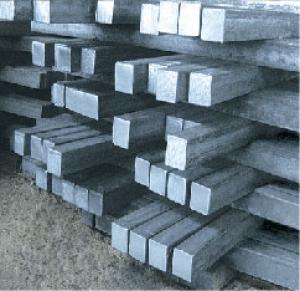
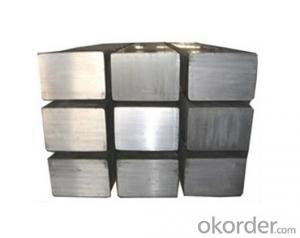
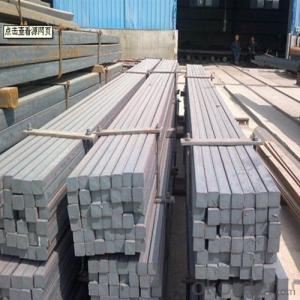
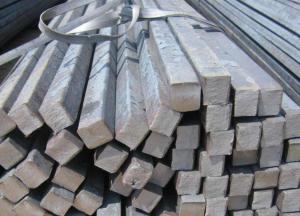
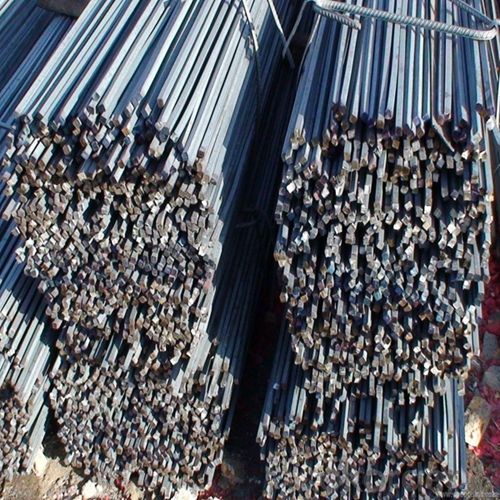
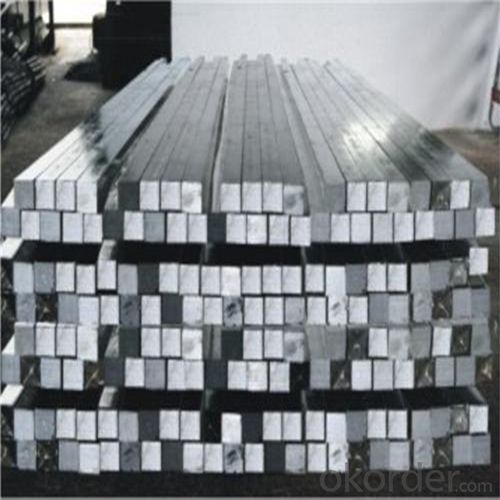
Structure steel of square long bar is a bar with square shaped cross-section. It is special case of equal sides. Before steel products are sold on the market, the steel must first be processed into more functional pieces. Raw steel cannot be of use while in its pure form, thus it has to be cast into shape. The freshly made steel, structure steel of square long bar is still in the form of a metal bar or rectangle. Small sizes of Structure steel of square long bar are used in ship building.
2. Main Features of Structure Steel of Square Long Bar:
• Grade: Q235
• Type: Mild carbon steel
• A quadrilateral with four equal sides and four right angles.
• Vibration: The stiffness and mass are chosen to prevent unacceptable vibrations, particularly in settings sensitive to vibrations, such as offices and libraries.
• Local yield: Caused by concentrated loads, such as at the beam's point of support.
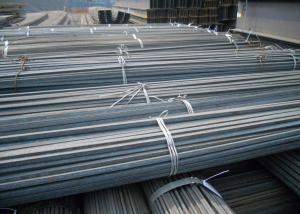
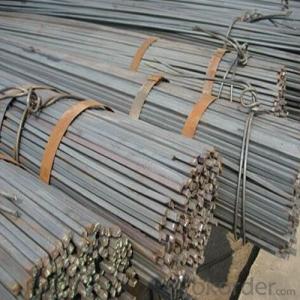
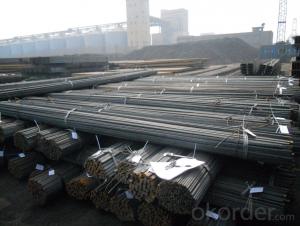
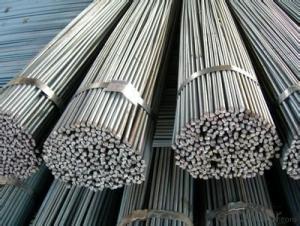
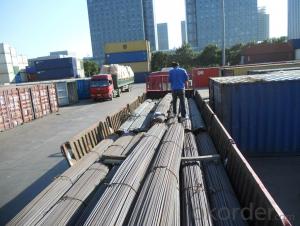
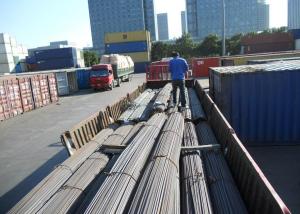
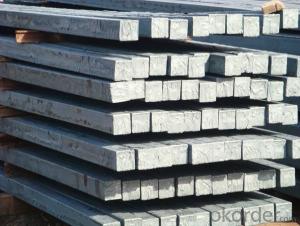
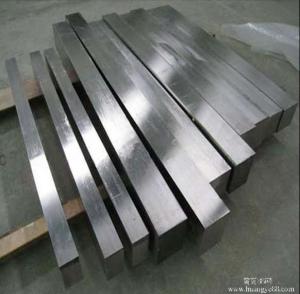
3. Structure Steel of Square Long Bar Images:
4. Structure Steel of Square Long Bar Specification:
Mechanical Properties | Grade | Steel diameter(mm) | |||
≤16 | 16~40 | 40~60 | 60~100 | ||
Yield Point Δs/MPa | Q195 | ≥195 | ≥185 | - | - |
Q235 | 235 | 225 | 215 | 205 | |
Tensile Strength | Q195 | 315~390 | |||
Q235 | 375~500 | ||||
Elongation δ5% | Q195 | ≥33 | ≥32 | - | - |
Q235 | 26 | 25 | 24 | 23 | |
5. FAQ
We have organized several common questions for our clients,may help you sincerely:
①What is the main material?
There are two types of Square Bar, one is hot rolled square bar and other one is cold drawn square bar. Our principal products is hot rolled square bar. We dedicate to products with material Q195 and Q235. We offer products with high quality and low price.
②How to inspect the quality?
We have a professional inspection group which belongs to our company. We resolutely put an end to unqualified products flowing into the market. At the same time, we will provide necessary follow-up service assurance.
③Is there any advantage about this kind of product?
Steel I beam bar IPE has a reduced capacity in the transverse direction, and is also inefficient in carrying torsion, for which hollow structural sections are often preferred.
- Q: Can a steel square be used for crown molding installation?
- Yes, a steel square can be used for crown molding installation. A steel square is a versatile and accurate tool that can be used for various carpentry tasks, including crown molding installation. It can be used to mark and measure angles, ensuring precise cuts and a proper fit for crown molding pieces. However, it is important to note that using a steel square for crown molding installation may require some additional calculations and adjustments due to the complex nature of crown molding angles. It is advisable to consult a professional or refer to a comprehensive guide for accurate measurements and cutting techniques specific to crown molding installation.
- Q: What are the common accessories that come with a steel square?
- Included with a steel square are typically common accessories like a scribe tool, a layout tool, and a protractor. The scribe tool, often fashioned as either a sharp point or a small blade, is utilized to make markings and measurements on surfaces. It is an indispensable accessory for precise and accurate marking. A layout tool, such as a try square or a miter square, is employed to ensure perpendicular and precise angles when marking or cutting materials. These tools aid in aligning edges and corners to create exact right angles. A protractor, commonly present on larger steel squares, is used to measure and mark angles that are not 90 degrees. It proves particularly beneficial when undertaking tasks that require bevel cuts or when shaping irregular forms. Additional potential accessories that may accompany a steel square include a level vial, which assists in determining surface levelness, and a center finder, which facilitates locating the center of circular or cylindrical objects. The specific accessories accompanying a steel square may differ depending on the brand and model, but the aforementioned are some of the commonly encountered ones.
- Q: Can a steel square be used for checking the alignment of framing studs?
- Yes, a steel square can be used for checking the alignment of framing studs. The square's right angles and straight edges can help ensure that the studs are properly aligned and perpendicular to each other.
- Q: Can a steel square be used for tile installation?
- Yes, a steel square can be used for tile installation. A steel square, also known as a framing square or carpenter's square, is a versatile tool commonly used in construction and carpentry. While it may not be specifically designed for tile installation, it can still be quite useful in this context. One of the main functions of a steel square is to ensure accurate and precise measurements and angles. This is particularly important when installing tiles, as they need to be aligned perfectly for a professional finish. The steel square can be used to measure and mark straight lines, right angles, and various angles required for tile cuts. Moreover, a steel square can also be used as a straightedge or a guide when cutting tiles. By placing the square against the tile, it can help to ensure a straight and even cut. This is especially helpful when making diagonal or angled cuts. However, it is important to note that a steel square is not specifically designed for tile installation and may not have all the features required for this task. For example, it may not have the notches or guides typically found on tile-specific tools. Therefore, while a steel square can be used and is often found in many professionals' toolkits, it may not be the most ideal or specialized tool for tile installation. In conclusion, while a steel square can be used for tile installation and provide valuable assistance in measuring, marking, and cutting, it is recommended to also have specialized tile tools to ensure the best results.
- Q: Are there any safety precautions to consider when using a steel square?
- Yes, there are safety precautions to consider when using a steel square. Firstly, it is important to handle the square with care to avoid any injuries or cuts from its sharp edges. Additionally, one should ensure that the working area is well-lit and free from any obstructions to prevent accidents. It is also necessary to use the square on a stable and flat surface to ensure accurate measurements and avoid any instability that could lead to injuries. Lastly, it is advisable to wear appropriate protective gear, such as gloves and safety glasses, to minimize any potential hazards.
- Q: Can a steel square be used for measuring the width of a wall opening?
- Yes, a steel square can be used for measuring the width of a wall opening. Its straight edges and right angles make it suitable for measuring and marking precise measurements on walls and other surfaces.
- Q: Can a steel square be used for measuring roofing angles?
- Yes, a steel square can be used for measuring roofing angles. A steel square, also known as a framing square or carpenter's square, is a versatile tool that can be used for a variety of measurements in construction, including roofing angles. Its long body and right angle shape make it ideal for measuring and marking angles accurately. With the help of the steel square, roofers can determine the pitch or slope of a roof, ensuring precise measurements for proper installation and alignment of roofing materials.
- Q: Can a steel square be used for gazebo layout and construction?
- Yes, a steel square can be used for gazebo layout and construction. Steel squares are versatile tools that can be used for measuring angles, marking out straight lines, and ensuring accurate right angles during construction. They provide stability and durability, making them suitable for various construction projects, including gazebo layout and construction.
- Q: Can a steel square be used for metal fabrication?
- Indeed, metal fabrication can indeed make use of a steel square. This tool, also referred to as a framing square or carpenter's square, possesses great versatility, commonly found in woodworking and construction practices. Nevertheless, it can also play a vital role in metal fabrication assignments. Its structure, which consists of a flat blade and a perpendicular handle, allows for precise measurements and accurate layout work. The steel square proves particularly beneficial in the realm of marking and measuring angles, ensuring the proper alignment and layout of metal pieces during fabrication. Moreover, it can be employed to verify the squareness and straightness of metal components, rendering it an indispensable instrument in the field of metalworking.
- Q: How do you use a steel square to determine the length of a rafter?
- To use a steel square to determine the length of a rafter, you will need to follow these steps: 1. Lay the steel square on a flat surface with the long side (blade) facing towards you and the shorter side (tongue) pointing away from you. 2. Position the square so that the tongue rests against the edge of the rafter board, ensuring it is flush against the edge. 3. Slide the square along the rafter until the desired length is reached. This will be the distance from the peak of the roof to the outer edge of the rafter where it will be cut. 4. Once the square is in the correct position, make sure it is securely held in place by pressing down on it with one hand. 5. With your other hand, use a pencil or marker to mark the edge of the square at the desired length on the rafter board. This mark will indicate where the rafter should be cut. 6. Remove the square from the rafter board and double-check the marked length to ensure accuracy. 7. Finally, using a saw or appropriate cutting tool, cut the rafter along the marked line. Using a steel square in this manner allows you to easily determine and mark the length of a rafter accurately. The steel square provides a straight edge and a right angle, making it a useful tool in carpentry and roofing projects.
Send your message to us
Structure Steel of Square Long Bar of 6 Meters and 12 Meters
- Loading Port:
- Tianjin
- Payment Terms:
- TT or LC
- Min Order Qty:
- 25 m.t.
- Supply Capability:
- 10000 m.t./month
OKorder Service Pledge
OKorder Financial Service
Similar products
Hot products
Hot Searches
Related keywords
