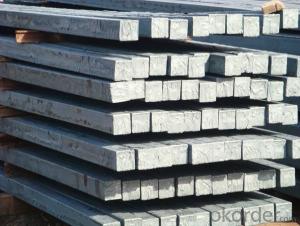
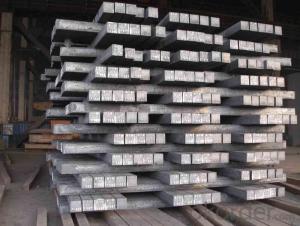
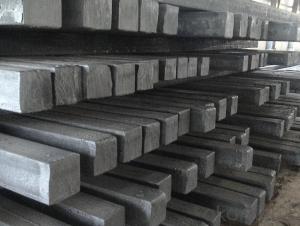
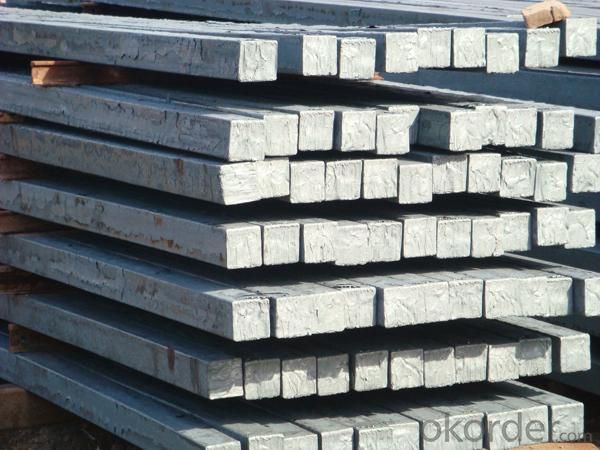
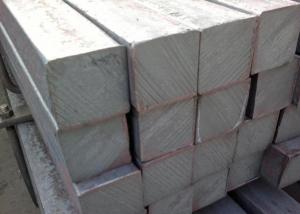
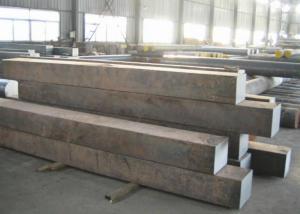
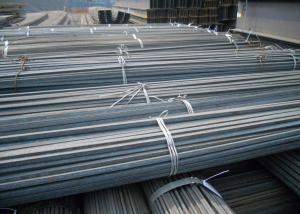
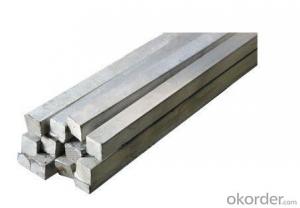
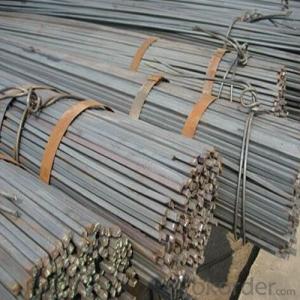
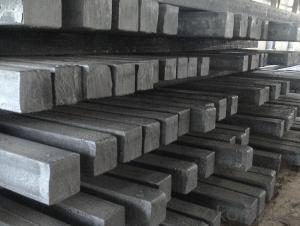
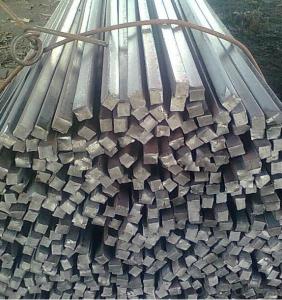
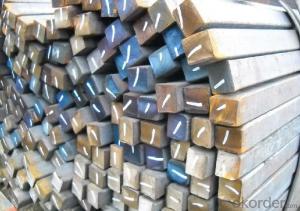
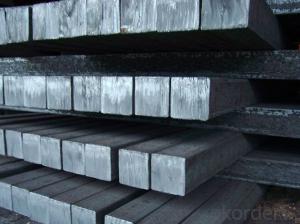
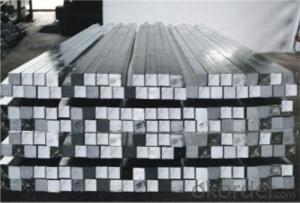
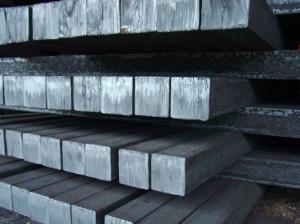
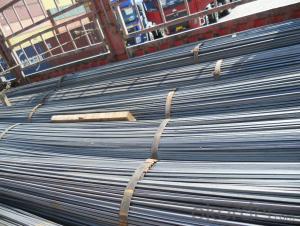
Hot rolled square bar
- Loading Port:
- China Main Port
- Payment Terms:
- TT OR LC
- Min Order Qty:
- -
- Supply Capability:
- -
OKorder Service Pledge
OKorder Financial Service
You Might Also Like
-Standard: GB,
-Grade: Q195 or equivalent.
-Chemical Composition:
Standard | Grade | Element (%) | ||||
GB | Q195 | C | Mn | S | P | Si |
0.06~0.12 | 0.25~0.50 | ≤0.050 | ≤0.045 | ≤0.30 | ||
Measures of HR Square Bar (small measures):
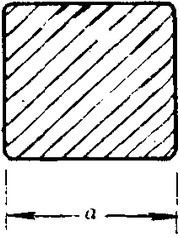
(Section of HR Square Bar)
-Length of a side and Theoretical weight of Square Bar.
Length of a side(mm) | Theoretical weight(kg/m) | Length of a side(mm) | Theoretical weight(kg/m) |
7 | 0.385 | 22 | 3.80 |
8 | 0.502 | 24 | 4.52 |
9 | 0.636 | 25 | 4.91 |
10 | 0.785 | 26 | 5.30 |
11 | 0.950 | 28 | 6.15 |
12 | 1.13 | 30 | 7.06 |
13 | 1.33 | 32 | 8.04 |
14 | 1.54 | 34 | 9.07 |
15 | 1.77 | 36 | 10.17 |
16 | 2.01 | 38 | 11.24 |
17 | 2.27 | 40 | 12.56 |
18 | 2.54 | 42 | 13.85 |
19 | 2.82 | 45 | 15.90 |
20 | 3.14 | 48 | 18.09 |
21 | 3.46 | 50 | 19.63 |
Notes:
1, The theoretical weights in the list, base on the density of 7.85 g/cm3.
2, Formula for theoretical weight of Square bar: (length of a side)2 * 0.00785
3, The numbers with *mean that they are not regular or we don’t offer them.
-Regular length of Square Bar:
Steel | Length of a side (mm) | Length of steel (m) |
Normal steel | < 25 | 4~10 |
> 25 | 3~9 | |
Steel of high quality | All measure | 2~6 |
Tool steel >75 | 1~6 |
Usage/Applications of HR Square Bar:
-The Square Bar is normally used as structure steel.
-Row material for other structure steel like steel angles, channels, I-beams, H-beams, etc…
Packaging & Delivery of HR Square Bar:
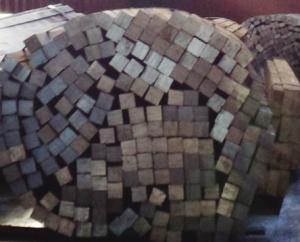
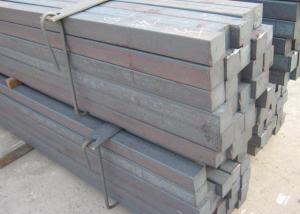
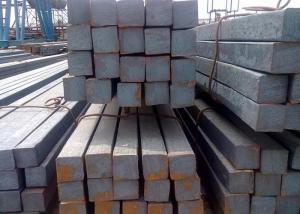
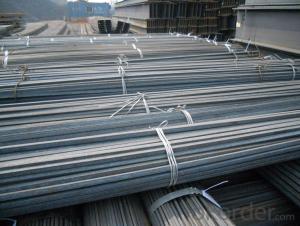
-Packing Detail: The products can be packed in bundles by steel wires.
-Marks: We make tag marks and color marks. The tag marks with white background and red company logo will be tied up to each bundle of the products. The information is usually including basic information of products and company and other information requested by customers. As for color marks, we will paint both ends of bundles to make sure that it will be more convenient for customers to distinguish them from other products.
-Delivery Detail: 30~45 working days after receive buyer’s T.T. or L/C.
Transportation:
-The products can be delivered by bulk vessel or by container. As for container, products with the length of 6m will be loaded in 20’ container, with 9m or 12m, in 40’ container.
-The maximum quantity of loading of container is 25 tons.
-The products are usually transported to the nearest port from the production place.
- Q: Can a steel square be used for checking the squareness of a hand saw blade?
- Using a steel square is not suitable for checking the squareness of a hand saw blade. Although a steel square is useful for measuring right angles and ensuring squareness in different woodworking tasks, it is not designed specifically for assessing the squareness of a saw blade. For accurate assessment of the squareness of a hand saw blade, it is advisable to employ a specialized tool such as a saw set or a combination square. These tools are specifically designed to evaluate the squareness of saw blades and guarantee precise and accurate cuts. Using a steel square for this purpose may lead to inaccurate results as it may not align properly with the saw blade or provide the necessary measurements for assessing squareness. Therefore, it is crucial to rely on the appropriate tools to ensure the squareness of a hand saw blade.
- Q: Can a steel square be used for checking the flatness of a wall stud?
- No, a steel square cannot be used for checking the flatness of a wall stud as it is primarily used for measuring and marking right angles. To check the flatness of a wall stud, a straightedge or level should be used instead.
- Q: How do you use a steel square to find angles for bevel cuts?
- In order to find angles for bevel cuts using a steel square, the following steps can be followed: 1. Familiarize yourself with the markings on the steel square: The steel square typically consists of two arms, with one arm longer than the other, forming a right angle. The longer arm is referred to as the blade, while the shorter arm is known as the tongue. Both arms have markings and measurements along their edges. 2. Determine the desired angle: Prior to utilizing the steel square, it is essential to identify the specific angle you wish to achieve. For instance, if a 45-degree bevel cut is required, you will need to locate that particular angle on the steel square. 3. Align the steel square with the material's edge: Position the blade of the steel square against the edge of the material that you intend to cut. Ensure that it is perfectly aligned with the surface and that the tongue extends outward. 4. Locate the desired angle on the steel square: Look for the angle measurement you wish to achieve along either the tongue or blade of the steel square. Typically, these angles are indicated in degrees. 5. Adjust the material's position accordingly: Once you have identified the correct angle on the steel square, modify the position of the material accordingly. Align the material's edge with the corresponding angle marking on the steel square. This will ensure that the bevel cut is executed at the desired angle. 6. Secure the material in place: After positioning the material, ensure that it is firmly fastened or clamped down. This will prevent any movement during the cutting process, ensuring both accuracy and safety. 7. Execute the bevel cut: Finally, employ an appropriate saw or cutting tool to carefully cut along the marked line, thereby accomplishing the desired bevel angle. Remember to exercise caution and implement necessary safety measures when working with tools and machinery to prevent accidents or injuries.
- Q: How do you use a steel square to find angles for compound bevel mitered corners?
- To use a steel square to find angles for compound bevel mitered corners, you would typically start by placing the square against the workpiece and aligning its edges with the edges of the corner. Then, you can use the markings on the square to measure and determine the angles required for the compound bevel. This involves adjusting the square to find the correct angles for both the bevel and miter cuts, ensuring a precise fit for the corner joint.
- Q: What are some common applications of a steel square in metalworking?
- A steel square, also known as a framing square or a carpenter's square, is a versatile tool that finds numerous applications in metalworking. Some common uses of a steel square in metalworking include: 1. Measuring and marking: Steel squares are used for measuring and marking straight lines, angles, and dimensions on metal sheets or bars. They provide precise measurements and ensure accurate cuts or bends. 2. Squaring: Steel squares are essential for ensuring the accuracy of right angles. They can be used to check if two edges of a metal piece are perpendicular to each other or to create 90-degree angles when fabricating metal structures. 3. Laying out patterns: Steel squares are often used to lay out patterns on metal surfaces. By utilizing the various scales and markings on the square, metalworkers can create complex patterns or templates for cutting or bending metal. 4. Guiding cuts: Steel squares can be used as guides for making straight cuts with tools like saws or shears. By aligning the square with the cutting line, metalworkers can ensure a straight and accurate cut. 5. Checking flatness: Steel squares can be used to check the flatness of a metal surface. By placing the square against the metal and observing if there are any gaps or light passing through, metalworkers can determine if the surface is flat or needs further adjustments. 6. Marking angles: Steel squares come with angle markings that allow metalworkers to measure or mark specific angles accurately. This is particularly useful for creating precise bevels or chamfers on metal edges. 7. Layout and framing: Steel squares are commonly used for layout and framing purposes in metalworking. They help metalworkers plan and construct frameworks, ensuring that all corners and joints are properly aligned. 8. Aligning and assembling: Steel squares can be used to align and assemble metal components. By utilizing the square's straight edge, metalworkers can ensure that parts are joined accurately and securely. Overall, a steel square is a fundamental tool in metalworking that assists with measuring, marking, squaring, cutting, and aligning metal pieces. Its versatility and precision make it an essential tool for both professional metalworkers and DIY enthusiasts.
- Q: How do you use a steel square to determine the angle of a cut?
- Achieving the desired angle for a cut using a steel square involves a straightforward process. Begin by ensuring that your steel square is free from any debris or dirt, as cleanliness is crucial. Next, firmly position the square's base against the material's edge that you intend to cut, ensuring proper alignment. Then, utilize the markings on the square to determine the desired angle. While the most common angle measurements are 45 degrees and 90 degrees, some squares may include additional markings for other angles. Once you have identified the angle, employ a pencil or marker to draw a guiding line along the square's edge. This line will serve as a reference for your cut. Finally, exercise caution and precision as you follow the marked line with either a saw or another appropriate cutting tool. Maintaining steady control and ensuring the saw is properly aligned with the marked line are vital for achieving an accurate cut.
- Q: How do you use a steel square to measure and mark 168.75-degree angles?
- To use a steel square to measure and mark a 168.75-degree angle, you need to follow these steps: 1. Start by placing the steel square on a flat surface or workbench, ensuring that it is properly aligned and parallel to the edge you will be working with. 2. Identify the 90-degree angle on the steel square, which is typically located in the corner where the long and short sides meet. 3. Use a pencil or a scribe to make a small mark on the long side of the steel square, near the 90-degree angle. This mark will serve as a reference point. 4. Next, measure 168.75 degrees on the long side of the steel square, starting from the reference mark you made in the previous step. You can use the graduations or markings on the steel square to measure the angle accurately. 5. Once you have identified the correct measurement, make another mark on the long side of the steel square at the measured angle. This mark will represent the desired 168.75-degree angle. 6. Now, place the steel square on the surface or material where you want to mark the angle. Line up the long side of the square with the edge you are working with, ensuring that the reference mark and the mark representing the angle are aligned with the edge. 7. With the steel square securely in place, use a pencil or a scribe to trace along the edge of the steel square, transferring the angle onto the surface or material. By following these steps, you can effectively measure and mark a 168.75-degree angle using a steel square. Remember to ensure the accuracy of your measurements and maintain a steady hand while making the marks for precise results.
- Q: Can a steel square be used for checking the squareness of a picture frame?
- Yes, a steel square can be used for checking the squareness of a picture frame. A steel square is a tool that has a 90-degree angle, making it ideal for measuring right angles. By placing the steel square against the corners of the picture frame, you can easily determine if the frame is perfectly square or if there are any discrepancies. If the frame is not square, adjustments can be made to ensure that the corners are properly aligned and the frame is straight.
- Q: How do you use a steel square to measure the width of a picture frame?
- To use a steel square to measure the width of a picture frame, you will need to follow a few simple steps. First, ensure that your steel square is clean and free from any dirt or debris that could affect your measurements. Next, place the steel square against one side of the picture frame, aligning it with the edge of the frame. Make sure that the square is flush against the frame and not tilted or slanted in any way. Once the steel square is properly positioned, use the measuring scale on the square to determine the width of the frame. Read the measurement value where the other side of the frame intersects with the scale on the square. It is important to note that steel squares typically have both metric and imperial measurements, so ensure you are using the appropriate scale for your needs. Repeat this process on the opposite side of the frame to validate your measurement. If the frame is not perfectly square, take multiple measurements at different points and use the average to get a more accurate width. Overall, using a steel square to measure the width of a picture frame is a straightforward process that provides accurate results, making it a reliable tool for this purpose.
- Q: How do you use a steel square to mark a line parallel to an edge?
- To use a steel square to mark a line parallel to an edge, follow these steps: 1. Place the steel square on the surface with one side resting against the edge that you want to mark parallel to. 2. Ensure that the square is aligned properly and sits flush against the edge. 3. Hold the square firmly in place to prevent it from shifting. 4. Use a pencil or a scribe to draw a line along the edge of the steel square. 5. Continue marking the line until you reach your desired length. Remember to check the square periodically to ensure it hasn't moved or shifted while marking the line. Additionally, it is recommended to use a sharp pencil or scribe to ensure accurate markings.
Send your message to us
Hot rolled square bar
- Loading Port:
- China Main Port
- Payment Terms:
- TT OR LC
- Min Order Qty:
- -
- Supply Capability:
- -
OKorder Service Pledge
OKorder Financial Service
Similar products
Hot products
Hot Searches
Related keywords
