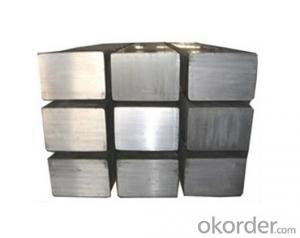
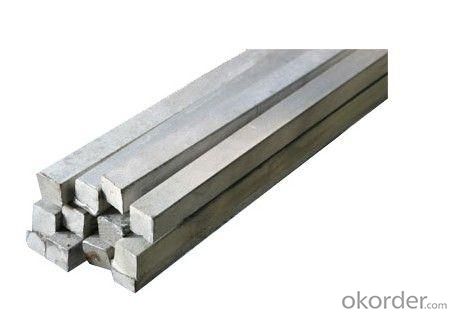
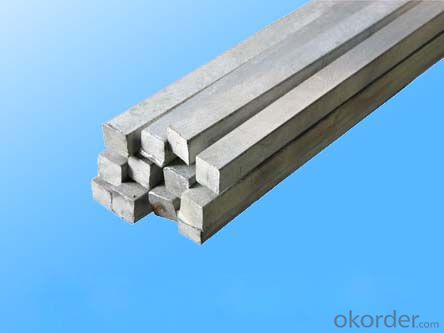
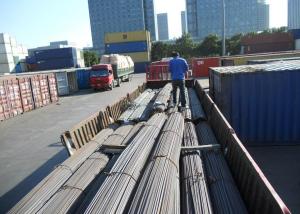
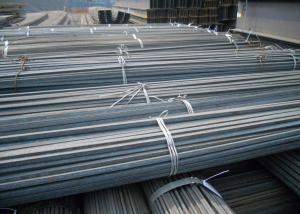
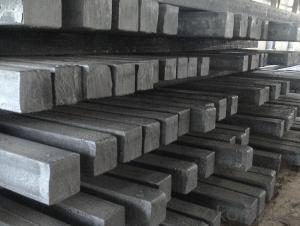
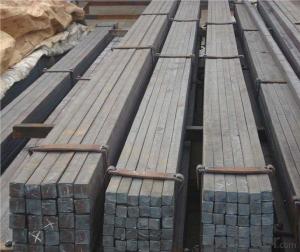
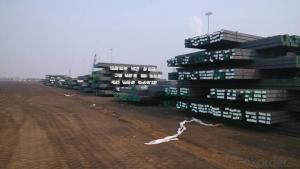
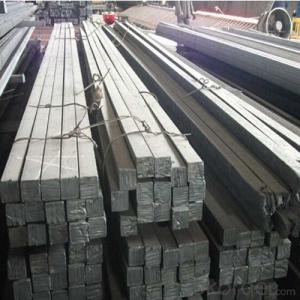
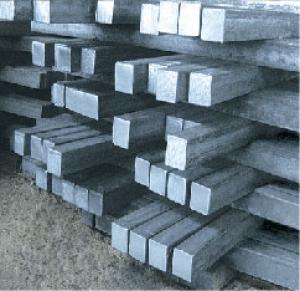
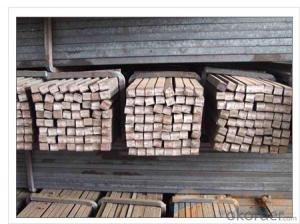
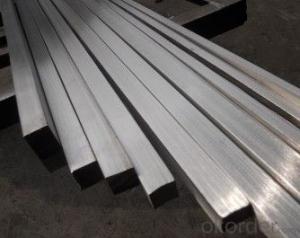
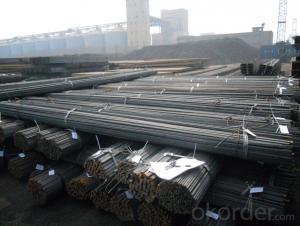
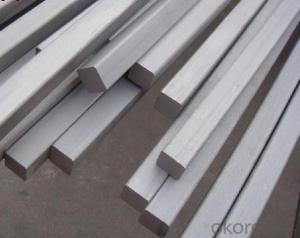
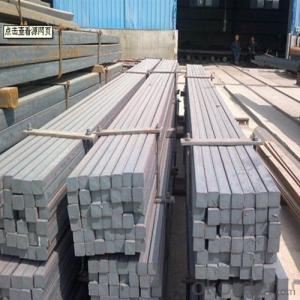
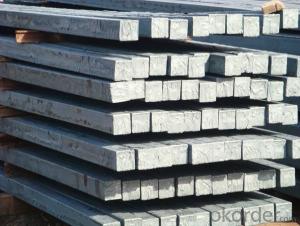
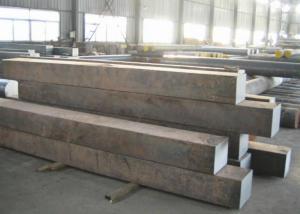
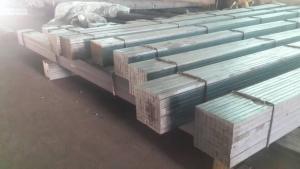
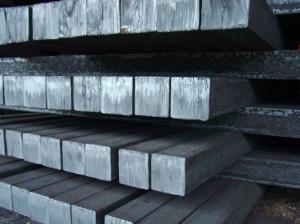
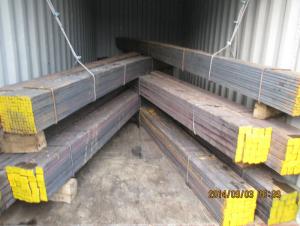
5SP High Quality Steel Square Bar
- Loading Port:
- Tianjin
- Payment Terms:
- TT OR LC
- Min Order Qty:
- 25 m.t.
- Supply Capability:
- 10000 m.t./month
OKorder Service Pledge
OKorder Financial Service
You Might Also Like
square steel billet
1.3SP, 5SP
2.terms of payment: L/C at sight
3.size: 120*120mm
4.length: 5.8~12m
square steel billet
Specifications
square steel billets
1)We procure world class quality steel billets which meets the specific requirements of the clients
The Billets produced by the company can be broadly divided into three main types i.e.
M.S. Billets
CRS Billets
Special Alloy Billets
M.S. Billets are used for rolling of TMT Re-Bars of Fe415 and Fe500 Grade and various other structural steel products.
CRS Billets are used fro rolling of CRS TMT Re-Bars.
Special Alloy Billets are used for rolling of any special grade TMT Re-Bars like Earthquake resistant TMT Re-Bars and for special grade structural steel products.
The following are the sizes of Billets available with Shyam Steel Industries Ltd.:
100 X 100
120x120
150 X 150
Physical Properties:
Description
As per IS 2830
Shyam Billets
Bend (max.) 5 mm per meter >= 5 mm per meter
Carbon (max.) 3mm per meter >= 3 mm per meter
Length 3 mt - 13 mt 3 mt - 9 mt
Chemical Properties:
Ladle Analysis:
Designation
Carbon
Manganese
C15 0.12-0.18 0.30-0.60
C18 0.15-0.21 0.30-0.60
C20 0.17-0.23 0.30-0.60
C15 MMn 0.12-0.18 0.60-1.00
C18 MMn 0.15-0.21 0.60-1.00
C20 MMn 0.17-0.23 0.60-1.00
C15 HMn 0.12-0.18 1.00-1.50
C18 HMn 0.15-0.21 1.00-1.50
C20 HMn
0.17-0.23 1.00-1.50
Billets of different designations are manufactured in three different grades namely A, B, C having sulphur, phosphorous content (on ladle analysis) and carbon equivalent as follows:
Chemical Analysis:
Grade Sulphur Phosphorous Carbon Equivalent (CE)1
Max Max Max
A 0.05 0.05 0.42
B 0.045 0.045 0.41
C 0.04 0.04 0.39
- Q: Can a steel square be used for concrete formwork?
- No, a steel square is not typically used for concrete formwork. Concrete formwork requires the use of specialized materials such as plywood, timber, or metal panels that are capable of holding the weight and pressure of the wet concrete. Steel squares are primarily used for measuring and marking angles in carpentry and construction tasks.
- Q: Can a steel square be used for setting up a scroll saw?
- Yes, a steel square can be used for setting up a scroll saw. A steel square is a versatile tool that can be used for various woodworking tasks, including setting up a scroll saw. It can be used to ensure that the scroll saw's table is perfectly perpendicular to the blade, ensuring accurate and precise cuts. The steel square can be placed against the blade and the table, allowing the user to adjust the table's angle until it is perfectly square. This will help in achieving straight and clean cuts while using the scroll saw.
- Q: Are there any limitations to using a steel square?
- Yes, there are some limitations to using a steel square. Firstly, the size and weight of a steel square can make it difficult to handle, especially for individuals with limited strength or dexterity. This can make it challenging to use the square for prolonged periods or in complex projects where precise measurements are required. Secondly, steel squares are typically designed for right angles and straight measurements, which means they may not be suitable for projects that involve angles other than 90 degrees. In such cases, additional tools or techniques may be required to achieve the desired angles accurately. Thirdly, steel squares can be susceptible to rust and corrosion if not properly maintained. This can affect their accuracy over time, requiring regular cleaning and maintenance to ensure reliable measurements. Lastly, steel squares may not be suitable for certain materials or surfaces. For example, using a steel square on delicate or easily scratched materials like polished wood or glass may cause damage. In such cases, alternative measuring tools or protective measures may be necessary. Despite these limitations, steel squares are still widely used and valued for their sturdiness, durability, and accuracy in many woodworking, metalworking, and construction projects. However, it is important to be aware of their limitations and adapt accordingly when necessary.
- Q: What are some common uses for a steel square in woodworking joinery?
- Some common uses for a steel square in woodworking joinery include checking for squareness and measuring angles, marking and transferring measurements, checking for flatness and straightness, and aligning and testing joints.
- Q: What are some common uses of a steel square in woodworking joinery?
- A steel square is commonly used in woodworking joinery for tasks such as marking and measuring right angles, checking the squareness of corners, testing the flatness of surfaces, and ensuring accurate and precise cuts and joints.
- Q: Can a steel square be used for deck stair layout and construction?
- Deck stair layout and construction can benefit greatly from the use of a steel square. Also known as a framing square or carpenter's square, this versatile tool is widely used in woodworking and construction. With its long and short arms forming a right angle, the steel square serves various purposes. Specifically for deck stair layout and construction, the steel square proves to be highly advantageous. It aids in determining the precise angles required for cutting the stringers, which provide support for the stairs' treads and risers. By employing the steel square, one can accurately mark and measure the angles necessary for creating each step. Moreover, the steel square assists in verifying the levelness and alignment of the stringers throughout the construction process. It ensures the even spacing of the steps and the uniform height of the risers, both crucial for the stairs' safety and functionality. All in all, the steel square is an invaluable tool for deck stair layout and construction. It facilitates precise angle measurement and marking, as well as guarantees proper alignment and levelness of the stairs. However, it is imperative to possess a solid understanding of correct steel square usage to achieve the desired outcomes.
- Q: Can a steel square be used for foundation layout and construction?
- Yes, a steel square can be used for foundation layout and construction. Steel squares are commonly used by builders and contractors for accurate measurements, marking angles, and ensuring square corners during the foundation layout process.
- Q: Can a steel square be used for checking the alignment of a table saw fence?
- Yes, a steel square can be used for checking the alignment of a table saw fence. The straight edges of a steel square can be placed against the table saw fence and the table surface to ensure that they are parallel.
- Q: How do you use a steel square to mark out 60-degree angles?
- To use a steel square to mark out 60-degree angles, you can follow these steps: 1. Start by placing the steel square on the surface or material you want to mark the angle on. Ensure that one edge of the square aligns with the starting point of the angle. 2. Locate the 60-degree angle on the steel square. Most steel squares have markings or notches indicating different angles. Look for the one that represents 60 degrees. 3. Align the marking for 60 degrees on the steel square with the edge of the material or surface. Make sure the square is securely held in place to avoid any movement. 4. Once the steel square is properly aligned, use a pencil or a marking tool to trace along the edge of the square, marking the 60-degree angle on the material. 5. Repeat the process if necessary, ensuring that the square is aligned correctly each time to maintain accuracy. Using a steel square to mark out 60-degree angles is an efficient way to achieve precise measurements. Remember to always double-check your alignment and use a sharp marking tool for accurate results.
- Q: How do you use a steel square to measure and mark 45-degree angles?
- To use a steel square to measure and mark 45-degree angles, follow these steps: 1. Start by placing the steel square on the material you want to mark the angle on. Ensure that one of the edges of the square is aligned with the edge of the material. 2. Locate the 45-degree angle on the steel square. This is typically marked as a diagonal line that intersects the 90-degree angle. 3. Position the steel square so that the diagonal line representing the 45-degree angle aligns with the edge of the material. Make sure that the other edge of the square is parallel to the opposite edge of the material. 4. Once the steel square is properly aligned, use a pencil or a scribe to mark the material along the edge of the square. 5. To ensure accuracy and precision, it is recommended to mark the angle on both sides of the material. This can be done by flipping the steel square and repeating the process on the opposite side. By following these steps, you can effectively use a steel square to measure and mark 45-degree angles with accuracy and consistency.
Send your message to us
5SP High Quality Steel Square Bar
- Loading Port:
- Tianjin
- Payment Terms:
- TT OR LC
- Min Order Qty:
- 25 m.t.
- Supply Capability:
- 10000 m.t./month
OKorder Service Pledge
OKorder Financial Service
Similar products
Hot products
Hot Searches
Related keywords
