
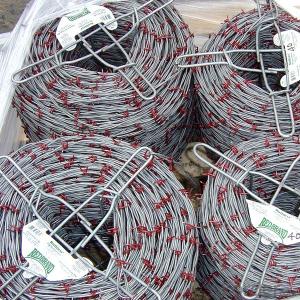


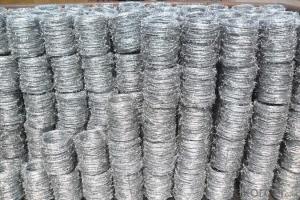
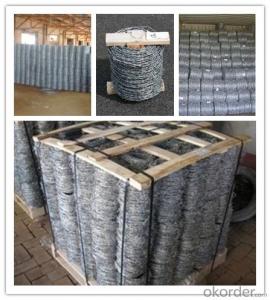
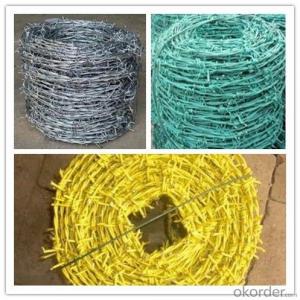
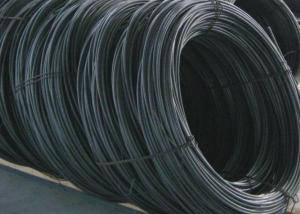
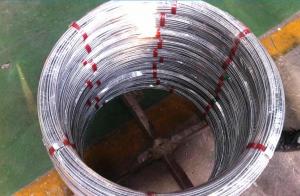
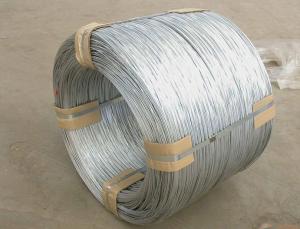
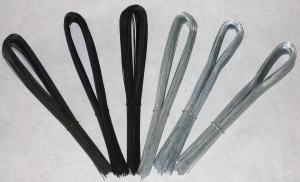
Hot DIP Galvanized /Electric Galvanized /PVC Coated Barbed Wire
- Ref Price:
-

- Loading Port:
- Tianjin
- Payment Terms:
- TT OR LC
- Min Order Qty:
- 2 m.t
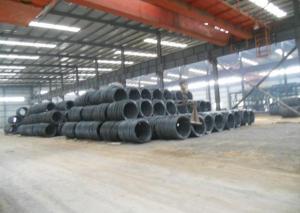
- Supply Capability:
- 5000 m.t/month
OKorder Service Pledge
OKorder Financial Service
You Might Also Like

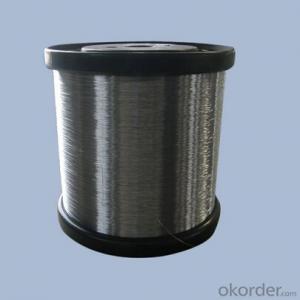
Specification
Material:Low-Carbon Iron Wire
Twist Method:Single Twist
Application:Protecting Mesh, Fence Mesh
Finish:Electro Galvanized
Razor Barbed Type:Single Razor
Wire Gauge:14x14 BWG
Barbed Distance:4"
Barb Length:30mm
Coil Outside Diameter:450mm
Color:Silver
Line Wire:Single /Double
Bar Length and Width:12mm-67mm
Blade Thickness:0.5-0.6mm
Roll Diameter:250-600mm
Barb Distance:4"
Transport Package:Plastic Bag, Carton or as Required
Specification:ISO9001: 2008
HS Code:84219990
Product Description
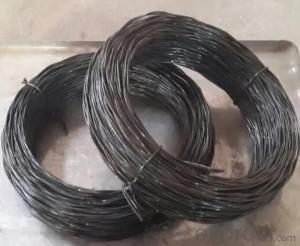
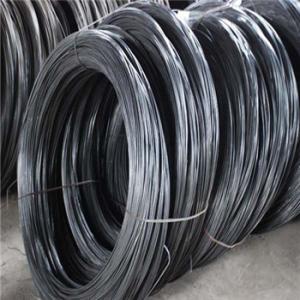
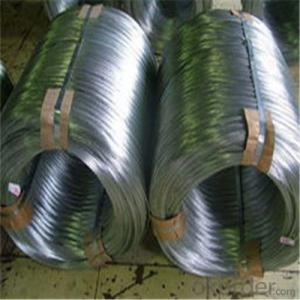
Electro Galvanized Bared Wire
Hot Dipped GI Barded Wire
PVC Coated Bard Wire
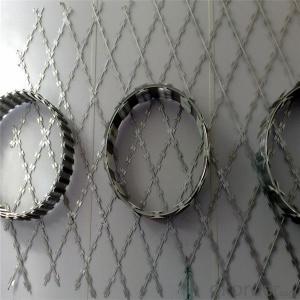
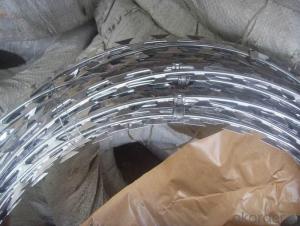
Razor Barded Wire
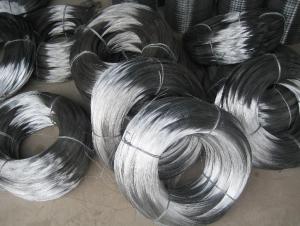
Barded Wire Materials: Low carbon steel wire. Electro GI Wire/ Hot Dipped GI Wire, and PVC coated iron wire in blue, green, yellow and other colors.
Barded Wire Specifications: 2 strands, 4 points. Barbs' distance 3-6 inches ( tolerance +-1/2")
Barded Wire Weaving and Characteristics: Twist and weave, with firm structure and beautiful appearance
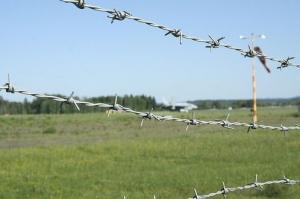
Barded Wire General Use: Barbed wire mainly used as the protection net industry, agriculture, animal husbandry, dwelling house, plantation or fencing. Grass boundary, railway, highway, etc.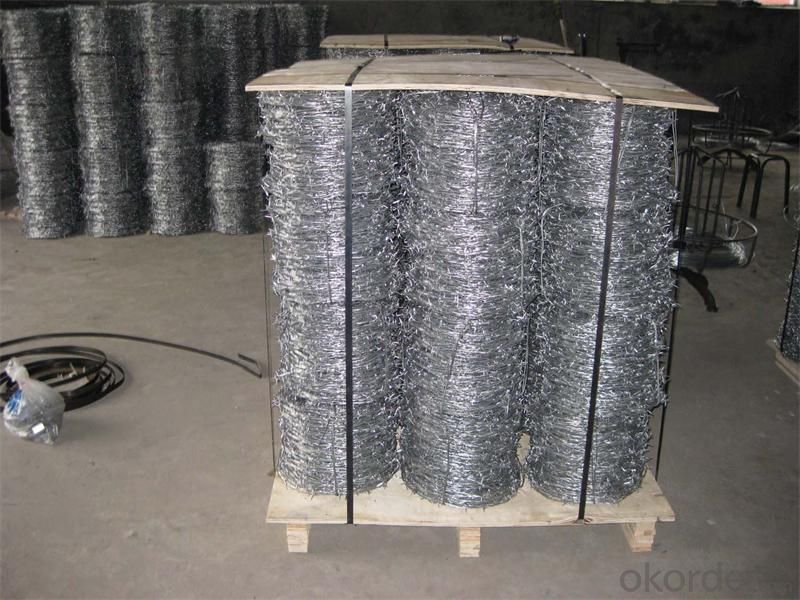
specification:
Type | Wire Gauge (SWG) | Barb Distance (cm) | Barb Length (cm) | |
Electric Galvanized Barbed Wire; Hot-dip galvanized barbed wire | 10# x 12# | 7.5-15 | 1.5-3 | |
12# x 12# | ||||
12# x 14# | ||||
14# x 14# | ||||
14# x 16# | ||||
16# x 16# | ||||
16# x 18# | ||||
PVC coated barbed wire; PE barbed wire | before coating | after coating | 7.5-15 | 1.5-3 |
1.0mm-3.5mm | 1.4mm-4.0mm | |||
BWG11#-20# | BWG8#-17# | |||
SWG11#-20# | SWG8#-17# | |||
PVC PE coating thickness: 0.4mm-0.6mm; different colors or length are available at customers request. | ||||
- Q: What is the best brand of wire to use for getting power to my amp?
- Need info on the amp to make that call. ONe thing is for sure monster cable is a huge rip off and 10 gauge wire is not thick enough for an amp power cable. For around 800 watts or less 8 gauge will be good enough. The thicker the wire the better the performance. Almost all wire is essentially the same, its the gauge that is important. (0 is thickest, 10 thinner, 20 even thinner etc.) Good Luck
- Q: I am currently doing a guitar build and want to do the 21 tone jimmy page wiring style. I have a few questions. I can follow the diagram attached fairly well but am just confused on certain points. 1. for all the wires excluding the pickup wires, so the majority of the black wires, should those be hot wire or ground wire? I bought a wire back that has black ground wire and hot white wire and am confused on what to use when. 2. Specifically with the black wire coming from each pickup, once those go to a terminal on the pot the black wire that comes off of that joint is a connecting wire like in question 1, not a stretch of the pickup wire correct?3. When multiple wires come to a single solder joint should you tin the pot and then add one wire at a time to that spot or solder them all together and then to the pot?
- Hello there, 1) Excluding pickups, black wire hot or ground? They use black for both in that diagram. I believe the only ground wires are all marked as ground in the diagram. A ground wire will run from the case of a pot to somewhere. To the ground side of the jack. To the bridge. To another pot. As for what you bought, I have no idea what you are trying to say. There is no difference in the wire itself that is used for ground or hot. You can use any wire (except bare) for either of those. 2) The black wire from the bridge pickup goes to a terminal of the switch on the push/pull bridge volume pot. You may solder the wire and continue the same wire down to the terminal of the switch on the push/pull tone pot. Or you can use another wire to connect those switches. The black wire from the neck pickup go to the middle terminal of the neck volume pot. Again, you may continue the wire from the pickup or solder in another wire to connect to the switch on the push/pull neck tone pot. 3). When I run ground wires to the case of a pot. I used separate solder joints. I do not wrap the wires together and then solder them as a group onto the pot. I have tried that and got bad connection on some of the wires. Best to solder ground wires separately. On a switch terminal where you have two wires coming to the same terminal, I try to solder both wires at the same time to the terminal. 4). All connections are soldered. Also, you should be aware that not all pickups have the same colored wires. You need to check the color code for the brand of pickups you are using. Seymour Duncan makes his diagrams based on using his pickups. If you use some other brand, the color of the pickup wires may be different. Seymour Duncan has a pickup wire color code chart on his web site. Later, Norm
- Q: so i got a few questions. on my 2000 chevy cavalier i got my audio system upgraded but toke it to a shop to get done i am ready to hook up a amp and woof but wanna do it my self to save a few hundred bucks as i was observing my car where to put stuff at i notice a blue wire that is going from where it looks like from my radio to my fuse box on the driver side and is hooked up to a fuse. what is that? and if its the remote wire can i hook up the remote wire for the amp with that blue wire to or is that to much?
- There should be a block in that fuse panel marked auxiliary or aux. That will be the 12V power conx but I advise you to be safe and let the pros do the job for you.
- Q: i want technical names of the electrical equipments rheostat,wire wound
- there are no other names for them. these names are not used by laymen. they are used by everyone from students to advanced engineers.
- Q: So Ive never done wiring for my car, But my friends are willing to talk me through it. But the next time I can talk to them is next week and they kept telling me to tap into wires. but What does that mean? like, what does it mean to quot;tapinto the wires?
- Tap means to splice into a wire. To join a new wire to the middle of an existing wire. Such as joining the wire for your new driving lights to the existing wire for the normal headlights. Before getting scared about cutting and soldering. Go to the parts store and get some IDCs. Just ask the counter guy for some suitcase connectors. You lay two wires next to each other and fold the IDC over them. When you squeeze it with pliers, it will join the two wires together.
- Q: How can I stop my cat from chewing wires? He does it all the time, and the wire he ends up being important.
- If you find a good answer, please let me know. I have a 4 year old cat- still doing that - and they are also very important wires. You think they would be electrocuted-especillay when they are plugged in- but he is still ticking strong and chewing! Computer wires, radio antennas, headphone wires- its crazy! He also chews on plants- I wish I knew what to do! Good luck with an answer!
- Q: chicken wire mesh
- Perhaps to make a chicken Coop
- Q: I changed my Sony to another car and am having problems wiring it back up. Any help on how to wire this ?
- Judging from the fact that there's no CD/MP3/WMA/etc in the list of what you've got on your radio I'm going to assume it's an older one. I'm also going to assume that it's still new enough to have the now standardized wiring colors on it. Go to an installation shop and buy a plug that matches your cars year and make, connect the wiring on that plug to the one on the radio matching color to color. If there's no black wire (ground) on the car to radio plug you just bought that means you need to attach the black wire to a piece of metal that contacts the frame or firewall under your dash. If this wasn't helpful, please make a more detailed question or make me a contact and give me more detail.
- Q: I recently bought a set of DT Moto emergency lights for my pickup and after installing them i found when i went to wire them to my battery the wire was too short. I didn't install the grille lights just the visor. Could i cut wires from the grille set and wire them to extend the visor light wire?
- I'm looking online to find out what DT Moto lights are. Ok, I see what they are. I didn't know the brand name. LED lights in general are not high current, so they probably use lamp cord. I want to explain something to you about polarity. Electronic circuits are sensitive to the polarity of the DC electricity. The positive (+) and the negative (-) connections must be observed. So many people have absolutely no clue about this. There are just two wires. But if you extend them, you have a 50-50 chance of wiring correctly or incorrectly. There is only one allowable way. If wrong, it WON'T work, and probably will blow up the circuitry. So connection to battery or cigarette lighter plug is extremely important not to reverse the polarity. If just the LED lights got reversed, they wouldn't light, but they wouldn't be injured. Just reverse the wiring. But to the 12 volt source, polarity can't be wrong. Not for an instant. If you look closely at the insulation, you will see that one wire has smooth insulation, and one wire either has milti-ribbed insulation, or a single rib down the side. If you extend wiring, make sure to connect smooth to smooth and ribbed to ribbed. Wires should be soldered with electronic solder and the joints covered with heat shrink tubing. No crimped barrel connectors, or twisted bare wires with tape, or house wiring wire nuts. These methods all beg for failure. I don't know about robbing wire from one place and connecting to another. Is the one wire actually too long? You'll never need it? I guess you could take it. But me personally, I'd go get some wire from a lamp store. Match the wire conductor gauge (size), not the insulation size. Most lamp cord is 18 gauge. Some is 16 gauge. You can get 14 gauge or even 12 gauge. Thicker is a smaller number. Places that install car audio systems often have/sell thicker lamp cord. Have I told you enough?
- Q: Say you have a 5 cm current wire carrying 10 A going from left to right. Directly 1 c.m below the left end of this wire is a long wire that is perpendicular to the first wire and goes out of the page. What is the net force on the 5 cm wire?I've tried using F=ILB with the I of the first wire and the B of the second wire.
- I didn't read the question so I was carefully working out the force. The wire is perpendicular to the first wire, so using the right hand rule you discover that the field it creates is PARALLEL to the first wire at this left end. The magnetic force is caused by the component which is PERPENDICULAR to the wire which is in fact zero. So there is no magnetic force at this point. As you move along the wire you get a diminishing amount of magnetism caused by the wire which is going out of the page but that field has a component which is DOWN the page. Therefore that part of the wire experiences a force which is into the page. ( take your right hand, put the thumb along the wire pointing to the right, the fingers point down the page, the palm points into the page which is then the direction of the force) I would be surprised if you were required to work out the magnitude of the force in this context. You can't use F= ILB because both the magnitude and the direction of the field varies at different points along the wire. If the perpendicular wire had been directly below the middle of the other wire there would have been no net force. If you were of a level where working out the force was appropriate you would need to set up the formula for B at various points along the wire, taking the vertical component only and integrate this over the range from 0 to 5 cm. Not a trivial mathematical task.
Send your message to us
Hot DIP Galvanized /Electric Galvanized /PVC Coated Barbed Wire
- Ref Price:
-
- Loading Port:
- Tianjin
- Payment Terms:
- TT OR LC
- Min Order Qty:
- 2 m.t
- Supply Capability:
- 5000 m.t/month
OKorder Service Pledge
OKorder Financial Service
Similar products
Hot products
Hot Searches

