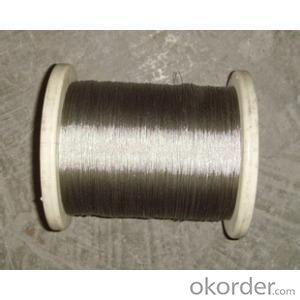
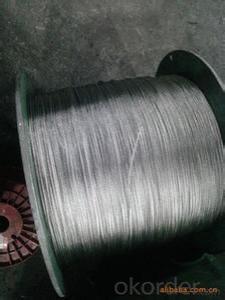
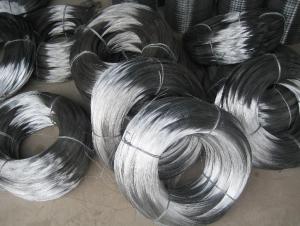
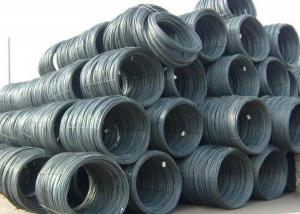
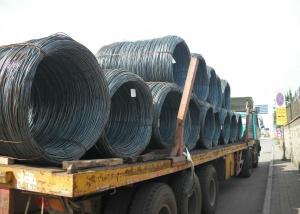
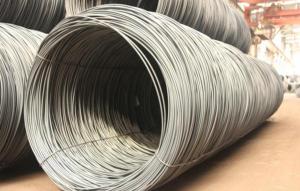
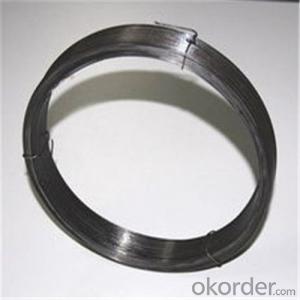
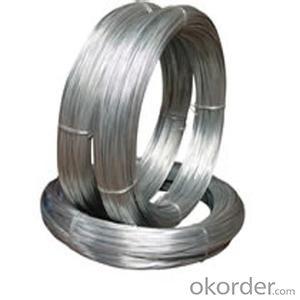
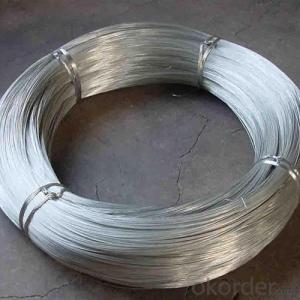
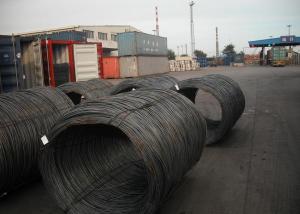
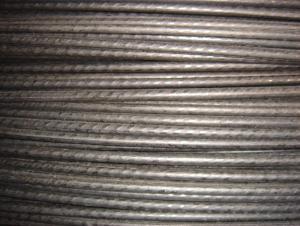
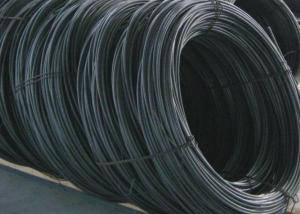
Gi Wire Roll price for gi wire supplier wire
- Loading Port:
- Tianjin
- Payment Terms:
- TT OR LC
- Min Order Qty:
- 1 m.t.
- Supply Capability:
- 10000 m.t./month
OKorder Service Pledge
OKorder Financial Service
You Might Also Like
Quick Details
Place of Origin: Tianjin, China (Mainland)
- Model Number: 6#-22#
Surface Treatment: Galvanized
Galvanized Technique: Electro Galvanized
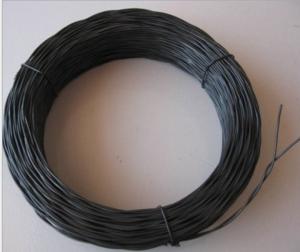
Type: Loop Tie Wire
Function: Baling Wire
Wire Gauge: 0.7-6mm
Business Type: Business Type
Raw material: Low carbon steel, Structural Carbon Steel,Q195
Elongation: 10% -12%
Zinc Coating: 10-270g/sqm
Standard: EN,BS,ASTM,GB
Packaging & Delivery
| Packaging Details: | 25kg or 50kg for each coil,According to customer's requirements |
|---|---|
| Delivery Detail: | 15 |
Product Description
| Business Type | Manufacturer | |||
| Wire Type | Zinc coated wire/Galvanized wire | |||
| Usage & Performance | Baling wire,Binding wire.weaving wire mesh, construction, handicrafts, express way fencing mesh, packaging of products, equipment, medical equipment, brushes, cables, | |||
| Wire Gauge | BWG 4-22 Galvanized Wire Diameter: 0.7-6mm | |||
| Zinc-plated | Hot dipped Galvanized or Electro Galvanized | |||
| Raw material | Low carbon steel, Structural Carbon Steel,Q195 | |||
| Tensile strength | >350 MPa | |||
| Elongation | 10% -12% | |||
| Zinc Coating: | 10-270g/sqm Electro Galv. Wire-Zinc coating: 10g-25g/m2, Hot Dipped Galv. Wire-Zinc coating: 40g-70g/m2/200g-270g/m2 | |||
| Standard | EN,BS,ASTM,GB | |||
| Certification | ISO9001:2000, CE, | |||
| Packing | Standard Coil Packing Unit | Weight | 25kg or 50kg for each coil | |
| Inner Dia. (φ/mm) | 200/400 | |||
| Inner Wrappage | Plastic film | |||
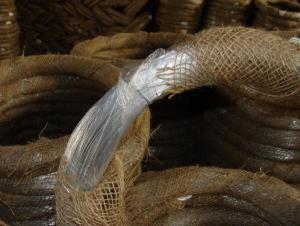
| Outside Wrappage | Woven bag or Hessian cloth | |||
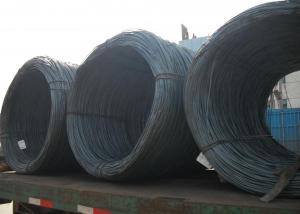
| Export Bulk Packing | Export Packing | 500kg or 1,000kg for each coil | ||
| Customized Packing | 5kg to 500kg for each coil | |||
| Bulk Packing | 500kg/ Bulk coil | |||
| Inner and Outside Dia. (φ/mm) | According to customer's requirements | |||
| Wrappage | According to customer's requirements | |||
| Loading Quantity | 20’GP | 20-25 Tonne/Tonnes | ||
| 40’GP | 25-27 Tonne/Tonnes | |||
| 40’HQ | 25-27 Tonne/Tonnes | |||
| MOQ | 1 kg for trial order | |||
| Supply Ability | 10,000 Tonne/Tonnes per Year | |||
| Payment Terms | T/T or L/C at sight | |||
| Delivery Time | Within 15 days after receiving deposit or original L/C at sight | |||
| Remark | Customized order and specific requirements is available. | |||
- Q: What is the use of Fence baebed wire?
- Cattle.etc...would push on the fence to eat the taller grass on the other side, The barbs change their mind...Also hog wire gives and stretches, barb wire doesn't. A cow would eventually ruin, and walk through, a hog wire fence that didn't have barb wire at the top and bottom edges.
- Q: I wired up my brothers stereo in his 1994 volvo 850. At the time, I knew nothing about wiring harnesses so I did everything one wire at a time. I got it working but the stereo can still run with the car off. If you turn the radio off, a small led stays lit on the front. My brother couldn't get his car to start this morning. Could this little light be drawing enough power to run the battery dead over night? Should he just get a wiring harness and hook wires up like that?
- If the stereo runs even with the ignition turned off, then you have wired a continuous power supply to the radio instead of an accessory, and that will drain his battery. I always recommend using a wiring harness when installing an aftermarket stereo, as there is no way you can accidentally wire something wrong.
- Q: Can you swap out a 1984 Porsche 944 wiring harness with a different car's wiring harness? If which car. Thank you.
- Porsche 944 Wiring Harness
- Q: What exactly is a quot;Jumping Wirequot;? What are the most common methods of motor vehicle theft? Is there any other option that stealing the keys or hot-wiring it?
- I'm pretty sure teaching you to steal cars is a crime itself.
- Q: i need to connect a new bathroom light/fan combo to existing wiring. Existing wiring is black/white/red/copper. The new fixture wiring is black/blue/white/white. Thanks
- black on black should be fan, red on blue should be light and white on white the second white should go with the other whites they probably are independent commons but can go together on the same common. good luck!
- Q: Does anyone know what color the neutral safety wire is on a 1995 suburban? The one in the ignition harness.
- It is usually white, or sometimes gray.
- Q: I'm doing a science experiment and I don't know why resistance decreases as the diameter of the wire increases. Any help is appreciated.
- Free flow of electrons.
- Q: Hello my question are:Examples given for wired and wireless communications systems?Compare and contrasted how wired and wireless communications systems function? Assessed the risks associated with wired and wireless communcations systems?(if you can put in simple details that would be helpful, because I understand parts of it but not all)Thank you
- I additionally want under pressure out. i began out with instantaneous, however the mouse only went by hundreds of batteries, and can crap out on me while i replace into authentic interior the midst of something. Now i take advantage of a under pressure out mouse. My keyboard continues to be instantaneous nonetheless.
- Q: I have a 2 wire system in my garage and need to update to a 3 wire grounded plug. Can I leave my existed 2 conductor and just run a single 12 gauge insulated ground in the same conduit back to the panel/grounding rod. Or do I need to pull out the 2 wore replace with 3 wire ?
- By the N E C the ground wire is part of the cable, just adding a ground will not do what the code requires, unless there is a local variance.
- Q: Say you have a 5 cm current wire carrying 10 A going from left to right. Directly 1 c.m below the left end of this wire is a long wire that is perpendicular to the first wire and goes out of the page. What is the net force on the 5 cm wire?I've tried using F=ILB with the I of the first wire and the B of the second wire.
- I didn't read the question so I was carefully working out the force. The wire is perpendicular to the first wire, so using the right hand rule you discover that the field it creates is PARALLEL to the first wire at this left end. The magnetic force is caused by the component which is PERPENDICULAR to the wire which is in fact zero. So there is no magnetic force at this point. As you move along the wire you get a diminishing amount of magnetism caused by the wire which is going out of the page but that field has a component which is DOWN the page. Therefore that part of the wire experiences a force which is into the page. ( take your right hand, put the thumb along the wire pointing to the right, the fingers point down the page, the palm points into the page which is then the direction of the force) I would be surprised if you were required to work out the magnitude of the force in this context. You can't use F= ILB because both the magnitude and the direction of the field varies at different points along the wire. If the perpendicular wire had been directly below the middle of the other wire there would have been no net force. If you were of a level where working out the force was appropriate you would need to set up the formula for B at various points along the wire, taking the vertical component only and integrate this over the range from 0 to 5 cm. Not a trivial mathematical task.
Send your message to us
Gi Wire Roll price for gi wire supplier wire
- Loading Port:
- Tianjin
- Payment Terms:
- TT OR LC
- Min Order Qty:
- 1 m.t.
- Supply Capability:
- 10000 m.t./month
OKorder Service Pledge
OKorder Financial Service
Similar products
Hot products
Hot Searches
