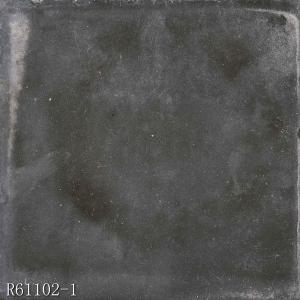
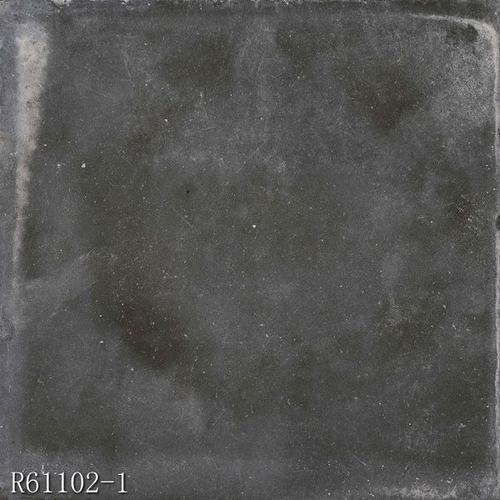
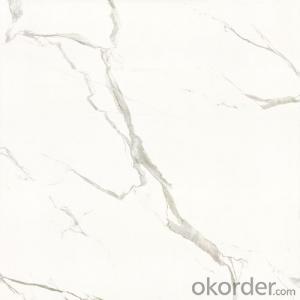
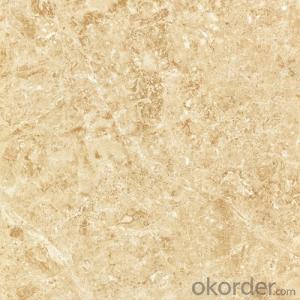
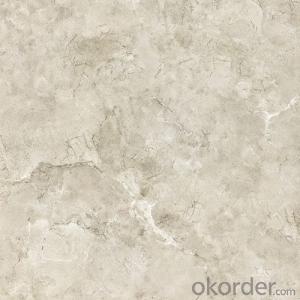
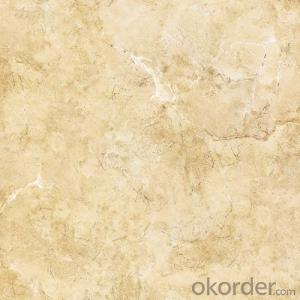
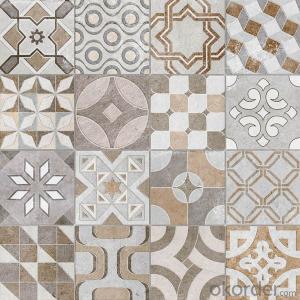
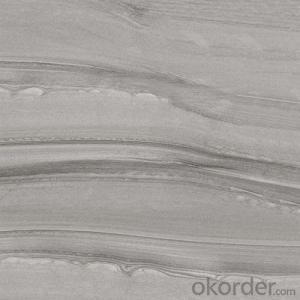
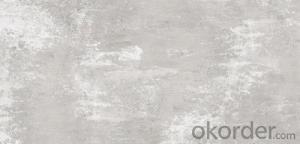
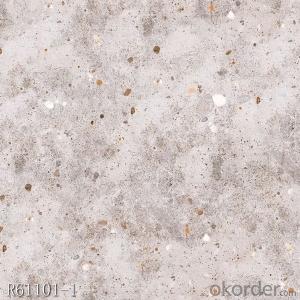
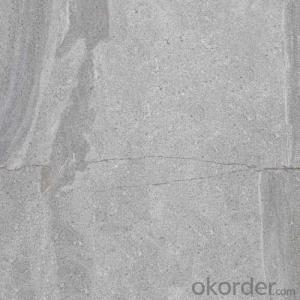
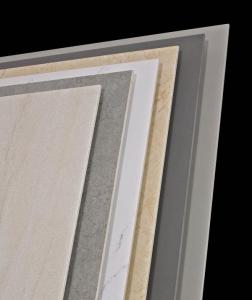
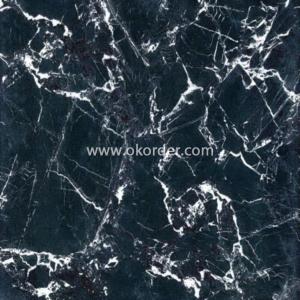
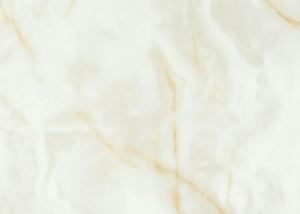
Glazed Porcelain Tile Nebulas Series R61102
- Loading Port:
- Qingdao
- Payment Terms:
- TT OR LC
- Min Order Qty:
- 1267.2
- Supply Capability:
- 100000 m²/month
OKorder Service Pledge
OKorder Financial Service
You Might Also Like
Product Brief Introduction
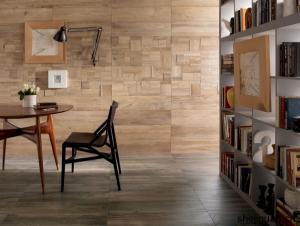
Glazed Porcelain Tile Nebulas Series R61102 is one of the most popular series of Glazed Porcelain Tile, which is one most popular serie of Glazed Porcelain Tile in the present market. Just like other series, it could be used for interior floor for apartment, villa, super market as well as other public areas. This series we call it CEMENT tiles which are quite popular recently.
Product Features
Glazed Porcelain Tiale
Only Grade AAA available
Strict control on color shade, deformation, anti-pollution as well as packing
Competitive price
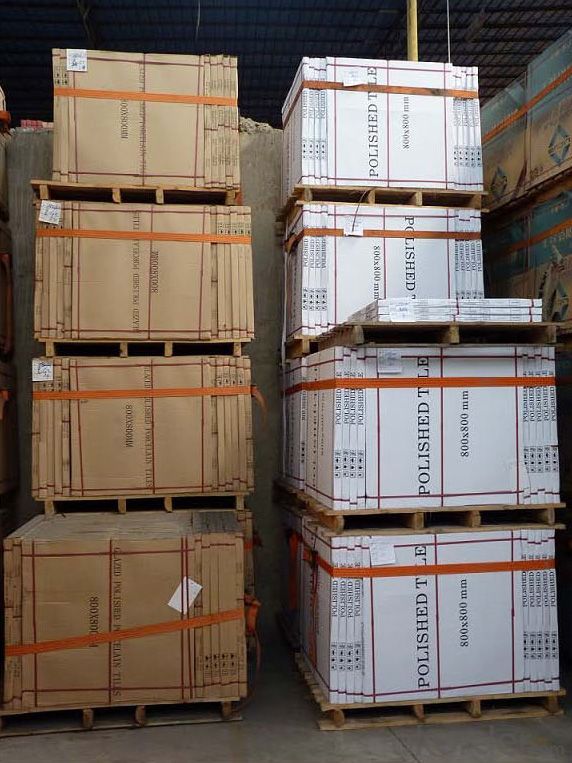
Standard export packing: Pater Carton+ Wooden Pallet
Fast delivery
OEM service could be offered
Marketing support on samples, catalogues as well as carton designing
Professional sales team for product, document and schedule of importing and exporting.
Product Specification
Tile Type: Glazed Porcelain Tile
Quality standard: GB/T4100-2006, ISO13006, ISO9001
Water Absorption Rate: 1-3%
Breaking Strength: 》 1800 N
Rupture Modulus: 》40 MPa
Length and Width Tolerance: ±0.1%
Surface Smoothness: ±0.15%
Edge Straightness: ±0.15%
Wearing Strength: 《1600 mm3
Resistance to Chemical: Class UA
Resistance to Staining: Class 3.
Packing Information (For 27.5 Tons heavy 20’Fcl)
For 600x600mm, 4pcs/Ctn, 40 Ctns/Pallet, 960 Ctns/20’Fcl, 1382.4m2/20’Fcl
Production Line & Package
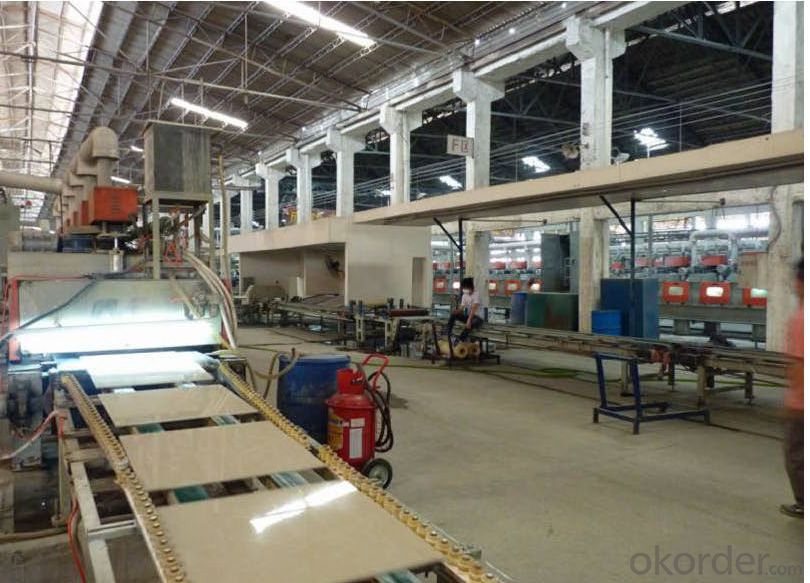
Feature of Product
1.Material: Porcelain tile
2.High chemical stability, high temperature resistant
3. Dust-proof ,resistance of fading and discoloration
4.Customized specifications are available
FAQ
1. For Glazed Porcelain Tile, is the 30*60 available?
—— Yes, 30*60 is available. Due to the basic size is 60*60, we need to cut 60*60 tile into 30*60. 6 pcs are packed into one carton.
2. What is the MOQ for this tile?
—— Normally the MOQ is 1382.4 m2 for one 20’ container. To support our clients, we could go with 3 models to fill one container at most.
- Q: i stay in a moblie home and i would like to lay tile but a lot of ppl are saying not to cause within time the wood under it would give way is that true i dont want to put more carpet cause i have little ones and am tired of shampooing my carpet i have to do it about 4 times a yr and my carpet is a dark green i know but thats what it came with it look nice when it was new but the carpet is 3 yrs old now and not so good looking after so much cleaning .well let me know please
- From a financial standpoint I would stay away from tile in a mobile home. In order for you to lay it you would have to install cement board over the sub-floor. Once installed you would have to be leery of the tile cracking if the trailer ever had to be moved. You should check out the laminate flooring selection, they produce cost effective easily installable floor that looks like tile or wood and are even easier to clean than tile. Check out the selection at Home Depot or Lowes.
- Q: How do the concrete on the outer wall tiles be removed?
- You can also wipe with a steel ball sticky oxalic acid. Sassafras are good to rinse oxalic acid with water. (Note: oxalic acid is corrosive, with the time must be allocated a good proportion, pay attention to personal protection). Optional cement mortar cleaning agent. Depending on the dirty situation can be diluted 1-5 times. How to use: Spray the sand on the mortar contaminated area, wait a moment to scrub directly. The disadvantage is the sand of the Department of chemical products, should be in the same place with a small enemy sand enemy, confirmed and then used a large area. Should try to avoid with stainless steel, plating, coated glass and other surface contact, if the pollution should be washed as soon as possible with water rinse residual liquid.
- Q: I live in a single-level ranch style house but on a concrete pad. I am re-tiling the kitchen floor. Upon removing the old tile, I discovered a 15 lb. felt pad had been glued to the floor; on top of this pad was thin set; then the tile. I live in Bakersfield, CA which is a dry and arrid climate.
- This Site Might Help You. RE: Do I need a vapor barrier when installing ceramic floor tile? I live in a single-level ranch style house but on a concrete pad. I am re-tiling the kitchen floor. Upon removing the old tile, I discovered a 15 lb. felt pad had been glued to the floor; on top of this pad was thin set; then the tile. I live in Bakersfield, CA which is a dry and arrid climate.
- Q: We are thinking of putting nonporous wall tile on walls in our kitchen ... even above the stove. The tile there may get some splatter from cooking so I‘m wondering how difficult is it to clan a nonporous tile? I am assuming it is fairly easy, but would love to hear what the community thinks.
- Nonporous tile is very easy to clean. You can remove grease and grime with regular dishwashing liquid...just a drop on a clean sponge. Scrub with this and wipe with a clean wet rag. I think you'll like the tiles. Nonporous tiles are a piece of cake to keep clean. -
- Q: is there another way to cut tiles ?i dont have a tile cutter , thanks
- Using a straight edge clamped down, a scoring knife,and tile nippers. Or use a Band saw or scroll saw using the appropriate blade, which would be a masonry blade. Bye
- Q: Can I go over the exixting tile,or do I have to remove the old tile first.There is ceramic tile there now,and I want to intsall new ceramic tile.I hope this doesn't sound like a dumb question.
- You okorder /... Good Luck!
- Q: I would like to remove some tiles from one area of my kitchen and save as many as possible for use in another area of the kitchen. They are heavy 1979 ceramic tiles. How do I get them up and save some of them?
- Having recently removed a s***load of tile during a kitchen remodel, I wish you luck in saving a whole lot of them! Carefully slide a prybar under the edge of the tile---wiggle til it loosens then use the prybar as a lever to remove the tile. It worked for me. Surprisingly many remained whole without chips or cracks, and I wasn't trying to save them. Just didn't want the huge mess involved in the sledgehammer method. LOL
- Q: Jane marble tiles how to join
- See what place, if someone in the agent you can not proxy
- Q: I have a kitchen that currently has 20X20 tile The kitchen has 40 tilesWhat is the square feet of the kitchen?
- ~71.3 square feet assuming the tiles are laid in one long row (it really doesn't matter how they are laid): 20*40=800/12=66' 8 times 20/12= 1'8 equals ~71.3 square feet you could also measure the room like Kristine says, but my math is right.
- Q: im kinda changing the tiles in my house and I need some help choosing between white horse tiles or niro granite tiles for the dining hall and toilets.Which one do you think is better?If possible can you please tell me why?it is okay if you don‘t.thanks.hope you can help me
- Hello, I assume your question is trying to distinguish the differences in the companies or the difference between ceramic and granite tiles? lol, if its regarding difference between ceramic and granite tiles I can give a little insight: ceramic tiles are usually cheaper and maybe weigh about 1/5th of the weight of granite. Granite is very hard to cut, since it is stone. Its harder to cut granite than it is to cut marble per say. Granite will last a whole lot longer and won't scuff up or crack if you drop something on it, like ceramic tile would. You have pro's and cons with both products. I have replaced floors using both tiles and although the granite tiles look better and are more classic looking, the ceramic tile is much easier to put down. Cost comparison on regular granite in the state of Georgia from Floor Decor runs about $2.00 sq foot. Where as in ceramic tile ranges from about .75 to 2.50 per foot depending on style etc... Hope this helps you with your question. As far as the two different companies I am not familiar with them. Best of luck!
Send your message to us
Glazed Porcelain Tile Nebulas Series R61102
- Loading Port:
- Qingdao
- Payment Terms:
- TT OR LC
- Min Order Qty:
- 1267.2
- Supply Capability:
- 100000 m²/month
OKorder Service Pledge
OKorder Financial Service
Similar products
Hot products
Hot Searches
