


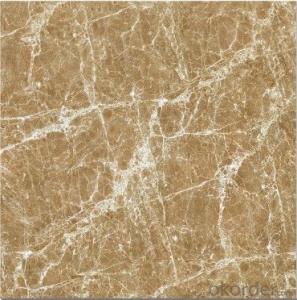
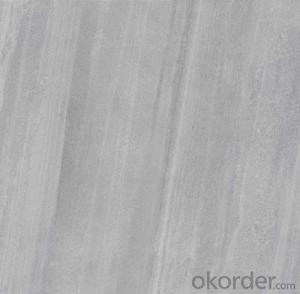
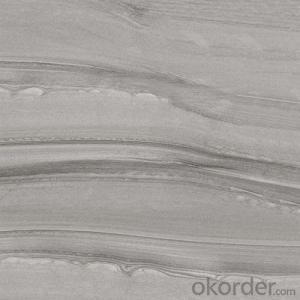
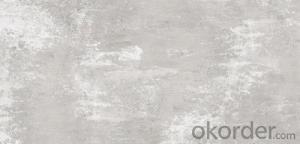
Glazed Porcelain Tile Mafic Series R61003
- Ref Price:
-

- Loading Port:
- Qingdao
- Payment Terms:
- TT OR LC
- Min Order Qty:
- 1267.2
- Supply Capability:
- 100000 m²/month
OKorder Service Pledge
OKorder Financial Service
You Might Also Like


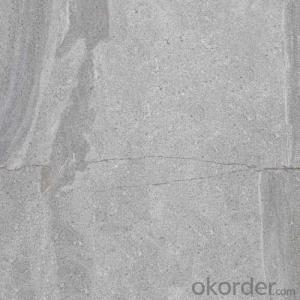
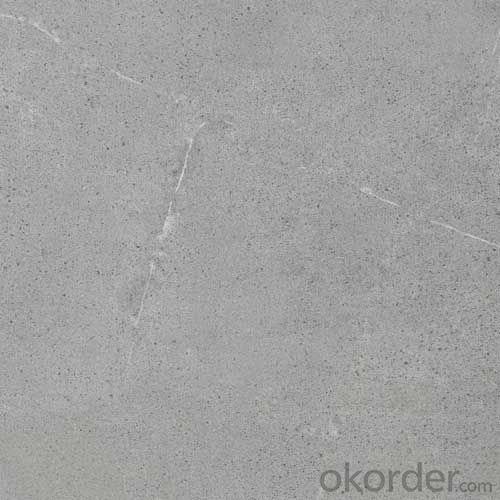
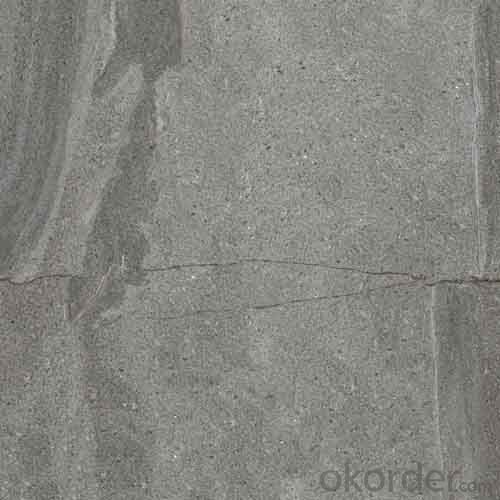
Product Brief Introduction
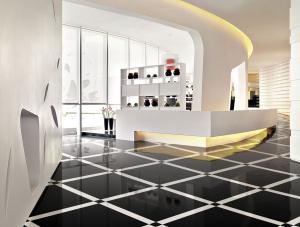
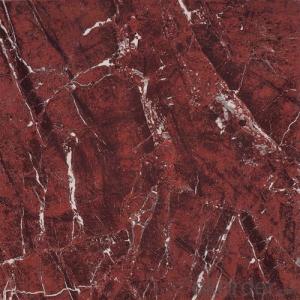
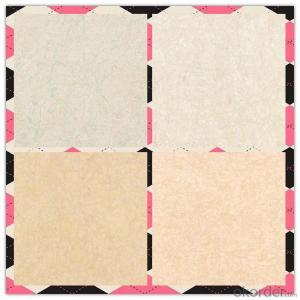
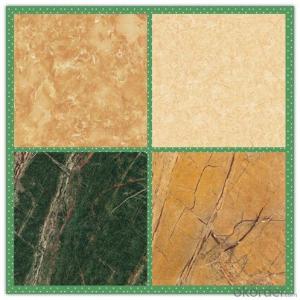
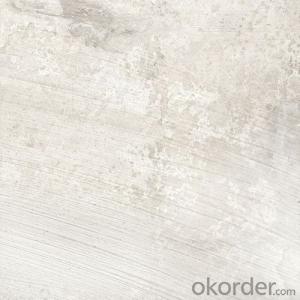
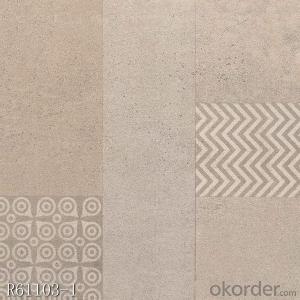
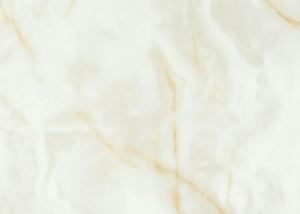
Glazed Porcelain Tile Mafic Series R61003 is one of the most popular series of Glazed Porcelain Tile, which is one most popular serie of Glazed Porcelain Tile in the present market. Just like other series, it could be used for interior floor for apartment, villa, super market as well as other public areas. This series have two finishes. One is structure and the other is matt finish.
Product Features
Glazed Porcelain Tiale
Only Grade AAA available
Strict control on color shade, deformation, anti-pollution as well as packing
Competitive price
Standard export packing: Pater Carton+ Wooden Pallet
Fast delivery
OEM service could be offered
Marketing support on samples, catalogues as well as carton designing
Professional sales team for product, document and schedule of importing and exporting.
Product Specification
Tile Type: Glazed Porcelain Tile
Quality standard: GB/T4100-2006, ISO13006, ISO9001
Water Absorption Rate: 《0.5%
Breaking Strength: 》 1800 N
Rupture Modulus: 》40 MPa
Length and Width Tolerance: ±0.1%
Surface Smoothness: ±0.15%
Edge Straightness: ±0.15%
Wearing Strength: 《1600 mm3
Resistance to Chemical: Class UA
Resistance to Staining: Class 3.
Packing Information (For 27.5 Tons heavy 20’Fcl)
For 600x600mm, 4pcs/Ctn, 40 Ctns/Pallet, 960 Ctns/20’Fcl, 1382.4m2/20’Fcl
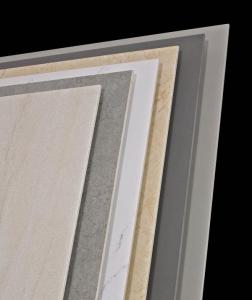
Production Line & Package


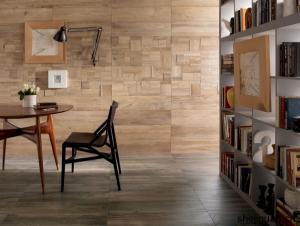
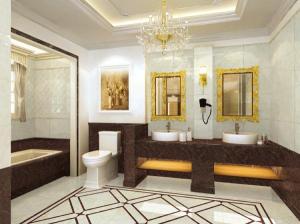
1.Indoor decoration.
2. Home--- living room, bedroom, study, TV backdrop, interior wall and floor
3. Project---office building, hotel lobby, corridor walls, air ports, shopping mall, deluxe clubs
FAQ
1. For Glazed Porcelain Tile, is the 30*60 available?
—— Yes, 30*60 is available. Due to the basic size is 60*60, we need to cut 60*60 tile into 30*60. 6 pcs are packed into one carton.
2. What is the MOQ for this tile?
—— Normally the MOQ is 1382.4 m2 for one 20’ container. To support our clients, we could go with 3 models to fill one container at most.
- Q: How can you cover ugly wall tiles??
- The best way is to have them refinished (if they're ceramic). You can have a contractor do this or there are kits available to accomplish this as well. Similar to refinishing a bathtub.
- Q: I am installing tile in a bathroom, hall, dinining room, and kitchen, and they all connect. Where should I center the tiles?
- I would start the tiles along the longest wall to minimize the amount of cutting. I am assuming that you are talking about ceramic tile, but i would do the same with vinyl tiles.
- Q: What is the tile diagonal
- Wall and floor tiles between the two corners of the straight line, but also to evaluate the quality of one of the standards of wall and floor tiles.
- Q: Which tile is best Porcelain or ceramic for a concrete floor?
- Either will be fine for a residential setting. Installed properly both will last for years to come. Neither will break if installed properly if something is dropped on them. You can possible get top chips if a heavy object is dropped and both will show the inner body core unless you buy a true porcelain and not the average porcelain glazed tile. Unless you have major moisture problems tile can be used any time. Some moisture ( if any) will wick up and dissipate as normal. Any questions you can e mail me through my avatar and check my qualifications there. GL
- Q: The tile at the store says $5.00 per square foot.. so I'm assuming that's the cost of the tile only.. and then how much does it generally cost to install? Another $5 or more per square foot? I am new to this all.
- what the tile store quoted you is the price of the material only. depending on the area of the country you live in, tile installation prices vary. labor prices can range from $2-$10 a square foot depending on the size of the tiles, any pattern you may choose (brick pattern, diagonaly, etc), the type of material you choose (i charge upwards of $15 per foot for glass tiles. i know you are talking floor tiles, and i know you didn't pick a glass tile, but i've seen it done, and believe me, it's well worth $15 a foot!). moving furniture can incur an additional charge; save this money by clearing the room yourself. any floor prep can be additional. if your floor is off-grade (as in not a concrete slab, or you are referring to an upstairs room) then an installer will charge additional for the cost and installation of an underlayement, which is required for tile if installed over plywood. talk with anyone you know who has had ceramic tile installed recently and see who they might recommend. the tile store might offer recommendations as well. get about 3 before you commit to an installer. to giver you a general idea on prices--if you choose a 16 inch tile to be installed over concrete on a straight pattern (square tiles, not diagonal or diamond pattern), you're looking to pay about $3-5 labor per square foot. good luck!
- Q: We are in need of installing a tile back splash in our kitchen. Where can you find the best prices on tile? I live in the Atlanta area, and there are lots of places. I am just not sure what a good price is. We are looking for standard 6 x 6 tile. Also, is there any other way to save money in the process? We do have access to a wet saw to cut the tile. Thanks for your help!
- Home Depot is based in Atlanta,they don't get any cheaper
- Q: I am am re-tiling the kitchen counter. Please help. Thanks.
- Most okorder /
- Q: for diferent size tiles are there standard grout joint sizes
- This doesn't directly answer your question, but I thought that you might like to know what can happen if you don't make a grouted joint in ceramic tiles, particularly in a shower cubicle. The tiler who tiled my shower room didn't make any joints at all. He set the tiles so close together that they were touching, presumably to save on grount and on time. That's what caused a leak in my shower cubicle, strangely enough. The water washed off the tiny amount of grout that was wiped over the tiles, then it worked its way through and behind the tiles, and appeared as a wet patch on the carpet in the hallway outside the shower room. All this took several years to show up. I had to have the shower cubicle retiled, with 3 or 4 mm grouted joints, plus new plaster board backing, but it solved the problem of the leak. So, that's what could happen if you don't put grouted joints in ceramic tiles, particularly if they are in a shower cubicle.
- Q: Also, formica or tile for a countertop???
- countertops are going more tile or granite anymore. depends on your taste and style your looking to achieve. if you are wanting a more expensive look, go for porcelein. very nice tile. if you have animals, dogs, i would not go with a white grout or a white floor. tile is less expensive in price but porcelein in rich looking.
Send your message to us
Glazed Porcelain Tile Mafic Series R61003
- Ref Price:
-
- Loading Port:
- Qingdao
- Payment Terms:
- TT OR LC
- Min Order Qty:
- 1267.2
- Supply Capability:
- 100000 m²/month
OKorder Service Pledge
OKorder Financial Service
Similar products

Hot products

Hot Searches

