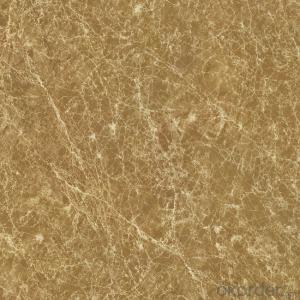

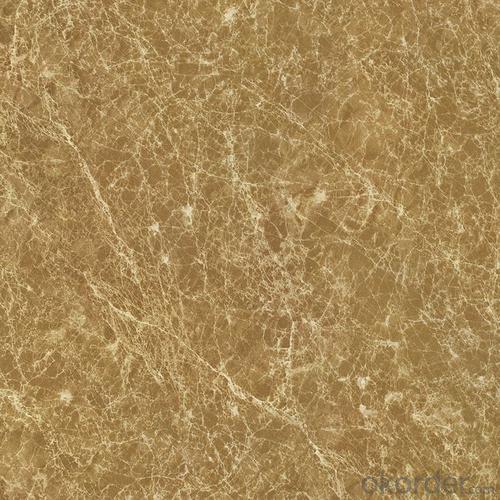
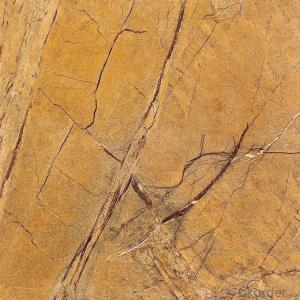
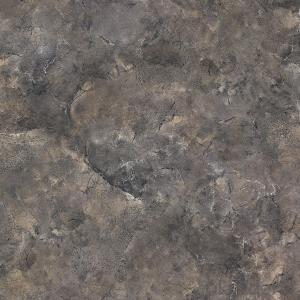
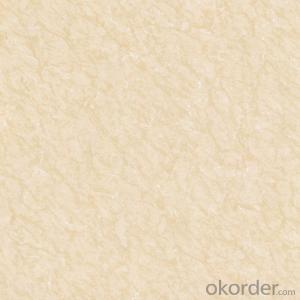
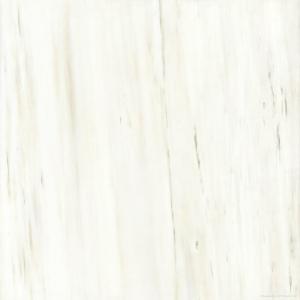
Full Polished Glazed Porcelain Tile CMAXLE001
- Ref Price:
-
$6.15 - 6.25
/ m²

- Loading Port:
- Guangzhou
- Payment Terms:
- TT OR LC
- Min Order Qty:
- 1209.6
- Supply Capability:
- 100000 m²/month
OKorder Service Pledge
OKorder Financial Service
You Might Also Like


Product Brief Introduction
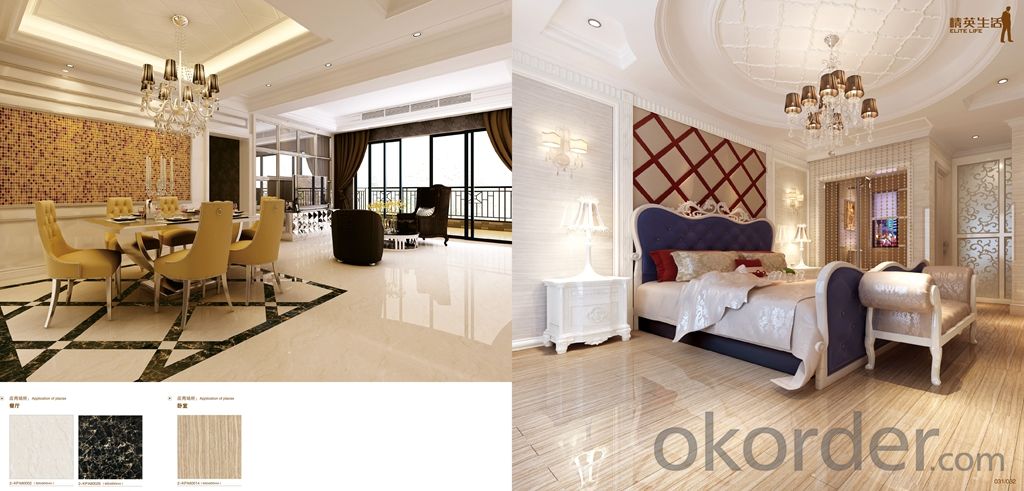
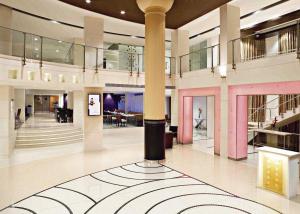
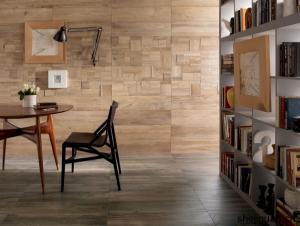
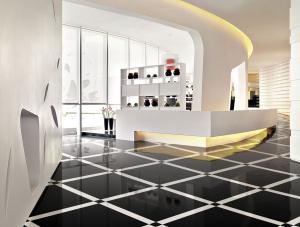
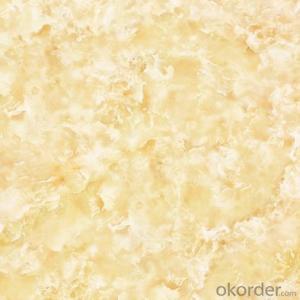
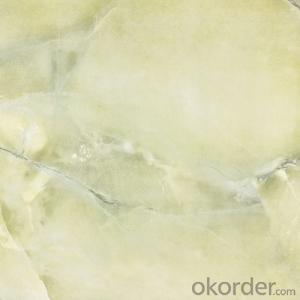
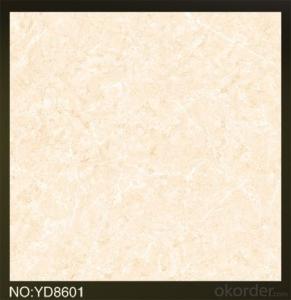
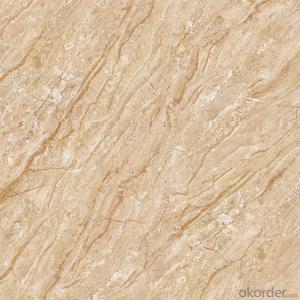
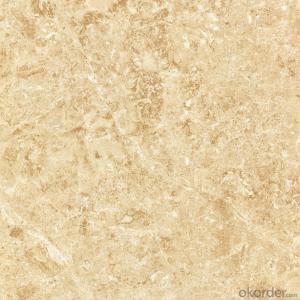
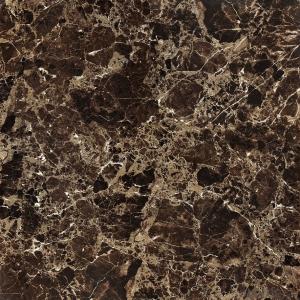
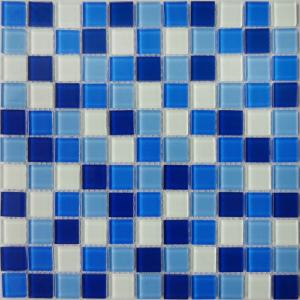
Full Polished Glazed Porcelain Tile CMAXLE001 is a very popular color in the present market. Just like other models, it could be used for interior floor for apartment, villa, super market as well as other public areas, due to its stone like surface, being high glossy and clean, homogeneous color shade as well as the reasonable price compared with natural stones.
Product Features
Full Polished Porcelain Tile, high glossy
Grade AAA available only
Strict quality control system on color shade, deformation, anti-pollution, surface glossy degree as well as packing
Much more competitive price
Standard export packing: Pater Carton+ Wooden Pallet
Fast production arrangement
OEM service could be offered based on the actual requirement
Comprehensive marketing support on samples, catalogues as well as carton designing
Professional sales team available for the whole order operation process
Product Specification
Tile Type: Full Polished Glazed Porcelain Tile
Quality standard: GB/T4100-2006, ISO13006, ISO9001
Water Absorption Rate: 《0.5%
Breaking Strength: 》 1800 N
Rupture Modulus: 》40 MPa
Length and Width Tolerance: ±0.1%
Surface Smoothness: ±0.15%
Edge Straightness: ±0.15%
Wearing Strength: 《1600 mm3
Glossiness: 》 90 Degree
Resistance to Chemical: Class UA
Resistance to Staining: Class 3.
Packing Information (For 27.5 Tons heavy 20’Fcl)
For 600x600mm, 4pcs/Ctn, , 35KgS/Ctn, 36 Ctns/Pallet, 780 Ctns/20’Fcl, 1123.2 m2/20’Fcl
For 800x800mm, 3pcs/Ctn, 56Kgs/Ctn, 28 Ctns/Pallet, 500 Ctns/20’Fcl, 960 m2/20’Fcl
Production Line & Package


FAQ
1. Could you company supply polished porcelain tile?
—— Yes. We could supply various kinds of polished porcelain tile, with size 60*60, 80*80, 100*100 and 60*120.
2. Could you put some samples in the container of our orders?
—— Yes. We’d like to offer free samples in the containers to our clients, with a certain quantity of different models.
3. Could we be your exclusive agent in our country?
—— Possibly. For some countries we are hoping to find a proper partner in working market together. For sure we need to have a good talking for the details.
- Q: I have gauges and scraps on my ceramic tile, i want to fix and even out the existing tile, then glaze it?
- If these tiles are already installed I think you are out of luck for any long term fix. Ceramic tile glaze is fired onto the tiles in a kiln at very high heat. The firing makes the glaze and tile bond in a way that fillers, puttys, or paint cannot achieve. If your tile is that worn, it is possible that you have the wrong grade of tile for the situation where it is being worn so much. You may have earned yourself a new tile shower, floor, countertop, whatever....
- Q: We have tiled around our jetted tub about halfway up the wall and the top and around the edges does not look finished. Do we add trim there or something else?
- bullnose tile. its a special piece of tile that is rounded at the top. Get one in a matching color. You can put it up yourself
- Q: I wanted to do wall tiles with them. They are clear but I wanted to add color as well. Any ideas? I love decorating for less. Thank you.
- You'd see through the glass to the mounting mastic. That's probably not that attractive......
- Q: I have a basement about 25X25 does anyone know how much it would cost to put vinyl tile down?
- Is the floor sealed properly to prevent moisture from causing tile to lift after installation if not it could cost double the amount assuming that the calculation is correct. I can only assume that 25x25 is in feet so that would be 625 square feet. self adhesive tiles may not stick well to cement so applying glue then the tiles might be a better idea. I am not sure about the price but the last time I checked these where less expensive then the self adhesive tiles. Personal I would consult with the folks at the hardware store talk to one of the older ones as they would have more experience. They will also help you estimate the cost so you can consider the value of your purchase before you decide proceed!
- Q: Having done some work in the bathroom we would like to reuse some of the tiles we took of which arent broken, does anybody have any suggestions as to how we remove the adhesive and grout so that they can be reused?
- Just get new tile, its worth it in the long run!!! Your time is worth something
- Q: im layng tile and the room is 13 long and 11 wide how many tiles would that take
- 13x11 =143 sq ft. If you're using 12x12 tiles then you'll need 143 tiles. A 12x12 tile = 1 sq ft. It's always best to buy 10% extra for mistakes and future repairs.
- Q: This is a new house and they put 16 inch tiles in the bathrooms, which I don't care for. The floors are fine as far as leveling goes, but I would like to put 12 inch tiles directly over the 16 inch ones. Would there be any problems?
- Tiles over tile is not a good idea. Just because the floor is level it isn't perfectly level. If the bottom of a tile is not perfectly level, you walking on it will eventually crack it. So the answer is no.
- Q: I've tiled the walls and floors in my bathroom and want to install a tile baseboard. what kind of adhesive would work. Thanks
- Don't half-a* it with glue....do it correctly: take off the bottom row of wall tile. install the tile base cut the wall tiles the proper size to fill in the remaining gap between the base and next row of tile.
- Q: A rectangular area can be completely tiled with 200 square tiles. If the side length of each tile was increased by 1 cm, it would take only 128 tiles to tile the area. Find the side length of each tile.
- let the length of square tiles be x. thus, 200*x^2=128(x+1)^2 =>25x^2=16x^2+16+32x =>9x^2-32x-16=0 =>(9x+4)(x-4)=0 =>x=4 (answer)
Send your message to us
Full Polished Glazed Porcelain Tile CMAXLE001
- Ref Price:
-
$6.15 - 6.25
/ m²
- Loading Port:
- Guangzhou
- Payment Terms:
- TT OR LC
- Min Order Qty:
- 1209.6
- Supply Capability:
- 100000 m²/month
OKorder Service Pledge
OKorder Financial Service
Similar products
Hot products


Hot Searches
Related keywords

