


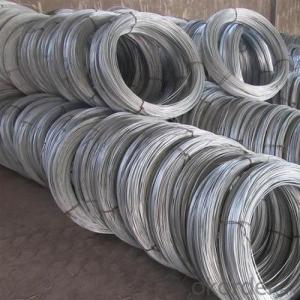
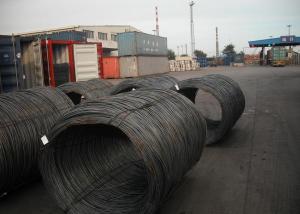
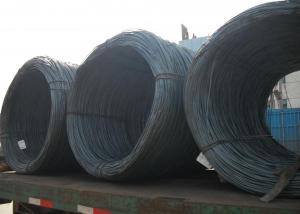
Electro Galvanised Iron Wire 0.1mm to 7mm Electro Galvanized Binding Wire
- Ref Price:
-
$400.00 - 450.00
/ m.t.

- Loading Port:
- China main port
- Payment Terms:
- TT or LC
- Min Order Qty:
- 25 m.t.
- Supply Capability:
- 25000 m.t./month
OKorder Service Pledge
OKorder Financial Service
You Might Also Like
1.Electro Galvanised Iron Wire 0.1mm to 7mm Electro Galvanized Binding Wire Description:
Galvanized Iron Wire has the characteristics of thick zinc coating, good corrosion resistance, firm zinc coating, etc.
Galvanized Iron Wire mainly used in construction, express way fencing, binding of flowers and wire mesh weaving. Galvanized iron wire according to manufacturing technique, it includes hot-dipped galvanized iron wire and electro galvanized iron wire. Mainly telecommunication equipment and materials, medical equipment and device, weaving of wire mesh, steel rope, and filtration mesh, high-pressure pipe, construction, arts and crafts.
2.Main Features of Electro Galvanised Iron Wire 0.1mm to 7mm Electro Galvanized Binding Wire :
• Use widely
• Corrosion- resistant
• Durable
• Practical use
• Beauty Surface
• Versatile
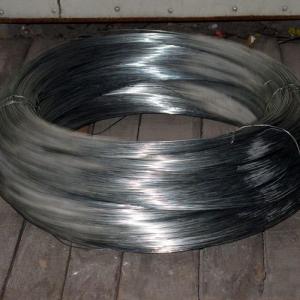
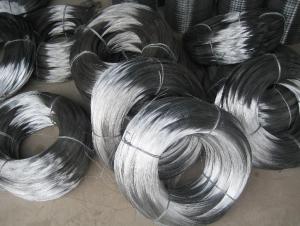
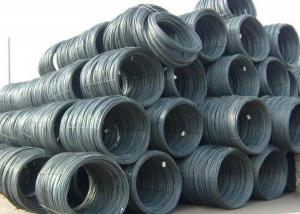
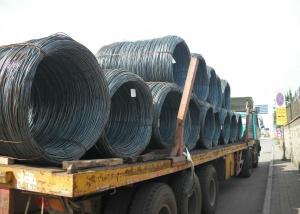
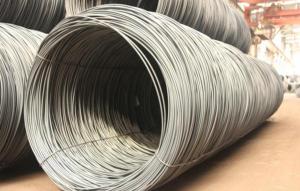
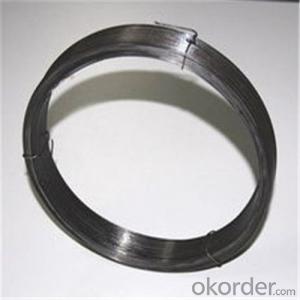
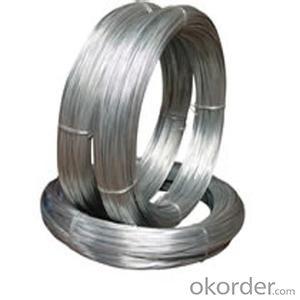
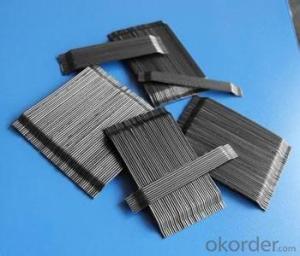
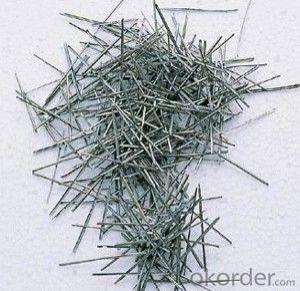
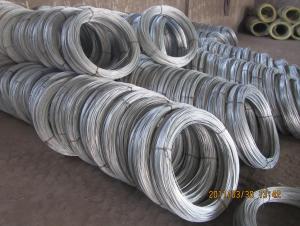
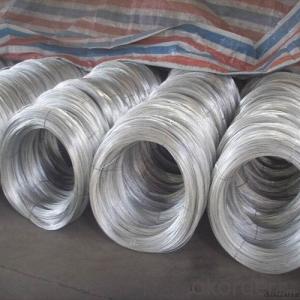
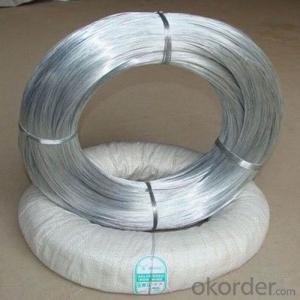
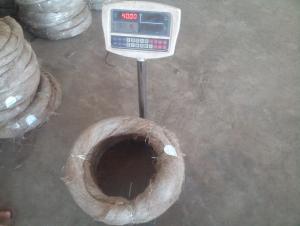
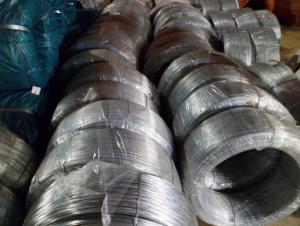
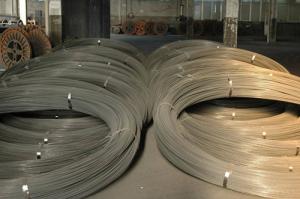
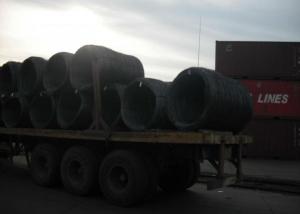
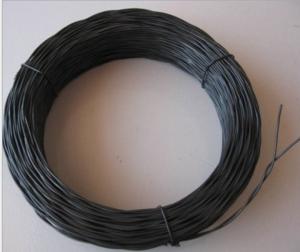
3. Electro Galvanised Iron Wire 0.1mm to 7mm Electro Galvanized Binding Wire Images


4.Electro Galvanised Iron Wire 0.1mm to 7mm Electro Galvanized Binding Wire Specification

5.FAQ
We have organized several common questions for our clients,may help you sincerely:
①How about your Electro Galvanised Iron Wire 0.1mm to 7mm Electro Galvanized Binding Wire ?
One of the most biggest manufacturer & supplier of wires and wire mesh,is a large-scale professional Galvanized Iron Wire factory in China. Annually more than 10000 tons wires and wire mesh are exported to markets all over the world. Different kinds of wires and mesh are available according to customer’s requirements.
②What is your Technical Information of Electro Galvanised Iron Wire 0.1mm to 7mm Electro Galvanized Binding Wire ?
1).Material: super carbon steel
2).Processing by drawing, hot-dip zinc-plating
3).Standard wire gauge from 8# to 24#
4).Thick zinc-coating layer
5).Super in corrosion resistance
6).Firm coating layer
7).Custom size available
③How long can we receive the product after payment?
In the purchase of Electro Galvanised Iron Wire 0.1mm to 7mm Electro Galvanized Binding Wire within three working days, We will arrange the factory delivery as soon as possible. The pacific time of receiving is related to the state and position of customers. Commonly 15 to 20 working days can be served.
- Q: at least 3 examples for wire and wireless......
- Wire simplex: Serial data from GPS to PC or autopilot using 2 wires. Wire, half duplex: Theatrical intercom, with push to talk buttons for each spotlight operator. Wire, full duplex: telephone. Wireless, simplex: infrared remote control for TV. Wireless, half duplex: walkie-talkie, family radio service, cb radio. Wireless, full duplex cellphone, cordless phone.
- Q: What is wire Harnesses?
- A wire harnes is a set of wires that has all the conductors needed and can just be installed into something. There's a wiring harness in your car. They don't install the wires one-by-one. A harness is built for the product and is installed like any other part. There can be many branches on a wiring harnes to go to different places in the product. There may be more than one harness. There could be one for power, one for communications, etc. This is more efficient than installing separate wires.
- Q: subs - dvc 4ohm 2 of them 600wattrms on each wiring it to a 1200 watt amp same brand as sub amp is 1 ohm stable to i wire the subs together and then to the amp a 1ohm? that would give each sub 600 watts right?
- myself I even have 2 - jl w6's under pressure to 3 ohms. under pressure to a fosgate 4 channel amp, the two channels bridged and the amp sees a million/2 ohm after bridging and the amp works positive with the best points set at 0 i are not getting the suitable overall performance this type and would desire to cord to 6 ohms. and bridge to 3 ohms and this would be greater suitable yet have not tried it yet will interior the destiny. shop this set up if it sounds reliable yet seem interior the destiny to get an amp or subs that artwork at the same time.
- Q: trying to put in a different radio, and take out the original radio, but don't know which wires are which. i tried doing it myself already, and now when i turn on my headlights, the taillights don't come on? but the turn signals come on and so do the hazards. did i snip a wrong wire or did one come loose?i only cut the wires that were attached to the stock radio.help please!thanks!
- Why did you cut ANYTHING?! All you had to do is buy the aftermarket harness, connect it to your new radio and plug it in to the factory harness. I bet you cut the wires right at the harness too so you can't reconnect it. My guess would be you hooked up the dimmer wire and you don't need it. Go buy a harness anyway, it will tell you what the wires are.
- Q: Wired car radio no sound powered on then wires crossed had to run red straight to battery. Then memory and ground crossed. Now nothing. Checked fuses radio fuse is bad. Will i also need a new wiring harness? Stereo Works fine when hooked up to battery charger.
- Could you rewrite your question and clear it up some. The red wire should go to the ignition on the existing harness in the dash. You were crossing all of those wires? Look at the diagram that came with the deck to know which wires go where. Typical pairs of wires (white and white w#x2F;black stripe or gray and gray w#x2F; black stripe) are for the speakers, red is for power(ignition) I think green is the signal wire and so forth. I don#x27;t know how your wires just get crossed like that? Did you splice them into the wrong ones in the dash?
- Q: I am replacing old 3 button (vertically aligned) light switch. There is 1 thick wire wrapped in white, 1 thick wire wrapped in black and 4 thin wires wrapped in black. I attached the white wire to the common wire screw and put the remaining wires around the screws. I am also replacing a toggle switch that will control the vanity lights above the sink. There are 4 clumps of wire coming through the box. The copper grounds are all twisted together, and there are multiple strands of white covered wire twisted together and then the 5 black cover wires and 1 white covered wires. After hooking it all up, it doesn't do anything. No lights, fan or heat lamp. What did I do wrong?
- Light Switch Common Wire
- Q: Why are some wires (especially thin ones, like ones connecting a battery pack in a toy) made up of many wires instead of just being one solid piece of metal?
- Easier to bend the wire without breaking.
- Q: want to get ready to solderis the fuzzy stuff the wire? or the shiny (positive green and negative red color) the wire? sorry i know its a noob questionlet me knowthanks
- wire is metal and metal is orange or silver . The fussy stuff is string
- Q: how do you hook up a wired connection with xbox 360 if you have an wireless connection(the wire included with the 360)
- If you have a wireless connection it has to plug into a wired connection somewhere. I would just guess that you have a wireless router. There should be extra ports on your router for a wired connection(on the back of your router). You can buy a Linksys aftermarket wireless adapter for your 360 that will work on your wireless signal, or just buy the xbox version for $100. E-mail me if you have other questions, I am sure I can help if needed. I work for a communications company, and wireless and cabling is what I do all day long. If needed you can click on my profile and e-mail me from there.
- Q: I need to buy some electrical wire for my car, does it matter what color the copper wire is inside of ( i.e. black,yellow,red,green,blue,etc.)
- The color of the wire indicates wire gage
Send your message to us
Electro Galvanised Iron Wire 0.1mm to 7mm Electro Galvanized Binding Wire
- Ref Price:
-
$400.00 - 450.00
/ m.t.
- Loading Port:
- China main port
- Payment Terms:
- TT or LC
- Min Order Qty:
- 25 m.t.
- Supply Capability:
- 25000 m.t./month
OKorder Service Pledge
OKorder Financial Service
Similar products

Hot products
Hot Searches
Related keywords

