


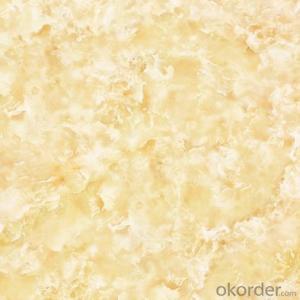
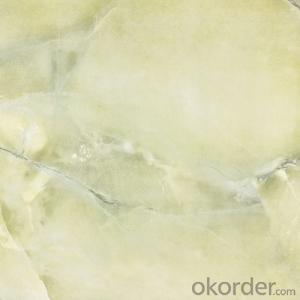
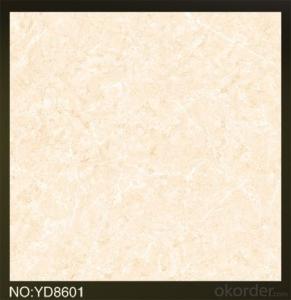
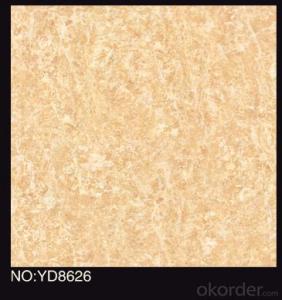
Best quality Polished Porcelain Tile BJ1242
- Ref Price:
-

- Loading Port:
- China main port
- Payment Terms:
- TT OR LC
- Min Order Qty:
- 1 m²
- Supply Capability:
- 100000 m²/month
OKorder Service Pledge
OKorder Financial Service
You Might Also Like


Primary Competitive Advantages of Polised Porcelain Tile BJ1242:
Experienced Staff
Form A
Green Product
Guarantee/Warranty
Military Specifications
Packaging
Price
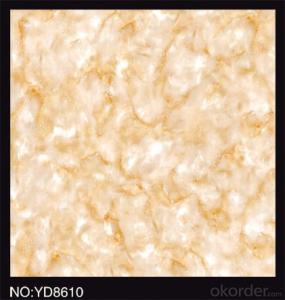
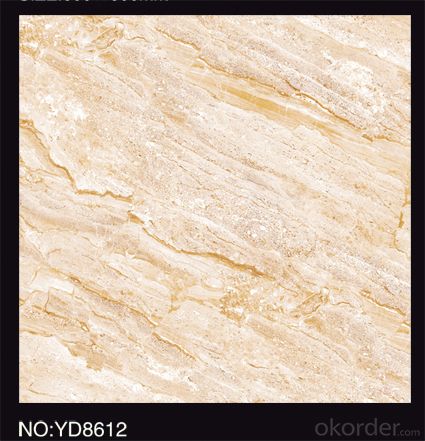
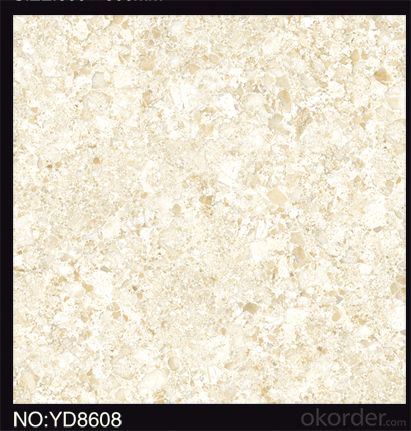
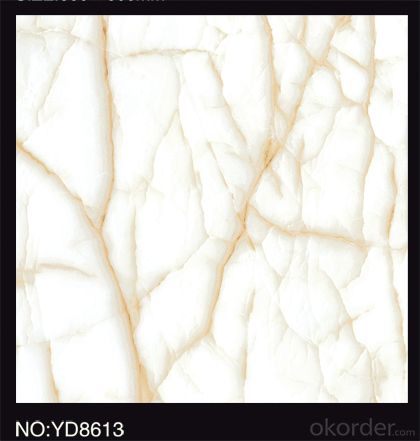
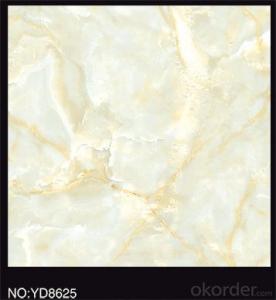
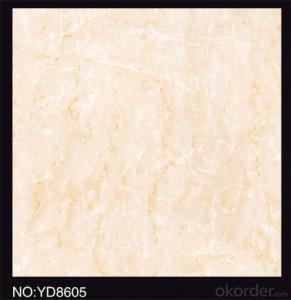
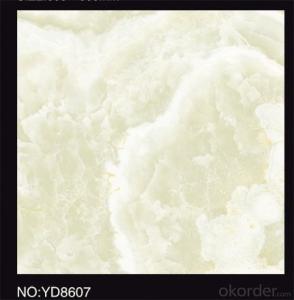
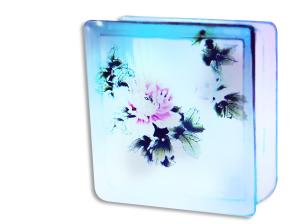
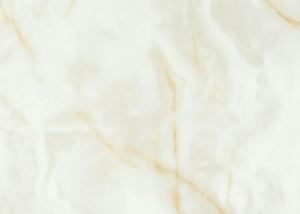
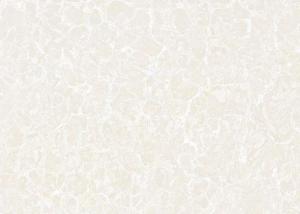
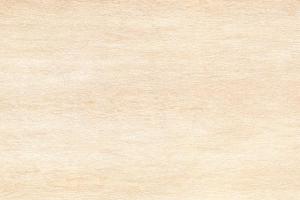
Product Features:
Adopt international advanced ceramic cloth exquisite processing technology, selected high
quality pure raw materials, on the product body, with moist and gorgeous color, microcomputer
total precision control, multiple temperature control forming technology create gorgeous texture
hd grain boundary, bottom dense embryo thicker, pure texture, deduces the natural stone material through the external environment and the
geological characteristics and the dynamic form of change,
also make products with high hardness, high gloss, low water absorption, strong dirt resistance, easy
to clean, etc excellent characteristic.
Main Export Markets:
Eastern Europe
North America
Mid East/Africa
Central/South America
Asia
Western Europe
Austra
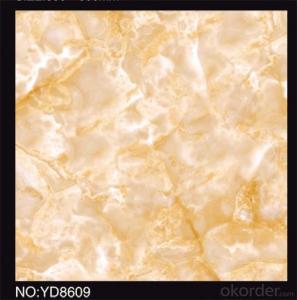
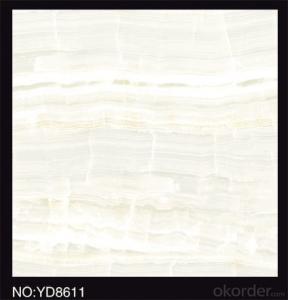
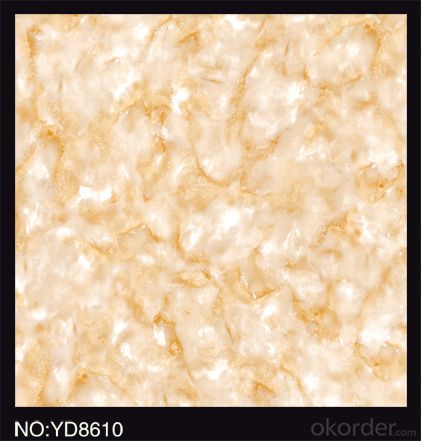
Product Picture :

Production Line :

Oversea Branch :

Product Certificate :

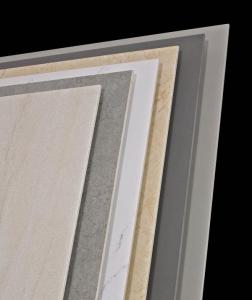
Packing Details :

- Q: I want room color which color perfectly adjust with my granite green tile
- Adjust? Ok... that's an interesting way to put it. Colors that go with green are brown, tan, burgandy, and peach.
- Q: I will be doing my first tile job soon. I will be removing/replacing the tile on my kitchen countertop. I have got most everything figured out with the exception of removing the existing tile on the backsplash. I believe the tile was placed directly over sheet rock (tract home). Any suggestions on how to remove the tile without too much damage to the sheetrock. If I have to do sheetrock replacement I don‘t think I could ever duplicate the texture now applied to the surronding sheet rock Thanks for any tips.
- Well you can use a hammer and a 1/2 chisel with safety glasses to start. As for sheetrock replacement...since it will be under the tile, the texture wont be seen and shouldnt be a problem. The coat that you will use to adhere the tile to the sheetrock will cover any inperfections caused by the tile removal. Are you talking about sheetrock or wonderboard?, sheetrock is also called drywall. If the base behind the tile is a hard ,cement based backing then just adhere the tile to that. I have never heard of anybody setting tile to sheetrock since it isnt waterproof. Good luck.
- Q: For a while now I have just used paper towels as a substrate for my 2 leopard geckos and I recently have been researching slate tiles as a substrate and I want to give it a try due to the positive feedback i‘ve seen on message boards and care sheets. Now, I have 2 10 gallon tanks that I would like to use but details are lacking from an online source.1. What measurements should i ask for when getting a piece of slate cut(for a generic 10 gallon tank)?2. Is there a certain thickness the slate should be for proper heat disbursement?3. How warm should the slate be allowed to get if i‘m monitoring it with a thermometer? I know I could measure out the tank myself, but I was just curious if there was a size that fit better than what a measurement would give me. Thank you for the feedback.
- whats up, the final substrate to apply for person leopard geckos is youngster's play sand. in case you have a youthful gecko, it extremely is ultimate to place those on paper towel to dodge impaction, till they're approx. 6 inches long. Impaction skill that the gecko has eaten the substrate and can't bypass it - inflicting ailment! a lot of hides could be placed via the viv and counting on what number geckos are housed jointly, a minimum of a million humidity cover. good success.
- Q: What is the difference between polished tiles and ordinary tiles?
- Polished tiles, as the name suggests is polished brick, so the surface is relatively smooth
- Q: How would one grout mosaic tiles on standing mirror?
- Grout application on a mirror is exactly the same process as grouting a tile floor, back-splash, counter top, or table. Since the mirror is standing, I'd be sure that the mirror won't topple over when applying the grout because it has to be floated into the crevices between the tiles / tile pieces. If possible I'd suggest laying the mirror flat, either on the floor or on a sturdy worktable A grout float is basically a block shaped pushing tool used to force the grout between the tiles. Hold the float at an angle against the tiled surface and use a firm sweeping motion across the tile to push/force the grout into all the nooks, crannies, cracks and openings between the tiles. You'll have to work fairly quickly because grout becomes hard to work once it starts drying out. Work in a diagonal pattern and go back over any low or missed areas. Allow the grout to sit for 20-30 minutes. You'll know the grout is starting to cure when there is a light haze on the tile surface. Using a sponge and a bucket of clean water lightly buff the tile to remove the haze. This step may have to be repeated once or twice to be sure that all of the excess grout has been removed from the tile surface. If you want to seal the grout and tile, there are a number of sealant products available but you'll need to wait 3 or 4 days before applying in order to allow the grout to cure properly.
- Q: hello, this is my first tile and grout job, tiling is done now for grout. bought premixed grout, rubber float, sponge, started grouting last night, put grout on the float and applied to the tile. pushed it into the space between tiles, but it seems like alot fell off in the tub (its in the spaces between tiles) but is this normal for the grout to fall off the wall (i guess it would be considered excess?) but is that normal no sure how applying grout is suppose to look? i know i need to let it sit for 24hrs then do clean up then seal it when done. plz let me know if that grout falling in tub is normal or am i doing something wrong? ( grout is in the grout line though) just looks like alot is falling, or am i useing to much at one time? don‘t know? thx again for any info. mike
- it is practically unavoidable not to make a mess when grouting tile on vertical walls (unless you are a pro). . .but, just like anything else, the more you do it, the more efficient you become. I wouldn't worry too much, as long as your joints are completely full. One concern would be the 24 hour wait period to clean up. . . After you fill your joints with grout it helps to hold your float at almost a 90 degree angle to wipe off the excess grout on the tile. The more you can wipe off, the easier it will be to clean. I usually start sponging with clean water after about 10-15 minutes after the joints are filled (depending on joint width). Fill a 5 gallon bucket with clean water and continue sponging the excess grout off the tile and cleaning your sponge as you do it. Once you are satisfied with how clean the tile is, let it set for another 30-45 minutes. There will be a light grout film or haze on the tile. Take a cheesecloth or the inside of a sock and wipe off the haze. . .wait a day or two then seal it. But, I certainly wouldn't wait 24 hours to clean the tile, it may be too late.
- Q: I am tiling my kitchen and My house was a prefab. and OLD. The plywood used was 1/2 (I measured it). what thickness of backboard/cement board should I use for under the tile and on top of the plywood? I was thinking 1/2 backerboard/cement board so there is 1 of subfloor under the tile. Do you think this is enough? Also, I am tiling around my cabinets, what do I do about the dishwasher? Do I tile around it? If I tile under it, it won‘t fit in the spot then. I was going to tile around it... I do have room to tile under the fridge though. There is space above.
- I am a tile repairman specialist. Use 1/2 thick backer board. the trick is that you install it with the cement screws that are made for that backer board. Never use dry wall screws. Remove the stove and refrigerator and tile by those areas. Do not tile under the dish washer, you may not be able to remove it at a later date. Tile up to the dish washer's removal panel, don't go pass it. Use a modified thinset mortar to tile your kitchen floor because of the high traffic. Glue will not support the floor and your tiles may crack in time.
- Q: When tiling a counter top, do you need to remove the existing covering? I am assuming that I would. If so, should I apply the tile directly to the plywood? Will the plywood be wide enough?
- take the original tile off. Do not tile on the plywood. You have to put backerboard on top of the plywood, then you apply the tile to the backerboard. So it goes plywood....then backerboard .....then tile. It's easy, but also make sure your tiles are properly sealed. You can get water spots and stains on your tile that won't come out if they are not sealed. Good luck, don't be intimidated as it's fairly easy, just time consuming and messy. go to one of those free homedepot classes if you are not sure. They are 10 minutes and informative
- Q: I want to install vinyl over a tile floor. What procedures should I take? What adhesive? What prep on the ceramic?
- Removing the tile is the best way but to answer your ? you ll have to make sure tile is down tight and no loose grout.. An indication tile is loose.. If all s tight 1st clean and strip tile of all grease and sealers etc.. Now you ll have to flat trowel on an embossing leveler to get rid of all the grout line seams so it won t telescope and show thru.. And it still may so thats a chance you take.. Use the glue that is recommended from the manufacture of the type of vinyl you get.. GL
Send your message to us
Best quality Polished Porcelain Tile BJ1242
- Ref Price:
-
- Loading Port:
- China main port
- Payment Terms:
- TT OR LC
- Min Order Qty:
- 1 m²
- Supply Capability:
- 100000 m²/month
OKorder Service Pledge
OKorder Financial Service
Similar products
Hot products

Hot Searches

