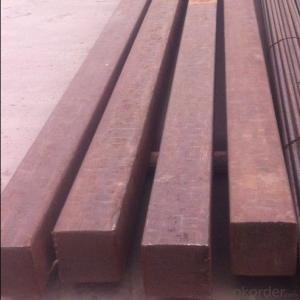
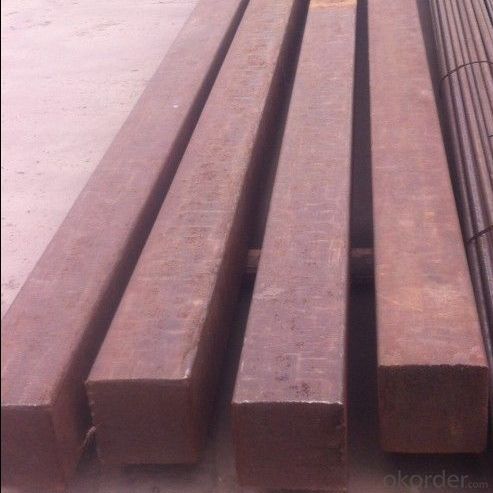
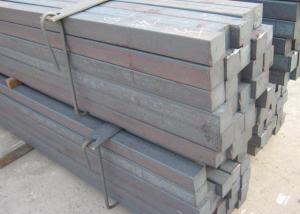
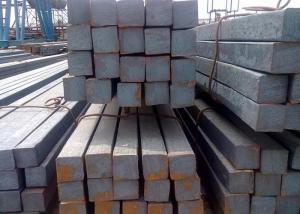
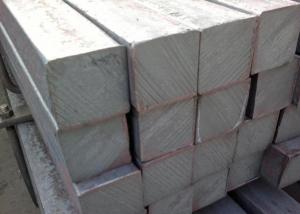
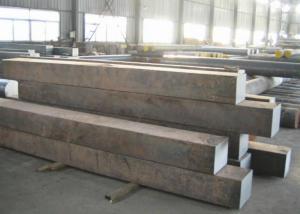
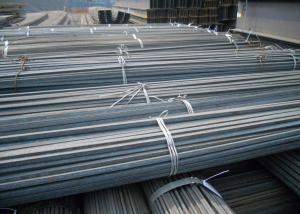
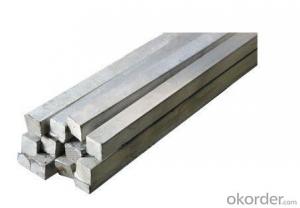
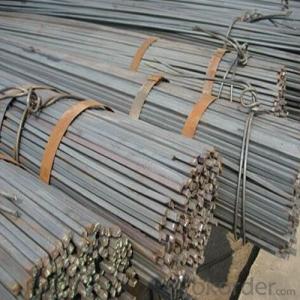
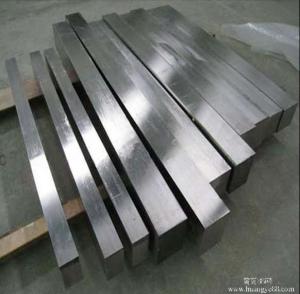
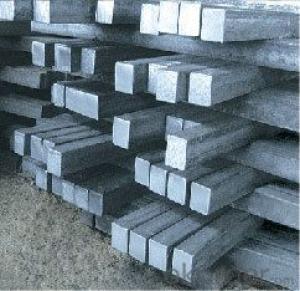
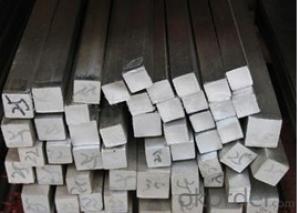
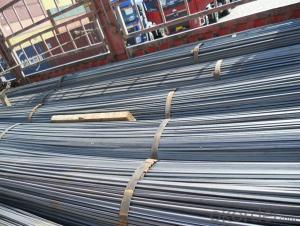
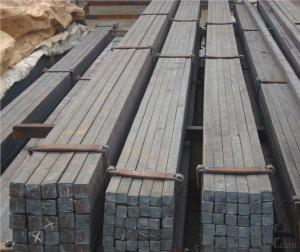
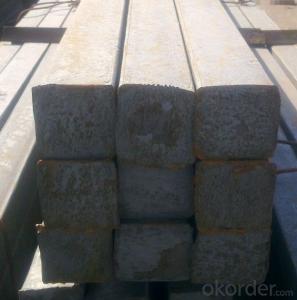
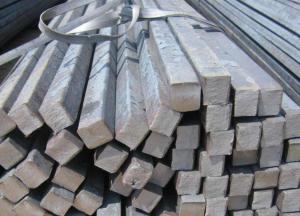
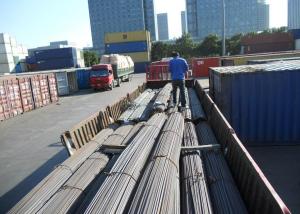
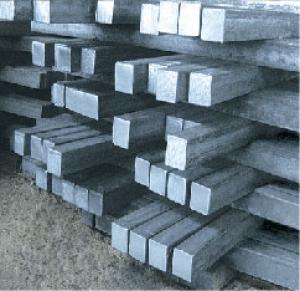
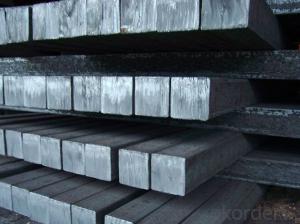
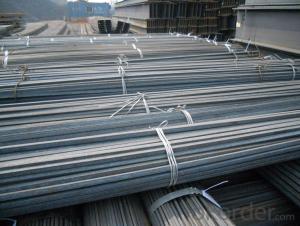
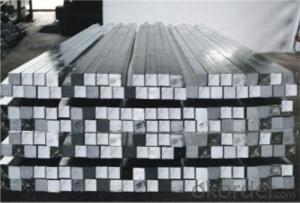
15mm*1.77kg/m square bar for construction
- Loading Port:
- Tianjin
- Payment Terms:
- TT OR LC
- Min Order Qty:
- 25 m.t.
- Supply Capability:
- 100000 m.t./month
OKorder Service Pledge
OKorder Financial Service
You Might Also Like
Product Description:
Hollow Section-Square Tubes
Application:
It is widely used in building, machine, chemical equipment, automobile industrial, container, it is also applied to agriculture and mine machine.
Standard:
ASTM A500, GB6728
Steel grade:
ASTM A500: A, B, C
GB6728:Q195,Q215,Q235,Q345
Size of Pipe:
*Remark: Besides below sizes, we also can arrange production based on requirement of customers
SIZE(mm) | THICKNESS(mm) |
10×10 | 0.6-1.0 |
12×12 | 0.6-1.0 |
16×16 | 0.6-1.2 |
19×19 | 0.6-1.5 |
20×20 | 1.6-1.5 |
25×25 | 1.0-2.75 |
30×30 | 1.0-2.75 |
32×32 | 1.0-3.0 |
38×38 | 1.0-3.0 |
40×40 | 1.0-3.5 |
50×50 | 1.0-5.0 |
60×60 | 1.0-6.0 |
63.5×63.5 | 1.0-6.0 |
70×70 | 1.5-6.0 |
75×75 | 1.5-6.0 |
80×80 | 2.0-6.0 |
90×90 | 2.0-6.0 |
100×100 | 2.3-6.0 |
120×120 | 4.0-6.0 |
125×125 | 4.0-6.0 |
150×150 | 4.0-8.0 |
200×200 | 6.0-12 |
250×250 | 6.0-12 |
300×300 | 6.0-12 |
400×400 | 6.0-12 |
Standard: ASTM A500
Chemical Composition(%)
Chemical Requirement | ||||
| Composition % | |||
Grade A | Grade B | |||
Heat | Product | Heat | Product | |
Element | analysis | analysis | analysis | analysis |
Carbon max | 0.26 | 0.3 | 0.22 | 0.26 |
Manganese max | … | … | 1.4 | 1.45 |
Phosphorus, max | 0.035 | 0.045 | 0.03 | 0.04 |
Sulfur max | 0.035 | 0.045 | 0.02 | 0.03 |
Where an ellipsis (...)appears in this table, there is no requirement | ||||
For each reduction of 0.01 percentage point below the specified maximum for carton, and increase of 0.06 percentage point above the specified maximum for manganese is permitted, up to a maximum of 1.50% by heat analysis and 1.6% by product analysis | ||||
Mechanical Properties
Tensile Requirement | ||
| Grade A | Grade B |
Tensile strength, min, psi (Mpa) | 48000 (400) | 70000 (483) |
Yield strength, min, psi (Mpa) | 36000 (250) | 50000 (345) |
Elongation in 2 in. (50.8mm), min, % | 23 | 23 |
GB6728:
Steel Grade |
CHEMICAL COMPOSITION |
MECHANICAL PROPERTIES | ||||||
C (%) |
Si (%) |
Mn
(%) |
P(%)
Max |
S (%)
Max |
YS(Mpa)
Min |
TS(Mpa)
Min |
El (%)
Min | |
Q195 |
0.06-0.012 |
0.3 |
0.25-0.5 |
0.45 |
0.5 |
195 |
315 |
22 |
Q215 |
0.09-0.15 |
0.3 |
0.25-0.55 |
0.45 |
0.5 |
215 |
335 |
22 |
Q235 |
0.12-0.22 |
0.3 |
0.3-0.7 |
0.45 |
0.45 |
235 |
375 |
20 |
Q345 |
0.20 |
0.55 |
1.0-1.6 |
0.45 |
0.45 |
345 |
510 |
21 |
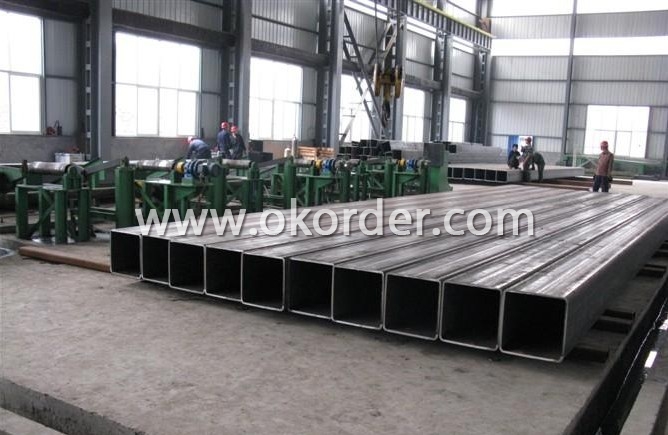
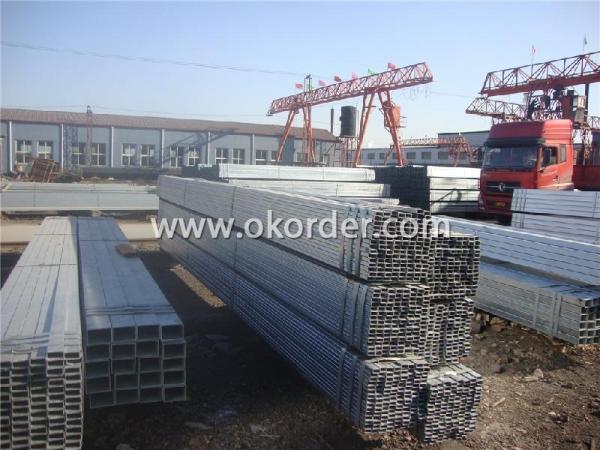
Square Welded Hollo Sectio/Welded Rectangle Hollow Section
- Q: How do you use a steel square to measure stair treads and risers?
- To use a steel square to measure stair treads and risers, follow these steps: 1. Start by ensuring that your steel square is clean and in good condition. Any dents or damage may affect the accuracy of your measurements. 2. Position the steel square on the edge of the stair tread, aligning the tongue (the shorter arm) with the edge of the tread. Make sure the blade (the longer arm) is flat against the riser. 3. Hold the square firmly in place and mark the measurement on the tread. This will give you the width of the tread. 4. Next, move the square to the riser. Align the tongue with the edge of the tread and the blade with the bottom of the tread above. Again, mark the measurement on the riser. This will give you the height of the riser. 5. Repeat this process for each tread and riser, ensuring that your measurements are accurate and consistent. 6. Once you have measured all the treads and risers, check your measurements to ensure they are within the acceptable range for building codes or the project requirements. Using a steel square to measure stair treads and risers is a straightforward process that can provide accurate measurements. It is important to be precise and consistent to ensure the stairs are safe and meet the necessary standards.
- Q: Can a steel square be used for marking and scribing?
- Yes, a steel square can be used for marking and scribing.
- Q: Can a steel square be used for measuring thickness?
- No, a steel square cannot be used for measuring thickness. A steel square, also known as a framing square or carpenter's square, is primarily used for measuring angles and checking the accuracy of right angles. It consists of a long arm and a shorter perpendicular arm, forming an L-shape. While it can be used for various measurements in woodworking and construction, it is not designed or suitable for measuring thickness. For measuring thickness, other tools such as calipers, micrometers, or feeler gauges would be more appropriate and accurate.
- Q: How do you use a steel square for marking dovetail joints?
- To use a steel square for marking dovetail joints, start by selecting the appropriate size square for your project. A steel square consists of a long arm (blade) and a shorter arm (tongue), forming a right angle. Begin by placing the blade of the square against the end of the board that will have the dovetail joint. Align the tongue of the square along the edge of the board. Ensure that the square is held firmly against the wood to avoid any inaccuracies. Next, use a sharp pencil or marking knife to mark the desired width of the dovetail on the end grain of the board. The blade of the square acts as a guide, providing a straight reference line for your markings. To mark the angles of the dovetail, position the square against the marked width line. The tongue of the square should be aligned with the face of the board. Use the edge of the blade as a reference to draw lines representing the angles of the dovetail. These lines will guide your chisel or saw when cutting the joint. Repeat this process on the mating board, ensuring that the markings align properly with the first board. This will ensure a precise fit when assembling the dovetail joint. Using a steel square for marking dovetail joints provides accuracy and consistency in creating well-fitting joints. It helps in maintaining straight reference lines and ensures that the angles of the dovetail are properly marked, resulting in a strong and aesthetically pleasing joint.
- Q: Can a steel square be used for checking right angles?
- Indeed, a steel square has the capability to verify the presence of right angles. This multifunctional and dependable tool, also referred to as a framing square or carpenter's square, is extensively utilized in woodworking, construction, and other trades. It consists of a lengthy blade and a shorter tongue, which intersect at a precise 90-degree angle, thereby creating a flawless right angle. By positioning the square against the two surfaces that are expected to be perpendicular to each other, one can effortlessly ascertain the authenticity of the angle being 90 degrees. The steel square's precision and sturdiness render it an outstanding instrument for examining and guaranteeing right angles in a variety of applications.
- Q: Can a steel square be used for deck railing layout?
- Yes, a steel square can be used for deck railing layout. A steel square is a versatile tool that can be used to measure and mark angles accurately, making it suitable for planning and positioning deck railing components.
- Q: How do you use a steel square to determine the length of a retaining wall?
- To determine the length of a retaining wall using a steel square, you can place the square against the base of the wall and align one of its edges with the bottom of the wall. Then, you can extend the other edge of the square along the top of the wall until it reaches the end. By measuring this distance, you can determine the length of the retaining wall.
- Q: How do you use a steel square to ensure the correct angle for a mitered corner joint?
- To use a steel square for a mitered corner joint, you would place the square against the corner with one arm flush against one side and the other arm against the adjoining side. This will help you determine if the angle is a perfect 90 degrees or if it needs adjustment.
- Q: Can a steel square be used for checking the alignment of a stair railing?
- Indeed, a stair railing's alignment can be verified using a steel square. This multipurpose tool, frequently employed in carpentry and construction, allows for precise measurements and checks for right angles. By positioning the square against the posts of the railing, one can guarantee their perpendicularity to the stair treads. By aligning the square with both the posts and treads, any deviations in alignment become readily apparent and can be promptly rectified. The steel square offers a dependable and precise means of verifying the alignment of a stair railing.
- Q: Can a steel square be used for measuring and marking compound bevel and miter cuts?
- Yes, a steel square can be used for measuring and marking compound bevel and miter cuts. It is a versatile tool that can help in accurately measuring and marking angles for various woodworking and metalworking tasks.
Send your message to us
15mm*1.77kg/m square bar for construction
- Loading Port:
- Tianjin
- Payment Terms:
- TT OR LC
- Min Order Qty:
- 25 m.t.
- Supply Capability:
- 100000 m.t./month
OKorder Service Pledge
OKorder Financial Service
Similar products
Hot products
Hot Searches
Related keywords
