

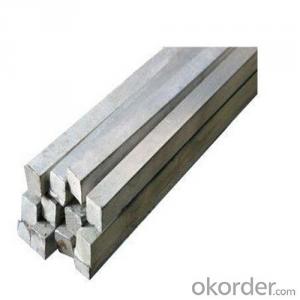
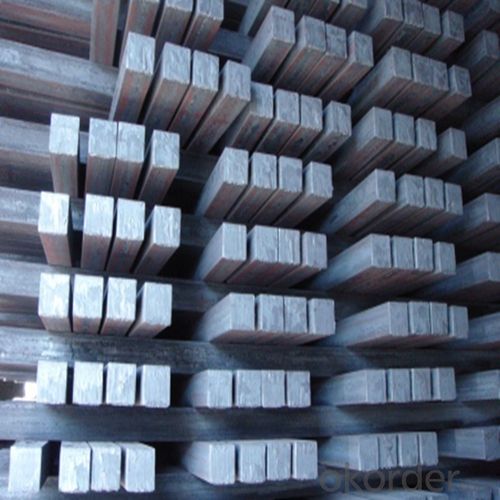
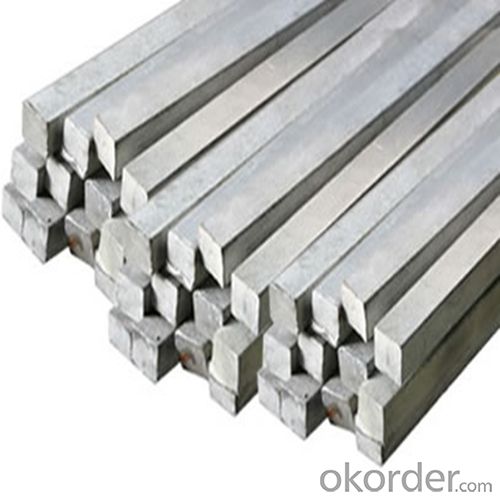
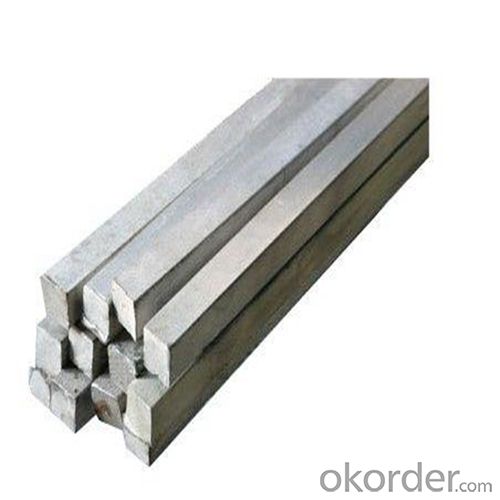
Steel Bars in Square Section with American Standard ASTM A36
- Ref Price:
-

- Loading Port:
- Tianjin
- Payment Terms:
- TT or LC
- Min Order Qty:
- 25 m.t.
- Supply Capability:
- 10000 m.t./month
OKorder Service Pledge
OKorder Financial Service
You Might Also Like


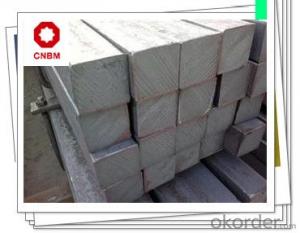
1. Structure of Steel Bar in Square Section description:
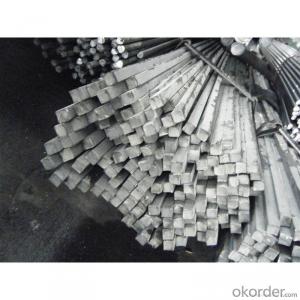
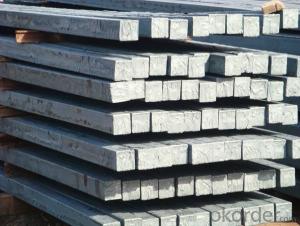
Steel bar in square section is a bar with square shaped cross-section. It is special case of equal sides. Before steel products are sold on the market, the steel must first be processed into more functional pieces. Raw steel cannot be of use while in its pure form, thus it has to be cast into shape. The freshly made steel, steel bar in square section is still in the form of a metal bar or rectangle. Small sizes of steel bar in square section are used in ship building.
2. Main Features of Steel Bar in Square Section:
• Grade: Q235
• Type: Mild carbon steel
• A quadrilateral with four equal sides and four right angles.
• Vibration: The stiffness and mass are chosen to prevent unacceptable vibrations, particularly in settings sensitive to vibrations, such as offices and libraries.
• Local yield: Caused by concentrated loads, such as at the beam's point of support.
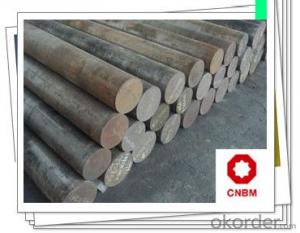
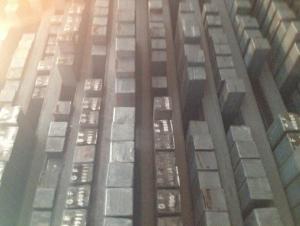
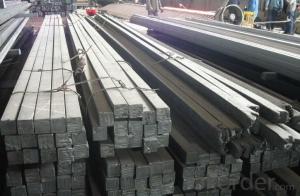
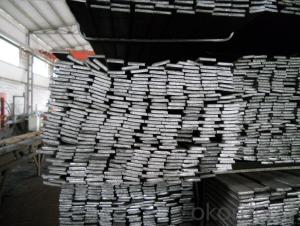
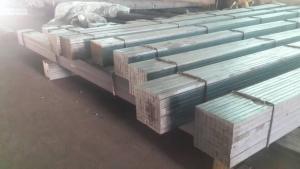
3. Steel Bar in Square Section Images:


4. Steel Bar in Square Section Specification:
Mechanical Properties | Grade | Steel diameter(mm) | |||
≤16 | 16~40 | 40~60 | 60~100 | ||
Yield Point Δs/MPa | Q195 | ≥195 | ≥185 | - | - |
Q235 | 235 | 225 | 215 | 205 | |
Tensile Strength | Q195 | 315~390 | |||
Q235 | 375~500 | ||||
Elongation δ5% | Q195 | ≥33 | ≥32 | - | - |
Q235 | 26 | 25 | 24 | 23 | |
5. FAQ
We have organized several common questions for our clients,may help you sincerely:
①What is the main material?
There are two types of Square Bar, one is hot rolled square bar and other one is cold drawn square bar. Our principal products is hot rolled square bar. We dedicate to products with material Q195 and Q235. We offer products with high quality and low price.
②How to inspect the quality?
We have a professional inspection group which belongs to our company. We resolutely put an end to unqualified products flowing into the market. At the same time, we will provide necessary follow-up service assurance.
③Is there any advantage about this kind of product?
Steel I beam bar IPE has a reduced capacity in the transverse direction, and is also inefficient in carrying torsion, for which hollow structural sections are often preferred.
- Q: How do you clean and maintain a steel square?
- To clean and maintain a steel square, you will need a few basic supplies and follow a simple process. Here are the steps you can follow: 1. Gather the supplies: You will need a clean cloth or rag, a mild detergent or dish soap, a soft-bristle brush, and water. 2. Start by removing any loose dirt or debris from the steel square. You can use a soft-bristle brush or a cloth to gently brush off any surface dust or dirt. 3. Mix a small amount of mild detergent or dish soap with warm water in a bucket or sink. Make sure to use a gentle soap that won't damage the steel square. 4. Dip the cloth or rag into the soapy water and wring out any excess liquid. Gently wipe the steel square with the damp cloth, making sure to cover all surfaces. 5. If there are any stubborn stains or marks on the steel square, you can use the soft-bristle brush to scrub them gently. Be careful not to apply too much pressure or use abrasive cleaning tools that can scratch the steel surface. 6. Rinse the steel square thoroughly with clean water to remove any soap residue. Ensure that all the soap is completely washed off. 7. Dry the steel square with a clean cloth or towel. Make sure to remove all moisture to prevent any water spots or rust formation. You can also leave it in a well-ventilated area to air dry completely. 8. Once the steel square is dry, you can apply a light coat of rust-resistant oil or silicone spray to protect it from corrosion. Use a clean cloth or rag to apply the oil or spray it directly onto the steel square, following the product instructions. 9. Store the steel square in a dry and clean area to prevent any moisture build-up or further corrosion. Consider using a protective case or wrapping it in a cloth to avoid damage or scratches. By following these steps, you can effectively clean and maintain your steel square, ensuring its longevity and optimal performance.
- Q: How do you use a steel square to find angles for compound bevel miter cuts?
- To use a steel square for finding angles for compound bevel miter cuts, you would typically start by determining the desired angle for the miter cut. Next, you would place the steel square against the workpiece, aligning one leg of the square with the edge of the workpiece. Then, you can adjust the position of the square until the desired angle aligns with the other leg of the square. Finally, you can mark the angle on the workpiece and use it as a guide for making the compound bevel miter cut.
- Q: Can a steel square be used for measuring and marking compound bevel, miter, and crown molding cuts?
- Certainly! A steel square is capable of measuring and marking compound bevel, miter, and crown molding cuts. This versatile tool serves various carpentry purposes, such as measuring and marking angles. Carpenters can accurately ascertain the angles and dimensions required for compound bevel, miter, and crown molding cuts by utilizing the square's distinct markings and measurements. Moreover, the steel square's robust and durable nature guarantees its ability to endure the pressure and precision demanded by these cuts. Nevertheless, it is crucial to consider that the utilization of a steel square for such cuts may necessitate supplementary calculations and adjustments to accommodate the compound angles involved.
- Q: How do you use a steel square for making right angle cuts?
- To use a steel square for making right angle cuts, simply align one edge of the square with the material to be cut, ensuring it is perpendicular to the edge of the material. Then, hold the square firmly in place and use a pencil or marking tool to mark along the other edge of the square. This will create a straight line at a perfect right angle, guiding your cut accurately.
- Q: Can a steel square be used for measuring distances?
- No, a steel square cannot be used for measuring distances. A steel square, also known as a framing square or carpenter's square, is primarily used for marking and measuring angles, not distances. It consists of a long arm and a shorter perpendicular arm, which form a 90-degree angle. The square is typically used in carpentry and woodworking for tasks like checking corners or marking cuts. To measure distances accurately, a tape measure or ruler would be more appropriate tools to use.
- Q: How do you use a steel square to determine the angle of a rabbet cut?
- To use a steel square to determine the angle of a rabbet cut, you would first place the square against the edge of the board that you want to make the cut on. Then, align one leg of the square with the face of the board and the other leg with the edge of the board. By looking at the angle measurement marked on the square where the other leg intersects the board, you can determine the angle at which you need to make the rabbet cut.
- Q: How do you use a steel square to determine the width of a board?
- Determining the width of a board using a steel square involves a few straightforward steps. Begin by ensuring that the steel square is free from any debris or rust, as this will guarantee precise measurements. Next, align the steel square against one side of the board, making sure that one edge of the square is flush with the board's edge. Securely hold the square in place and examine the markings on it. Typically, the steel square has inch measurements on one side and centimeter measurements on the other. Locate the marking on the square that corresponds to the desired width. For instance, if you wish to determine the width of the board in inches, find the appropriate inch marking on the square. After identifying the correct marking, observe the point where the opposite side of the square meets the other edge of the board. This point indicates the width of the board. Make a note of the measurement and record it if necessary. To ensure accuracy, repeat this process on various sections of the board, as slight variations in width can occur. With this method of using a steel square, you can effortlessly ascertain the precise width of a board.
- Q: How do you use a steel square to mark cutting lines?
- To use a steel square to mark cutting lines, first position the square against the edge of the material you want to cut. Align one side of the square with the edge of the material, ensuring it is perpendicular to the edge. Hold the square firmly in place. Then, using a pencil or a scribe, trace along the inside edge of the square to mark your cutting line accurately.
- Q: Can a steel square be used for framing a building?
- Yes, a steel square can be used for framing a building. Steel squares, also known as framing squares or carpenter squares, are versatile tools that are commonly used in construction and carpentry. They are typically made of steel and have a 90-degree angle, with additional markings and measurements along the edges. While traditional framing squares are often made of aluminum or steel and are commonly used in wood framing, steel squares can also be used for framing buildings made of steel or other materials. The sturdy construction of a steel square makes it durable and reliable for various framing tasks. It can be used to lay out and mark precise angles, measure and check squareness, and ensure accurate cuts and joints during the framing process. Steel squares are useful for determining the squareness of walls, checking the alignment of framing members, and laying out the positions of studs, rafters, and other structural components. They can also be used to mark and cut notches, birdsmouths, and other complex shapes on framing materials. Overall, a steel square is a valuable tool for framing a building, regardless of the material being used. Its accuracy, durability, and versatility make it an essential tool for any construction project.
- Q: Can a steel square be used for cutting angles in woodworking?
- Typically, a steel square is not utilized for cutting angles in woodworking. It is primarily employed for verifying and marking right angles in woodworking projects, also known as a try square or carpenter's square. This tool comprises a handle and a metal blade, specifically designed to ensure precision in joint and corner squareness. In woodworking, specialized tools like miter saws, circular saws, or table saws are commonly utilized for cutting angles. These tools possess adjustable angles and bevels that enable accurate and controlled angle cutting. They offer increased versatility and precision in cutting various angles necessary for woodworking projects. Additionally, specialized jigs and guides can be utilized in conjunction with these tools to further enhance angle cut accuracy and repeatability. Although a steel square can serve as a reference for marking angles, it is not intended to function as a cutting tool itself. Hence, it is advisable to use suitable tools and equipment specifically designed for cutting angles in woodworking projects to achieve optimal outcomes.
Send your message to us
Steel Bars in Square Section with American Standard ASTM A36
- Ref Price:
-
- Loading Port:
- Tianjin
- Payment Terms:
- TT or LC
- Min Order Qty:
- 25 m.t.
- Supply Capability:
- 10000 m.t./month
OKorder Service Pledge
OKorder Financial Service
Similar products

Hot products


Hot Searches
Related keywords

