
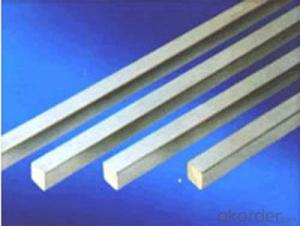
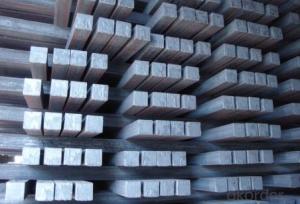
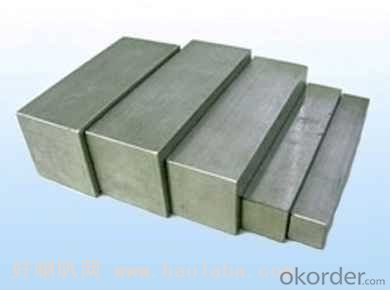
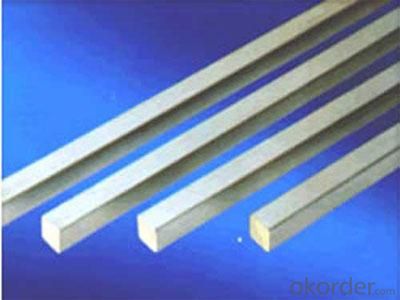
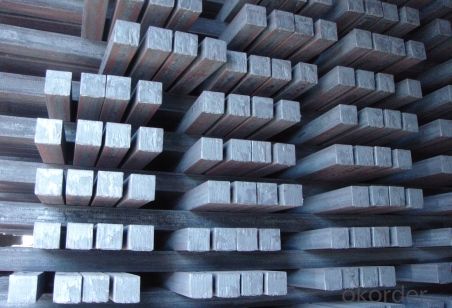
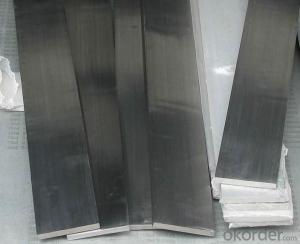
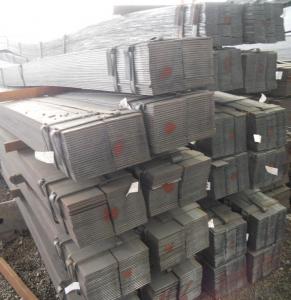
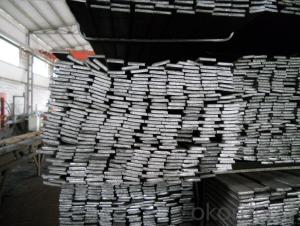
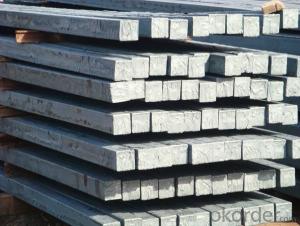
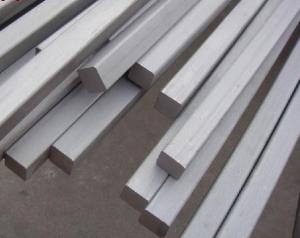
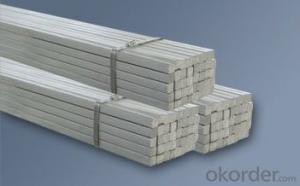
Q235Cr High Quality Steel Square Bar
- Ref Price:
-

- Loading Port:
- Tianjin
- Payment Terms:
- TT OR LC
- Min Order Qty:
- 1000 m.t.
- Supply Capability:
- 100000 m.t./month
OKorder Service Pledge
OKorder Financial Service
You Might Also Like


Product Description:
Product Description:
In the production of steel products, steel is molded and reshaped with different machinery at different temperatures. One process is steel rolling, which involves metal stock passing through a pair of rolls. Rolling produces flat steel sheets of a specific thickness, and the process is classified according to the temperature at which the metal is rolled. If the temperature of the metal is above its recrystallization temperature, or the temperature at which the grain structure of the metal can be altered, then the process is termed as hot rolling. If the temperature of the metal is below its recrystallization temperature, the process is termed as cold rolling.
Like cold rolling, cold drawing is performed at room temperature, but instead of producing a flat object like a coke can, cold drawing makes steel into the form of a wire like the spokes of a wheel or a paper clip. To start the process, Steel is usual hammered and rolled so that it can be fit through a die; a tool that turns the steel mass into a wire. The room temperature steel is pulled through the die which reshapes it into a thinner shape while maintaining the same volume. It is similar to the idea of syrup flowing out of a bottle through a tube in that it changes shape but not volume, but instead of squeezing the metal, it is pulled out. In order to get the wire down to the right diameter, it usually requires more than one pass through different dies.
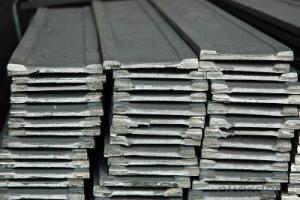
Colddrawn steel, steel covered carbon steel, excellent carbon steel, alloy structural steel, carbon tool steel, spring steel, bearing steel, tool steel, cold heading steel, free cutting steel, martensite stainless steel; products include all kinds of shapes round, square steel, hexagonal, flat steel and other conventional products, including various special-shaped steel products. In all types of colddrawn steel industry has been widely used, these areas include automotive, machine tools, furniture, standard parts, textile machinery, agricultural machinery, military industry and other industries.
The total assets of more than 40 million, as of the end of 2010 with fixed assets of 34 million, with 60 tons from 5 tons a chain drawing machine 10 sets, horizontal and inverted coiled wire drawing machine 5 sets, steel and plate production line of blasting, high-power ham stove, various straightening machine and cold rolling mill and other major equipment.
Usage/Applications
-The Square Bar is normally used as structure steel.
-Row material for other structure steel like steel angles, channels, I-beams, H-beams, etc…
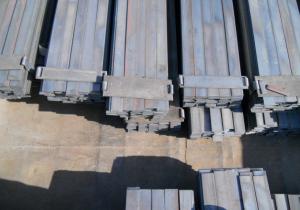
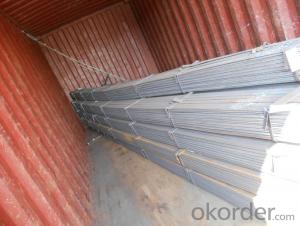
Packaging & Delivery
-Packing Detail: The products can be packed in bundles by steel wires.
-Marks: We make tag marks and color marks. The tag marks with white background and red company logo will be tied up to each bundle of the products. The information is usually including basic information of products and company and other information requested by customers. As for color marks, we will paint both ends of bundles to make sure that it w
-Delivery Detail: 30~45 working days after receive buyer’s T.T. or L/C.
ill be more convenient for customers to distinguish them from other products.
- Q: Can a steel square be used for foundation layout and construction?
- Yes, a steel square can be used for foundation layout and construction. A steel square, also known as a framing square or carpenter's square, is a versatile tool that is commonly used in construction and woodworking. It consists of a flat blade and a long handle, forming a right angle. When it comes to foundation layout and construction, a steel square can be used for various purposes. It can be used to ensure that all corners are square and at right angles, which is crucial for the stability and structural integrity of a foundation. By placing the steel square against the corners or edges of the foundation, one can easily check for any discrepancies and make necessary adjustments. Additionally, a steel square can be used to measure and mark out specific dimensions on the foundation. By aligning the blade of the square with the edge of the foundation, one can create accurate and straight lines for various foundation elements, such as footings, walls, and slabs. Furthermore, a steel square can also be used to measure angles and slope gradients on the foundation. This is particularly useful when dealing with sloping terrains or when specific angles are required for the foundation design. Overall, a steel square is a reliable and essential tool for foundation layout and construction. Its versatility and accuracy make it a valuable asset in ensuring that the foundation is properly laid out and constructed according to the required specifications.
- Q: Can a steel square be used for checking the alignment of fences?
- Yes, a steel square can be used for checking the alignment of fences.
- Q: How do you use a steel square to determine the angle of a drum sanding cut?
- To determine the angle of a drum sanding cut using a steel square, you would first place the square against the side of the drum sander. Then, you would adjust the square until it aligns perfectly with the edge of the drum. Finally, you can read the angle measurement indicated on the steel square, giving you the accurate angle for your drum sanding cut.
- Q: Can a steel square be used for checking the squareness of a window frame?
- Yes, a steel square can be used for checking the squareness of a window frame.
- Q: Building height is 5m, the main dry hanging stone square spacing value should be how much better?
- Man, I specialize in this industry. You are not very clear, some data depends on how thick you use, what specifications of stone. More important is to see how large the main keel (channel or Fang Gang) you use, and how far the stone faces are separated from the structural surface.
- Q: How do you use a steel square to measure and lay out a miter joint?
- To use a steel square to measure and lay out a miter joint, follow these steps: 1. Start by selecting the steel square with the appropriate measurements for your project. Typically, a steel square will have two arms, one shorter and one longer, forming a 90-degree angle. 2. Position the longer arm of the square against one side of the material you will be cutting. This will serve as the reference edge for your miter joint. 3. Align the shorter arm of the square with the edge of the material perpendicular to the reference edge. This will help you ensure a precise 45-degree angle for your miter joint. 4. Once the square is properly positioned, use a pencil or a scribing tool to mark the desired cut line along the shorter arm of the square. 5. Repeat the same process on the other piece of material that will form the miter joint. Make sure to align the square consistently on both pieces to ensure accurate matching angles. 6. After marking the cut lines on both pieces, carefully cut along the marked lines using a saw or another suitable cutting tool. Take your time to ensure a clean and accurate cut. 7. Once the cuts are made, test-fit the two pieces together to check the accuracy of the miter joint. Make any necessary adjustments if the fit is not snug or aligned. 8. When you are satisfied with the fit, use appropriate joining methods such as gluing, nailing, or screwing to secure the miter joint in place. By using a steel square to measure and lay out your miter joint, you can achieve precise and accurate angles, resulting in a clean and professional-looking joint.
- Q: What are some safety precautions to follow when using a steel square?
- When using a steel square, it is important to follow certain safety precautions to prevent accidents and ensure safe usage. Here are some safety precautions to keep in mind: 1. Wear appropriate personal protective equipment (PPE) such as safety glasses and gloves to protect yourself from any potential hazards. 2. Make sure the steel square is in good condition, with no cracks, bends, or other signs of damage that could compromise its integrity. 3. Always handle the steel square with care and avoid dropping it or subjecting it to any rough handling that could result in injury. 4. Use the steel square on a stable and secure surface. Avoid using it on slippery or uneven surfaces that could cause it to slip or tip over. 5. Ensure proper posture and body mechanics while using the steel square. Maintain a stable stance and avoid overreaching or excessive bending that could strain your muscles or cause you to lose balance. 6. When using the steel square for marking or measuring, always make sure the workpiece is securely held in place to prevent any movement during the process. 7. Use the appropriate markings or measurements on the steel square and ensure they are accurate. Double-check your measurements to avoid any errors that could lead to mistakes or accidents. 8. Avoid using excessive force or pressure while using the steel square. Let the weight of the tool do the work, and do not apply unnecessary force that could cause the steel square to slip or damage the workpiece. 9. Keep your hands and fingers clear of the cutting or marking edges of the steel square to prevent accidental cuts or injuries. 10. When not in use, store the steel square in a safe and designated location, away from any potential hazards or areas where it could be knocked over or damaged. By following these safety precautions, you can ensure a safe and accident-free experience when using a steel square.
- Q: Can a steel square be used for measuring heights or depths?
- No, a steel square is not typically used for measuring heights or depths. A steel square is a versatile tool used primarily in woodworking and carpentry for marking and measuring angles and as a guide for making straight cuts. It consists of a long arm and a shorter arm that meet at a 90-degree angle. While it can be used to measure distances and lay out lines, it is not designed to accurately measure heights or depths. For measuring heights or depths, specialized tools such as tape measures, rulers, or calipers are more suitable.
- Q: Can a steel square be used for measuring pipe angles?
- Yes, a steel square can be used for measuring pipe angles. The square's right angle can be aligned with the pipe's edge to determine the angle accurately.
- Q: How do you use a steel square for marking hip and valley rafters?
- To use a steel square for marking hip and valley rafters, you would first need to understand the basic principles of roof framing and the different types of rafters involved. A steel square, also known as a framing square or carpenter's square, is a versatile tool used by carpenters, roofers, and other tradespeople to make precise measurements and markings. Here are the steps to use a steel square for marking hip and valley rafters: 1. Understand the roof framing plan: Before starting, familiarize yourself with the roof framing plan or design. This will give you an idea of the layout, angles, and dimensions of the hip and valley rafters you need to mark. 2. Identify the rafter angles: Hip and valley rafters are cut at specific angles to fit the roof's slope and geometry. Using the steel square, you can determine these angles accurately. The two main parts of a steel square are the body and the tongue. The body has a long edge called the blade, while the tongue is shorter and perpendicular to the body. 3. Position the square: Hold the steel square against the edge of the rafter stock (the piece of wood you will be cutting). Align the body's blade with the bottom edge of the rafter stock, making sure it is flush. 4. Locate the plumb or seat cut angle: To mark the plumb or seat cut angle, slide the square along the rafter until the desired angle aligns with the top corner of the rafter stock. This angle will depend on the roof's pitch and the specific design. Once aligned, mark the angle on the rafter stock using a pencil or marking knife. 5. Mark the birdsmouth cut: The birdsmouth cut is where the rafter sits on the top plate of the wall. To mark this cut, keep the square in the same position as the previous step. Locate the desired birdsmouth depth, usually specified in the framing plan, and mark it on the rafter stock by sliding the square up or down. 6. Repeat for multiple rafters: If you have multiple hip or valley rafters to mark, repeat the above steps for each rafter. Ensure consistency in your measurements and markings to maintain accuracy during the construction process. Remember, using a steel square for marking hip and valley rafters requires some knowledge of roof framing and the specific angles involved. It is always advisable to consult a professional or reference reliable resources for guidance, especially if you are not experienced in roof construction.
Send your message to us
Q235Cr High Quality Steel Square Bar
- Ref Price:
-
- Loading Port:
- Tianjin
- Payment Terms:
- TT OR LC
- Min Order Qty:
- 1000 m.t.
- Supply Capability:
- 100000 m.t./month
OKorder Service Pledge
OKorder Financial Service
Similar products

Hot products


Hot Searches
Related keywords

