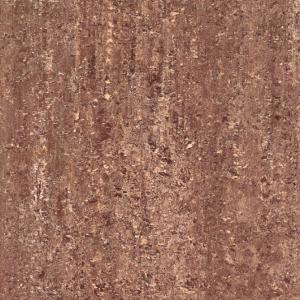
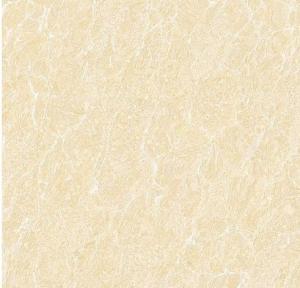
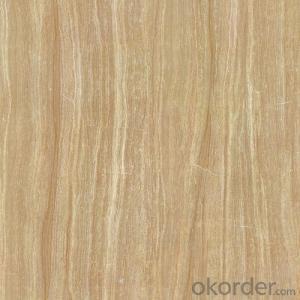
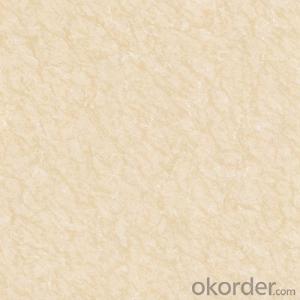
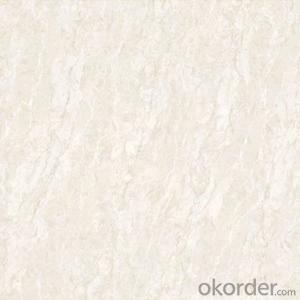
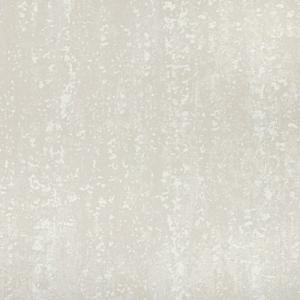
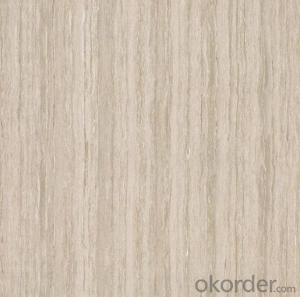
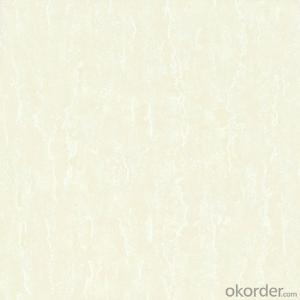
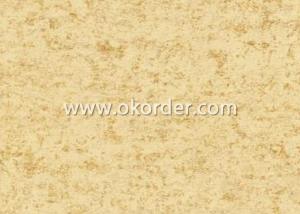
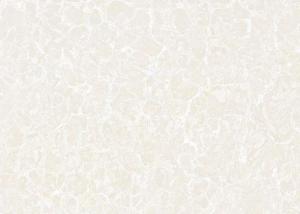
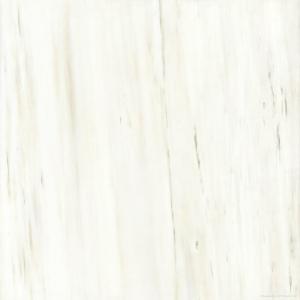
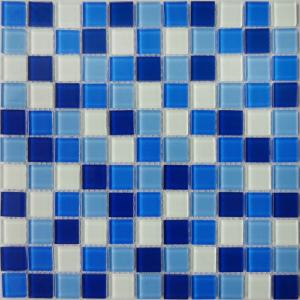
Polished Porcelain Tile Soluble Salt Color CMAX 0333
- Loading Port:
- China main port
- Payment Terms:
- TT OR LC
- Min Order Qty:
- 1 m²
- Supply Capability:
- 100000000 m²/month
OKorder Service Pledge
OKorder Financial Service
You Might Also Like
Specifications of Polished Porcelain Tile Soluble Salt Color CMAX 0333
1.Polished porcelain tile
2.Great natural stone image and high glossy degree
3.Water absorption:<0.5%< p="">
4.Sizes: 600 x 600mm or 800 x 800mm
6.Product features: resistance to fading, staining and discoloration, easy to clean
7.Package: carton + strong wooden pallet
8.Transportation: by sea
9.Package: 4 pcs/Ctn for 600mm; 3 pcs/Ctn for 800mm
Applications of Porcelain Tile
1.Suitable for homes flooring tiles
2.high grade office buildings
3. high-grade hotel flooring tiles,
4.government and corporate projects flooring tiles
5.deluxe clubs flooring and wall tiles
Pictures of porcelain tiles


Advantages of porcelain tile
Green Product
Guarantee/Warranty
International Approvals
Packaging
Price
Product Features
Product Performance
Prompt Delivery
Quality Approvals
Reputation
Service
Main Export Markets:
Asia
Australasia
Central/South America
Eastern Europe
Mid East/Africa
North America
Western Europe
FAQ
1. For Polished Porcelain Tile, is the 30*60 available?
—— Yes, 30*60 is available. Due to the basic size is 60*60, we need to cut 60*60 tile into 30*60. 6 pcs are packed into one carton.
2. What is the MOQ for this tile?
—— Normally the MOQ is 1382.4 m2 for one 20’ container. To support our clients, we could go with 3 models to fill one container at most.
3. Can we use the carton with our own design and brand name?
—— Yes. Normally we go with Neutral Carton or our Carton with our CMAX brand name. But for carton of client’s own design, the MOQ for one size is 5 containers, due to the carton factory can’t arrange production if quantity is below 5000 pcs.
Here you can find good products, better price and the best service!
Looking forward to receiving your inquiry
- Q: I am installing commercial tile and I have no idea what tool is used to cut this kind of tile, it easily breaks if its bent too hard. I need to cut curved areas on this tile and I have no idea what too to use. Please help! ;)
- If you are talking about vinyl tile you can use an hair drier to soften the tile so you can cut it without it crumbling. Use a curved tin snip or a utility knife to cut after softening. You should be able to lay it flat on the floor, soften it, scribe it with the utility knife, and then snap it. If you are talking about ceramic tile you should use a tile saw. You can rent one for about $60/day. You can buy one in Home Depot or Lowe's for about $90.
- Q: rented an apartment about 1 year ago.My landlord put a brand new bathroom in including ceramic floor tiles,I just noticed cracks in 6 or 7 of the tiles but I do not remember doing any damage that would cause this.The only thing I did was flood the bathroom but mopped it up right away and the floor is waterproof anyway.The landlord said those tiles where very expensive and said they should last at least 10 years before they crack,and now she is taking the cost of the tiles including installation cost out of my security deposit.
- well I really hate to side with the landlady BUT ... because the floor was flooded the grout under the tile was weakened and crumbled .... YOU are correct in thinking that you did nothing wrong and YOU are correct -- you did nothing wrong -- the guy t
- Q: We are building a tile shower and we have gotten it framed the way we want it. We haven‘t installed the backerboard or tiles yet, just the studs are placed. Do we need to backerboard and tile the sides where the door will be, or can we install the shower door directly to the bare wood studs?
- Tile out even with the threshold. Your bull nosing (SBN) should come right down atop your sill so that every thing will line up. You then can drill w/ a masonry bit thru the tile or grout line and into the studding thats at the end of the sill. Any questions you can e mail me thru my avatar and check my qualifications GL
- Q: My house is in the top floor, the water pipe in the bathroom, and then all the water pipes in the bathroom are clear, the new house, the ground with a tile, surrounded by walls and tiles, no shower or something, the bathroom put a Taiwan washing machine, a Faucet, the ground water is generally the washing machine drain row to the ground and then flow through the water hole. Now the situation is not posted on the side of the tile watermark, the walls of the white putty from the package off. After inspection found the gap between the tile is white, because the tile is white. Suspected to be caused by seepage between the cracks. Do not want to tear tiles to re-engage. Is there a good way to solve it? Buy a private room, certainly not done waterproof
- The need for the use of tiles in home decoration "Tile glue" is used as an indispensable decoration materials in home decoration and is widely used. It is made of polymer and other cement-based adhesives. Special formula can be used in almost all kinds of existing tiles. The use of ceramic tile, so that the kitchen, bathroom decoration has the following advantages: ● good water retention, easy to produce hollowing; ● high bond strength, do not fall off; ● reduce the load-bearing capacity of the building, from the traditional paving per square meter of cement to be used 1 1 ~ 18KG reduced to 4 ~ 5KG ceramic tile, thereby reducing the building settlement and cracking; ● Tile adhesive coating thickness is much smaller than the traditional cement, saving valuable space position; ● On-site construction environment is clean; the use of ordinary plastic barrels can be mixed materials; ● Tile glue construction is very convenient; no need to immerse brick wet wall; ? ??
- Q: I have plain jane 4 white ceramic tile and it does not go with my new room colors for my bath....can this be painted?
- Any ceramic tile can be painted no matter if it is old or new. The most important thing is to make sure the tile is perfectly clean. Repair any cracked tiles and crumbling grout. If you need to regrout, do so before painting the tile. Regrouting will damage the paint. Water-based paints that contain a urethane resin are good paints to use. Do not apply it to ceramic tile that gets wet on a regular basis. Examples of this are tile surfaces inside a tub or shower area. You can use a roller to paint a ceramic-tile floor. I suggest a roller with a low nap to keep bubbles and texture to a minimum. You can also add products to the paint that allow them to flow well and attain a finish as if they had been sprayed. If you have a sprayer, you absolutely can spray the tile. Be sure to protect adjacent surfaces from overspray.
- Q: I‘m getting some of my house tiled and would like to know if I am getting ripped off or not. It is going to be approximalte 600 sq ft with 2 upstairs bathrooms. The installer gave me a quote of $2400 to lay the tile (straight or diagonal, whichever I want). I will have to buy the tile and other materials on my own. The tile is going to be 18x18. The price includes ripping out the carpet and ripping out the tile that is already in the kitchen that will be replaced as well as the tile in the upstairs baths. Also included will be haul away of all the trash. Is this a good price or not?
- A porcelain tile is decorative and glazed only on the outside. If you were to see a cross section, you would find only a small decorative veneer sorta surface on the exposed side. The rest of the tile has a dirt colour. In a ceramic tile, the colour is uniform throughout the tile. Practically, say if a prcelain tile gets chipped, you will see the dirt colour where it's chipped. In a ceramic one, it would not be such a stark difference. By the way, many mugs and cups we use for beverages, are made of ceramic. The not so personal stuff like vases could be made of porcelain. Got it ?
- Q: I want to rip up the old linoleum in my bathroom and install some tile. The previous owners laid the current layer of linoleum on top of the original linoleum. From the little bit I‘ve peeled up to look underneath it looks like chip board underneath that. Does that mean I need to lay some kind of backerboard underneath the tile? I also plan on tearing out the curent cabinets and installing new ones. Should I install the tile or the cabinets first?
- If you plan to gut the bathroom then yes rip up the old flooring and put new ply wood down. dont use the good one side ply as the glue you will be using will require something to bite into. but if the plywood you use does have some knot holes then yopu have to use a patch filler before applying the glue. in your case its better to fit the new flooring from wall to wall rather than cutting around the new cabinest. you didnt mention what type of flooring you plan to replace the exsisting flooring with. If you are planning ceramic,porcelin,slate/natural stone then you will not have to se that patch filler. but remember when using any sort of tiles of the above mentioned use a thinset as using any mastic will take a very long time to set. Thinsets will set in 24hrs intile for you to grout the next day. Do keep in mind the temps to lay your tiles down on the back of the boxes of grout.
- Q: I have kitchen tiles that have long term stains like broth and sauce stains. They won't come out with standard tile cleaner. Should I used bleach or will something else work better?
- I would try bleach first. If the tiles are on a wall vs being flat on a counter try a spray gel cleaner with bleach in it so that it sticks to it and let it sit for a while.
- Q: I recently bought a home with old fashioned pink and blue tile, is there an inexpensive way to make it look better? Help.....
- i think if u paint it...it may look worse... just save up some cash and get new flooring
- Q: I would appreciate a double check on this problem. I believe I‘ve saved myself a lot of cutting, but I just want to make sure. My shower is 59 inches wide. My tile is 4.25 inches wide and tall. (square)My spacers are .25 inches wide. The middle point of my shower 29.5 inches. If I move my center line to the right or left by 2 and 1/8 inches I should be able to cover the entire width with 13 tile IF I allow for a 1/8th inch addition in each corner. Is this correct?
- Ok so ignore your center line it does not matter here your tiles are 4.25, your grout lines are .25 and you are trying to get the tile and grout lines into a space that is 59 so if you take 13 tiles you get 55.25 for those tiles you will have 12 standard .25 grout lines totaling 3 giving you a total of 58.25 now from here what I would do instead of adding grout line and caulking on each end is form an L with the next wall (assuming you have 3 walls to tile to enclose the shower) because a standard wall tile is about .25 thick this would give you an 1/8 bead of caulk in each corner. Make sense?
Send your message to us
Polished Porcelain Tile Soluble Salt Color CMAX 0333
- Loading Port:
- China main port
- Payment Terms:
- TT OR LC
- Min Order Qty:
- 1 m²
- Supply Capability:
- 100000000 m²/month
OKorder Service Pledge
OKorder Financial Service
Similar products
Hot products
Hot Searches
