


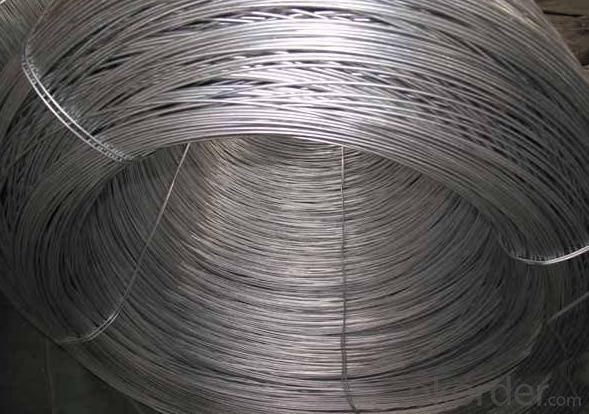

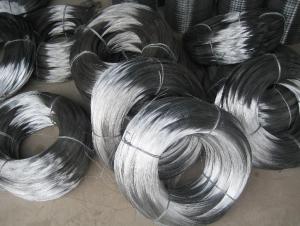
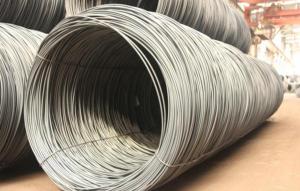
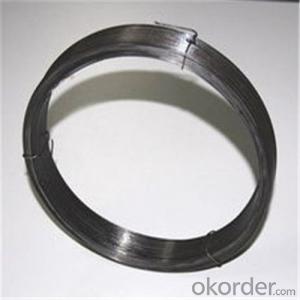
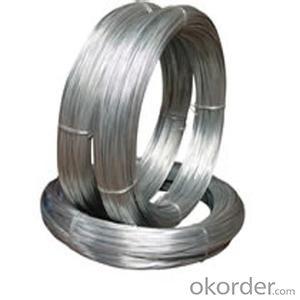
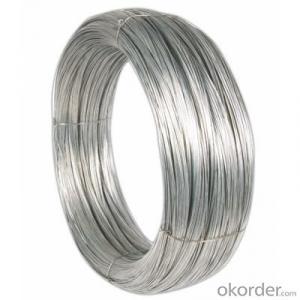
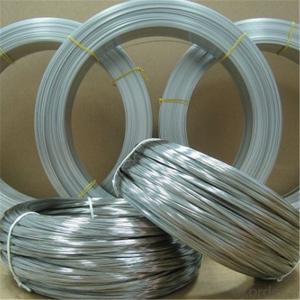
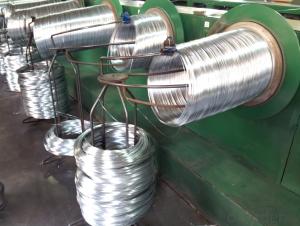
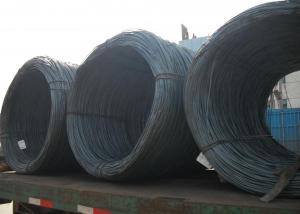
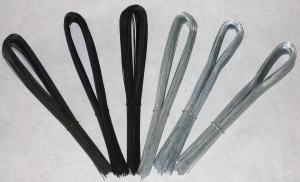
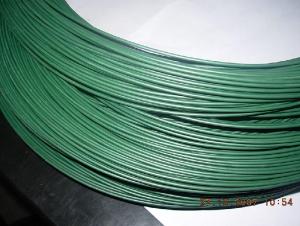
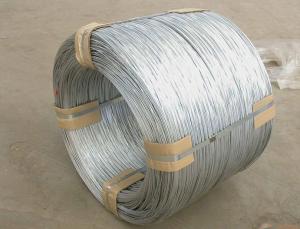
Hot DippedGalvanized Wire
- Ref Price:
-

- Loading Port:
- China Main Port
- Payment Terms:
- TT OR LC
- Min Order Qty:
- -
- Supply Capability:
- -
OKorder Service Pledge
Quality Product, Order Online Tracking, Timely Delivery
OKorder Financial Service
Credit Rating, Credit Services, Credit Purchasing
You Might Also Like

Quick Details
| Steel Grade: | Standard: | Wire Gauge: | |||
| Place of Origin: | Type: | Application: | |||
| Alloy Or Not: | Special Use: | Model Number: | |||
| single wire: | coating: | Main application: | |||
| Packing: |
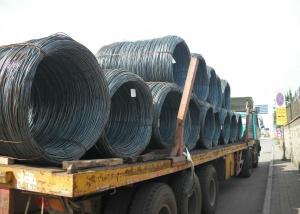
Packaging & Delivery
| Packaging Detail: | In ply-wooden reels,Wooden drum packing, Roll also is okay.As the dimension of the reel is according to your requirement |
| Delivery Detail: | Within 15 days after confirmation the contract |
Specifications
galvanized 7/4.0mm guy wire
1. Good quality and competitive price
2.Professional manufacturer
3.Prompt delivery
- Q: my radio was stolen i'm trying to put in a old radio in but when someone stoled my radio they cut the wires so now i can't tell what go,s where can someone please help? it's a ford f150 pu trck w/ 4 speakers i just need the wire color codes to hook-up,plus thy stole the manal to the trck too. please help.ty
- haynes manual will have the colors for the radio in the wiring diagram.....
- Q: can some one tell me how to wire two dual 4 ohm subs so i can get a 1-4 ohm load
- wire okorder /.... for more wiring options and explanations
- Q: How do I tell which wire is positive and which wire is negative on the door speakers and the rear speakers?
- Unplug the wires and note which wire goes where. then apply a battery to the speaker terminals, 9volt will work fine. If the cone moves out you have it connected to the proper + and - if it moves in then its backwards. With that you should be able to figure out which wires are + and -. Or you can just buy a service manual.
- Q: the charger has three wires to put a male plug on and they are black white and green and they look like 12 gauge wires
- wire colors are green is ground the black and white wires are you load wires look at you 240 volt plug and determine which terminal is the ground this one is where the green wire goes the black and white wire go to other two terminals this should do it
- Q: I'm just wondering would i be able to connect a split 8 gauge wire with wire nuts like i'll explain:Use two wire nuts instead of one and divide the copper wire on both ends and wire nut both sides together with 2 nuts. The whole apparatus would look kinda like this:----lt;gt;---- with the wire nuts connecting the two arrow thingsThanks anyone
- 8 gauge wire is fairly heavy so I'll assume that this is not a low power application such as speaker drivers. I assume you want to do this because you don't have a proper connecting method of adequate size and you do have a couple of smaller size wire nuts. The proposed configuration would not be acceptable by any electric code for utility wiring for this reason. If one of those wire nut connections should fail, say due to corrosion or mechanical damage, the remaining connection would be required to carry the entire current load that both would normally share. This would no longer be adequately protected by a circuit breaker sized for the full 8 gauge wire. A high resistance point is developed with a high fire risk. Also the wire nuts would not be able to shield the conductors beyond the end of the wire insulation sheath. The exposed wire portions would need additional protection from incidental contact by some future service person. Please don't do this. Not a good practice.
- Q: what is the best speaker wire for some subwoofers that are rated between 500rms watts to 750rms watts
- well loxotox is right if you are asking about power wire but for SPEAKER wire i would get no less than 12 guage speaker wire and in that case the bigger the better
- Q: Cant find were to tap the wiring for the puddle lights. Can some one please help!
- i in my opinion only offered a Silverado 1500 on Friday, and that i honestly like it! i appreciate the OnStar, and the XM radio good factors. also, i imagine that's in user-friendly words a extra effective searching truck. As for the experience, that's an truly tender experience, like a Cadillac. mutually, its were given extremely some capacity in the back of it. The warranties are large too. It even comes with a 6 365 days assure on rust! i might want to flow with the Silverado for constructive!
- Q: I have 2 wires that go from the Solenoid to the wiring harness. But i don't know which wires go to where. One of the wires from the Solenoid it the remote switch and the other is the power for my whole interior. There are red, orange and black wires that come from the wiring harness. but i don't know which ones to use.
- Your looking for a drive ,but if you would like to look for a starter try Competition Sales online.They deal with mostly Chevy performance parts. Good luck
- Q: True or False?Branch wiring from a 200A - 3 phase 4 wire panelboard.WIRE #PHASES 1 --- PHASE A 2 --- PHASE B 3 --- PHASE C 4 --- NEUTRAL - WHITE WIRE 5 --- PHASE A 6 --- PHASE B 7 --- PHASE C 8 --- NEUTRAL 9 --- GROUNDTOTAL OF 9 WIRES GOING TO SIX (6) 20A 120V CIRCUITS
- Wrong. The panel has the set up so that a 3 phase breaker can be next to each other for example Breakers left side of panel 1= #1 line 3= # 2 line 5 = #3 line Neutral is the large bar on the side were the ground line goes. don't attach a neutral line to a breaker!!!!!! Make sure you buy a 3 phase breaker for equipment with that voltage and phase.
- Q: The wire on my headphones were cut clean off in the middle of the wire. Is there any way it can be fixed? I tried to find out other ways but it seems one of the only ways is to strip the wire of its covering. Is there a way to fix it without burning the wires?
- to add to Generic John's post ..pay attention to the color of the wires. one will most likely have no cover to it ,thats the neutral. so it would be for example . to red,white to white , neutral to neutral
Send your message to us
Hot DippedGalvanized Wire
- Ref Price:
-
- Loading Port:
- China Main Port
- Payment Terms:
- TT OR LC
- Min Order Qty:
- -
- Supply Capability:
- -
OKorder Service Pledge
Quality Product, Order Online Tracking, Timely Delivery
OKorder Financial Service
Credit Rating, Credit Services, Credit Purchasing
Similar products


Hot products


Hot Searches

