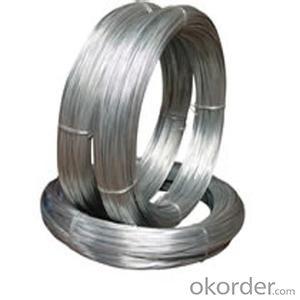
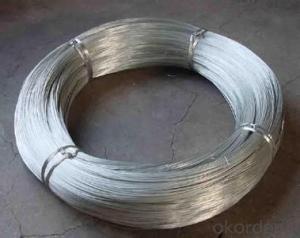
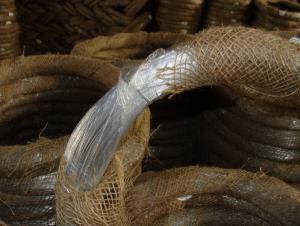
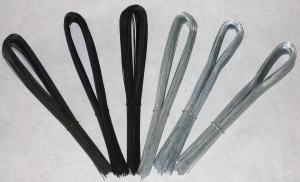
Galvanized Iron Wire Wire for Buliding Material with Nice Price
- Loading Port:
- Shanghai
- Payment Terms:
- TT or LC
- Min Order Qty:
- 10 m.t.
- Supply Capability:
- 5000 m.t./month
OKorder Service Pledge
OKorder Financial Service
You Might Also Like
1.Structure of Galvanized Iron Wire Description:
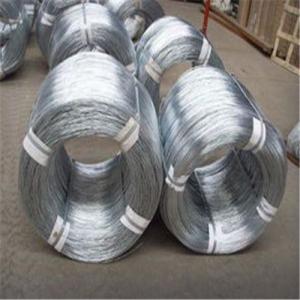
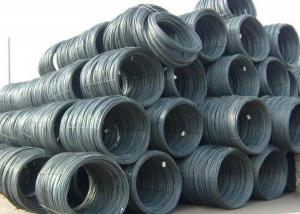
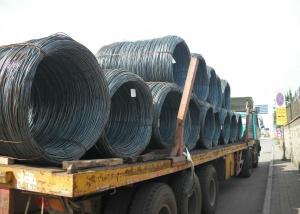
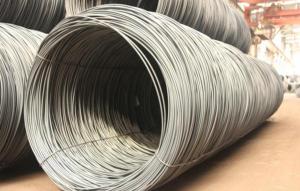
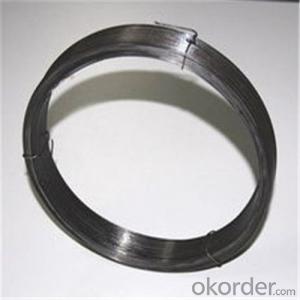
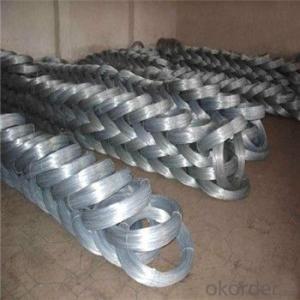
Galvanized iron wire is made of choice mild steel, through wire drawing, wire galvanizing and other processes. It has the characteristics of thick zinc coating, good corrosion resistance, firm zinc coating, etc.It has two kinds, hot dipped and electro galvanized wire.
Hot-dipped galvanized iron wire
Hot-dip galvanized iron wire is made with choice low carbon steel wire, through wire drawing, wire annealing,rust removing and acid washing, zinc plating and coiling. It’s mainly used in construction, handicrafts, woven wire mesh, express way fencing mesh, packaging of products and other daily uses.
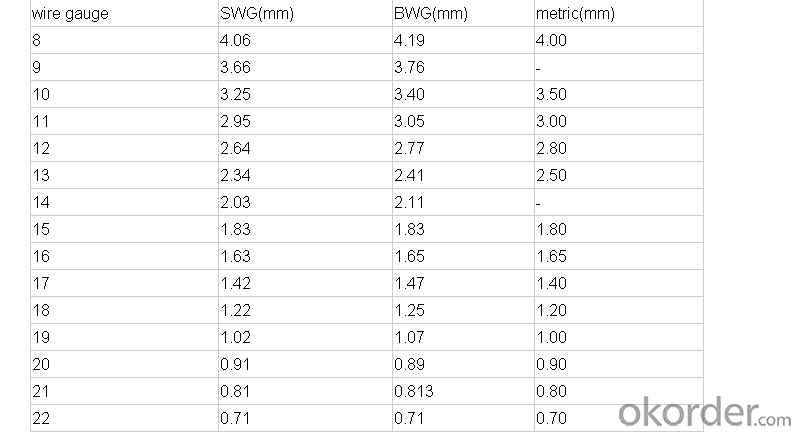
Size range: BWG 8-BWG 22
Zinc coat: 40-240g/m2
Tensile strength: 35-70kg/mm2
Elongation: 10%-25%
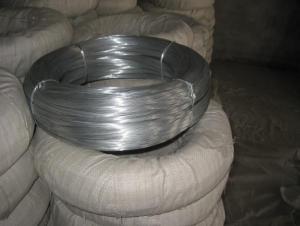
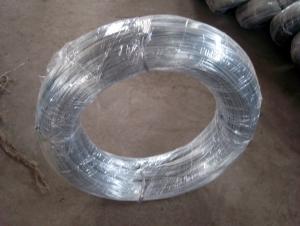
Packing: 0.1-1000kgs/coil, coil with plastic inside and hessian cloth outside or weave bag outside
Electro galvanized iron wire
Electro galvanized iron wire is made with choice mild steel, through wire drawing, wire galvanizing and other processes. Electro galvanized iron wire has the characteristics of zinc coating, good corrosion resistance, firm zinc coating, etc. It’s mainly used in construction, express way fencing, binding of flowers and wire mesh weaving.
Size range: BWG 8-BWG 22, we can also offer BWG 8-BWG 28
Zinc coat: 8-18g/m2
Tensile strength: 35-70kg/mm2
Elongation: 10%-25%
Packing: 0.1-1000kgs/coil, coil with plastic film inside and hessian cloth outside or weave bag outside
2.Main Features of Galvanized Iron Wire:
• Durable
• Widely use
• Convenient
• Nice vision
• Practical
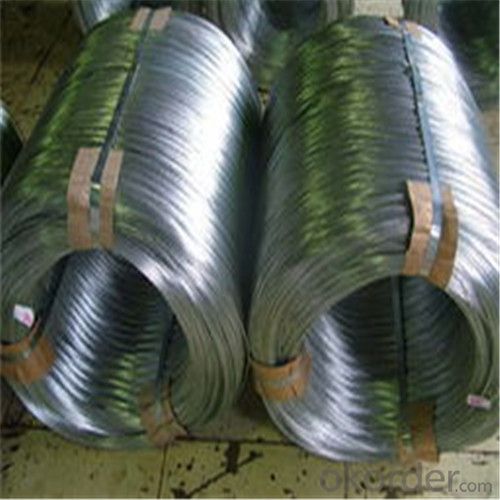
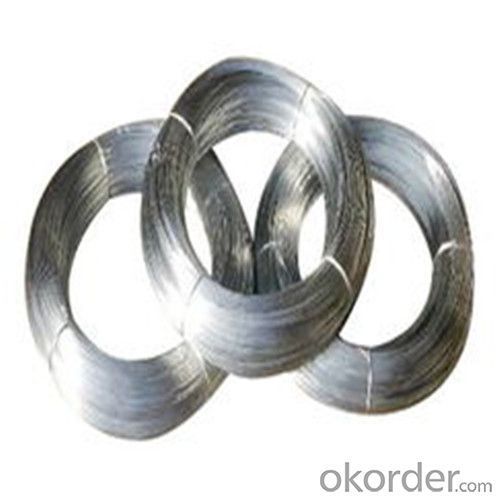
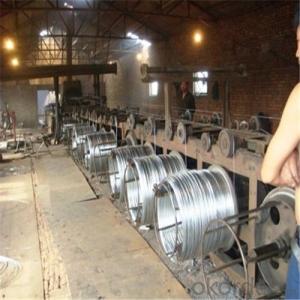
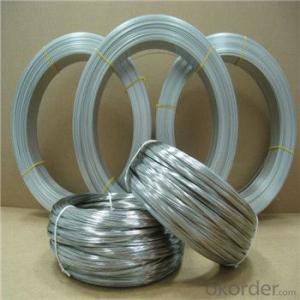
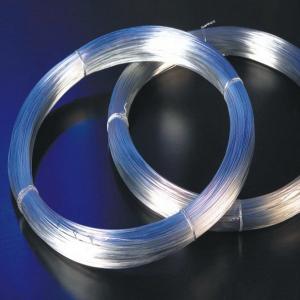
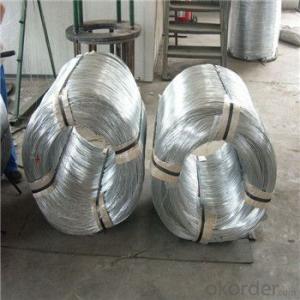
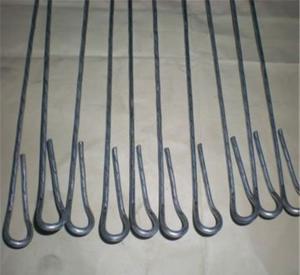
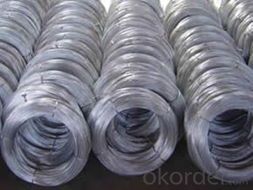
3. Galvanized Iron Wire Images
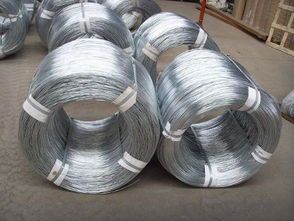
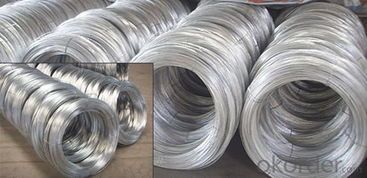
4.Galvanized Iron Wire Specification
5.FAQ
We have organized several common questions for our clients,may help you sincerely:
①What is your products advantage?
We have 20 years' experience for export/produce Galvanized Iron Wire. About 100 persons works in this line, 10 production lines can produce about 200 sets every day. We have our own quality inspection departments to strictly according to customer requirements to complete production. Which have exported to lots of countries before such as: Australia, Italy, Mexico, Gaborone, Kenya..... And so on.
②What is Production process of the Galvanized Iron Wire:
Low carbon steel rod—Drawing modeling—Pickling degusting—Heat dipping—Chilling—Finished products.
③How long can we receive the product after purchase?
In the purchase of Galvanized Iron Wire within three working days, we will arrange the factory delivery as soon as possible. The pacific time of receiving is related to the state and position of customers. Commonly 15 to 20 working days can be served.
- Q: Steel wire or iron wire. spool of wire used mainly in the iron frame of the building foundation..
- google for re bar
- Q: Can I use 12-2 gauge wire on a 10 amp breaker to wire my light switches,and can I use 10 gauge wire on a 10 amp breaker? For a light fixture
- YES ... always use 12gauge with a ground ; 10ga or 8ga is for 220volts .... you should use a 20amp breaker for light switches and a 30amp breaker for the wall plugs ... so as you know [[ to help you understand more about electrics --- the ele
- Q: Our house ground wire is very long but our live and natural wires are very short. Once there was a surge in our telephone line system and both my Belkin Surge Protectors seemed to have not stopped it. The surge was stopped at my last protector when its sensitive fuse blew (it was a 10 ohm resistor fuse). Is it possible that since the natural wire is shorter than the ground wire the surge wantted to go through my PC and into the natural wire? Or is it just because the 10 ohm resistor fuse was a bit too sensitive or something? (Well it didn't blow up when there was no lightning outside)I'm thinking of making my natural wire longer by extending it so a surge finds the ground wire more attractive, is this advice able?
- Your ground wire should go to your breaker box, then to a ground rod or some other good ground point with a large #6 solid wire. I don't understand why your ground wire should be substantially longer than your neutral or hot wires. Making your neutral wire longer would probably have little effect. You could also have a poor connection in your ground wiring. Maybe some corrosion has accumulated somewhere. A surge protector can't operate correctly without a good ground. It sounds like you should have an electrician check your electrical system. This could save you money in the long run.
- Q: I am in the process of installing a new thermostat, but I ran into the problem: new thermostat has 4 ports W, Y, R and G. But the old thermostat has 5 wires: W, Y, G and B. I am not sure where B wire (black color) should go. Do I need to look for another thermostat that has a port for B wire?
- The black wire should be for ground. You and try to connect it without the black first to see if everything works ok, if it does tape off the black and tape it to the other wires. If not look at your UPM diagram and see which port is for ground and it should hook up with that wire. But I would double check with the heat pump wiring diagram to see what that black goes to and verify that wire with a multimeter.
- Q: I am hooking up a subwoofer in my 01' civic and i cant figure out where the remote wire from the amp connects to in the back of my new headunit. Do i need a wiring harness? any help would be appreciated thanks
- The remote wire is almost always the blue one. If it is an aftermarket deck that has never had a amp installed, the remote wire shouldn't be connected to anything and should always be blue. If your using a stock headunit it may not even have one, the best thing u can do is connect the remote from your amp to something that will only work after the ignition is turned on, if your not sure wat wire is doing what, to test them simply join both power wires from your deck together (the red and yellow wires), and connect the ground wire (black) to any metal earthed to ur cars body, just touch the joined power wires from your deck to any wires close by with ur ignition turned on until you get power to your headunit, then turn the ignition off if ya lose power to the deck then u can just connect the remote from your amp to that. While checking the wires the worst that can happen is a blown fuse, so just have a spare 10amp fuse or two just in case. I hope that helped ya out. gl.
- Q: I think I have heard about flat cable wires?maybe even flat electrical wires.where you can hide them behind a base board.is this true?what are they called/thx
- flat co-ax cable would be an oxymoron, however there is flat twinlead. U need to know that twinlead is more likely to have interference problems though. electrical cable usually has 3 conductors so it is naturally kind of oval shaped people typically hide these behind baseboard or in the space below the baseboard if they have wall to wall
- Q: I bought a cheap amp wiring kit so the ground wire is not the same size as the power wire but my friend gas me an extra piece of 8 gauge wire same as mine if i put both of these to on at the same time would it help out any? also he gave me some audio cable like the wires inside are twisted to gather the box says it gives you better sound quality would they make a difference in sound that the one's i have on there know?Thanks
- NO, you need to buy thicker wire because electricity follows the path of least resistance which means if one of the wires is 1/8 of an inch longer than the other, that is the wire the most electricity will flow through, as far as the speaker wire it wont make a difference unless it is thicker than what you already have installed (its very hard to tell the difference in sound quality even with very high quality speakers
- Q: have a kenmore dryer with 3 wires now had it will not dry need info on wiring it so it will dry
- Yea a little more info not drying check the vent for lint clogged or you heating element burnt out take dryer hose of back and see if hot air comes after you run it for 2-3 min here is 3 wirer dryer hook up
- Q: Why is thin strand wire better for powering car audio?
- Thin strand wire is more flexible and so stands up to the flexing and vibration in a car application better. May not be an issue in the short term, but over time the thinner strand should hold up better
- Q: I have a 2 wire system in my garage and need to update to a 3 wire grounded plug. Can I leave my existed 2 conductor and just run a single 12 gauge insulated ground in the same conduit back to the panel/grounding rod. Or do I need to pull out the 2 wore replace with 3 wire ?
- It will could be tough to pull if there are existing wires in there. You may need to tie a line to what you remove, then lube a new set of wires, and pull the new line and wire back through.
Send your message to us
Galvanized Iron Wire Wire for Buliding Material with Nice Price
- Loading Port:
- Shanghai
- Payment Terms:
- TT or LC
- Min Order Qty:
- 10 m.t.
- Supply Capability:
- 5000 m.t./month
OKorder Service Pledge
OKorder Financial Service
Similar products
Hot products
Hot Searches
Related keywords
