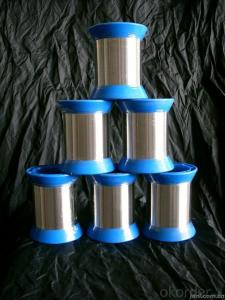
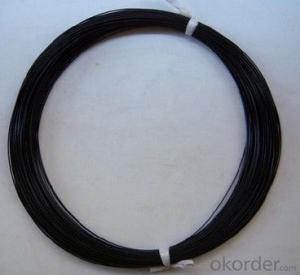
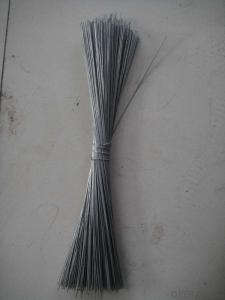
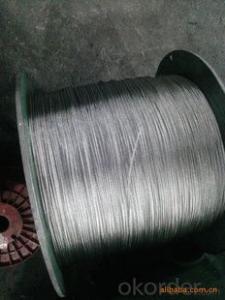
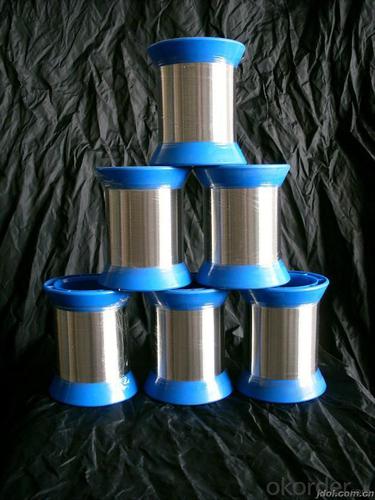
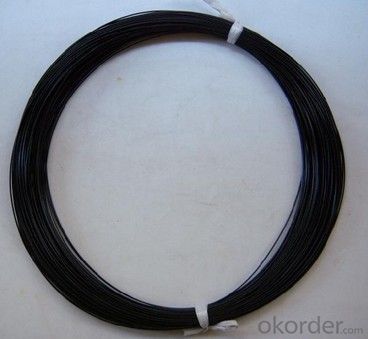
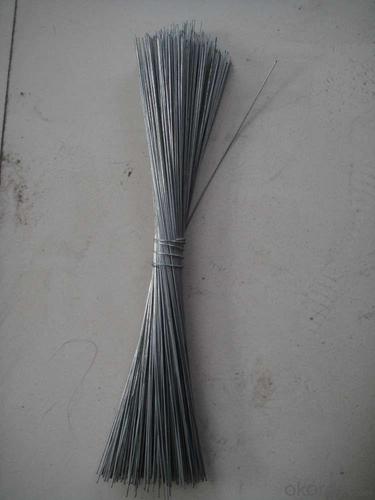
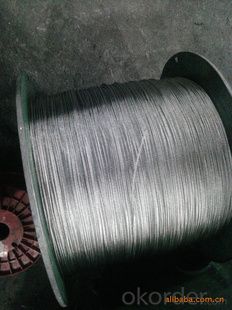
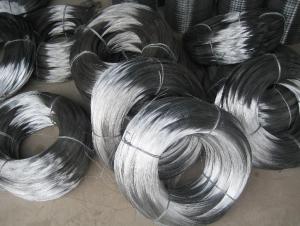
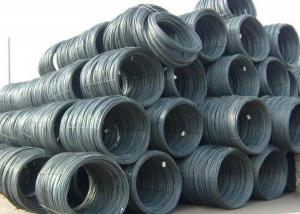
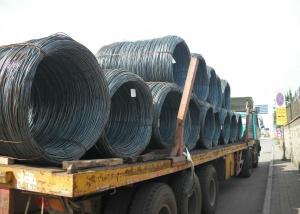
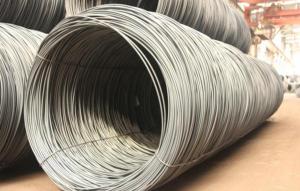
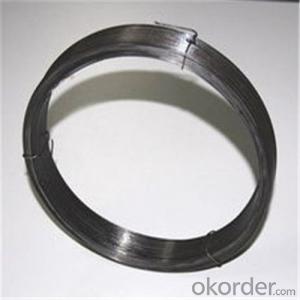
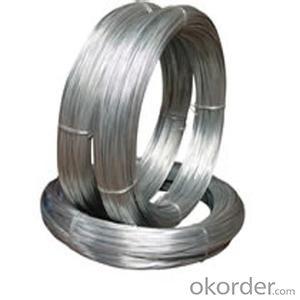
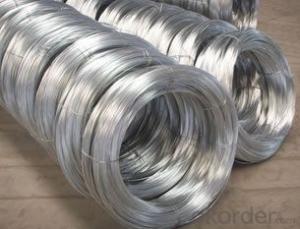
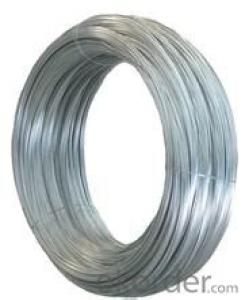
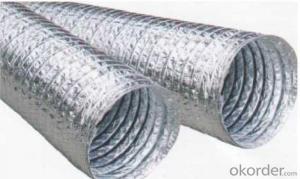
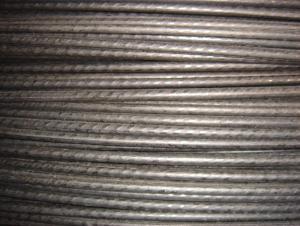
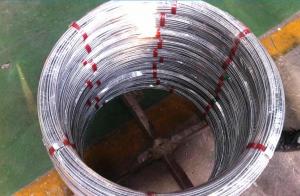
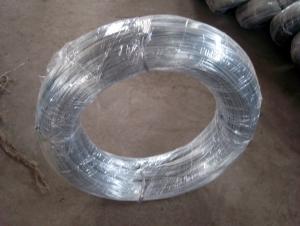
0.6mm 65# flexible duct steel wire of CNBM in China
- Loading Port:
- China main port
- Payment Terms:
- TT OR LC
- Min Order Qty:
- 1 m.t.
- Supply Capability:
- 1 m.t./month
OKorder Service Pledge
OKorder Financial Service
You Might Also Like
Quick Details
| Steel Grade: | 65# | Standard: | AISI,ASTM,BS,DIN,GB,JIS | Wire Gauge: | 0.6mm |
| Place of Origin: | Shandong China (Mainland) | Type: | Drawn Wire | Application: | Manufacturing |
| Alloy Or Not: | Non-alloy | Special Use: | Cold Heading Steel | Model Number: | 0.6mm |
| Brand Name: | cnbm | Tensile Strength:: | according to your request |
Packaging & Delivery
| Packaging Detail: | as per our standard exporting packing |
| Delivery Detail: | 15 days after deposit or L/C at sight |
Specifications
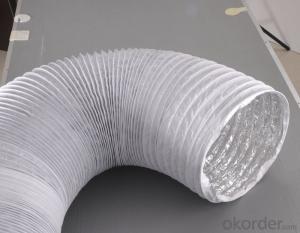
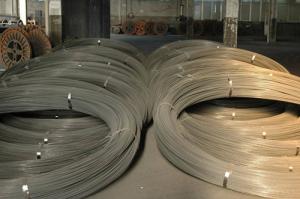
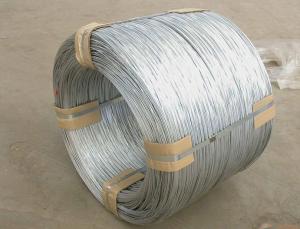
0.6mm 65# flexible duct steel wire
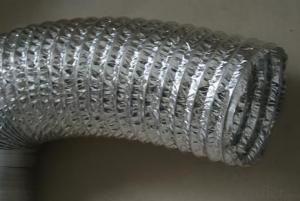
1. application:flexible duct
2. the roll weight is 30-300kgs
3.TS 2200-2400MPA
0.6mm 65# flexible duct steel wire
1. application:flexible duct
2. the roll weight is 30-300kgs
3.TS 2200-2400MPA
4.antioiled packed in protective paper and plastic paper
Steel wire,carbon steel wire ,spring wire,galvanized steel wire,spoke wire,bead wire,shaped wire,alloy wire,bearing steel wire
Products name: 0.6mm 65# flexible duct steel wire
Type:high carbon
Diameters:0.6mm
Tensile strength: 2200-2400MPA , according to the customer request
Standard:ASTM,BS,EN,ISO,DIN,JISG,KSD,TOCT,DA,DS,OTEVA
Pcaking:pack in plastic spool,reel,bag,drum,carton and so on
Steel wire material:SAE1006,SAE1008,SAE1010,Q195,Q235,C45,C50,C55,C60,C65,
65Mn,C72A,C72B,C80,C82B,CT9A,GCr15, AND SO ON
- Q: Which is live and which is not, there is a black wire and a blue wire?
- The oven is rated at 220 volts they are both hot conductors.
- Q: Okay I have a question I have an 8 gauge wire kit and it says 350 watts peak. What the difference when there is the same 8 gauge wire that says 800 watts peak does this really matter? Thanks guys
- properly, there are transformations in conductivity in wires of a similar gauge, based upon the fabric of which the twine is made and no count if or no longer it quite is multi-strand or good middle. That sounds like an quite huge hollow even even with the shown fact that. To account for that lots variance i could almost ought to think of the decrease one is aluminum or some very decrease priced copper alloy. 8 gauge is distinctly thick twine, after all.
- Q: How do I tell which wire is positive and which wire is negative on the door speakers and the rear speakers?
- Unplug the wires and note which wire goes where. then apply a battery to the speaker terminals, 9volt will work fine. If the cone moves out you have it connected to the proper + and - if it moves in then its backwards. With that you should be able to figure out which wires are + and -. Or you can just buy a service manual.
- Q: A load of 125 kip is being held by 3 wires all going up. The Wire one goes straight from the load to the horizontal. Wire 2 and 3 form a V on top of wire 1 and are 30 degrees from wire 1. This is a 2-D problem.
- You need to use summation of forces. Wires 1 and 2 are gonna have the same tension on them, just in opposite directions. so in the x direction, Fx=125cos(30)+125cos(150) (the vertical wire doesn't contribute to the x-direction forces and I choose 150 because the wire on the left really has an angle of 180-30 or 150) in the y direction, Fy=125sin(30)+125sin(150)+125sin(90) (The vertical wire is a 90 degree angle) Tension=sqrt( Fx^2 + Fy^2 )
- Q: I have a 1989 Nissan 240sx. Somehow the fan caught a hold of the wiring harness and tore all the wires. any idea how much it's going to cost?
- Buying a wiring harness will be prohibitive, and even transplanting one from a wrecking yard can be expensive. The harness can be repaired by splicing in pieces of wire where wire is missing and splicing together damaged pieces of wire. It is tedious but not particularly time consuming - I spliced in a section of harness after an engine fire in about 2 hours, working slowly.
- Q: In a telephone splice case, do you have to strip the 2 wires you want to splice, and put them together, or does each wire that you want to connect attach to terminals in the case? I am talking about the black cases on a utility pole, that the residential phone wiring connects to.
- You are only responsible for the wiring to the dmark - on my house, it is a small green box attached to the side of my house. If you are talking about something beyond that, I can not / will not assist you. Can you please clarify?
- Q: when i wire these together the light stays on. help
- the black wires supplies power, the white is your safety. don't wire white and black together. on the fan you are installing, normally, one black gives power to the light ,the other to the fan. you must connect white to white and black to black. hope this helps
- Q: Is lime wire any good????
- it's ok i have only used the free version and you should try to limit yourself to downloading a few files at a time for optimal speed. Also I disable uploads to protect my computer. after you search, go to the right hand side where it tells you the modem speed and only select t1 or t3 or cable. this will get you in and out faster too.
- Q: In the picture there is a blue wire that is loose, also i just had the starter and wiring changed a month a go. Thanks.
- The blue wire I see is attached to the Oxygen sensor (O2). If that is loose there must be a plug where it goes. That is not shown in your picture. If you're saying the car won't crank (different from will crank but still not start) what is the wire with the blue cap that disappears behind the exhaust manifold? Here's how starters are wired: The BIG red wire comes directly from the battery to the solenoid. Also going to the solenoid is/are (a) control wire(s). Typically there's only one control wire. When you turn the key you energize the control wire. That in turn pulls the solenoid in sending the starter gear into the ring gear on the flywheel. The solenoid also makes contact between the BIG red wire and the actual starter motor itself supplying power to the motor and starts spinning the engine. Older model cars have the second wire going to the solenoid do so to supply unresisted 12 volts to the ignition coil. With computer managed engines this is not necessary, the computer does the work. Hope this clears up some issues for you. Ava g'day mate. )
- Q: i just got two new aiwa stereo speaker's they come with their own wiring in the back but i dont know which wire is whatthere is one black wireand there is another black with gray dashesim thinking the one with dashes is positive?the speaker works both ways
- I wouldn't worry about polarity too much with those speakers. You're never going to be able to hear a difference, and your amplifier isn't going to care.
Send your message to us
0.6mm 65# flexible duct steel wire of CNBM in China
- Loading Port:
- China main port
- Payment Terms:
- TT OR LC
- Min Order Qty:
- 1 m.t.
- Supply Capability:
- 1 m.t./month
OKorder Service Pledge
OKorder Financial Service
Similar products
Hot products
Hot Searches
