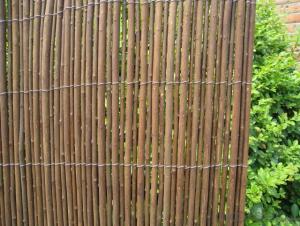
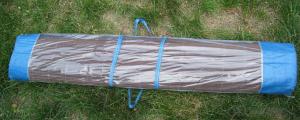
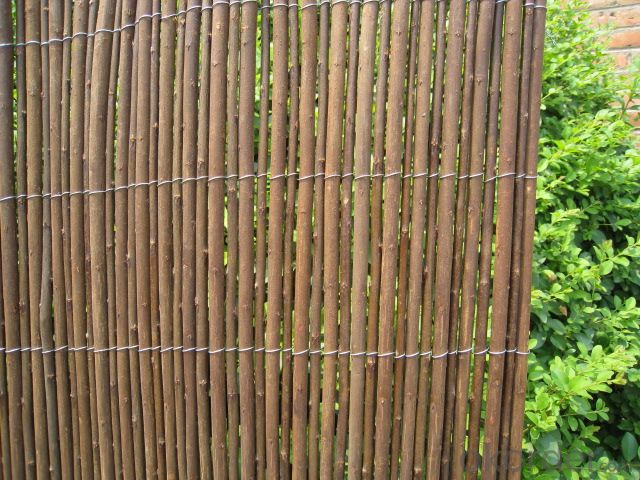
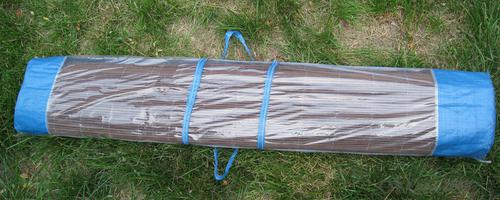
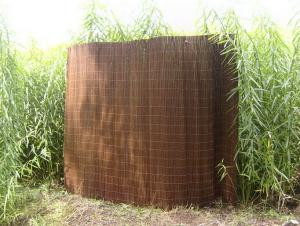
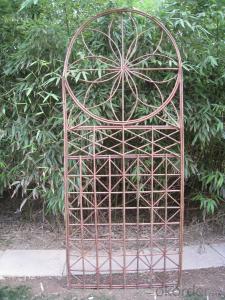
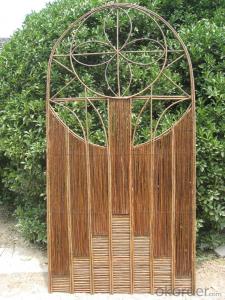
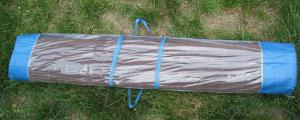
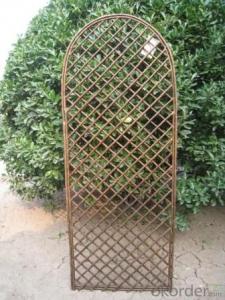
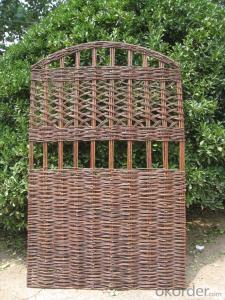
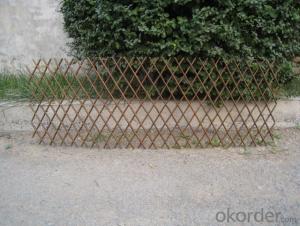
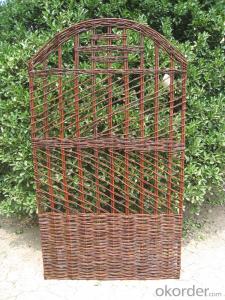
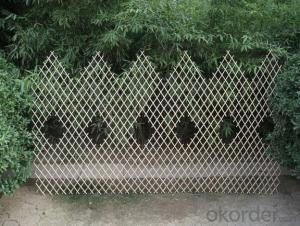
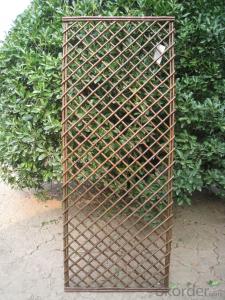
WILLOW NATURAL GARDEN SCREEN
OKorder Service Pledge
OKorder Financial Service
You Might Also Like
Specifications:
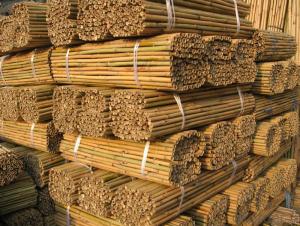
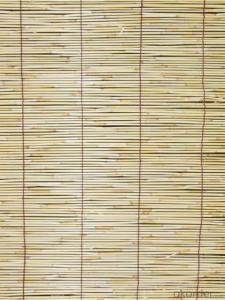
willow fence
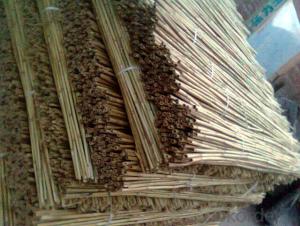
made of natural osier with fine craft
artistic,durable and easy to erect
for home&garden deco to make privacy
Product Description:
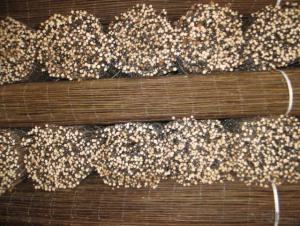
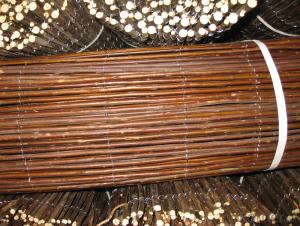
Willow fences and screens are made from vertical willow sticks tightly
woven together with galvanized steel wire. Willow fencing and screening
are suitable for an informal garden.Rapidly renewable natural bentwood
material like willow make wonderful fences for outdoor and indoor decoration,
our exclusive pre-build fences panels are designed to beautify your home garden
as well as practical well build fences with easy set up. Different styles and sizes
to suite your needs.
- Q: I have a mostly brick house, more red, fenced in back yard and am wanting to do a border of Perennial plants around my home. Wondering if this is a good idea, I don't know much about planting, gardening or anything of that sort. We have brick steps centered in the front and I want to go at an angle and leave gaps on either side of the steps to be able to plant some flowers or something. I would love some thoughts and opinions on all of this, seeing as I have no clue. I want to make sure all plants I use are safe for children and animals, I have 4 children, 3 of which are under the age of 5. Thank you for your time and help!Oh, any websites that you use personally or know would be helpful to me feel free to supply them =) I have had the hardest time finding anything helpful. Thanks!
- I would make the border irregular, concentrate on the front of the house. Go to your local nursery and ask about the plants you want. With all those children, you will be looking for low maintenance plants, so stress that. At this point, unless you have someone to do the gardening for you or at least help, it might be best to have a sunflower or other fast growing and easy bed so the kids can help and learn gardening.
- Q: Instead of paying an astronomical amount of money to Terminex etc, is there a cheaper way to bugproof my home against termites, ants etc. Also the ones that fly into open doors such as mosquitos and flys???
- It's easy to bug-proof your room against above ground insects with caulk and weather-stripping. All it takes is time and attention to detail. However for things underground like termites it's not so simple because they can bypass any weather-stripping, caulk or other sealers. A chemical barrier is best for them.
- Q: I would like to plant some clover in my flower garden because I want to plant a vegetable garden next year, but I have some questions about it. 1.) When can I plant the clover? I'd like to till the soil and then plant the clover before winter starts.2.) What kind of clover should I plant?3.) And any other advice you could give me would be great :) This is my first vegetable garden all on my own.Thanks!
- Clover are often used as cover crops between annual vegetable harvests or on the floor of orchards to help fix nitrogen and enrich the soil. In garden beds, till red clover under or add it to the compost pile before you plant annual vegetables or flowers. Use white clover in orchards, especially if you have low-grazing animals to fertilize the orchard, such as ducks, chickens, geese, rabbits or goats. Plant clover in the spring or early summer, when the ground has become soft and moist from the spring rains. You may also plant in September or early October in most locations. Clover seed is very small, so you may want to mix it with lime or fertilizer to give you more substance to work with. Do not use a strong fertilizer on clover, as it can burn the plant's thin roots.
- Q: The subject is mushroom. No, I don't want to know how to smoke them or eat them. I just want to get rid of them. I know that mushrooms comes from having a fungus in my soil. But it's no fun, continuously raking them out and mowing over. They keep coming back. And since the summer heat is approaching, I really want to try and control this fungus before it really gets out of hand. So, are there any tips of keeping the soil conditioned? And can I get rid of mushrooms without damaging my lawn?
- The mushrooms rely on moisture. Be sure not to overwater your lawn. Adding lime to your lawn annually will also help control them. You can organically spot treat problem areas with a mixture of 1 part baking soda (sodium bicarbonate) to 2 parts water. Or you can purcase a non-organic fungicide that wil be friendlier to your lawn in your local home/garden store.
- Q: i was wondering which software is better...................... Punch! Software Professional Home Design Platinum, Version 10**********OR*********Better homes and gardens home designer suite 7.0
- use both or which ever fits ur uses
- Q: pls help me know how to write an essay... This question for me is hard how can you sustain the relationship mutualism in your home garden. pls.
- mmk.... 1st paragraph is the intro.the topic sentence. 2nd paragraph explains a deatil about the subject. 3rd paragraph probably does the same with a different deatil... 4th paragraph sums it up 5th paragrpah is the conclusion.
- Q: The edition I had years ago would have been from around the late 1970s. The recipe was found in the Quick Breads section. It may also have been referred to as Orange Cranberry Bread.
- The okorder , it is by runnergirl 630 This recipe actually belongs to Ocean Spray go to ocean spray and click on their recipes you will find the exact recipe except Better Homes changed the word shortening to oil and cut the cranberries by 1/2 cup Ocean Spray has has this original recipe on the back of the bags of cranberries I have been using it from many years
- Q: Is it slob-ish to hang out barefoot in your own home / garden?
- Nope no way no how But then again chillen barefoot in your garden and then walken around in your house with dirtty muddy feet well that can't be good :DD
- Q: I need lamp shades for decorating my newly constructed home garden. Can anybody tell me about good online resource where I can get cheap and best lamps.
- Hi, okorder /... Hope this helps.
- Q: I'm eager to get into organic home gardening.
- It's amazing. We did a garden one year with zero chemicals. We just plowed, planted the seeds in dirt, weeded/tilled and watered. You wouldn't believe the difference in the way food tastes when it's all natural. Luckily we live on a farm and have plenty of natural fertilizer! You know exactly where you food came from, when and what was put on it. I love having my own garden. Plus it's cheaper! No fertilizer or pesticides to purchase and growing your own costs much less than buying in a store.
Send your message to us
WILLOW NATURAL GARDEN SCREEN
OKorder Service Pledge
OKorder Financial Service
Similar products
Hot products
Hot Searches
Related keywords
