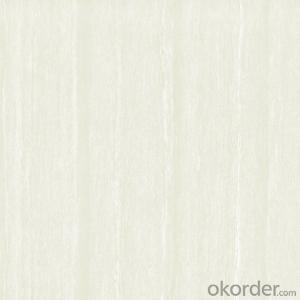
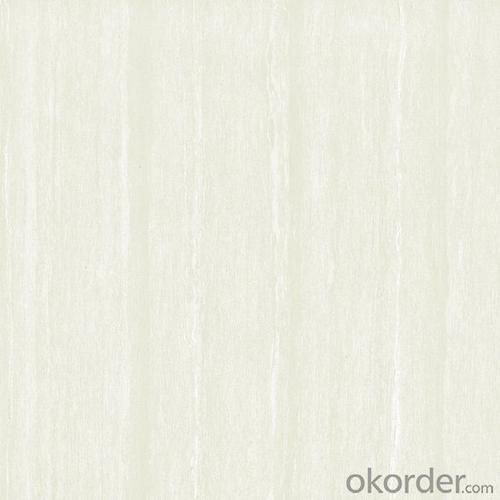
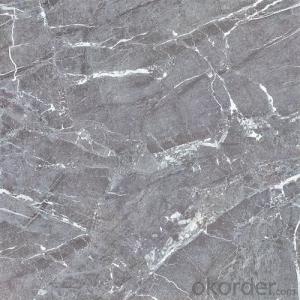
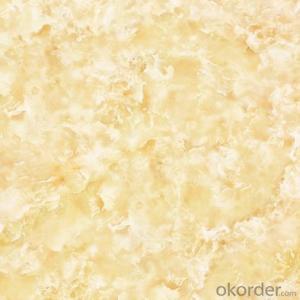
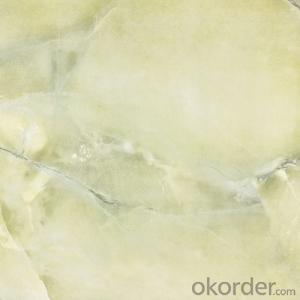
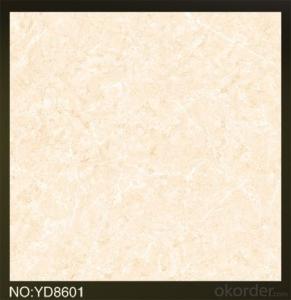
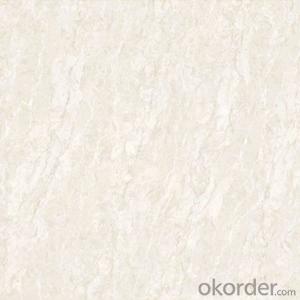
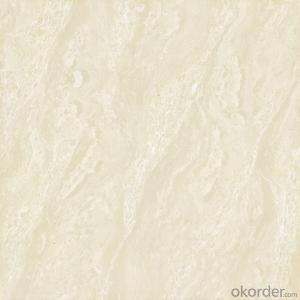
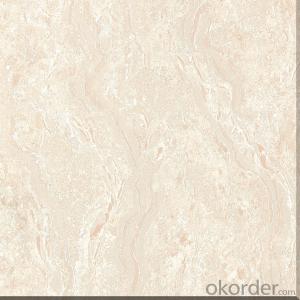
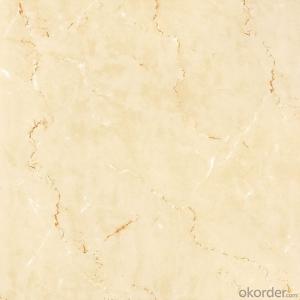
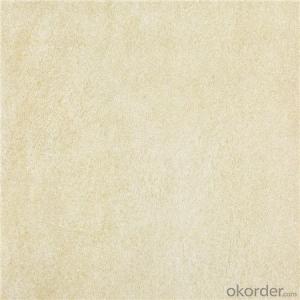
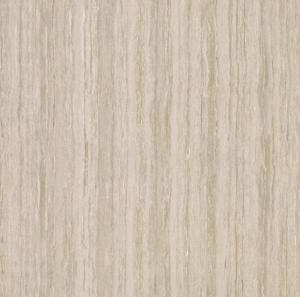
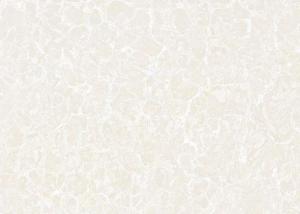
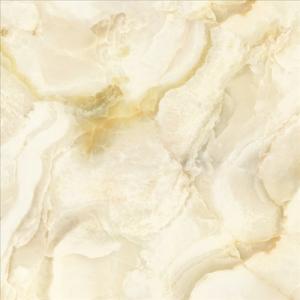
Polished Porcelain Tile Line Stone CMAX32601/32602/32603
- Loading Port:
- China main port
- Payment Terms:
- TT OR LC
- Min Order Qty:
- 1267.2
- Supply Capability:
- 100000 m²/month
OKorder Service Pledge
OKorder Financial Service
You Might Also Like
Product Brief Introduction
Polished Porcelain Tile Line Stone CMAX32601/32602/32603 is one of the most popular color of Line Serie, which is one serie of Polished Porcelain Tile in the present market. Just like other series, it could be used for interior floor for apartment, villa, super market as well as other public areas, due to its being high glossy and clean, homogeneous color shade as well as the reasonable price compared with natural stones.
Full glazed polished tiles are on the basis of the traditional polishing brick surface glazing and polishing products, whole set polished tile and glazed ceramic products archaize brick both advantages in one, not only glaze as smooth as polished tile brightening, like archaize brick pattern of design and color is rich, thick gorgeous color, natural texture, and the environmental protection and energy saving, service life long advantages and the low barriers to entry.
Product Features
Polished Porcelain Tile, Double Loading
Only Grade AAA available
Strict control on color shade, deformation, anti-pollution, surface glossy degree as well as packing
Competitive price
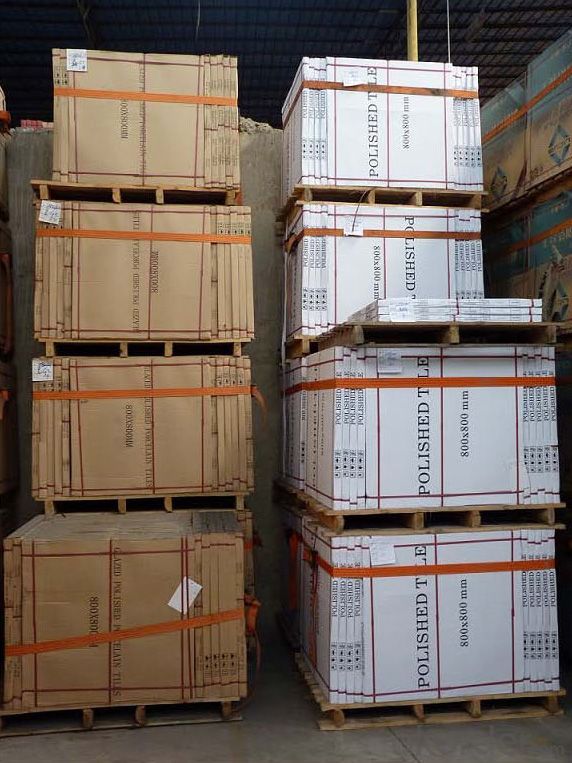
Standard export packing: Pater Carton+ Wooden Pallet
Fast delivery
OEM service could be offered
Marketing support on samples, catalogues as well as carton designing
Professional sales team for product, document and schedule of importing and exporting.
Product Specification
Tile Type: Polished Porcelain Tile
Quality standard: GB/T4100-2006, ISO13006, ISO9001
Water Absorption Rate: 《0.5%
Breaking Strength: 》 1800 N
Rupture Modulus: 》40 MPa
Length and Width Tolerance: ±0.1%
Surface Smoothness: ±0.15%
Edge Straightness: ±0.15%
Wearing Strength: 《1600 mm3
Glossiness: 》 85 Degree
Resistance to Chemical: Class UA
Resistance to Staining: Class 3.
Packing Information (For 27.5 Tons heavy 20’Fcl)
For 600x600mm, 4pcs/Ctn, 40 Ctns/Pallet, 960 Ctns/20’Fcl, 1382.4m2/20’Fcl
For 800x800mm, 3pcs/Ctn, 28 Ctns/Pallet, 616 Ctns/20’Fcl, 1182.72m2/20’Fcl
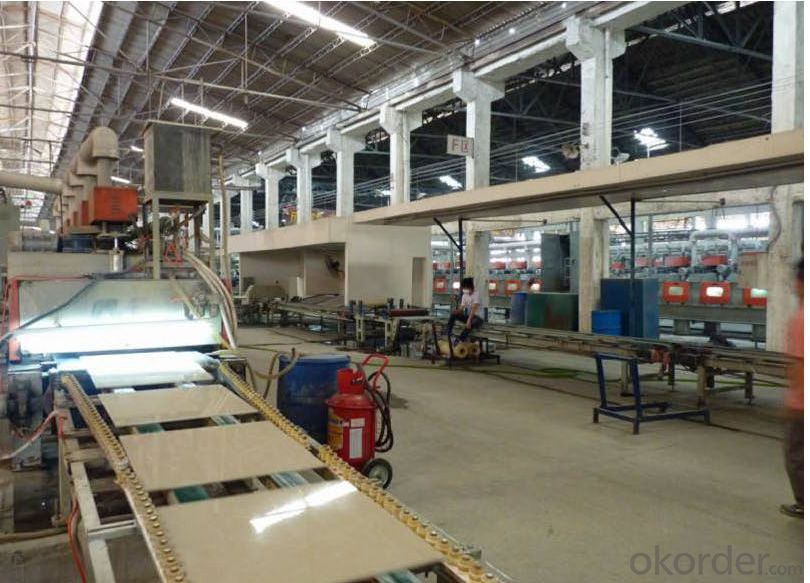
Production Line & Package
FAQ
1. Q: May I have my own design?
A: Of course. But the pictures or samples of the products should be offered by your party.
2. Q: May I ask for some samples?
The samples are free. You just need to pay for samples’ courier cost.
3. Q: Can wall tile be used on the floor?
A: Not in most cases. Please check with your installer or YIJIANG for application recommendations.
4. Q: Can floor tile be used on the wall?
A: Yes. Exterior applications require special precautions and installation methods. Please check with your installer or YIJIANG for application recommendations.
- Q: Home in the decoration, weigh the room after the decision to put a large tile, in the end to choose high light or matte? Saw several of the matt are yellow and gray, not a little white, I would like to ask you what is the brand? Which? How much is the price?
- 2, to see the side of the granules of granules are fine and even, the granules are large, rough, then the brick body density crisp, the use of the process will certainly be a problem, give a simple example: you get the house is usually the embryo room, wall The surface is very rough cement surface, when you use the putty powder after the wall is relatively smooth, delicate, and you use such a standard to see just fine. 3, the brick stand up, hand tapping the brick body, the more crisp the sound to prove that the higher the density of brick, the better the quality, the more dull the tones to prove that the worse the density of tiles, tiles, anti-fouling, 4, if it is to buy polished tiles (600 specifications above the tiles), hand touch the brick body surface (hand back touch), start to feel the more smooth proof of the brick surface of the pinhole less, the higher the anti-fouling ability, as long as Do not worry about non-slip problems in the bathroom or in the kitchen. 5, the same color to see the surface of the brick surface gloss, the general floor tiles are placed on the ramp on the ramp, there will be above the spotlights or fluorescent lamps, you want to see these bulbs in the brick surface of the shadow (like a mirror The more clear the shadow of the brick to prove the higher the gloss, the greater the hardness of the brick body, the higher the durability, contrary to the more blurred the bubble shadow to prove the lower the hardness of the brick. Note: here I am referring to the polished tiles Oh, and then compare the time must be the same color, you can not use yellow tiles and white brick to compare, that is wrong.
- Q: In a professionaly done job, what level of imperfection is acceptable. 12x12 porcellaine tile installed over backerboatd.at least a dozen tiles set either higher, lower, or tilted. Comapny says this is acceptable.
- The tiles need to be fixed. The previous answer from the contractor is correct. Bring in a second opnion and inform the original installers that they need to repair the job or lose the cost of repair to another contractor. If you've already paid for the services and used a credit card you can go to your bank and initiate a chargeback to recover your money.
- Q: I am about to redo my bathroom, and I Absolutely hate corners. They get dirty and are hard to clean plus I think they are ugly. So as far as tile is concerned is there something like a bent tile for an inside corner such as from floor to wall which will eliminate corners. Imagine if you will a quarter pipe use by skaters. If nothing exists where could I go to get custom tiles made.
- American Olean, Summitville and I m sure there other makers make a cove tile meant to be used of flooring corners between the wall tile and floor tile. You can see them in commercial applications allot. I don t see why you cant adopt the same concept to walls. There is also a base tile used for showers called an A 3401 that you could use in the same way. There is a whole color range in in 4x4 and 6x6 tiles. These are nice but basic tiles . Many manufacturers make these, including Florida Tile, Dal Tile and Interceramic that I can think of. Any questions you can e mail me through my avatar and check my qualifications there. GL
- Q: Trying to clean my kitchen's Ceramic tiles . Does any one know a good way to clean stain from Ceramic tiles and how to prevent it in future.
- Hi there, in my judgment Ceramic tiles are made from refined clay and other material. Maintenance is important through routine cleaning with mild soap and water. If you have some stains to remove, try a few of these suggestions to get your tile looking new again. 1.Clean the stained area with plain water and a soft cloth. Dry thoroughly. 2.Put on gloves. Use these to protect your hands even if the product is considered natural or non-toxic. 3.Mix borax and lemon juice together on a disposable plate or bowl. The consistency should be a paste-like substance. Rub onto the stain and allow it to dry completely. Rinse the ceramic tile with water and repeat until stain is gone. 4.Use a mixture of a vinegar and salt to make a paste. Apply to the rust stain and wait 4 to 5 hours and then rinse with hot water. Repeat as necessary. 5.Consider purchasing a Lustro Italiano cleaning kit. Apply to area with a moistened, soft cloth. This Lustro Italiano will remove the stain and not scratch surfaces. These are the steps you want to follows remove the stain from the tile. If you want more information visit the website I search it on a net it helps me a lot if you were interested visit the website which is given below.
- Q: Buy tiles need to pay attention to what? What place where to sell tiles better?
- There are many varieties of tiles on the market today, there are only a dozen categories. Consumers face such as infiltration of whole body bricks, tiles, anti-skid tiles and the like, but do not understand the meaning of which. It is important to distinguish between good and bad tiles. Upstairs several have already introduced a lot of what I added: Floor tiles can be used to compare the following indicators of data: water absorption, wear resistance, acid resistance and pollution indicators to distinguish the quality of brick quality. Selection of glazed tiles, mainly to see their tires and glazed the treatment. Tire should be size specifications, the surrounding smooth, uniform thickness, the same specifications of the tile thickness and size difference should not exceed 2 mm. The quality of glazed is more critical. First, the enamel should be thick and smooth; secondly, the glaze color difference should be as small as possible. Bathroom bathroom suitable for small size tiles. Internationally renowned brands: "Bee", "Nobel", "Diamond", "Eagle", "Asia" Domestic well-known brands: "crown beads" "Samite" "Golden rudder" Indoor floor tiles are: Tiles, polished tiles, matt bricks, glazed tiles, tiles, anti-skid tiles, special anti-acid tiles (for the laboratory and other corrosive large ground) Outdoor floor tiles are: square brick, lawn brick
- Q: I need some tiles to replace on my roof. They type of tile, I‘m told is Santa Rosa tile and is made from a reddish orange color clay, does anyone know where to get this type of tile in central California?
- Tile roofs are far more common in your part of the country than they are in mine. Your best bet is to look for roofing supply businesses in your local yellow pages. If it turns out to be impossible to get the exact same tile, a substitute can always be found. If the tiles you need replaced are on a highly visible part of the house, consider removing tiles from another part of the house to make the repair match, and use the new tiles in the less visible area. Good luck with your repair.
- Q: What are the benefits of installing tile in kitchen and bathroom or would linoleum be better? Also, how hard is it to install tile floors. I‘ve had friends who‘ve had no experience and they did it and did a good job. I am just a bit skeptical of doing it myself but just wondered if there are videos out there that shows you how to do it.
- lINOLEUM CAN BE A PAIN IN THE YOU KNOW WHAT. RESALE VALUE I WOULD HAVE TO SAY CERAMIC FLOOR TILE WITHOUT A DOUBT. FIRST LOOK AT YOU FLOOR ..DOES IT LOOK LEVEL FROM SIDE TO SIDE AND LENGTH WISE WITH NO DIPS IN THE FLOOR ANYWHERE. iF YOU ANSWERD YES THEN CHANCES ARE YOU WONT NEED A FLOOR LEVELING CRETE MIX. yOU WILL HAVE TO PULL UP WHATEVER IS DOWN THERE NOW..GET IT TO THE SUB FLOOR OR THE CONCRETE..DEPENDING WHAT YOUR HOUSE IS BUILT ON..IN EITHER CASE YOU CAN USE THE TILE. yOU NEED TO LAY MESH DOWN OVER THE FLOOR. THIS IS THE BACKING THAT WILL HOLD AND SECURE THE TILE TO THE FLOOR. ALWAYS START WITH A FULL PIECE OF TILE IN THE DOORWAY OF YOUR BATHROOM. WORK YOUR WAY TO THE BACK..THATS WHERE YOU WANT ALL THE TILE THAT GETS CUT TO END. THAT WAY YOU HAVE ALL FULL PIECES WHERE IT COUNTS. IF YOU DON'T HAVE A WET SAW..IT'S FINE. LAY ALL OF YOUR FULL PIECES THE FIRST DAY.DONT WALK ON THE FLOOR FOR A DAY . THEN THE NEXT DAY IS GOING TO BE ALL THE CUT TILES U NEED TO INSTALL. YOU CAN GET A CHEAP TILE CUTTER FOR UNDER 15 DOLLARS AT HOME DEPOT FOR ALL OF YOUR STRIGHT CUTS. IF YOU HAVE A TILE THAT NEEDS TO BE NOTCHED OR A ' L ' CUT..MARK ..MARK THE TILE WHERE IT NEEDS TO BE BUT..WRITE ON THE BACK OF THE TILE WITH EITHER NUMBER OR LETTERS SO U REMEMBER WHERE IT GOES..TRANSFER THE SAME NUMBER OR LETTER TO THE FLOOR SO U DONT FORGET. TAKE ALL THE PIECES TO BE CUT TO HOME DEPOT..THEY HAVE A WET SAW THERE ANS WILL CUT THEM FOR YOU. DONT TRIL TO TILE AROUNDF THE TOILET. IT WILL LOOK LIKE CRAP. **** THE WATER VALVE OFF BEHIND THE TOILET.LIFT THE TOILET OUT AND SET IT IN THE BATHTUB ON A OLD BLANKET THAT U DONT WANT. TILE UNDER THE TOILET AND GET CLOSE TO THE FLANGE AS U CAN..U MAY HAVE TO RAISE THE FLANGE TO THE HEIGHT OF THE NEW TILE FLOOR. CHANCES ARE YOU WONT. JUST MAKE SURE THE FLANGE ISNT BELOW THE NEW TILE HEIGHT. THIS SOUNDS REALLY HARD, BUT IT REALLY ISN'T. JUST TAKES TIME. GOOD LUCK
- Q: my bathtub tile peice just fell out and i am wondering what material i should use with it to put it back into place. Any ideas?
- Yes!! Scrape as much of the old glue away from the wall since anything you add will make the tile stick out farther than it did before. Next let it dry if its wet. Than apply some loctite adhesive to the back of the tile. Push the tile in until it is flush with the other tile. About four good size lines of glue will do it. Around the edges and then 4 vertical lines. This will allow the glue to expand and not hold the tile out. Wipe off any extra glue now . It hard to get off later. Let dry over night and than buy a matching grout to finish the job, Follow the instruction on the box. Good luck
- Q: we‘re moving into a new home that has hot pink ceremic tile as the kitchen counter top and back splash. Can we paint over the tile or do we need to remove the tile and start over with a new counter top.
- Replace the old ceramic tile with a new countertop. It is not very expensive if you get Formica. Check all the new patterns and styles they have. Like I said, it is the least expensive thing you can do for your kitchen and makes a world of difference to the looks of your kitchen. We had ours done a year ago and I couldn't be happier.
- Q: I recently bought a home with old fashioned pink and blue tile, is there an inexpensive way to make it look better? Help.....
- i think if u paint it...it may look worse... just save up some cash and get new flooring
Send your message to us
Polished Porcelain Tile Line Stone CMAX32601/32602/32603
- Loading Port:
- China main port
- Payment Terms:
- TT OR LC
- Min Order Qty:
- 1267.2
- Supply Capability:
- 100000 m²/month
OKorder Service Pledge
OKorder Financial Service
Similar products
Hot products
Hot Searches
