


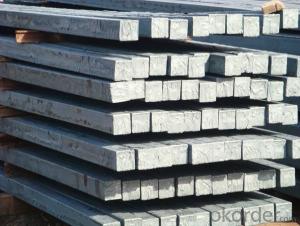
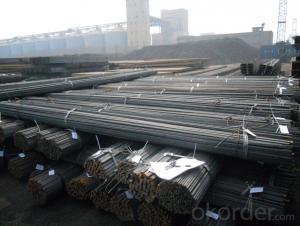
Hot rolled steel bar
- Ref Price:
-

- Loading Port:
- China Main Port
- Payment Terms:
- TT OR LC
- Min Order Qty:
- -
- Supply Capability:
- -
OKorder Service Pledge
Quality Product, Order Online Tracking, Timely Delivery
OKorder Financial Service
Credit Rating, Credit Services, Credit Purchasing
You Might Also Like


Product Description
The Detail of Product
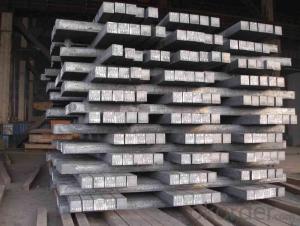
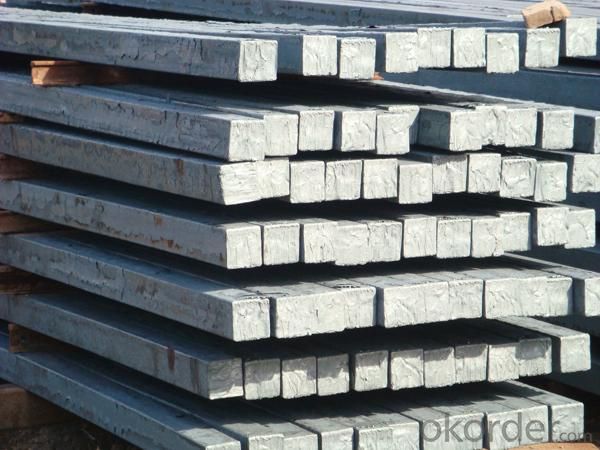
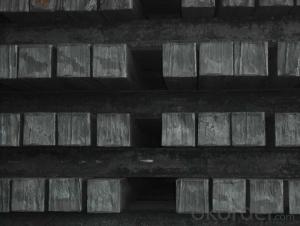
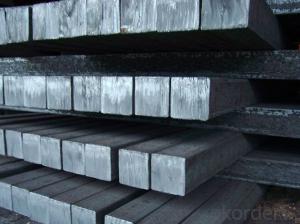
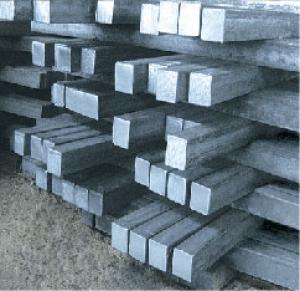
| Name: | steel billets |
| LENGTH: | 6 meter to 12 meter (+ 50mm) |
| Size: | 100*100, 120*120, 150*150, 200*200 |
| Grade: | 3SP,5SP,Q235,20MnSi. |
| Shape: | Square, Round |
| Technique: | Hot-Rolled |
| Standard: | ASTM/GB |
| BENDING | No more than 5mm in 1 meter No more than 30mm in 6 meter No more than 60mm in 12 meter |
| ANGULAR TWIST | No more than 1 degree per meter and not more than 6 degree over 12 meter length. |
| Chemical composition | C, Si, Mn, P, S, N, etc |
Chemical Properties
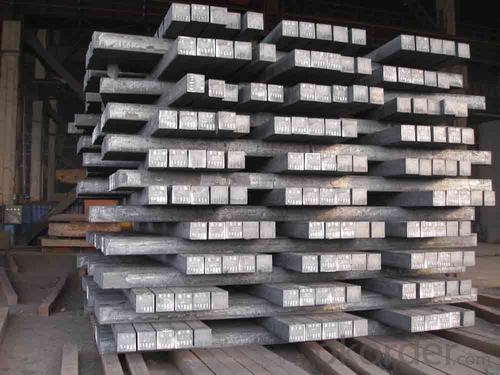
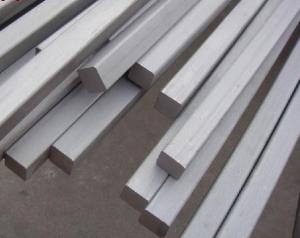
| Size | 60*60/90*90/100*100/120*120/150*150 |
| Length | 6000mm-12000mm |
| Standard | GB |
| Applicaton | To produce bars or other applications |
| Grade | Q195/Q235/Q275/3SP/5SP/20MnSi |
| Packing terms | TT/LC |
| Package | Mill's standard packing or as client's requirment |
| Delivery time | Within 10-30 days after receiving the deposit or LC |
Chemical Comosition
| Standard | C(%) | Mn(%) | S(%) | P(%) | Si(%) |
| Q195 | ≤0.12 | ≤0.50 | ≤0.040 | ≤0.035 | ≤0.30 |
| Q235 | ≤0.20 | ≤1.40 | ≤0.045 | ≤0.045 | ≤0.35 |
| Q275 | ≤0.22 | ≤1.50 | ≤0.045 | ≤0.045 | ≤0.35 |
| 20MnSi | 0.17-0.25 | 1.2-1.6 | ≤ 0.050 | ≤ 0.050 | 0.40-0.80 |
| 3SP | 0.14-0.22 | 0.40-0.85 | ≤ 0.050 | ≤ 0.040 | 0.05-0.15 |
| 5SP | 0.28-0.37 | 0.50-1.00 | ≤ 0.050 | ≤ 0.040 | 0.15-0.30 |
- Q: How do you use a steel square to determine the slope of a deck?
- To determine the slope of a deck using a steel square, you can place one leg of the square on the deck surface and the other leg against a vertical post or wall. By adjusting the square until both legs are level, you can then read the degree markings on the square to determine the slope of the deck.
- Q: How do you use a steel square to determine angles for chair legs?
- To use a steel square for determining angles for chair legs, you would place the square against the leg and adjust it until the blade aligns with the desired angle. Once aligned, you can then mark the leg using the square as a guide and proceed with cutting or shaping the leg accordingly.
- Q: How do you use a steel square to find the height of a fence post?
- To use a steel square to find the height of a fence post, you can hold one side of the square against the post, ensuring it is vertical. Then, you can align the other side of the square horizontally, making sure it is level with the ground. By measuring the distance between the ground and the horizontal side of the square, you can determine the height of the fence post.
- Q: How do you use a steel square to find the slope of a ramp?
- To determine the slope of a ramp using a steel square, follow these steps: 1. Position the steel square on the ramp, placing one side on the surface and the other side perpendicular to it. 2. Verify that the steel square is level and properly aligned with the ramp. 3. Use a level to check if the steel square is perfectly horizontal. Adjust the ramp angle if necessary until the steel square is level. 4. Once the steel square is level, observe the side perpendicular to the ramp. This side indicates the ramp's slope. 5. Measure the vertical distance between the ramp surface and the bottom edge of the steel square, as well as the horizontal distance between the bottom edge of the steel square and the ramp. 6. Calculate the slope by dividing the vertical distance by the horizontal distance. This will provide the slope as a ratio or percentage. For instance, if the vertical distance is 2 inches and the horizontal distance is 10 inches, the slope would be 2/10 or 0.2, which can be expressed as a 20% slope. Using a steel square enables accurate measurement of a ramp's slope, ensuring it adheres to desired specifications and safety standards.
- Q: How do you use a steel square to find the length of a diagonal?
- To find the length of a diagonal using a steel square, you can use the Pythagorean theorem. Place the steel square with one side along the horizontal line and another side along the vertical line. Measure the lengths of these two sides. Then, square both lengths, add them together, and take the square root of the sum. The result will give you the length of the diagonal.
- Q: Can a steel square be used for checking the verticality of a wall?
- No, a steel square cannot be used for checking the verticality of a wall. A steel square is primarily used in carpentry for measuring angles and making square cuts. To check the verticality of a wall, a level or plumb bob is typically used.
- Q: How do you use a steel square for creating precise miter joints?
- Achieving precise miter joints using a steel square involves the following steps: 1. Begin by selecting an accurately calibrated steel square with clear markings. Ensure it is in good condition, free from rust or damage. 2. Measure and mark the desired angles for the miter joints on the wooden pieces you are working with. Typically, miter joints are cut at a 45-degree angle, but this may vary depending on your project. 3. Place the steel square along the edge of one of the wooden pieces, aligning it with the marked line for the miter joint. 4. Securely hold the square against the wood and use a pencil or marking knife to mark the cut line along the square's edge. Ensure the marking is clear and precise. 5. Repeat this process on the other wooden piece, ensuring both pieces are accurately marked and aligned. 6. Once the marking is complete, use a miter saw or hand saw to cut along the marked lines. Take your time and make precise cuts to ensure a tight and accurate miter joint. 7. After cutting, test-fit the two wooden pieces together to verify the accuracy of the miter joint. Make any necessary adjustments or refinements to achieve a perfect fit. Creating precise miter joints with a steel square is a simple process that requires precise measurement, marking, and accurate cutting. By following these steps and paying attention to detail, you can achieve seamless and clean miter joints for your woodworking projects.
- Q: Can a steel square be used for shed construction?
- Yes, a steel square can be used for shed construction. A steel square is a versatile tool commonly used in construction and carpentry for measuring and marking right angles. It can be used to ensure accurate measurements and square corners during the construction process of a shed.
- Q: What are some common applications for a steel square in metalworking?
- Some common applications for a steel square in metalworking include measuring and marking angles, checking the squareness of corners, aligning and setting up machines, and determining the flatness of surfaces.
- Q: Can a steel square be used for laying out a garden bed?
- Yes, a steel square can be used for laying out a garden bed. A steel square is a versatile tool that can be used for measuring and marking right angles, which is essential for creating straight and precise garden bed borders. Whether you are planning to create a rectangular or square garden bed, a steel square can help ensure that the corners are perfectly aligned. Additionally, the straight edge of the steel square can be used as a guide for creating straight lines and edges for your garden bed. Overall, using a steel square can help you achieve neat and symmetrical garden beds.
Send your message to us
Hot rolled steel bar
- Ref Price:
-
- Loading Port:
- China Main Port
- Payment Terms:
- TT OR LC
- Min Order Qty:
- -
- Supply Capability:
- -
OKorder Service Pledge
Quality Product, Order Online Tracking, Timely Delivery
OKorder Financial Service
Credit Rating, Credit Services, Credit Purchasing
Similar products


Hot products


Hot Searches
Related keywords

