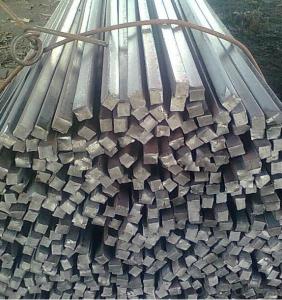
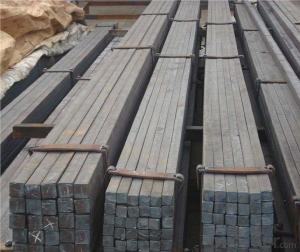
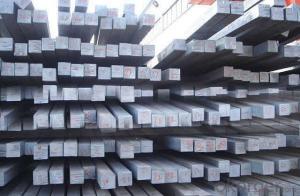
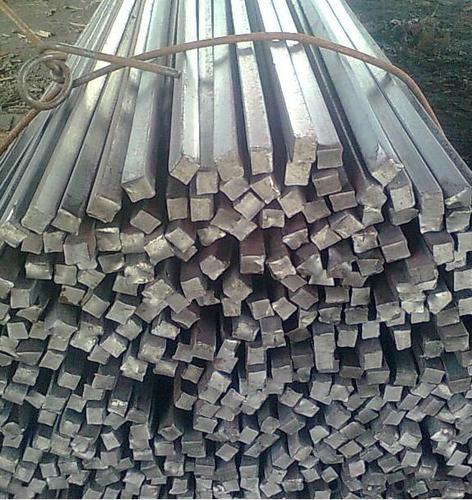
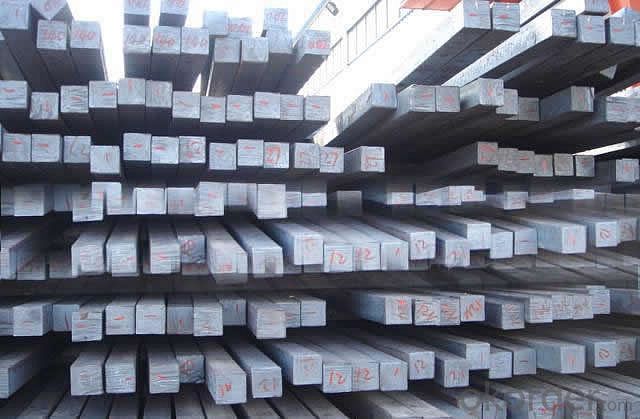
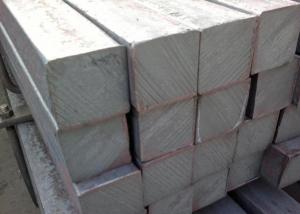
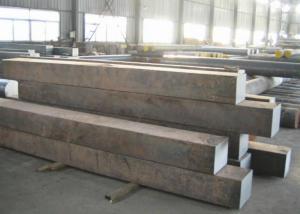
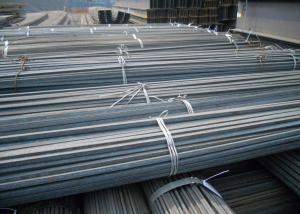
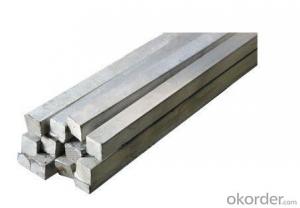
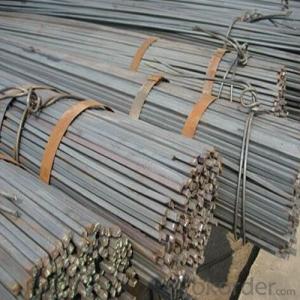
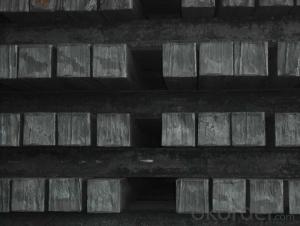
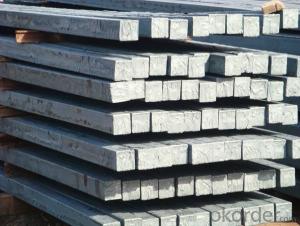
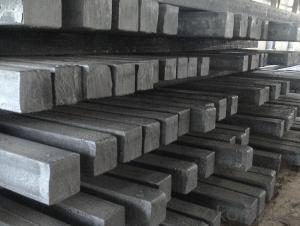
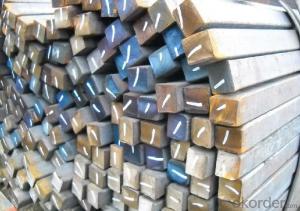
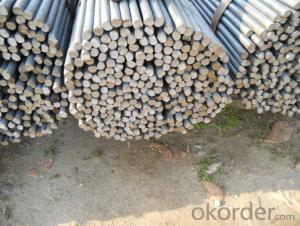
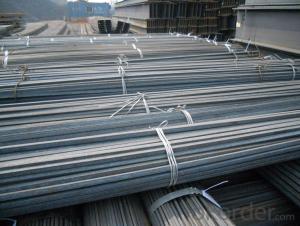
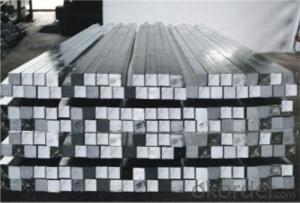
Square Bar, Hot Rolled with High Qaulity
- Loading Port:
- China main port
- Payment Terms:
- TT or LC
- Min Order Qty:
- 25 m.t.
- Supply Capability:
- 10000 m.t./month
OKorder Service Pledge
OKorder Financial Service
You Might Also Like
Product Description of Square Bar, Hot Rolled with High Qaulity :
-Standard: GB,
-Grade: Q195 or equivalent.
-Chemical Composition:
Standard | Grade | Element (%) | ||||
GB | Q195 | C | Mn | S | P | Si |
0.06~0.12 | 0.25~0.50 | ≤0.050 | ≤0.045 | ≤0.30 | ||
Measures of Square Bar, Hot Rolled with High Qaulity:
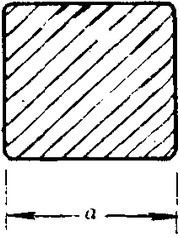 :
:
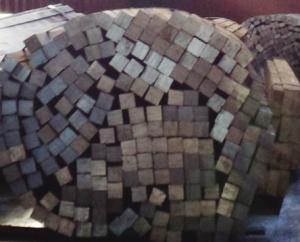
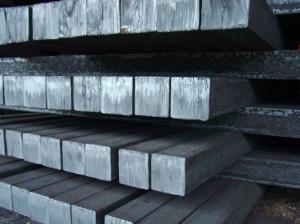
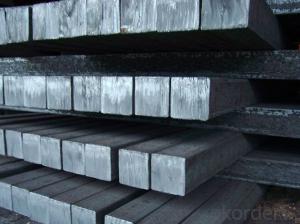
(Section of HR Square Bar)
-Length of a side and Theoretical weight of Square Bar.
Length of a side(mm) | Theoretical weight(kg/m) | Length of a side(mm) | Theoretical weight(kg/m) |
7 | 0.385 | 22 | 3.80 |
8 | 0.502 | 24 | 4.52 |
9 | 0.636 | 25 | 4.91 |
10 | 0.785 | 26 | 5.30 |
11 | 0.950 | 28 | 6.15 |
12 | 1.13 | 30 | 7.06 |
13 | 1.33 | 32 | 8.04 |
14 | 1.54 | 34 | 9.07 |
15 | 1.77 | 36 | 10.17 |
16 | 2.01 | 38 | 11.24 |
17 | 2.27 | 40 | 12.56 |
18 | 2.54 | 42 | 13.85 |
19 | 2.82 | 45 | 15.90 |
20 | 3.14 | 48 | 18.09 |
21 | 3.46 | 50 | 19.63 |
Notes:
1, The theoretical weights in the list, base on the density of 7.85 g/cm3.
2, Formula for theoretical weight of Square bar: (length of a side)2 * 0.00785
3, The numbers with *mean that they are not regular or we don’t offer them.
-Regular length of Square Bar:
Steel | Length of a side (mm) | Length of steel (m) |
Normal steel | < 25 | 4~10 |
> 25 | 3~9 | |
Steel of high quality | All measure | 2~6 |
Tool steel >75 | 1~6 |
Usage/Applications of Square Bar, Hot Rolled with High Qaulity:
-The Square Bar is normally used as structure steel.
-Row material for other structure steel like steel angles, channels, I-beams, H-beams, etc…
Packaging & Delivery of Square Bar, Hot Rolled with High Qaulity:
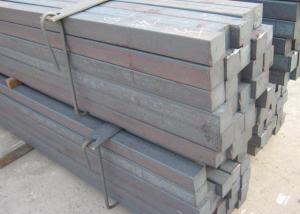
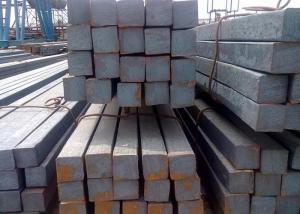
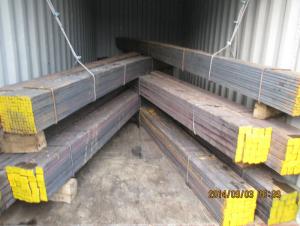
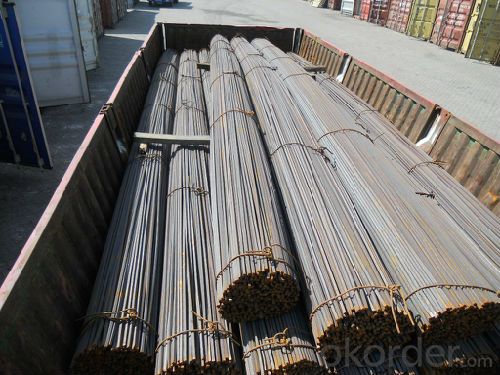
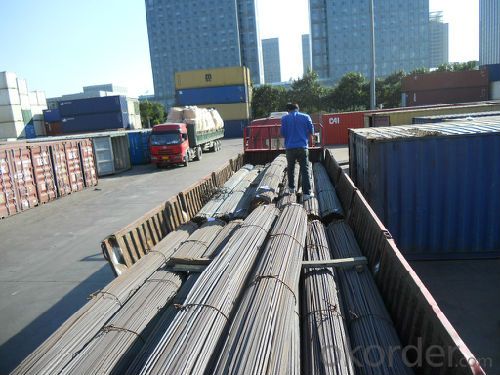
-Packing Detail: The products can be packed in bundles by steel wires.
-Marks: We make tag marks and color marks. The tag marks with white background and red company logo will be tied up to each bundle of the products. The information is usually including basic information of products and company and other information requested by customers. As for color marks, we will paint both ends of bundles to make sure that it will be more convenient for customers to distinguish them from other products.
-Delivery Detail: 30~45 working days after receive buyer’s T.T. or L/C.
FAQ:
Q1: Why buy Materials & Equipment from OKorder.com?
A1: All products offered byOKorder.com are carefully selected from China's most reliable manufacturing enterprises. Through its ISO certifications, OKorder.com adheres to the highest standards and a commitment to supply chain safety and customer satisfaction.
Q2: How do we guarantee the quality of our products?
A2: We have established an advanced quality management system which conducts strict quality tests at every step, from raw materials to the final product. At the same time, we provide extensive follow-up service assurances as required.
Q3: How soon can we receive the product after purchase?
A3: Within three days of placing an order, we will begin production. The specific shipping date is dependent upon international and government factors, but is typically 7 to 10 workdays.
Images:
- Q: Can a steel square be used for concrete work?
- Yes, a steel square can be used for concrete work. A steel square, also known as a framing square or carpenter's square, is a versatile tool used in carpentry and construction. While it is primarily used for measuring and marking right angles, it can also be used for concrete work tasks such as squaring corners, checking for level and plumb, and measuring distances. However, it is important to note that a steel square may not be specifically designed for concrete work and may not have features specific to that task, such as a non-slip surface or resistance to corrosion. Therefore, it is advisable to use a steel square that is in good condition and clean to avoid any potential issues when working with concrete.
- Q: How do you use a steel square to lay out a stair stringer?
- In order to lay out a stair stringer using a steel square, the following steps should be followed: 1. Collect the necessary tools: a steel square, a tape measure, a pencil, a framing square, and a saw. 2. Begin by determining the total rise of the stairs. Measure the vertical distance from the finished floor at the bottom to the finished floor at the top of the stairs. This measurement will establish the required number of risers. 3. Establish the desired height for each riser. Building codes generally mandate a riser height ranging from 6 to 8 inches. Divide the total rise by the desired riser height to calculate the number of risers needed. 4. Subsequently, ascertain the tread depth. Building codes typically demand a tread depth between 9 and 11 inches. Measure the horizontal distance between the finished floor at the bottom and the finished floor at the top of the stairs. Divide this measurement by the number of treads to determine the tread depth. 5. Position the framing square on the edge of the stringer, aligning the heel of the square with the bottom of the stringer and the blade with the tread depth measurement. Proceed to mark a line along the blade of the square. 6. Shift the square up to the top of the stringer, aligning the heel with the top and the blade with the riser height measurement. Proceed to mark a line along the blade of the square. 7. Connect the two lines marked on the stringer to outline the shape of the stringer. Utilize a straight edge to ensure the lines are straight and perpendicular. 8. Repeat this procedure for the desired number of stringers, usually two for a standard staircase. 9. Employ a saw to cut along the lines marked on the stringer, thereby creating the stair stringer. By adhering to these steps and utilizing a steel square, one can accurately lay out a stair stringer and guarantee the construction of a secure and properly aligned staircase.
- Q: How do you use a steel square to find the center of a circle?
- To find the center of a circle using a steel square, place the square diagonally across the circle so that the two sides intersect the circumference at two points. Then draw a line connecting these two points. Finally, draw another line connecting the midpoint of the first line to the center of the circle. The intersection of these two lines will be the center of the circle.
- Q: Can a steel square be used for checking the plumbness of a post hole?
- Indeed, a post hole's plumbness can be assessed using a steel square. A highly versatile tool, the steel square is widely employed in woodworking and construction activities. It boasts a right angle of 90 degrees, which can be aligned with the post hole's sides to gauge its plumbness. By placing the steel square against the hole's walls, one can ascertain if they are truly vertical and without any curvature. Should the steel square fail to align correctly, adjustments can be made to guarantee the post's plumb position. However, it is worth noting that while a steel square can aid in an initial check, a more precise measurement can be achieved by using a plumb bob or a level to ensure the post is perfectly vertical.
- Q: What are the different ways to read angles on a steel square?
- There are typically three different ways to read angles on a steel square: 1. Degree scale: Steel squares often have a degree scale on one of the arms, allowing you to directly read the angle in degrees. This scale is useful for precise measurements and accurate angle readings. 2. Protractor scale: Some steel squares feature a protractor scale, which allows you to measure angles more precisely. By aligning the square's edge with the angle you want to measure, you can read the angle directly from the protractor scale. 3. Vernier scale: Certain steel squares may also have a vernier scale, which provides a more detailed measurement of angles. By aligning the square's edge with the angle you want to measure, you can read the angle from the vernier scale and get a more precise reading than with a regular degree scale.
- Q: What are the different ways to read measurements on a steel square when working with metal?
- There are several ways to read measurements on a steel square when working with metal. One common method is to use the graduations on the blade and tongue of the square, which are marked in inches or millimeters. Another way is to utilize the notches or scribing lines on the square, which can be used as reference points for measuring and marking. Additionally, some steel squares may have additional features like protractors or level bubbles, which can be helpful for measuring angles or ensuring accuracy. Overall, the key is to familiarize oneself with the markings and features of the specific steel square being used in order to accurately read measurements.
- Q: How do you use a steel square to measure and mark miter cuts?
- To use a steel square to measure and mark miter cuts, follow these steps: 1. Start by ensuring that your steel square is clean and has accurate markings. 2. Place the steel square on the edge of the material you want to cut at a 90-degree angle. 3. Align the long side of the steel square with the edge of the material. 4. Take note of the angle you wish to cut, such as 45 degrees for a typical miter cut. 5. Locate the appropriate angle on the steel square scale and mark it with a pencil or a scribe. 6. Extend the mark across the material using a straight edge or a ruler. 7. This marked line represents the miter cut you need to make. 8. Double-check the accuracy of the angle and the mark before proceeding with the cut. 9. Use a saw or other appropriate cutting tool to carefully follow the marked line and make the miter cut. Remember to always prioritize safety when using cutting tools and ensure you have a firm grip on the material to avoid any accidents.
- Q: Are there any alternative tools to a steel square?
- Yes, there are several alternative tools to a steel square. Some commonly used alternatives include: 1. Speed Square: Also known as a rafter square, this tool has a triangular shape and is usually made of aluminum. It is specifically designed for measuring and marking angles, making it useful for carpentry and other construction projects. 2. Combination Square: This tool consists of a ruler and a pivoting head that can be set at any angle. It is widely used in woodworking and metalworking for measuring and marking straight lines, right angles, and various angles. 3. Framing Square: This square is larger than a steel square and is typically made of aluminum or steel. It is commonly used in construction for measuring and marking right angles, laying out stairs, and checking roof pitches. 4. Bevel Gauge: This tool is used for measuring and transferring angles. It consists of an adjustable blade and a handle, allowing it to be set at various angles. It is commonly used in woodworking and metalworking for creating precise angles. 5. Angle Finder: Also known as a protractor or angle gauge, this tool is used for measuring and transferring angles accurately. It typically consists of a round disc with a scale and a pivoting arm or blade. These alternative tools provide different functionalities and features, catering to specific needs in various industries. While a steel square is versatile and widely used, these alternatives offer additional options for specific tasks and angles.
- Q: How do you use a steel square to mark out parallel lines on curved surfaces?
- To use a steel square to mark out parallel lines on curved surfaces, you would first position the square on the curved surface so that one edge of the square is aligned with the desired parallel line. Then, using a pencil or marking tool, you can trace along the edge of the square to create the parallel line. Repeat this process at different points along the curve to mark out multiple parallel lines.
- Q: Can a steel square be used for measuring and marking compound bevel and miter cuts?
- Yes, a steel square can be used for measuring and marking compound bevel and miter cuts. A steel square, also known as a framing square or carpenter's square, is a versatile tool commonly used in woodworking and construction. It has a 90-degree angle and a 45-degree angle, making it suitable for marking and measuring both bevel and miter cuts. For compound bevel cuts, where two angles need to be combined, a steel square can be used to measure and mark the first angle. By aligning the square's 45-degree angle with the desired bevel angle, the square's edge can be used to create an accurate reference line for cutting. Similarly, for miter cuts, where two pieces of material need to be joined at an angle, a steel square can be used to measure and mark the required angle. By aligning the square's 45-degree angle with the desired miter angle, the square's edge can be used to create precise marks for cutting. However, it is important to note that while a steel square can be used for measuring and marking compound bevel and miter cuts, it may not provide the same level of accuracy and precision as specialized tools such as a bevel gauge or a miter saw. These specialized tools are designed specifically for these types of cuts and offer greater precision and ease of use. So, while a steel square can be a useful tool for basic measurements and markings, it is recommended to use dedicated tools for more complex compound bevel and miter cuts.
Send your message to us
Square Bar, Hot Rolled with High Qaulity
- Loading Port:
- China main port
- Payment Terms:
- TT or LC
- Min Order Qty:
- 25 m.t.
- Supply Capability:
- 10000 m.t./month
OKorder Service Pledge
OKorder Financial Service
Similar products
Hot products
Hot Searches
Related keywords
