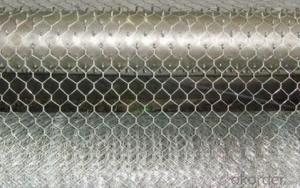
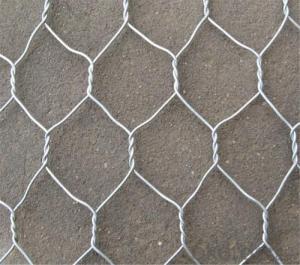
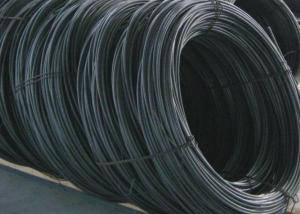
Electro Galvanized Hexagonal Wire Mesh
- Loading Port:
- China Main Port
- Payment Terms:
- TT OR LC
- Min Order Qty:
- -
- Supply Capability:
- -
OKorder Service Pledge
OKorder Financial Service
You Might Also Like
Quick Details
| Place of Origin: | Wire Gauge: | Model Number: | |||
| Type: | Application: | Hole Shape: | |||
| Aperture: | Material: |
Packaging & Delivery
| Packaging Detail: | 1.With plastic weaving bags outside 2.With wooden pallet cloth 3.According to customer's request |
| Delivery Detail: | 30 days after receive the deposit |
Specifications
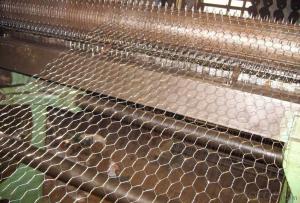
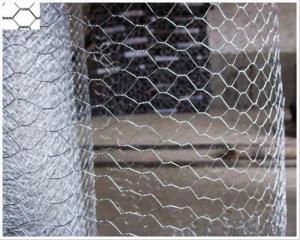
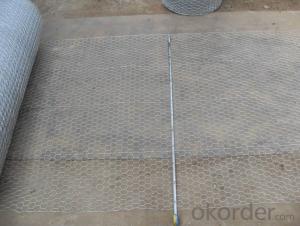
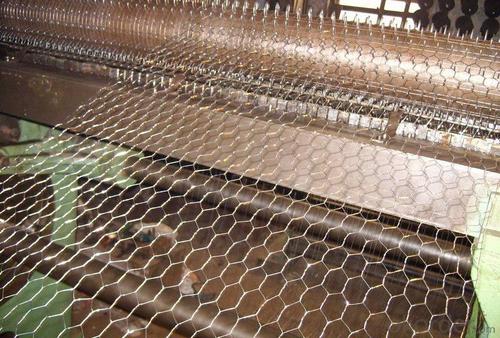
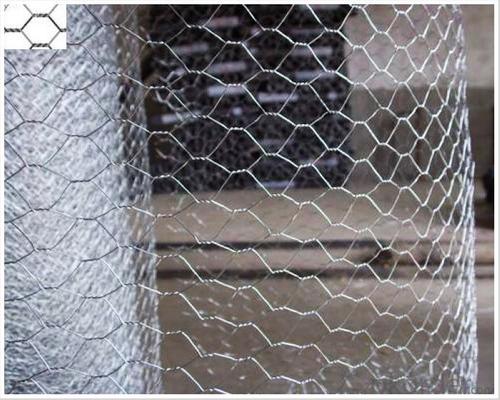
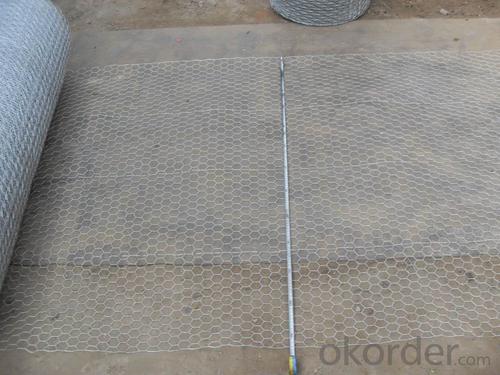
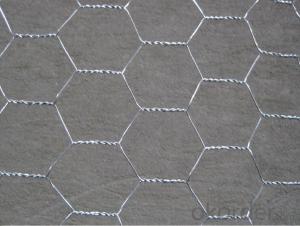
hexagonal wire mesh
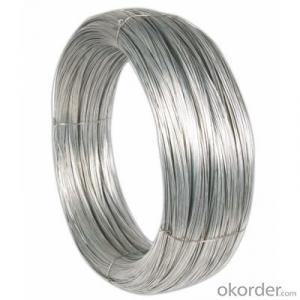
1>material: galvanized or plastic-coated wire
2>Mesh: 3/8" -4"
3>hole shape:hexagon
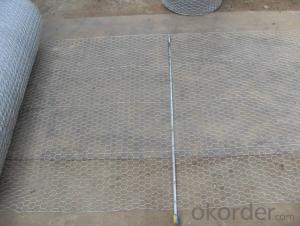
4>Length: 5-30m
Hexagonal wire mesh
Hexagonal wire mesh is also known by the name of chicken mesh.
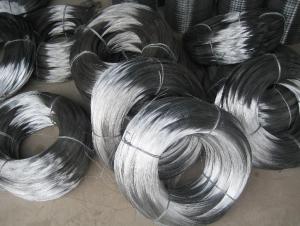
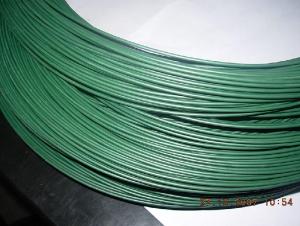
Wire materials: Hexagonal wire mesh is manufactured in galvanized iron or PVC coated wire.
Application: Hexagonal wire mesh with its good corrosion resistance and oxidation resistance, serves well as strengthening, protection and temperature keeping materials in the form of mesh container, stone cage, isolation wall, boiler cover or poultry fence in construction, chemical, breeding, garden and food processing industries.
Hex netting welded mesh(Galvanized before wearing) | ||||||
Spacing(mm) | Dia | Width(mm) | Length | |||
41 | 1.40mm | 450/600/1066 | 50m | |||
31 | 18g/19g | 900/1050/1200 | 50m | |||
50 | 18g/19g | 900/1050/1200 | 50m | |||
Hex netting welded mesh(Galvanized after wearing) | ||||||
Spacing (mm) | Diameter | Width (mm) | Length | |||
13 | 0.7mm/0.9mm/1.0mm | 900/2000 | 5m/10m/50m | |||
13 | 18g/19g/20g/22g/23g | 600/900/1200/1800 | 5m/10m/25m/50m | |||
19 | 0.7mm/0.9mm/1.0mm | 900/2000 | 5m/10m/50m | |||
25 | 0.7mm/0.9mm/1.0mm | 900/2000 | 5m/10m/50m | |||
25 | 18g/19g/20g/22g/23g | 600/900/1200/1800 | 5m/10m/25m/50m | |||
31 | 18g/19g/20g/22g/23g | 600/900/1200/1800 | 5m/10m/25m/50m | |||
50 | 0.7mm/0.9mm/1.0mm | 900/2000 | 5m/10m/50m | |||
50 | 18g/19g/20g/22g/23g | 600/900/1200/1800 | 5m/10m/25m/50m | |||
75 | 0.7mm/0.9mm/1.0mm | 900/2000 | 5m/10m/50m | |||
- Q: no power to brown trailer wire
- yes, there is a way just think about it.
- Q: I bought a wiring harness for my 2001 Ford Focus with a non-blaupunkt factory cassette player. The wiring harness doesn't match up exactly. A reviewer online said his didn't match up either, but still worked. The factory wiring has 7 slots and the one I received has 8. What do you think?Factory wiring on the left, the harness I received on the right:Constant Voltage - Constant VoltageGround - NothingIgnition Voltage - Ignition VoltageConstant Voltage - Illumination/DimmerGround, switched - NothingGround - GroundNot Used - Power AntennaNo Slot Here - Remote Turn onIt's mainly the Constant Voltage - Dimmer connection that worries me.And I know I can just hack up the wiring and skip the harness all together, but I'm trying to keep it simple and neat for the next guy/gal (which may be me for all I know).What do you think?Thanks in advance.
- 2001 Ford Focus Car Stereo Wiring Diagram Car Radio Battery Constant 12v+ Wire: Green/Black Car Radio Accessory Switched 12v+ Wire: Black/Pink Car Radio Ground Wire: Black/Green Car Radio Illumination Wire: Orange/Black Car Stereo Dimmer Wire: N/A Car Stereo Antenna Trigger Wire: N/A Car Stereo Amp Trigger Wire: N/A Car Stereo Amplifier Location: N/A Car Audio Front Speakers Size: N/A Car Audio Front Speakers Location: N/A Left Front Speaker Positive Wire (+): Orange/Green Left Front Speaker Negative Wire (-): Blue/White Right Front Speaker Positive Wire (+): Tan/Green Right Front Speaker Negative Wire (-): Green/Orange Car Audio Rear Speakers Size: N/A Car Audio Rear Speakers Location: N/A Left Rear Speaker Positive Wire (+): Gray/Blue Left Rear Speaker Negative Wire (-): Brown/Yellow Right Rear Speaker Positive Wire (+): Black/Violet Right Rear Speaker Negative Wire (-): Orange/Violet
- Q: I am trying to install an outside motion activated light fixture, there is a box with a yellow wire that did not have power... I found a white wire with power and joined it to the yellow wire...and after installing the fixture (white wire to white wire, black wire to black wire) my fixture is not turning on... uld it be because of the two kind of wires??
- This does not sound like a conventional setup that meets code. There are two ways to connect switched power to a box. The first is to do the switching before the box, in which case you should see one black, one white, and one bare copper wire (ground) coming out of the box. You would hook your fixture as follows: black to black, white to white, and green and bare to the box. The second configuration has the wires from the switch joining the power wires (black, white, ground) in the box. In this case, the black wire should always be hot, no matter what position the light switch is in. The wires from the switch should be the same as from the circuit: black, white and bare copper (ground). What you describe sounds very suspicious, unsafe, and not to code. Unless you are very familiar with safe electrical practices and residential wiring, I suggest you call in an electrician to troubleshoot the problem and correct it.
- Q: what gauge wires should i use for my 12'' alpine typr r SWR-1242D?
- 4 guage amp kit This one is the best SoundQuest SQK0 1/0 Gauge Copper-Clad Aluminum Wiring Kit Technical Details * 1/0 Gauge Power and Grounding Wires * Remote Wire, Speaker wire, and RCA Signal Wires * Fuse Block and Fuse * Various crimp style connectors
- Q: Is there anything else I could use to solder things without buying whole long spool of soldering wires? I mean like the wire inside the TV antenna cable from 99c store or nails and etc. ? Something I could use single time.
- If you could get a small spool of solder and flux from Menard, for plumbing that also works.
- Q: (a) A copper wire and an iron wire have the same length and same diameter and carry same current I. In which wire is the electric field greater?(b) Can a 1mm in diameter copper wire have the same resistance as a tungsten wire of the same length?[Use p(copper)=1.7x10^-8 ohm meters, p(iron)=1x10^-8 ohm meters, p(tungsten)=5.6x10^-8 ohm meters]
- a) for them to carry the same current (with equal lengths and diameters) the iron wire must have a higher voltage between the ends. Iron has higher resistance than copper. Because the iron wire has a higher voltage across an equal distance, it has a greater electric field. b) yes, but the tungsten wire must have a larger diameter than the copper.
- Q: Hello,I am trying to figure out what type of metal jewelry wire I need for a beading project. I found mostly copper wire at the craft store, as well as a smaller variety of aluminum and brass wire. Is this copper wire (came in many colors) a durable wire? It seemed very soft. Is there a stronger wire on the market? I am mostly looking for 22-28 gauge wire. Thanks!
- there are an entire heap of distinctive wires for all of the diverse issues you additionally could make. so as that is my first question, what do you ought to make? in case you're only beginning out, i'd advise paying for a sturdy determination of distinctive wires and prepare to discover what works for you. inventive wires or craft wires are suitable as they are much less costly. you additionally can circulate with silver/gold plated wires.
- Q: what to do if i unhooked my starter without unhooking my battery and the hot and gound wire caught on fire
- Be thankful that's all that happened. You could loose fingers doing the starter motor without disconnecting the power to it. Among many, many, other things.... Follow the advice posted from othes here..
- Q: I need a little help wiring my ceiling fan.Coming from the ceiling:2 green wiresground wirewhite wireblack wirered wireComing from fan:green wireblue wireblack wirewhite wireCan anyone please explain what wires to connect to what.
- I installed 3 ceiling light fan combos last yr. I too was perplexed and it took me longer to do than an electrician. I can only recommend that you closely follow the directions that came with you setup. The Chinese directions are not much help, but they may help. Good luck!
- Q: My home is wired for the thermostats with two wires (red and white). I have acquired a new thermostat that requires a Red, White, and Common wire. Using the white wire in that position will power the unit up but it won't trigger the heat. Is there something that can be put in line that will allow this thermostat to work without rewiring the house?
- T-stat wires are usually left loose in the wall, no staples, so you can easily replace it by pulling a new wire through with the old one. First try to get an idea of where the wire goes. Get an estimate of total length and go to home depot and purchase 18-3 t-stat wire. They sell it in 25 feet, 50 feet, 100 feet, 500 feet, or by the foot. Compare prices and get enough to make a continuous run. Older 2 wire Tstats used a mercury or spring switch to simply connect the two wires together (24v + and sl return). Your new Tstat needs a common because it is being powered by the same feed that activates the unit. (So you have 24+ 24- and sl return) When you attach your new wire to your old wire be sure to actually strip the outer coating of about 4 inches or so and fold the wires around each other to get a good strong bond, and then tape it tight to keep it as small diameter as possible.
Send your message to us
Electro Galvanized Hexagonal Wire Mesh
- Loading Port:
- China Main Port
- Payment Terms:
- TT OR LC
- Min Order Qty:
- -
- Supply Capability:
- -
OKorder Service Pledge
OKorder Financial Service
Similar products
Hot products
Hot Searches
Related keywords
