


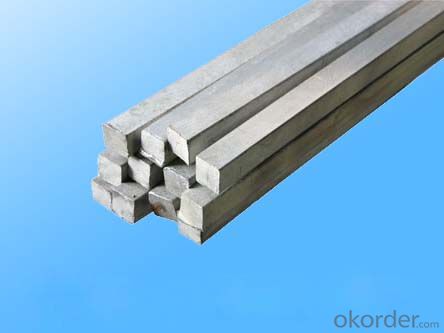
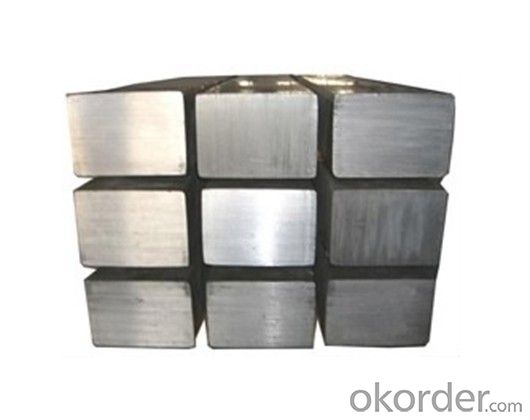
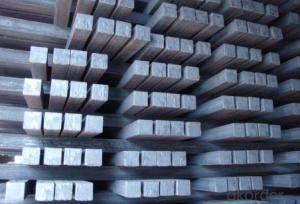
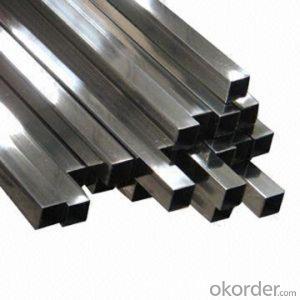
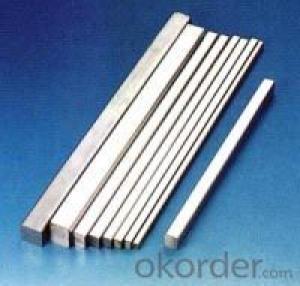
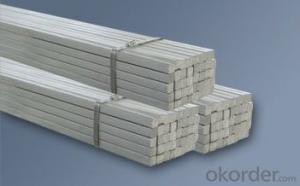
Q195Cr High Quality Steel Square Bar
- Ref Price:
-

- Loading Port:
- Tianjin
- Payment Terms:
- TT OR LC
- Min Order Qty:
- 1000 m.t.
- Supply Capability:
- 100000 m.t./month
OKorder Service Pledge
OKorder Financial Service
You Might Also Like


Product Description:
Product Description:
In the production of steel products, steel is molded and reshaped with different machinery at different temperatures. One process is steel rolling, which involves metal stock passing through a pair of rolls. Rolling produces flat steel sheets of a specific thickness, and the process is classified according to the temperature at which the metal is rolled. If the temperature of the metal is above its recrystallization temperature, or the temperature at which the grain structure of the metal can be altered, then the process is termed as hot rolling. If the temperature of the metal is below its recrystallization temperature, the process is termed as cold rolling.
Like cold rolling, cold drawing is performed at room temperature, but instead of producing a flat object like a coke can, cold drawing makes steel into the form of a wire like the spokes of a wheel or a paper clip. To start the process, Steel is usual hammered and rolled so that it can be fit through a die; a tool that turns the steel mass into a wire. The room temperature steel is pulled through the die which reshapes it into a thinner shape while maintaining the same volume. It is similar to the idea of syrup flowing out of a bottle through a tube in that it changes shape but not volume, but instead of squeezing the metal, it is pulled out. In order to get the wire down to the right diameter, it usually requires more than one pass through different dies.
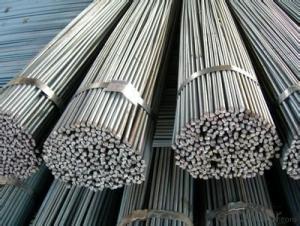
Colddrawn steel, steel covered carbon steel, excellent carbon steel, alloy structural steel, carbon tool steel, spring steel, bearing steel, tool steel, cold heading steel, free cutting steel, martensite stainless steel; products include all kinds of shapes round, square steel, hexagonal, flat steel and other conventional products, including various special-shaped steel products. In all types of colddrawn steel industry has been widely used, these areas include automotive, machine tools, furniture, standard parts, textile machinery, agricultural machinery, military industry and other industries.
The total assets of more than 40 million, as of the end of 2010 with fixed assets of 34 million, with 60 tons from 5 tons a chain drawing machine 10 sets, horizontal and inverted coiled wire drawing machine 5 sets, steel and plate production line of blasting, high-power ham stove, various straightening machine and cold rolling mill and other major equipment.
Usage/Applications
-The Square Bar is normally used as structure steel.
-Row material for other structure steel like steel angles, channels, I-beams, H-beams, etc…
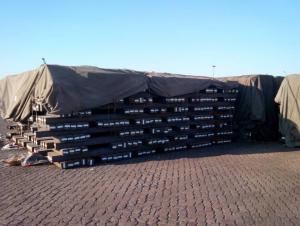
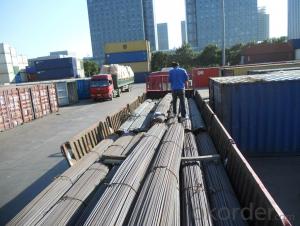
Packaging & Delivery
-Packing Detail: The products can be packed in bundles by steel wires.
-Marks: We make tag marks and color marks. The tag marks with white background and red company logo will be tied up to each bundle of the products. The information is usually including basic information of products and company and other information requested by customers. As for color marks, we will paint both ends of bundles to make sure that it w
-Delivery Detail: 30~45 working days after receive buyer’s T.T. or L/C.
ill be more convenient for customers to distinguish them from other products.
- Q: What are some common materials used in the construction of a steel square?
- Some common materials used in the construction of a steel square include stainless steel, carbon steel, and aluminum.
- Q: How do you use a steel square to lay out a diagonal line on a curved surface?
- In order to lay out a diagonal line on a curved surface using a steel square, several steps need to be followed: 1. Begin by positioning the steel square on the curved surface, aligning one edge horizontally and the other vertically. Make sure the square is securely placed and doesn't shift. 2. Determine the starting point of the diagonal line on the curved surface. This can be any desired point along the curve. 3. Locate the desired diagonal measurement on the steel square. This measurement will determine the length and angle of the diagonal line to be laid out. 4. Align the chosen diagonal measurement on the vertical edge of the steel square with the starting point of the line on the curved surface. This point can be marked with a pencil or marker for reference. 5. Rotate the steel square along the curved surface while maintaining alignment between the vertical edge of the square and the marked starting point. As you rotate, the horizontal edge of the square will trace a diagonal line on the curved surface. 6. Keep rotating the square until you reach the desired endpoint of the diagonal line. The horizontal edge will continue to mark the line on the curved surface as you rotate. 7. Once the endpoint is reached, mark the line on the curved surface using a pencil or marker, following the path traced by the horizontal edge of the steel square. By following these steps, a diagonal line can be accurately laid out on a curved surface using a steel square. It is crucial to ensure the square remains firmly in place throughout the process to maintain precision.
- Q: How do you use a steel square to find the square footage of a patio?
- To use a steel square to find the square footage of a patio, you can measure and mark the dimensions of the patio using the steel square. Once you have the length and width measurements, multiply them together to get the square footage of the patio.
- Q: How do you determine the center of a circle using a steel square?
- A steel square cannot be used to determine the center of a circle. The center of a circle can be determined by using different methods such as finding the midpoint of the diameter or by drawing perpendicular bisectors of chords within the circle.
- Q: Can a steel square be used for checking the squareness of a workbench leg?
- A workbench leg's squareness can be checked using a steel square, a versatile tool commonly employed in woodworking and construction to guarantee precise right angles and squareness. To examine the squareness of a workbench leg, one can position the steel square against both the leg and the surface it should be perpendicular to. By aligning the square with the leg and verifying the perfect perpendicularity of the edges, one can ascertain whether the leg is square or requires adjustments. The steel square offers a dependable and accurate means of measuring squareness in different scenarios, such as with workbench legs.
- Q: Can a steel square be used for checking the squareness of a disc sander table?
- No, a steel square cannot be used for checking the squareness of a disc sander table. A steel square is a tool used for measuring right angles and checking the squareness of objects with straight edges, such as a board or a workpiece. However, a disc sander table is a circular surface, and a steel square is not designed to accurately measure the squareness of curved or circular surfaces. To check the squareness of a disc sander table, a specialized tool such as a precision angle gauge or a dial indicator should be used. These tools can provide accurate measurements and ensure that the table is perfectly square for precise sanding operations.
- Q: The steel structure of 40*80 steel, it is tempered glass top. The steel internal fight foaming agent. But there is rust in the inner surface. Will it affect the safety? How to deal with
- The rust removal on the inner wall of pipe profiles has always been a thorny problem. If the corrosion is not serious, the treatment is usually not done. If you want to anti-corrosion effect is good, but also to go inside the paint corrosion prevention practices, very few.
- Q: Can a steel square be used for checking the alignment of floor joists?
- Yes, a steel square can be used for checking the alignment of floor joists. A steel square, also known as a framing square, is a versatile tool commonly used in carpentry and construction. It has a triangular shape with a long arm and a shorter perpendicular arm, which makes it ideal for measuring and checking angles. When it comes to floor joists, a steel square can be used to check if they are properly aligned. By placing the long arm of the square against the side of a joist and extending the shorter arm to touch the adjacent joists, one can determine if the joists are parallel and evenly spaced. The square can also be used to check if the joists are perpendicular to the walls or other structural elements. In addition to checking alignment, a steel square can be used for various other tasks related to floor joists, such as marking and cutting them at the correct angles. It is a reliable and accurate tool that can help ensure the structural integrity and stability of a floor system.
- Q: How do you use a steel square to measure the width of a picture frame?
- To measure the width of a picture frame using a steel square, you would place one edge of the square against the inside of the frame, ensuring it is flush with the corner. Then, you can read the measurement off the scale on the square where the other edge aligns with the opposite side of the frame. This will give you an accurate measurement of the frame's width.
- Q: How do you use a steel square to measure diagonals?
- To use a steel square to measure diagonals, simply place the square against the corner of the object or surface you want to measure. Align one edge of the square with one side of the object and make sure the other edge is perpendicular to it. Then, measure the diagonal by extending the other edge of the square until it reaches the opposite corner. The measurement you obtain is the length of the diagonal.
Send your message to us
Q195Cr High Quality Steel Square Bar
- Ref Price:
-
- Loading Port:
- Tianjin
- Payment Terms:
- TT OR LC
- Min Order Qty:
- 1000 m.t.
- Supply Capability:
- 100000 m.t./month
OKorder Service Pledge
OKorder Financial Service
Similar products


Hot products


Hot Searches
Related keywords

