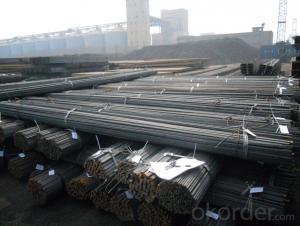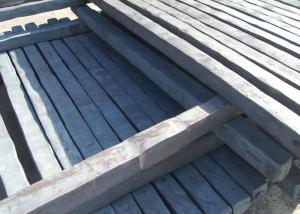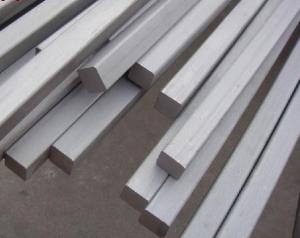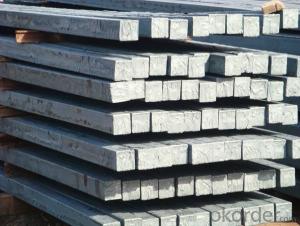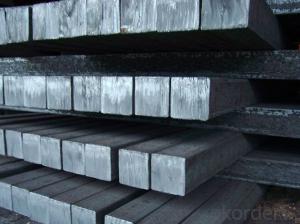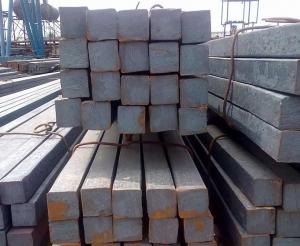


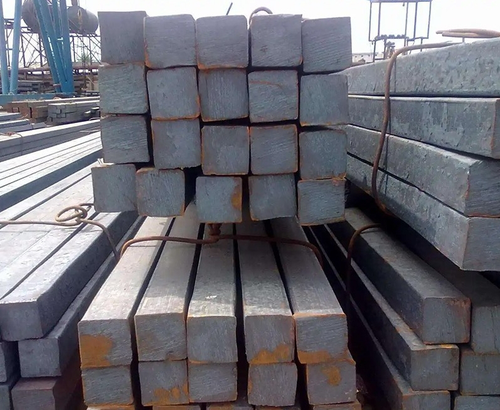

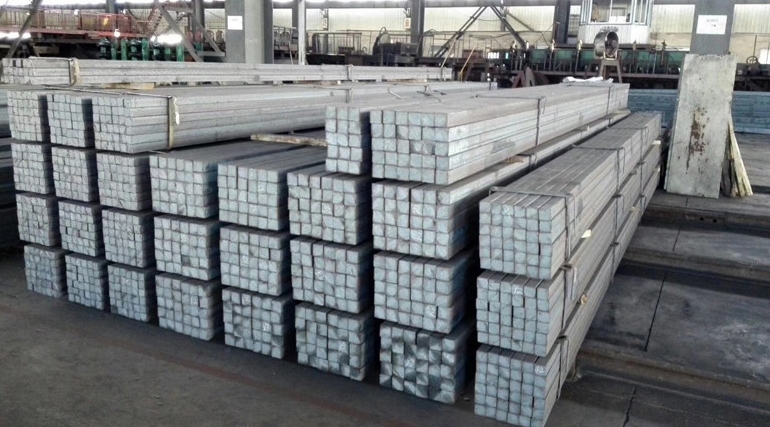


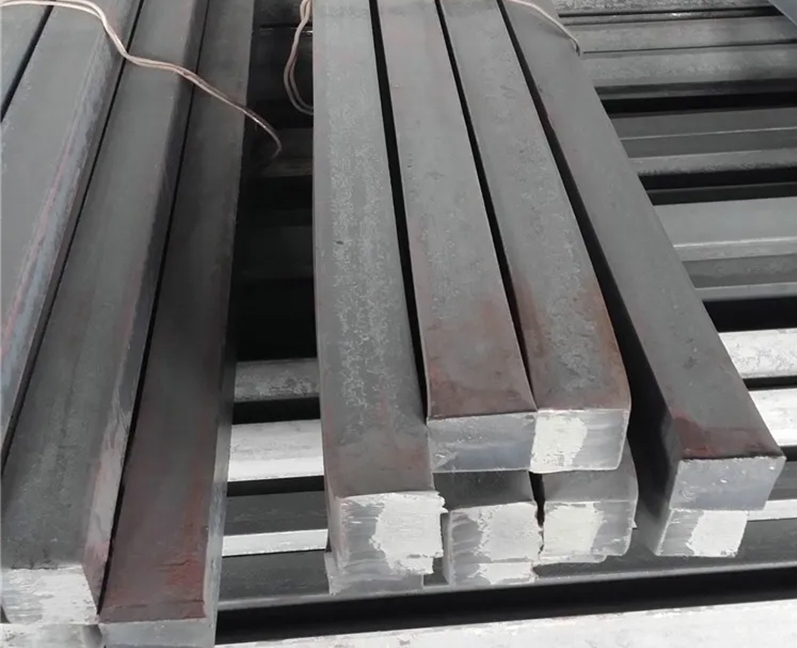
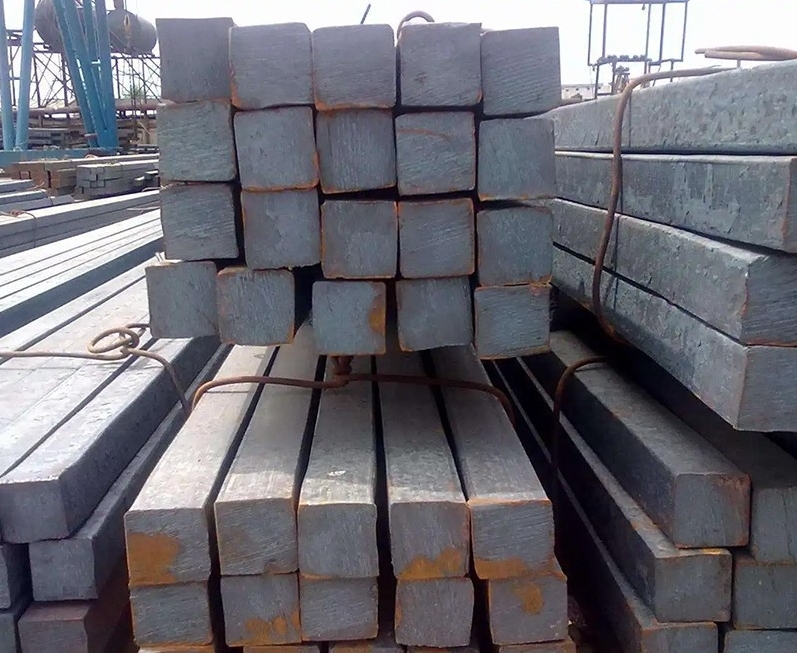
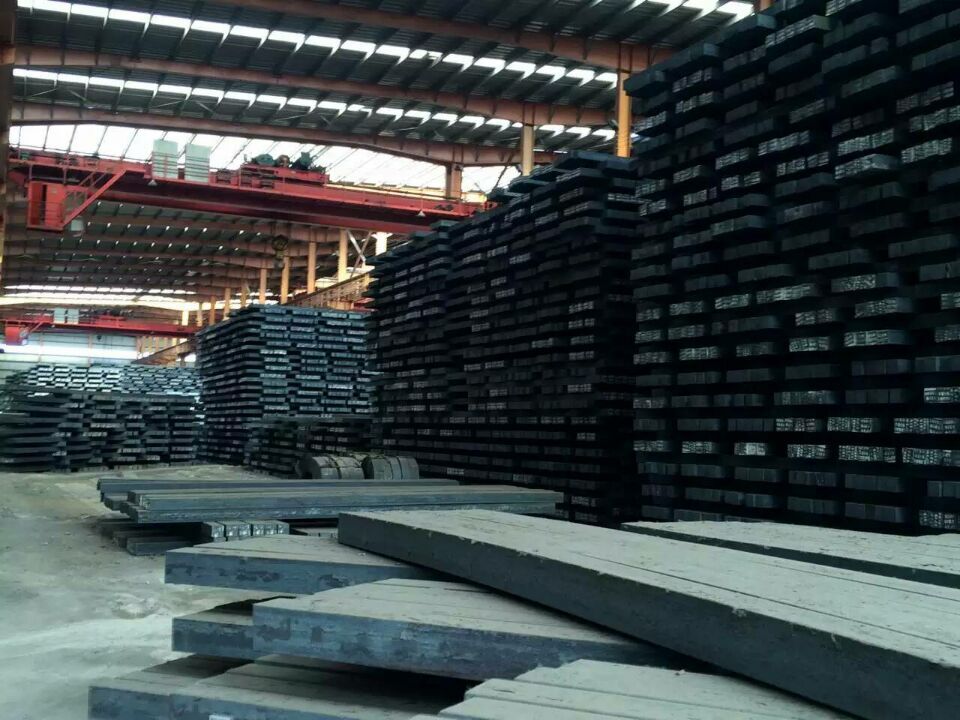
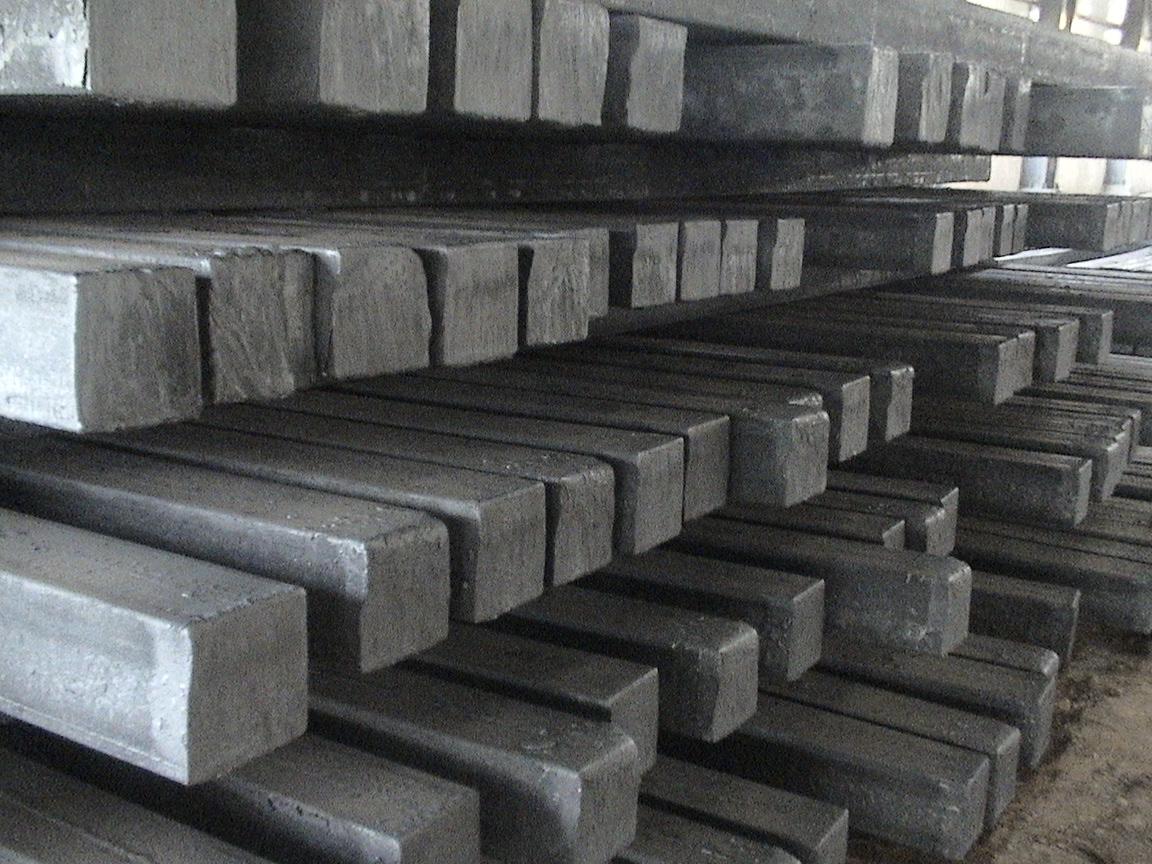
hot rolled steel square bar square steel steel billet
- Ref Price:
-

- Loading Port:
- Tianjin
- Payment Terms:
- TT OR LC
- Min Order Qty:
- 25 m.t.
- Supply Capability:
- 200000 m.t./month
OKorder Service Pledge
Quality Product, Order Online Tracking, Timely Delivery
OKorder Financial Service
Credit Rating, Credit Services, Credit Purchasing
You Might Also Like


Specification
Standard:
ASTM,JIS,GB,EN
Technique:
Hot Rolled
Shape:
Rectangular,Square
Surface Treatment:
Black
Steel Grade:
Q195,Q235B
Thickness:
8-150
Length:
1-12m or customized
Net Weight:
0.502-176.76kg/m
We supply ms equal & unequal angle bar, channel bar,jis channel, upn, steel i beam,h beam, ipe, ipeaa, steel sheet pile, flat bar, hollow section, tmt bar, wire rod, binding wire, wire mesh, hrc, CRC, gi coil, ppgi, roofing sheet, chequered coil & plates, medium plate, scaffolding systems, prefabricated container houses etc. Also for metal & steel processing.
If you are in the market for any steel products, please feel free to contact us


- Q: What are the different techniques for using a steel square in welding?
- There are several techniques for using a steel square in welding that can help ensure accurate and precise measurements and angles in the welding process. Some of these techniques include: 1. Checking angles: A steel square can be used to check the accuracy of angles before and after welding. By placing the square against the joint, welders can ensure that the angles are square (90 degrees) or match the desired angle. 2. Layout and marking: Steel squares are excellent tools for laying out and marking lines on the workpiece. They can be used to create straight lines, mark reference points, or transfer measurements accurately. 3. Squaring up corners: Before welding, it is crucial to ensure that corners are properly aligned and squared. A steel square can be placed against the corners to check if they are square, allowing adjustments to be made before welding. 4. Aligning fixtures and jigs: When setting up fixtures or jigs for welding, a steel square can be used to ensure proper alignment. It can be placed against the fixture or jig to check if it is square or parallel, making adjustments as needed. 5. Measuring and transferring dimensions: Steel squares have precise markings along their edges, allowing welders to measure and transfer dimensions accurately. This is especially useful when aligning or fitting pieces together before welding. 6. Checking for distortion: After welding, a steel square can be used to check for any distortion or warping in the workpiece. By placing the square against the welded joint, any irregularities can be easily identified and corrected. In summary, a steel square is a versatile tool in welding that can help with layout, alignment, measuring, and checking angles. By utilizing these techniques, welders can ensure the accuracy and quality of their work.
- Q: How do you use a steel square to find the height of a fence post?
- In order to find the height of a fence post using a steel square, there are several steps you should follow. First, make sure that the steel square is squared off and level. Align one edge of the steel square with the side of the fence post, ensuring that it is flush with the surface of the post. Afterwards, refer to the measurements on the steel square to determine the height of the fence post. Most steel squares have measurements marked along the edges, usually in inches or centimeters. Locate the measurement that corresponds to the desired height. Once you have identified the correct measurement on the steel square, align a straight edge (such as a ruler or another piece of wood) with that measurement on the square. Ensure that the straight edge is perpendicular to the ground and extends vertically from the top edge of the square. Hold the straight edge securely in place and extend it upwards until it reaches the desired height of the fence post. At this point, you can mark the spot on the straight edge where it intersects with the top of the post. This mark represents the height of the fence post. Subsequently, you can utilize this mark as a reference point for cutting the fence post to the desired height or for ensuring that all the posts are at the same height. Remember to verify your measurements and confirm that the steel square is level and properly aligned to achieve accurate results.
- Q: How do you use a steel square to find the height of a retaining wall?
- To use a steel square to find the height of a retaining wall, you would first align one side of the square vertically against the wall. Then, extend the square horizontally until the other side touches the ground at the base of the wall. The measurement on the square where the horizontal side touches the ground indicates the height of the retaining wall.
- Q: How do you use a steel square for marking and cutting tenons with shoulders?
- For marking and cutting tenons with shoulders, the following steps should be followed when using a steel square: 1. Before starting, make sure that the steel square is clean and free from rust or debris. This will guarantee accurate measurements and markings. 2. To begin, measure the width of the tenon on the piece of wood being worked on. Place the steel square on the wood's edge, aligning the inside edge of the square with the desired width measurement. 3. Once the square is aligned, use a pencil or marking knife to mark the tenon's width on the wood. It is important to mark both sides of the wood for accuracy. 4. Next, determine the tenon's depth. Measure the desired depth on the wood's end, perpendicular to the width marking. This will be the length of the shoulder on each side of the tenon. 5. Position the steel square on the wood's end, aligning the inside edge of the square with the depth measurement. Use a pencil or marking knife to mark the shoulder depth on each side of the wood. 6. After marking the tenon's width and shoulder depth, proceed to cut it. Use a saw to carefully cut along the width marking, stopping at the shoulder depth marking. Repeat this on the other side of the wood to create the tenon. 7. Once the tenon is cut, refine the shoulders using a chisel or shoulder plane. Carefully remove any excess wood to create a clean and flat surface for the shoulders. 8. Finally, check the fit of the tenon by inserting it into the corresponding mortise or joint. Make any necessary adjustments to the width or shoulder depth until the tenon fits snugly. By utilizing a steel square, precise measurements and markings can be ensured when marking and cutting tenons with shoulders. This will result in a sturdy and accurate joint that fits together seamlessly.
- Q: How do you use a steel square to determine the slope of a roof?
- To use a steel square to determine the slope of a roof, you will need to follow these steps: 1. Position yourself at the bottom edge of the roof where you want to measure the slope. 2. Hold the steel square against the edge of the roof, with one arm resting on the roof surface and the other arm extending vertically. 3. Adjust the vertical arm of the steel square until it is perfectly plumb, meaning it is aligned with the vertical direction. 4. While keeping the steel square steady, observe the horizontal arm. Note that it has markings and numbers representing different angles, typically ranging from 0 to 90 degrees. 5. Identify the marking on the horizontal arm that aligns with the roof surface. For example, if the horizontal arm aligns with the roof at the 4-inch marking, you would consider this as a 4-inch rise over a 12-inch run. 6. Convert the rise and run measurements into a ratio or fraction to represent the slope. In this example, the ratio would be 4:12 or the fraction 1/3, indicating that the roof has a slope of 1/3 or 4:12. Remember that the markings on the steel square are typically standardized and designed for common roof slope measurements. However, it may be necessary to refer to a conversion chart or consult an engineer if the slope is outside the range of the steel square markings.
- Q: Can a steel square be used for shed construction?
- Yes, a steel square can definitely be used for shed construction. A steel square, also known as a framing square or carpenter's square, is a versatile tool that is commonly used in carpentry and construction projects. It is typically made of steel, which makes it durable and able to withstand heavy use. A steel square is commonly used for laying out and marking angles, making accurate measurements, checking for squareness, and ensuring straight lines and right angles in construction projects. It has various markings and measurements on its surface, which allows for precise and efficient measurements and calculations. When it comes to shed construction, a steel square can be used in several ways. It can be used to mark and measure lumber for accurate cuts, ensuring that all pieces fit together properly. It can also be used to check for squareness and straightness during the assembly process, ensuring that the shed is built accurately and evenly. Furthermore, a steel square can be used to ensure that the shed's walls, roof, and other components are properly aligned and angled. This is especially important for sheds with gable roofs, as the steel square can help ensure that the roof rafters are cut and installed at the correct angle for proper water runoff. Overall, a steel square is a valuable tool in shed construction and can greatly assist in achieving accurate and precise results.
- Q: Can a steel square be used for measuring angles other than right angles?
- Measuring angles other than right angles is not possible with a steel square. This tool, alternatively called a try square or a carpenter's square, is specifically designed to ensure accurate measurements of right angles. Its construction consists of a metal blade with a handle forming an L-shape at a right angle. The main purpose of a steel square is to verify the squareness of corners, mark right angles, and guarantee precise 90-degree angles in carpentry and other construction work. While it might be feasible to estimate or approximate other angles using a steel square, it cannot be relied upon as a precise or dependable tool for measuring angles that deviate from right angles. To measure angles of varying degrees, it is advisable to employ specialized tools like protractors or angle finders.
- Q: How do you use a steel square to find the length of a stair stringer?
- To use a steel square to find the length of a stair stringer, you will need to follow a few steps. First, position the steel square against the edge of the stringer board, ensuring that the long arm of the square is flush with the board's edge. Next, extend the short arm of the square along the face of the stringer, aligning it with the rise and run measurements of the stairs. The rise is the vertical distance between each step, while the run is the horizontal distance. Once the square is properly aligned, mark the stringer at the point where the long arm intersects with the edge of the board. This mark represents the length of the stringer. Repeat this process for each step, making sure to measure and mark each stringer accurately. Finally, connect all the marks with a straight edge or a chalk line to create the outline of the stringer. This outline will guide you when cutting the stringer to the correct length. Remember to double-check your measurements and calculations to ensure accuracy before making any cuts.
- Q: How do you use a steel square for marking circles?
- To use a steel square for marking circles, you first need to determine the radius or diameter of the circle you want to mark. Once you have this measurement, locate the center point of the circle and mark it on your material. Next, position the steel square so that one edge is aligned with the center point and the other edge extends past the radius or diameter measurement. Make sure the square is securely held in place. Using a pencil or marker, trace along the edge of the steel square that extends past the measured distance. This will create an arc on your material. To complete the circle, reposition the steel square so that the opposite edge is aligned with the first arc you drew. Again, extend the edge past the measured distance and trace along it to create another arc. Repeat this process until you have marked enough arcs to complete the circle. The more arcs you draw, the more accurate your circle will be. Once you have finished marking the arcs, connect them with a smooth curve using the pencil or marker. Remember to use steady and light pressure when marking the arcs to avoid any mistakes or inaccuracies. Additionally, it is always a good idea to double-check your measurements and make adjustments as necessary before marking the circle.
- Q: Can a steel square be used for checking the plumbness of a corner post?
- No, a steel square cannot be used for checking the plumbness of a corner post. A steel square is primarily designed for measuring and marking right angles, not for determining vertical alignment. For checking plumbness, a level or plumb bob would be more suitable tools.
Send your message to us
hot rolled steel square bar square steel steel billet
- Ref Price:
-
- Loading Port:
- Tianjin
- Payment Terms:
- TT OR LC
- Min Order Qty:
- 25 m.t.
- Supply Capability:
- 200000 m.t./month
OKorder Service Pledge
Quality Product, Order Online Tracking, Timely Delivery
OKorder Financial Service
Credit Rating, Credit Services, Credit Purchasing
Similar products
Hot products