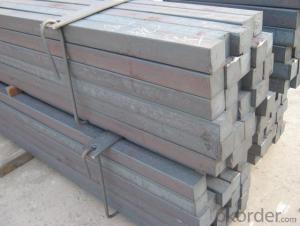
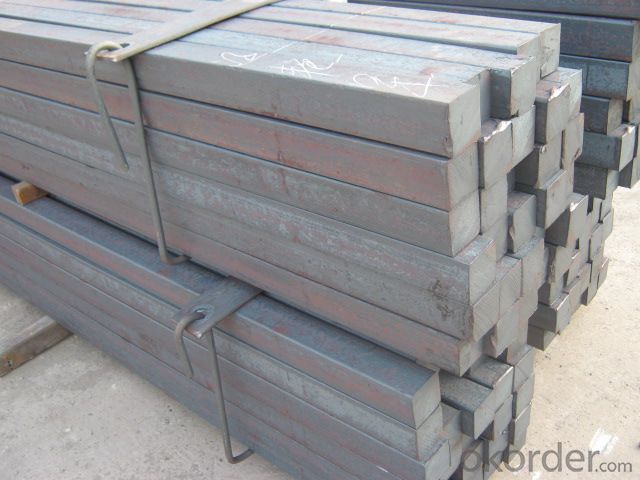
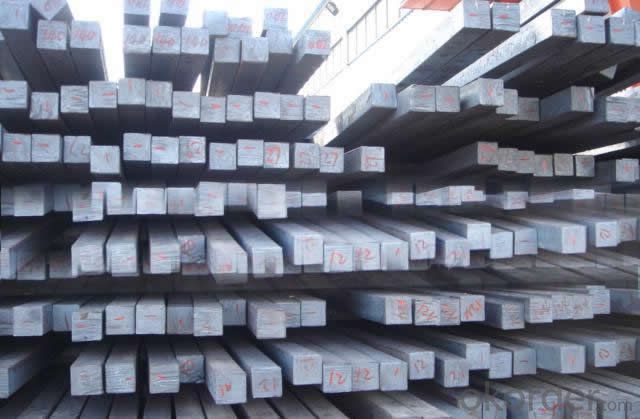
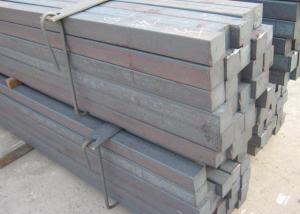
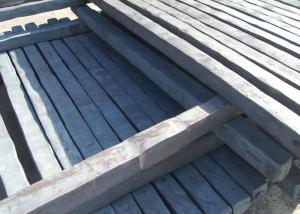
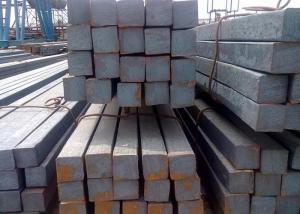
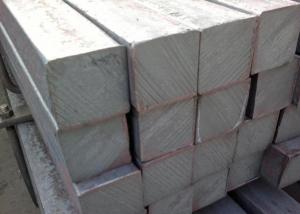
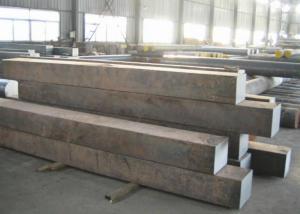
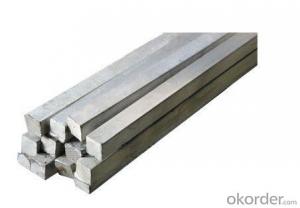
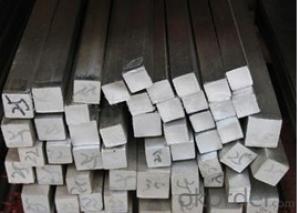
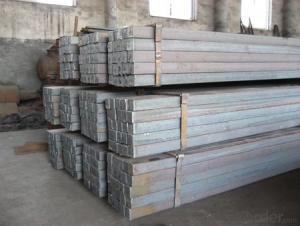
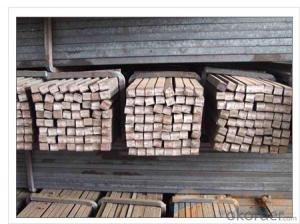
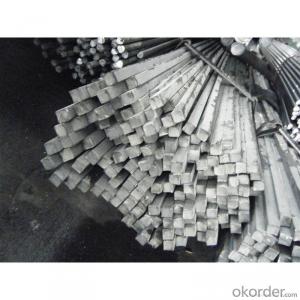
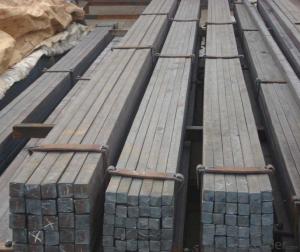
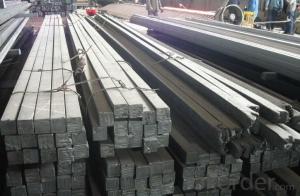
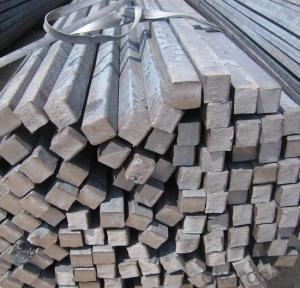
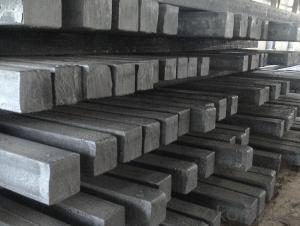
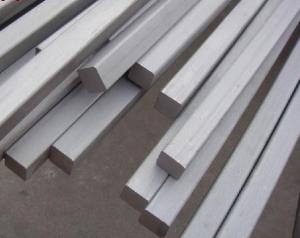
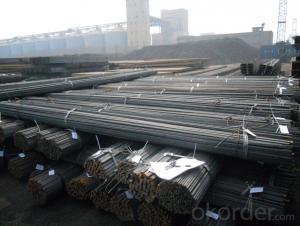
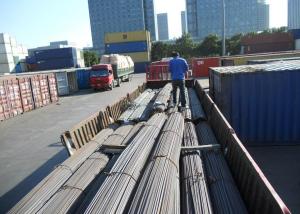
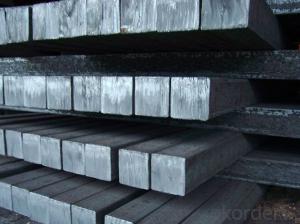
High Quality GB Standard Steel Square Bar 48mm-60mm
- Loading Port:
- Tianjin
- Payment Terms:
- TT OR LC
- Min Order Qty:
- 25 m.t
- Supply Capability:
- 10000 m.t/month
OKorder Service Pledge
OKorder Financial Service
You Might Also Like
Product Description:
We offer Square Steel Bar with grade Q195 / Q235
Specifications of Square Steel Bar:
-Standard: GB,
-Grade: Q195/Q235 or equivalent.
Chemical Composition:
-Chemical Composition. Q195
Standard | Grade | Element (%) | ||||
GB | Q195 | C | Mn | S | P | Si |
0.06~0.12 | 0.25~0.50 | ≤0.050 | ≤0.045 | ≤0.30 | ||
-Chemical Composition. Q235
Standard | Grade | Element (%) | ||||
GB | Q235B | C | Mn | S | P | Si |
0.12~0.20 | 0.30~0.70 | ≤0.045 | ≤0.045 | ≤0.30 | ||
Measures and Tolerances of Square Steel Bar:
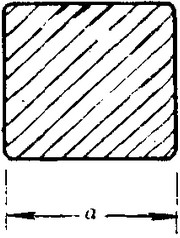
(The section of Square Steel Bar)
-The length of a side and the theoretical weight of Square Steel.
Length of a side(a, mm) | Theoretical weight(kg/m) | Length of a side(a, mm) | Theoretical weight(kg/m) |
6 | 0.283 | 32 | 8.04 |
7 | 0.385 | *33 | 8.55 |
8 | 0.502 | 34 | 9.07 |
9 | 0.636 | *35 | 9.62 |
10 | 0.785 | 36 | 10.17 |
11 | 0.950 | 38 | 11.24 |
12 | 1.13 | 40 | 12.56 |
13 | 1.33 | 42 | 13.85 |
14 | 1.54 | 45 | 15.90 |
15 | 1.77 | 48 | 18.09 |
16 | 2.01 | 50 | 19.63 |
17 | 2.27 | 53 | 22.05 |
18 | 2.54 | *55 | 23.6 |
19 | 2.82 | 56 | 24.61 |
20 | 3.14 | *58 | 26.4 |
21 | 3.46 | 60 | 28.26 |
22 | 3.80 | 63 | 31.16 |
*23 | 4.15 | *65 | 33.17 |
24 | 4.52 | *68 | 36.3 |
25 | 4.91 | 79 | 38.49 |
26 | 5.30 | 75 | 44.16 |
*27 | 5.72 | 80 | 50.24 |
28 | 6.15 | 85 | 56.72 |
*29 | 6.60 | 90 | 63.59 |
30 | 7.06 | 95 | 70.85 |
*31 | 7.54 | 100 | 78.50 |
Notes:
1, The theoretical weights in the list, base on the density of 7.85 g/cm3.
2, The numbers with *mean that they are not regulars or we don’t offer them.
-The allowed tolerance of Square Steel:
Length of a side(mm) | Allowed Tolerance | ||
Group1 | Group2 | Group3 | |
5.5~7 | ±0.20 | ±0.30 | ±0.40 |
7~20 | ±0.25 | ±0.35 | ±0.40 |
20~30 | ±0.30 | ±0.40 | ±0.50 |
30~50 | ±0.40 | ±0.50 | ±0.60 |
60~80 | ±0.60 | ±0.70 | ±0.80 |
80~110 | ±0.90 | ±1.0 | ±1.1 |
110~150 | ±1.2 | ±1.3 | ±1.1 |
150~190 | ―― | ―― | ±2.0 |
190~250 | ―― | ―― | ±2.5 |
Usage/Applications of Steel Square Bar:
-The Square Steel is normally used as structure steel.
-Row material for other structure steel like steel angles, channels, I-beams, H-beams, etc…
Packaging & Delivery of Steel Square Bar:
-Packing Detail: The products can be packed in bundles by steel wires.
-Marks:
1, Tag marks: the tag marks will be tied up to each bundle of the products. The information is usually including supplier’s logo and name, product name, made in China, products’ specifications, the painted color and other information requested by customers.
2, Color marks: we will paint both ends of the bundles of these products to make sure that they are more evident. It’s will be more convenient for the customers to distinguish them at the destination port.
-Delivery Detail: 30~45 working days after receive buyer’s T.T. or L/C.
Transportation:
-The products can be delivered by bulk vessel or by container. As for container, products with the length of 6m will be loaded in 20’ container, with 9m or 12m, in 40’ container.
-The maximum quantity of loading of container is 25 tons.
-The products usually are transported to the nearest port from the production place.
- Q: Are there any safety considerations when using a steel square?
- Yes, there are safety considerations when using a steel square. It is important to handle the tool with care as the edges of the square can be sharp and cause injuries if mishandled. Additionally, using a steel square near electrical sources or in wet conditions can pose a risk of electric shock. It is crucial to follow proper safety practices, such as wearing appropriate protective gear and using the square in a well-lit and stable working environment.
- Q: Can a steel square be used for stair-building projects?
- Yes, a steel square can be used for stair-building projects. A steel square, also known as a framing square or carpenter's square, is a versatile tool that is commonly used in woodworking and construction projects. It has a 90-degree angle, making it suitable for measuring and marking right angles, which are essential for building stairs. A steel square can be used to check the accuracy of cuts and angles, ensure the correct placement of stringers and treads, and verify the levelness and stability of the stair structure. It is a durable and reliable tool that can be used for both residential and commercial stair-building projects.
- Q: How do you use a steel square for marking tenon and mortise joints?
- To use a steel square for marking tenon and mortise joints, you need to follow a few steps. Firstly, ensure you have a steel square with clear and accurate markings on it. Next, take the piece of wood you want to mark, and position it in the desired orientation for your joint. Place one end of the steel square against the edge of the wood, aligning it with the face or end of the wood depending on the type of joint you are making. Once the square is properly positioned, use a pencil or marking knife to trace along the edge of the square onto the wood. This will create a straight and precise line, allowing you to accurately cut or chisel out the mortise or tenon. For marking tenon joints, you will need to flip the wood and repeat the process on the other end. Make sure to align the square with the previously marked line to ensure consistency and accuracy. Additionally, the steel square can also be used to mark the depth of the mortise or tenon. By sliding the square along the length of the wood, you can mark the desired depth on the side of the wood using the square's markings. Overall, using a steel square for marking tenon and mortise joints is a simple yet effective method to ensure precise and clean joints. It helps to maintain the integrity of the joint and ensures a strong and durable connection between the two pieces of wood.
- Q: What are some common applications of a steel square in metalworking?
- Some common applications of a steel square in metalworking include marking and measuring right angles, checking the accuracy of angles and corners, setting up machinery and equipment, and ensuring proper alignment during welding and fabrication processes.
- Q: Can a steel square be used for furniture-making projects?
- Yes, a steel square can be used for furniture-making projects. Steel squares are versatile and durable tools that can be used for measuring, marking, and checking angles in woodworking projects. They provide accurate and precise measurements, ensuring the furniture pieces are built with precision and accuracy.
- Q: How do you use a steel square to measure and mark 84.375-degree angles?
- To use a steel square to measure and mark 84.375-degree angles, you would typically refer to the protractor scale on the square. Align one edge of the square with the reference line, and then locate the angle measurement on the protractor scale that corresponds to 84.375 degrees. Once identified, mark the desired angle on the material using a pencil or any suitable marking tool.
- Q: How do you use a steel square to measure roof pitch?
- To use a steel square to measure roof pitch, you position it on the roof so that the long end or tongue is aligned with the bottom edge of the roof. Then, you adjust the square until the short end or body is level with the roof's surface. Finally, you can read the pitch measurement indicated on the steel square, which will help determine the angle or slope of the roof.
- Q: Can a steel square be used for checking the squareness of a table saw fence?
- Checking the squareness of a table saw fence is possible with the use of a steel square. A steel square, also referred to as a carpenter's square or framing square, is a tool that has a right-angle shape. It is capable of ensuring that the edges and corners of a workpiece or tool are perfectly square. To verify the squareness of a table saw fence, simply position the steel square against the fence and align it with the blade of the table saw. If the square is appropriately aligned, the blade should be perpendicular to the fence, indicating that the fence is square. However, it is important to keep in mind that although a steel square can offer a convenient and straightforward method for checking squareness, it is always recommended to use a more precise measuring tool, such as a dial indicator or precision square, for accurate results.
- Q: How do you use a steel square to find angles for mitered corners?
- To use a steel square for finding angles for mitered corners, start by placing the square against the corner with one leg flush along one side and the other leg extending along the adjacent side. Next, mark the angle on the material using the edge of the square as a guide. Repeat this process on the other side of the corner. The intersecting lines will indicate the correct angles for cutting the mitered corners.
- Q: Can a steel square be used for checking the levelness of a workbench leg?
- Using a steel square to assess the levelness of a workbench leg is not recommended. This tool, also referred to as a try square, is primarily intended for gauging and marking right angles. It comprises a rigid metal blade connected to a handle at a 90-degree angle. While it can be handy in woodworking and metalworking endeavors, it is not a reliable means of determining the levelness of a workbench leg. For accurate assessment of a workbench leg's levelness, it is advisable to employ a level. A level is a device featuring a lengthy, straight, and usually transparent body that houses a liquid-filled bubble or vial. When the level is positioned on a surface, the bubble will settle at the center if the surface is level. This facilitates precise measurement of both horizontal and vertical alignment. By utilizing a level, one can ensure that all workbench legs are evenly balanced, thereby creating a stable and secure surface for various projects.
Send your message to us
High Quality GB Standard Steel Square Bar 48mm-60mm
- Loading Port:
- Tianjin
- Payment Terms:
- TT OR LC
- Min Order Qty:
- 25 m.t
- Supply Capability:
- 10000 m.t/month
OKorder Service Pledge
OKorder Financial Service
Similar products
Hot products
Hot Searches
Related keywords
