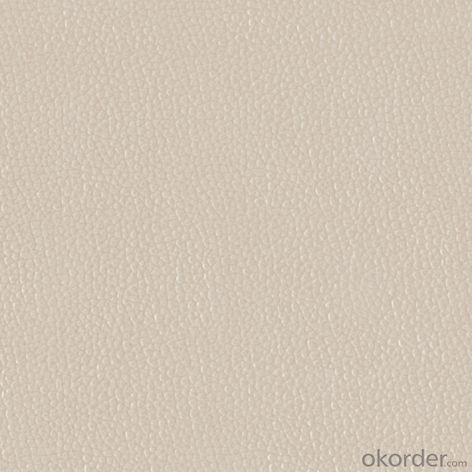
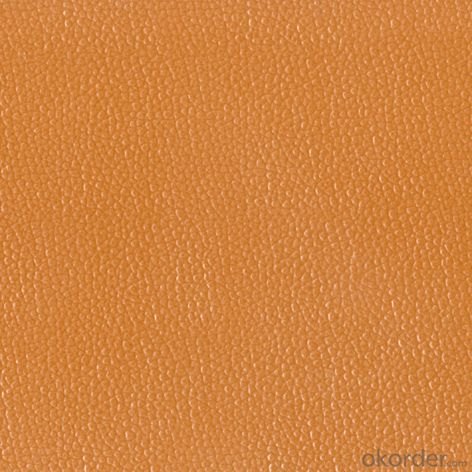
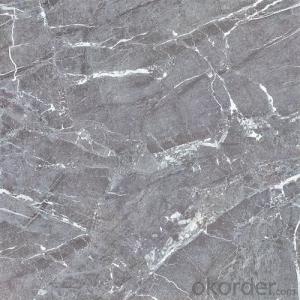
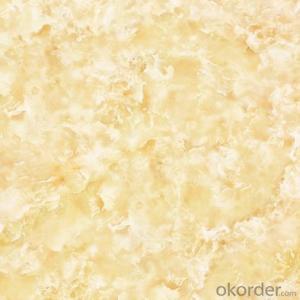
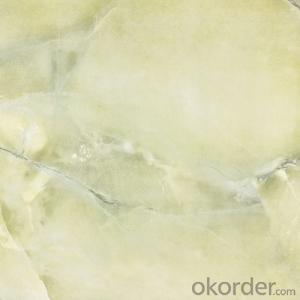
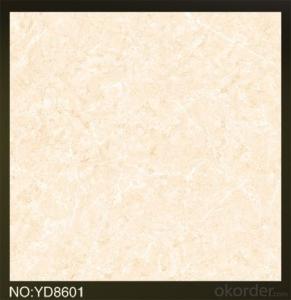
Glazed Porcelain Floor Tile 600x600mm CMAX-LP6011
- Loading Port:
- Guangzhou
- Payment Terms:
- TT OR LC
- Min Order Qty:
- 115.2
- Supply Capability:
- 100000 m²/month
OKorder Service Pledge
OKorder Financial Service
You Might Also Like
Specification
Product Brief Introduction
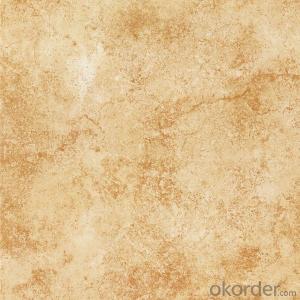
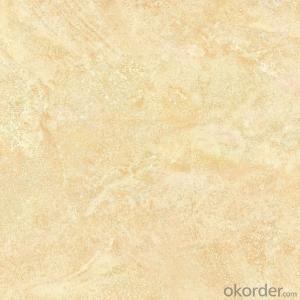
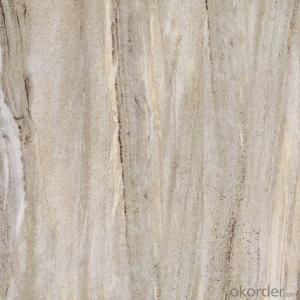
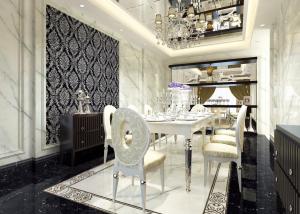
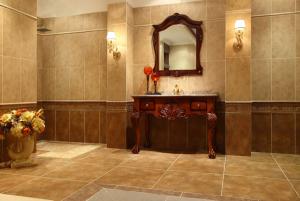
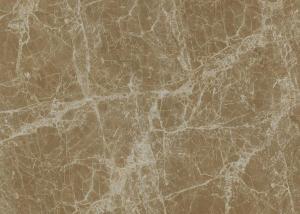
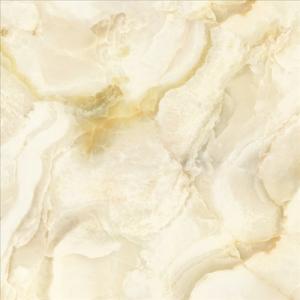
The glazed porcelain floor tile is wildly popular in Europe, North America and Middle East. The modle NO. CMAX-LP6011 is one of the popular designs in the present market. Just like other glazed porcelain floor tile, it could be used for interior floor and wall for apartment, villa, as well as other public areas, due to its unique antique feel image and texture. Besides, it is also proper for retails and distribution marketing channels.
Product Features
Excelent glaze surface and porcelain tile body
Grade AAA quality standard only
The basic size is 600*600mm, which could be cut into 30*60mm, 30*30mm, 15*60mm based on the actual project needs.
Strict quality control system on water absorption rate, color shade, deformation, anti-pollution, slip-resistance, abrasion resistance .
Compititive prices
Standard export packing: Pater Carton+ Solid Wooden Pallet
Fast production arrangement
OEM service could be offered
Marketing support on samples, catalogues as well as carton designing
Product Specification
Tile Type: Glazed Porcelain Floor Tile
Quality standard: GB/T4100-2006, ISO13006,EN14411.
Water Absorption Rate: 《0.5%
Breaking Strength: 》 1300 N
Length and Width Tolerance: ±0.1%
Surface Smoothness: ±0.5%
Wearing Strength: 《1600 mm3
Slip Resistance: 》 0.5
Packing Information (For 27.5 Tons heavy 20’Fcl)
For 600x600mm, 4pcs/Ctn, 40 Ctns/Pallet, 840 Ctns/20’Fcl, 1209.6m2/20’Fcl
For 300x600mm, 8pcs/Ctn, 40 Ctns/Pallet, 840 Ctns/20’Fcl, 1209.6 m2/20’Fcl
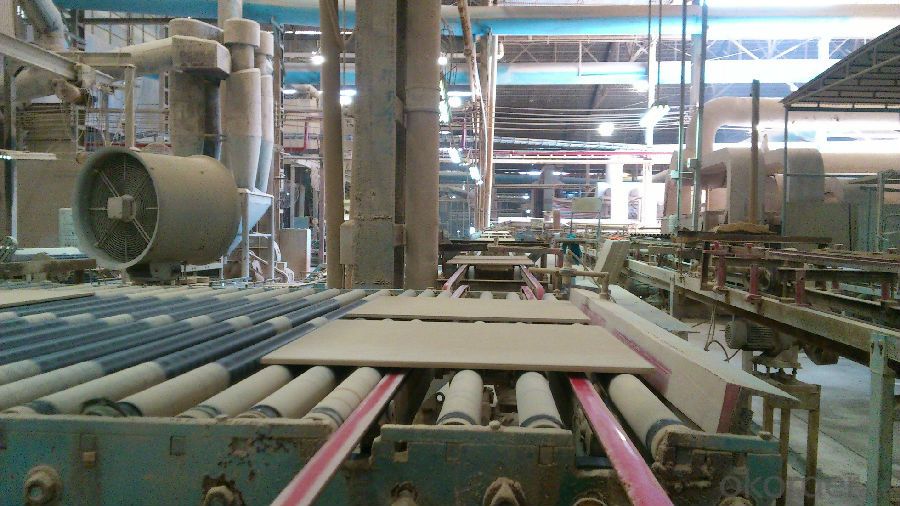
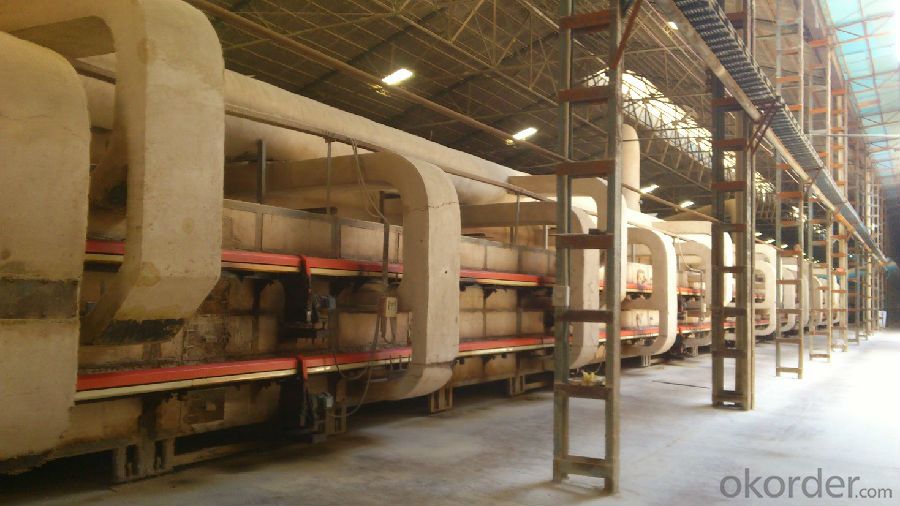
Production Line & Package
FAQ
1. What is the delivery time after we paid the deposit?
—— Normally, we shall get all items ready for loading within 3 weeks after we get the deposit or the formal Letter of Credit. For orders which demand cutting job, it will take a longer time.
2. For the delivery term, could you go with CFR our port?
—— Yes, of course. We have very good relationship with those big shipping company, such as COSCO, MSC, HPL etc. We have a very professional logistic team to arrange the shipping issue well.
3. Could we be your exclusive agent in our country?
—— Possibly. For some countries we are hoping to find a proper partner in working market together. For sure we need to have a good talking for the details.
4. Could we arrange the our own QC to check the items before container loading?
—— Yes, of course. Your quality checking will be welcome all the times.
5. What is the MOQ for this tile?
—— Normally the MOQ is one 20’ container. For those models whose production could be arranged frequently, we could mix 2 or 3 models in one container.
- Q: We are about to install 450 sq ft of 18x18 inch travertine tile on an indoor concrete floor and I need as much information about the installation process as possible. I have done a number of ceramic tile jobs, but never laid travertine. Some of the questions I have are:1. is it best to use spacers and grout, or butt the tiles?2. if I use spacers, what size should I use?3. should I apply a coat of sealer to the tiles before laying them?4. what size notched trowel should I use and at what angle?5. how many coats of sealer, brand and type of finish is recommended?6. I read somewhere that it is not recommended laying travertine straight, but in a Versailles pattern. Any one have any idea what this is?Does anyone have any more advice on laying this type of tile. Any advice will be deeply appreciated. Don
- This Site Might Help You. RE: Many questions about installing travertine tile? We are about to install 450 sq ft of 18x18 inch travertine tile on an indoor concrete floor and I need as much information about the installation process as possible. I have done a number of ceramic tile jobs, but never laid travertine. Some of the questions I have are: 1. is it best to use...
- Q: I‘m redecorating the bathrooms of my town house. I want to tile the one wall in the shower with small blue Mosaic tiles, and the rest of the bathroom with plain white tiles. As it‘s a very small en-suite, I‘m thinking o
- Mosaic tiles can add a lot of variety and interest into a bathroom. A mixture of blues is suitable and your decision to keep the other areas white is also correct. I am assuming the fittings will also be white colour. But, if you are planning to cover only one part of a wall where it is against the shower, it might not look right. (unless the wall you are referring to is the wide side of the shower and it is also the full width of the bathroom) it is best to either use it on all three sides of the shower or in one full wall of the bathroom.
- Q: I‘m looking to buy black and off white tiles for my kitchen walls and just wondering does anyone know where is cheapest?? and which tiles are best??? please help its my first time doing up a house and iv no idea which ones to get or where to buy them.. and we‘re on a very tight budget:( thank you:)
- Cream and black is present the two very impartial. almost any coloration might artwork. the place you reside would dictate what's appropropriate. once you're in a southern territory you could choose a superb cooling pastel. while you're in a northern section a wealthy deep heat coloration could be solid. think of roughly what hues you like. carry the swatch at palms length and visualize it on the wall. this might help you with the final result. stay remote from greys and browns. deliver a 2d accessory coloration into the room with some selection desktops. a colourful vase, pot rack, or possibly a kitchenaid equipment can stand out as an accessory coloration. have relaxing and make constructive in spite of coloration you choose it particularly is what you sense delicate with (you would be the single residing in it). one extra situation- phychologically vegetables cut back urge for foodstuff and oranges advance. Michele
- Q: I want to install hardwood in all my house, except bathrooms.I currently have ceramic tile flooring. I know removing it and installing solid hardwood will be expensive.Can I install floaring hardwood over the ceramic tile?? I went to Lowe‘s, and the flooring assistant recommended me to to that. With the correct underlayment should be not trouble at all.Have you install it that way?? WHAT IS YOUR PERSONAL EXPERIENCE??
- just installed a floating floor, since you have tile, buy LUAN floor covering very then word board in 4x8 sections apply construction adhesive very thinly1 or a thick spray on glue and lay them then apply your floor
- Q: The tile in our master bathroom is really ugly, but my husband likes the acual tiles themselves. The house was built in 1978 and the colors show bigtime. My question is this; can I paint the tiles a different color or am I just stuck with really ugly tiles until get a ton of money? If I were able to, how would I do this? Thanks in advance!
- lady, wait till u get a ton of money, i really think that painting over ceramic tile will work, it will only ware off, now u might invistigate on a paint espeacailly for tile, and that is also costly.... another idea, get a equity loan, if u are able too. ok hope i helped u a little.
- Q: The tile grout on my bathroom floor is white in some parts, but dark where husband stands next to the sink/toilet... How can I clean it without having to re-grout it? Can I just spray bleach on or will that ruin the tile?
- I can tell you what not to use. Hee hee. I have made the mistake of using Soft Scrub with bleach. It worked great! But then the next day I realized the grout had been eaten away. I use just bleach now. Or Clorox Clean-up. And the grout is still there! Whoo hoo!
- Q: I‘m thinking about most economical way to up grade my living and master bedroom flooring.both had laminate and had flood slab leak due to underground water pipe damage. now the pluming has fixed and everything has been taken care of. the rest of the house already got white tiles throughout. I can go laminate in the living room and tile in the bedroom. both rooms are about 280 sq.ft. or I can do the need room laminate again. I don‘t know how to put the flooring, so I would Gabe to hire someone to do it. we have a Lowes home center where their contractor can come out and to the installation. they want $35 for an estimate. we also have a floor center just down the street from us. their material was little more expensive than the Lowes price but perhaps the installation may be cheaper... I‘m not sure. would tile thought the house including the bedroom better, cheaper than laminate in the bedroom? I know I would want laminate in the living room hopefully nothing gets wet.
- On average , and it can vary, labor for tile ( ceramic) is almost double that of laminate.. Plus tile you have the extras for thin set and grout. Not much but it all adds up. On the plus side. tile, and I assume you mean ceramic tile will out last laminate. Get prices both ways or have them break down each room individually. And personally I d NEVER EVER pay to have an estimate done. Reputable companies don t charge for this service. I never ever charged for an estimate. Any questions you can e mail me through my avatar. GL
- Q: I was watching HGTV and they had this tile that was flexible. It looked like alot of small square tile mounted to a flexible backing. Does anyone know the name of these? Thanks
- that's many times completed yet, the great yet.....the floor, the winning floor should be great clean. pass to homestead Depot and get a gallon of Armstrong: Latex primer. As I suggested, clean the floor genuine good, make particular there are actually not any dips that are sharp or humps that are sharp. No grains of sand, those will look as though mountains under the hot tile, that's superb to try this in stocking ft. consistently checking for dirt and combing each and all of the time. do no longer placed the hot tile over an identical line yet pass them. earlier you start up, placed an outstanding layer of primer down with a curler and anticipate it to dry thoroughly. If there is areas between the previous tile that are fairly far aside, I even have used a filler to fill those.
- Q: It‘s something I really want to do, I find myself longing for it often. Tile or ceramic, not sure yet. But, my house is 1485 square feet and I‘m wondering if anyone has a ball park estimate for what price range I‘m looking at! I know different variables like tile vs ceramic, etc, but just looking for a range if anyone can help.Thanks!
- do it yourself and save tons of money.
- Q: We have small ceramic tiles on our bathroom floor. They are varied in shape and size (see photo).I think that these tiles originally came with some sort of netting on the back when they laid the floor and they added grout? I believe I saw some extra tiling somewhere in our home and this is what I had found.Anyway, the grout is breaking up between some of the tiles and some of the tiles keep popping out. I have two questions, If I regrout them do I put it on the bottom of the tile too and does that make the tile adhere to the floor?How would I get the grout to match what‘s already there, it‘s a medium brown gray. Not sure if it started out that way or became like that over the years. Would it look funny if the grout didn‘t match? How could I get it to match?
- The plastic mesh was there to make it easy to set a lot of small tiles as it they were one big tile. If a tile is loose, you have to chip out all the old adhesive on the floor and on the back of the tile (or use a replacement tile if you have some) and use fresh adhesive. This is not the same as grout. The two common tile adhesives are called mastic and thinset. For small repairs, I'd go with the mastic. You do the best you can to match the color. You can get a color palette at any home store, bring it home and pick the closest match. You should probably try to clean some of the grout as best you can with bathroom cleaners and bleach to see what the original color was.
Send your message to us
Glazed Porcelain Floor Tile 600x600mm CMAX-LP6011
- Loading Port:
- Guangzhou
- Payment Terms:
- TT OR LC
- Min Order Qty:
- 115.2
- Supply Capability:
- 100000 m²/month
OKorder Service Pledge
OKorder Financial Service
Similar products
Hot products
Hot Searches
