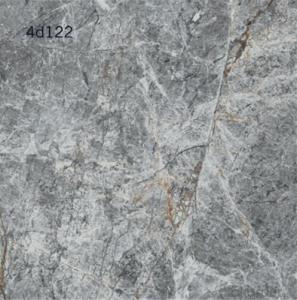
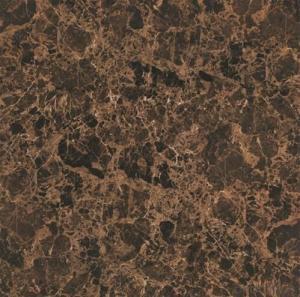
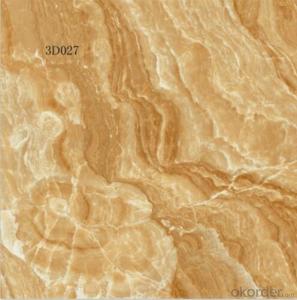
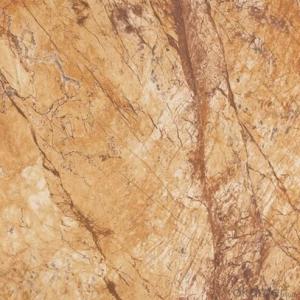
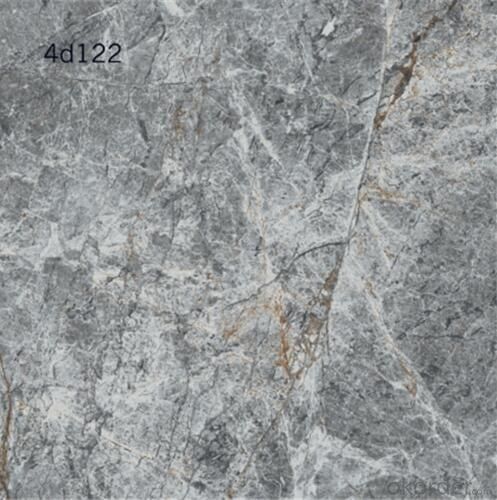
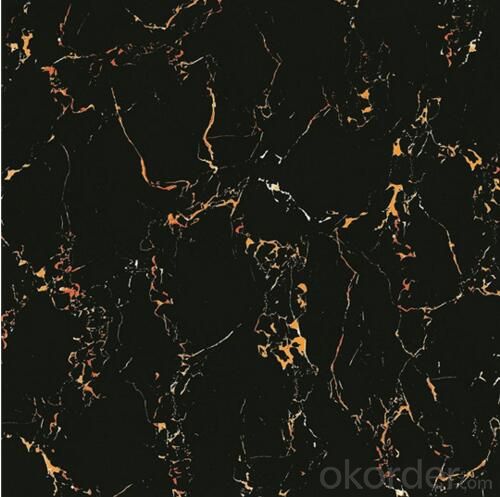
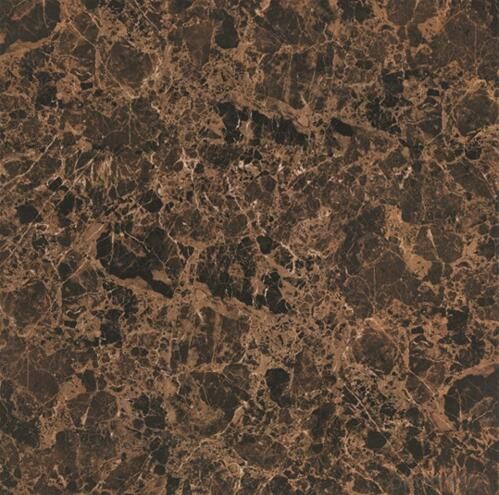
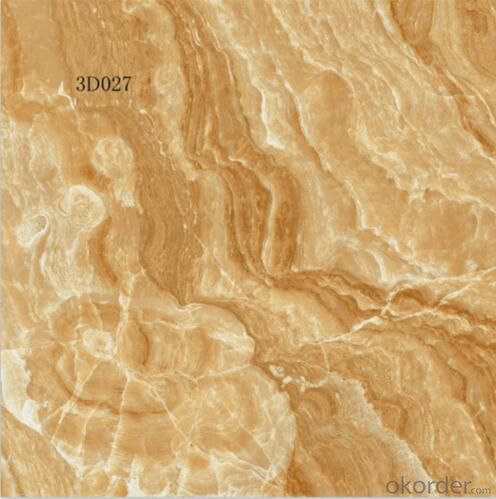
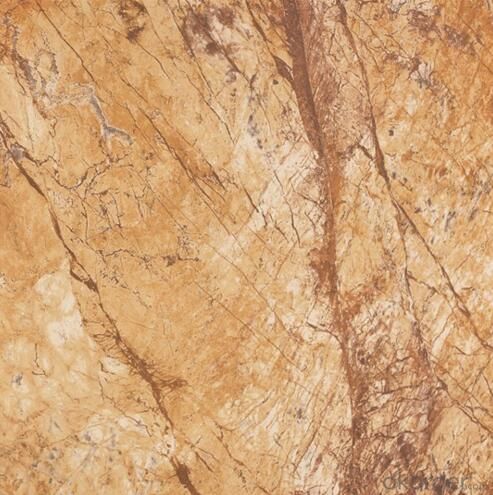
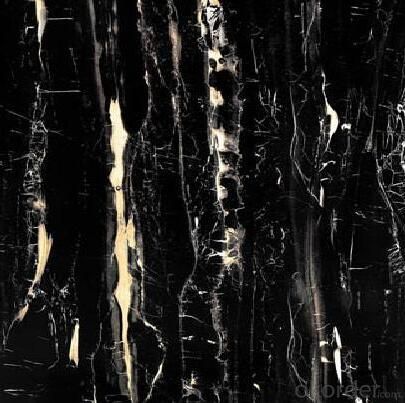
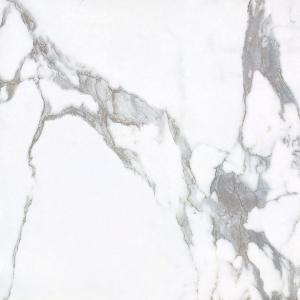
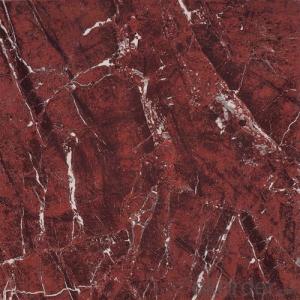
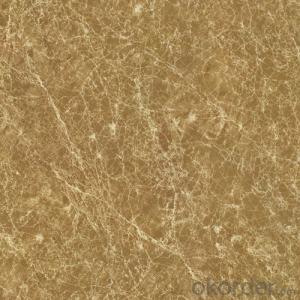
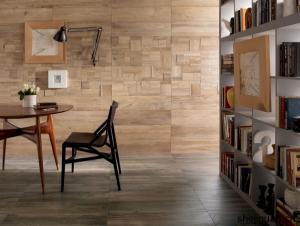
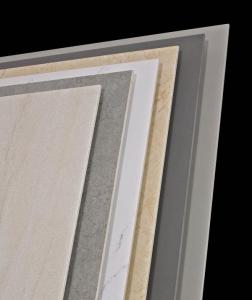
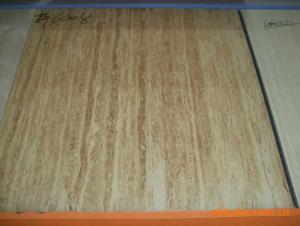
El precio competitivo de la fabricación de China esmaltó el azulejo de piso vitrificado mármol
- Loading Port:
- Guangzhou
- Payment Terms:
- TT OR LC
- Min Order Qty:
- 1200 m²
- Supply Capability:
- 300000 m²/month
OKorder Service Pledge
Quality Product, Order Online Tracking, Timely Delivery
OKorder Financial Service
Credit Rating, Credit Services, Credit Purchasing
You Might Also Like
Specification
No. de Modelo:
800 GLAZED MARBLE TILE
Tipo:
Esmaltados
Espesor:
10mm
Función:
Impermeable , Resistente al Desgaste, Antideslizante , Anti-Estática , Resistente al Ácido
Color:
Gris
Certificación:
CE , ISO9001
Material:
Arcilla de Porcelana
Tamaño:
800*800mm
Tratamiento De Superficies:
Vidriado
Técnica:
Azulejos vitrificados
Uso:
de Casa , Baldosas Interiores , Comercial , al Aire Libre , Azulejos Exteriores
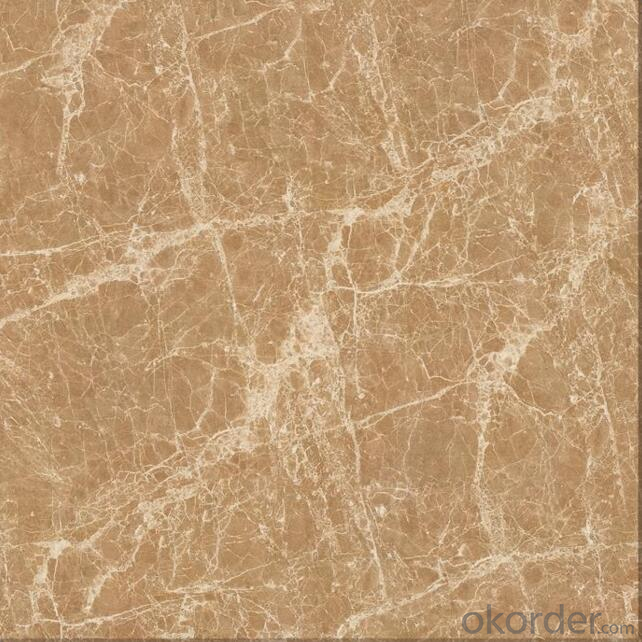
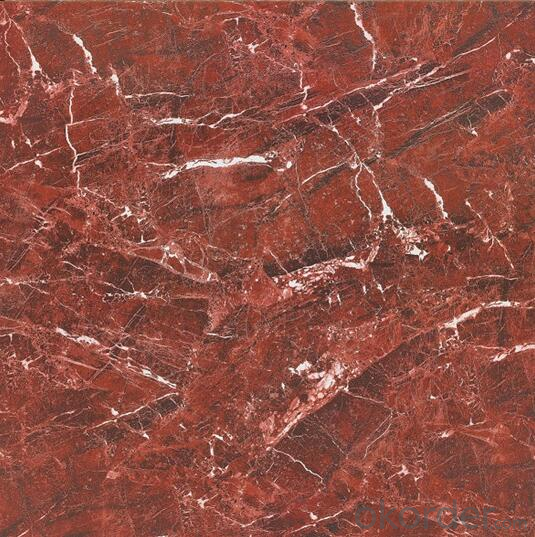
Descripción de producto del detalle:
Material: Arcilla de porcelana
Absorción de agua: el 1%
Uso: Utilizado en piso y pared
Superficie: Esmaltado
Certificado: CE&ISO9001
Embalaje: Cartones estándar y el embalar de madera de las plataformas
MOQ: 1200 metros cuadrados
Capacidad de la fuente: 10000 metros cuadrados por día
Área del uso: Pisos y paredes interiores y exteriores, adentro y afuera, dormitorio, hoteles, escuelas,
supermercados y pasillos etc.
| No. | Artículo de inspección | Unidad | Provisiones de estándares | Resultado de la inspección | Calificado o fallado |
| 1 | Longitud y anchura | milímetro | ±0.6 | - 0.09%~+0.11% | Calificado |
| ±0.5 | - 0.01%~+0.01% | Calificado | |||
| 2 | Grueso | % | ±5 | +1.80%~+2.97% | Calificado |
| 3 | Squarenedd | % | ±0.2 | - 0.03~+0.04 | Calificado |
| 4 | Absorción de agua | % | Promedio: el 1% Máximo individual: 1.1% | Promedio: 0.02% Máximo individual: 0.1% | Calificado |
| Calificado | |||||
| 5 | Resistencia a ruptura | N | Thickness≥ 7.5m m, no menos que 1300N | 2230N | Calificado |
| 6 | Módulo de la ruptura | Mpa- | Individual≥ 32 del Mpa de Average≥ 35 | Calificado | |
| Calificado | |||||
| 7 | Divulgar la clase y los ciclos de la abrasión pasajeros | - | Divulgar la clase y los ciclos de la abrasión pasajeros | Falture de la clase 3 visible en 750 revoluciones | Calificado |
| 8 | Resistencia de la resquebrajadura | - | Required | Completamente resistente | Calificado |
- Q: I am installing tile in a bathroom, hall, dinining room, and kitchen, and they all connect. Where should I center the tiles?
- I would start the tiles along the longest wall to minimize the amount of cutting. I am assuming that you are talking about ceramic tile, but i would do the same with vinyl tiles.
- Q: I thought that bathroom floor tiles were thicker than the bathroom wall tiles, is this right?
- In some cases, the real difference is: floor tiles are stronger. You don't have to walk on walls, you walk on the floor, they are usually much stronger.
- Q: I just can‘t figure out how to get the holes through them to string them on the bracelet.I have a drill, but no access to a vice or clamp. It‘s also a really old drill and the bit looks bent. I just tried hammering holes in with nails, but it wouldn‘t even go in very far before splintering the tile.What do I do??
- I use a very fine drill bit and a Dremel tool. You need line up your holes and mark them on either side of the scrabble tile. Then you drill about half way in from each side. This lessens your chances of drilling through at an angle and ruining your tile. You need to be very careful and use a vise or clamp so you do not injure yourself. If you need a new drill bit, get a very small bit. You might even take a scrabble tile with you to be sure the drill bit is small enough. You cannot use a nail as it puts too much pressure on the wood and it will split on you every time.
- Q: How I can install ceramic tile on a wall and what tools do I need to do so? Any other tip that I should know about it to do a good job would be appreciated.
- I've been working construction with my father since I was 5. You will need, the little plastic x's that are spacers, compound, tiles (obviously), water a sponge and optional a straight line lazer, a spatula and a long spatula with teeth, and a tile cutter, and measuring tape. First, put up the lazer to form the straight line where you want it. Next mix the compound with the amount of water you need, read the instructions on the back. Apply the mixture to the wall with the spatula, next put up the tile and if needed measure and cut the tiles to how you need them in order to fit. use the plastic x's as spacers to have them equally spaced out. after you have put up all the tiles wait at least 30 minutes to an hour for the compound to dry then with the grout of your choice apply it to the tiles and get them in between the cracks good. let it dry and then with the sponge wet it and clean the tiles so that it looks nice and thats all.
- Q: I am tiling my kitchen countertop and want to put in some wood trim pieces around the front edge like is in newer homes with tile countertops. What I want to know is, where in Lowe‘s can I get that? Is it going to be with all of the moulding, etc., and am I looking for something inparticular? Thanks!
- I did this in my Kitchen and it looks great. We tiled it with granite 12x12 tiles and then topped the back splash with a decorative molding. It looks so good. For the front you can use pine its not too soft ours is pine and the kitchen is 6 years old now and it still looks great. We looked everywhere and couldn't find an edge thick enough so we made our own with a router. It was easy and then you can choose any wood you want if your wanting to stain it. One tip!! Make sure to leave about 1/4 inch gap between the tile and wood molding on the front and then fill it will silicone (you don't have to leave a gap at the top of the back-splash when you put molding on there to finish that edge off). It will take 3 or 4 times to fill it all the way and get it even perfectly with the top but its worth it. If you don't do this the tiles will expand and contract differently then the wood and the grout will crack and look like crap after a while. Trust me we first did it in the bathroom and that's what happened and we had to redo the whole thing. Every year or so you have to add some caulk or silicone but its not a big job its pretty easy and I do it once a year when I reseal the grout which is really important in the kitchen so you don't have staining. Its all done in an hour or so.
- Q: My new home has a kitchen with glazed ceramic tiles covering most of the walls.The colour is basically honey brown, but there‘s a hideous purple border (in the same tile size shape) running horizontally vertically all over the place - I‘d say that 20% of the tiles are this colour.I want to reduce all the tiles to one (new) colour.Two guys (both pros) have this to say:GUY 1: Cheapest solution (and least noisy/disruptive) is to use a ‘glass enamel paint‘ over the tiles. I went online and found several manufacturers of this stuff.GUY 2: Scoffed at this and said there was no other way than retiling the whole kitchen.Guy 1 is adamant that it can be done, and the job will last if enough care is taken in preparing the surface.Is he right?Has anyone tried this ‘re-enamelling‘ technique, and were the results OK?Thanks!
- Okay. I'm a tile setter, so I am biased, but you will get best results by replacing all the tile. Guy#1 is right, but you need to realize it is just paint (even if its epoxy paint, which is much tougher than standard household latex paint.) It can (will) scratch and (will) scuff. The shine of the new expoxy surface will go away. If you are a meticulous house cleaner and never slide your pots and pans and dishes on the tile counter surface, then you can probably get away with it. So yes, it will work, but may not be a perfect solution, depending on your housekeeping style. Mike PS. I gotta chime in on Guy # 3's comments. He is right in that you can replace the offensive tiles. However, its not so simple, unless you are a good craftsperson. You have to be very, very careful removing the tiles, because you can very easily chip the tiles next to the ones you are removing.as he says, removing the grout is most important. Also, be very gentle with your hammering and chipping away at the old tiles. Its when you try to force it or try to remove too much at a time you run into trouble.
- Q: If you butt the all the tiles without any spacing, will the tile crack or bubble up due the expand and contract?
- as was mentioned the grout lines help to allow for small or large diferences in size. The grout also makes the seal between the tile to keep water from leaking between.
- Q: How many squares are tiles?
- You use the brick side length * side length * block number = square number such as: 800 floor tiles is: 0.8 * 0.8 = 0.64 square, and then multiplied by 4 = 2.56 square meters 300 tiles is: 0.3 * 0.3 = 0.09 square, then Multiplied by 12 pieces = 1.08 square meters tiles have two boxes, three pieces of a box, four, eight, ten one box from 300 * 300 ------ 1000 * 1000 specifications of the larger The smaller the number of pieces
- Q: how many tiles will it take
- 1) 102 ft x 18 ft = 1832 ft^2 2) 144 inches^2 = 1ft^2 => 1836 ft^2 x 144 inches^2 = 264384 inches^2 3) 28 inches x 28 inches = 784 inches^2 4) 264384 inches^2 /784 inches^2 = 337 tiles
- Q: The tile I want to clean was built with the house back in the early 1900‘s but still in very good condition what would be the best way to clean that because its very dirty, and i think its porcealin. The second set of tile looks like it was put in back in the seventies but doesn‘t match the original tile at all, what would be the best way to change the color other than replacing it. Could i use pray paint?
- Generally I would recommend avoiding painting over tile. There are several excellent tile cleaning products available at your local hardware store; talk with someone at the store about your specific situation. If you MUST paint over the tile; you will want to treat it with some sort of an acid wash first to etch the surface so that the paint will stick. I strongly recommend that you put a couple coats of primer on first before you paint your color as the tile and grout will have notably different properties with respect to your painting job.
Send your message to us
El precio competitivo de la fabricación de China esmaltó el azulejo de piso vitrificado mármol
- Loading Port:
- Guangzhou
- Payment Terms:
- TT OR LC
- Min Order Qty:
- 1200 m²
- Supply Capability:
- 300000 m²/month
OKorder Service Pledge
Quality Product, Order Online Tracking, Timely Delivery
OKorder Financial Service
Credit Rating, Credit Services, Credit Purchasing
Similar products
Hot products
Hot Searches
Related keywords
