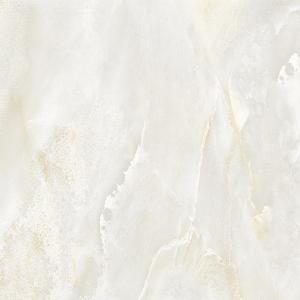
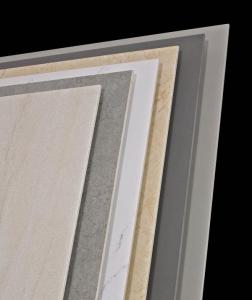
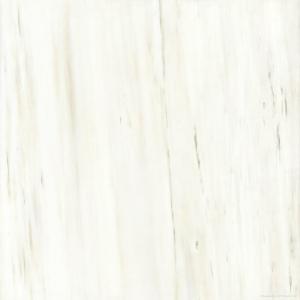
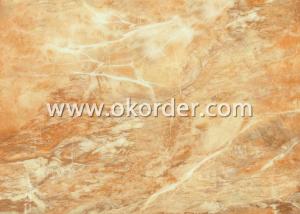
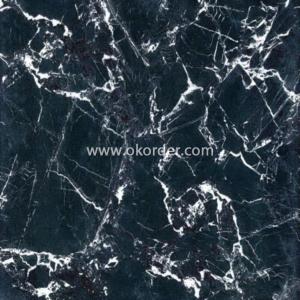
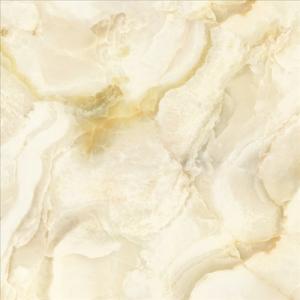
Polished Porcelain Tile Super White TT36061
- Loading Port:
- China main port
- Payment Terms:
- TT OR LC
- Min Order Qty:
- 1382.4
- Supply Capability:
- 10000 m²/month
OKorder Service Pledge
OKorder Financial Service
You Might Also Like
Product Brief Introduction
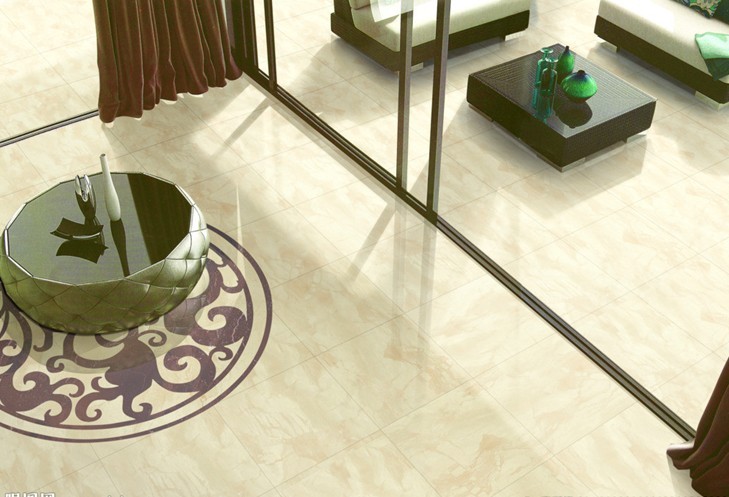
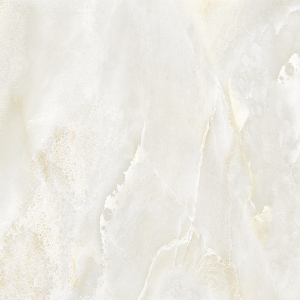
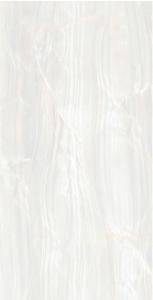
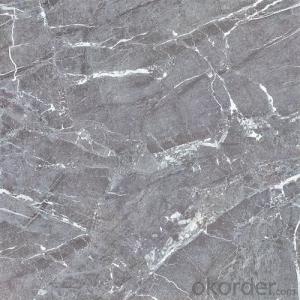
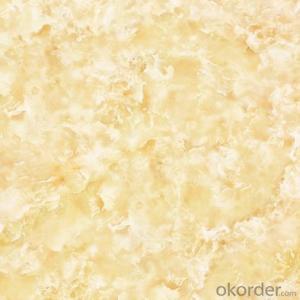
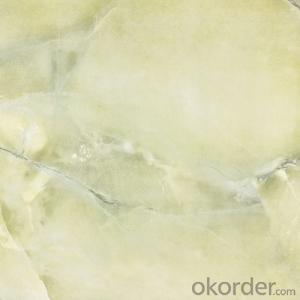
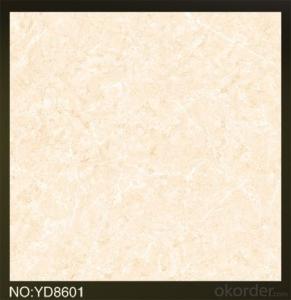
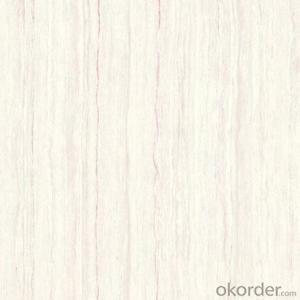
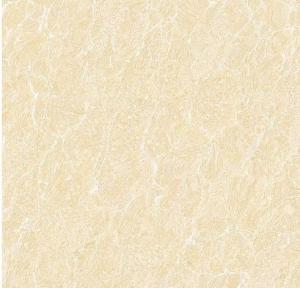
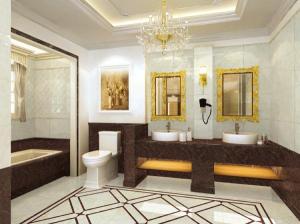
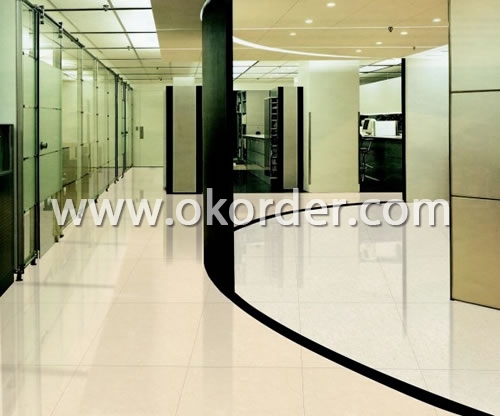
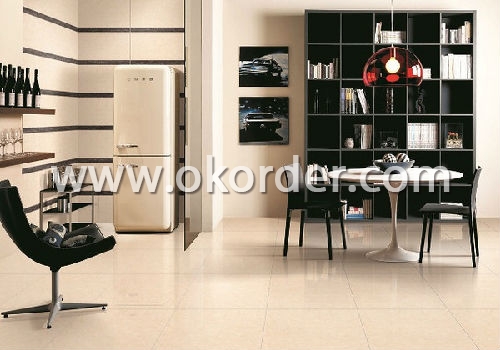
Polished Porcelain Tile Crystal Jade Serie White Color is one of the most popular color of Crystal Jade Serie, which is one serie of Polished Porcelain Tile in the present market. Just like other series, it could be used for interior floor for apartment, villa, super market as well as other public areas, due to its being high glossy and clean, homogeneous color shade as well as the reasonable price compared with natural stones.
Product Features
Polished Porcelain Tile, Double Loading
Only Grade AAA available
Strict control on color shade, deformation, anti-pollution, surface glossy degree as well as packing
Competitive price
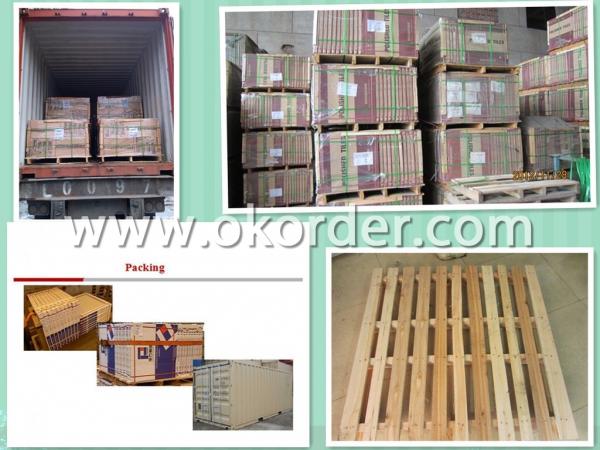
Standard export packing: Pater Carton+ Wooden Pallet
Fast delivery
OEM service could be offered
Marketing support on samples, catalogues as well as carton designing
Professional sales team for product, document and schedule of importing and exporting.
Product Specification
Tile Type: Polished Porcelain Tile
Quality standard: GB/T4100-2006, ISO13006, ISO9001
Water Absorption Rate: 《0.5%
Breaking Strength: 》 1800 N
Rupture Modulus: 》40 MPa
Length and Width Tolerance: ±0.1%
Surface Smoothness: ±0.15%
Edge Straightness: ±0.15%
Wearing Strength: 《1600 mm3
Glossiness: 》 85 Degree
Resistance to Chemical: Class UA
Resistance to Staining: Class 3.
Packing Information (For 27.5 Tons heavy 20’Fcl)
For 600x600mm, 4pcs/Ctn, 40 Ctns/Pallet, 960 Ctns/20’Fcl, 1382.4m2/20’Fcl
For 800x800mm, 3pcs/Ctn, 28 Ctns/Pallet, 616 Ctns/20’Fcl, 1182.72m2/20’Fcl
Product Picture :
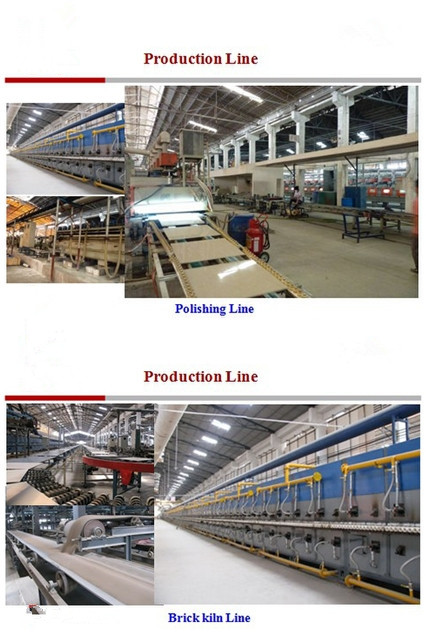
Production Line :
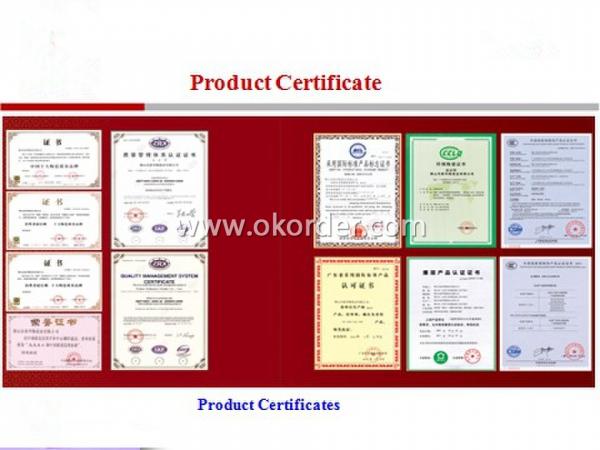
Product Certificates :
Packing Details :
FAQ
1. For Polished Porcelain Tile, is the 30*60 available?
—— Yes, 30*60 is available. Due to the basic size is 60*60, we need to cut 60*60 tile into 30*60. 6 pcs are packed into one carton.
2. What is the MOQ for this tile?
—— Normally the MOQ is 1382.4 m2 for one 20’ container. To support our clients, we could go with 3 models to fill one container at most.
3. Can we use the carton with our own design and brand name?
—— Yes. Normally we go with Neutral Carton or our Carton with our CMAX brand name. But for carton of client’s own design, the MOQ for one size is 5 containers, due to the carton factory can’t arrange production if quantity is below 5000 pcs.
- Q: I‘m curious...How are Terra Cotta roof tiles secured to the roof?? It seems that if they were nailed down, the installer would risk the chance of cracking, or shattering the tile..Is there some type of nail set that prohibits driving the fastener too far into the pieces? Obviously, they just don‘t lie there...
- here in the uk we dont use shingles ..not man enough to last ..so we have clay . ncrete ..and terra cotta roof tiles ...no point in putting on a roof covering unless it gonna last at least 100 years ..out roof tiles have hooks at top that sit behind the tile lathe ...most tiles are not actually nailed ..most are every 3 or 5 rows ..i have worked on dozens of roofs where not one was nailed ..the roof angles and tile weight prevent them from moving ..we fix with either galvanised or copper nails
- Q: Does anyone know how to refinish or paint ceramic tile? Or a website showing me how? Please help! =)
- My okorder for info on that one. We did that years ago....and it works for a while. It is not a permanent solution however. I remember we had to clean it really good with TSP rinse, then sand it clean again with TSP rinse let dry, and then using I think an enamel paint to paint it. That takes awhile to dry too like a few days, and re-coat it. And let that dry for about 4 more days...It did work for a few months or longer as I remember....but we ultimately tore it out and re did the tile.
- Q: standard shiny, white 4x4 tiles. I want to redo the bathroom stalls, but heard from some people that it could take forever, and that i might end up messing up the the drywall? to me it sounds simple... just get a spatula or something of the sort and scrape off the tiles... is that how it goes or is it more difficult than that? has anyone out there done this? what tools would i need? what type of tile cutter do you suggest? i‘d like to replace the tiles with something bigger... maybe 10x10 tiles?
- It okorder /... You can also just nail the WonderBoard over the top of the greenboard, but you will need the bull-nose tile to finish the edges of the board. I looked closely and I believe that is how it is done in the picture that I posted. The cement board is on top of the greenboard instead of the greenboard being cut out. You need to let a tile professional do this for you. You could remove the old tile and let the professional do the backer and the new tiles. If you watch him work, you could learn how to do it yourself.
- Q: Hello. The office we work in has what we believe to be vinyl tiles, 12x12, with a white powdery substance that is always on the floor. It looks as though the tile has never been sealed before so I‘m not sure if this is the cause. I have read online about efflorescence. Could this be that? I‘m really nervous because I don‘t know if it is asbestos. There are a few people in this area, and our chairs are constantly rolling around on the floor. I would say that the floor is just worn down because of the high traffic but I just wanted opinions on what it could be. This powder gets on the bottom of our chairs and our shoes. Any help is appreciated!
- first do not to panic 12x12s are not asbestos second yes seal and wax the tiles
- Q: dont know how much to charge to install tile backsplash on kitchen wall with 100sq/ft, please let me know am new and started in this business??
- It depends on whether you have experience installing tile backsplash. It will take you a lot longer than the professional. It also depends on how it is laid and if it is all one color and cuts and miters. It's not as easy as one thinks. It's where you start and plan to finish that is very important. The counter top at the back where it meets the cabinet must be level. If you haven't done this before then hire someone to assist you and go on line to get some information before you start. If you give the information to a tile dealer, he can tell you about how long it will take for the job. Decide what you need to charge an hour and add a couple of hours for clean-up or to for longer time. Jo Ann
- Q: What is the basic role of tile glue?
- 1 to improve the working time and adjustable time; 2, to improve water retention to ensure that the cement hydration; 3, to improve the anti-vertical; 4, to improve workability (easy to build on the substrate, easy to push the tile into the adhesive ), 5, with a variety of substrates have a good adhesion, including concrete, plaster, stone, old tiles, PVC; 6, are in all types of climate conditions, have good deformability.
- Q: Standard Specification for Common Tile and Flat Table
- Specifications (mm) 360 * 360 per square meter of the number of 7.72 specifications (mm) 400x400 per square meter of the number of 6.25 Specifications (mm) 418 * 481 per square meter of the number of 5.72 specifications (mm) 400 * 800 per square meter of the number of 3.125 Specifications (mm) 500x500 per square meter of the number of 4 specifications (mm) 528 * 528 per square meter of the number of 3.59 Specifications (mm) 400 * 600 pieces per square meter 4.17 specifications (mm) 600x600 per square meter of the number of 2.78 Specifications (mm) 628 * 628 per square meter of the number of 2.54 specifications (mm) 600x1200 per square meter of the number of 1.39 Specifications (mm) 800x800 Number of sheets per square meter 1.5625 Specifications (mm) 800 * 1600 Number of sheets per square meter 0.78 Size (mm) 1000x1000 Number of sheets per square meter 1 Note: 1 square meter ÷ 1 piece of brick area = the number of blocks per square meter Example: 250mm × 330mm specifications of the tile, calculated as follows 1 ÷ (0.25 × 0.33) = 12.12 tablets / square meter or 1 ÷ 0.25 ÷ 0.33 = the number of blocks per square meter How to calculate the number of square meters with the number of brick: The total square meter ÷ 1 brick area = the number of common brick Example: The bathroom wall area of ??28 square meters, with specifications for the 250mm × 330mm, with the number of brick, calculated as follows 28 ÷ 0.25 ÷ 0.33 = 339 or 28 ÷ (0.25 × 0.33) = 339 tablets.
- Q: I've tiled the walls and floors in my bathroom and want to install a tile baseboard. what kind of adhesive would work. Thanks
- A good construction adhesive will work even though you should have incorporated the baseboard in with the wall tiling. After the adhesive dries you can use a silicone caulk around the edges.
- Q: Hello,Trying to decide on tile for living area. What is the difference between ceramic and porcelain tiles? What price is reasonable for installation of the tile?
- A porcelain tile is decorative and glazed only on the outside. If you were to see a cross section, you would find only a small decorative veneer sorta surface on the exposed side. The rest of the tile has a dirt colour. In a ceramic tile, the colour is uniform throughout the tile. Practically, say if a prcelain tile gets chipped, you will see the dirt colour where it's chipped. In a ceramic one, it would not be such a stark difference. By the way, many mugs and cups we use for beverages, are made of ceramic. The not so personal stuff like vases could be made of porcelain. Got it ?
- Q: How to distinguish between good and bad tiles
- Third, as long as the bottom of a more economical. Now I realize that in fact what paint is good. Hi or the master of the end of a light even in the eyes of my paint workers are not covered, take the initiative to brush the second time (the paint is my purchase, wages are fixed) after both the uniformity of color and wall The light fineness is quite different. I believe that the master in the United States or hi Canada in Canada should be publicity on both sides of the bottom. While the domestic publicity is to let the buyer feel that there is not the feeling of expensive only Bale. And the two paint is easy to wash the function is not how. My two friends are the decoration boss, their home is the most common use of the state forever forever. Blowing for two days without taste. 2, buy a wall paint must buy a small piece of light on the 1st color. After a large area of ??color will appear deep. 3, if there is later to fill out the wall, be sure to see whether the original wall and the same plane, I was to brush over the wall paint installed when the baseboard was found, knocked back;
Send your message to us
Polished Porcelain Tile Super White TT36061
- Loading Port:
- China main port
- Payment Terms:
- TT OR LC
- Min Order Qty:
- 1382.4
- Supply Capability:
- 10000 m²/month
OKorder Service Pledge
OKorder Financial Service
Similar products
Hot products
Hot Searches
Related keywords
