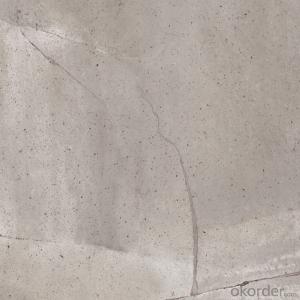
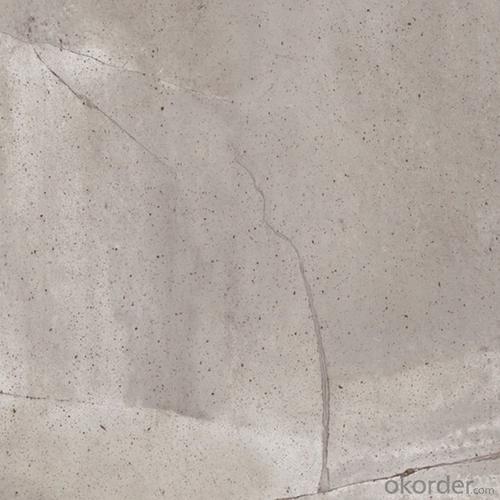
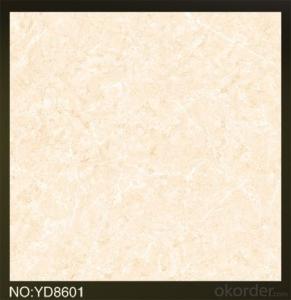
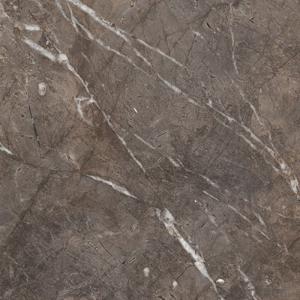
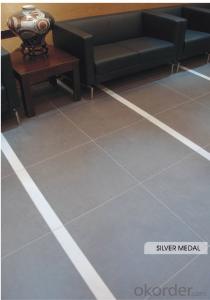
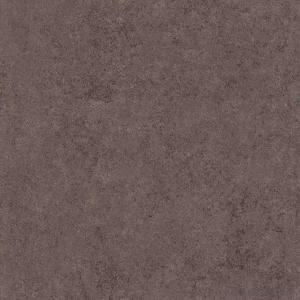
Glazed Porcelain Tile Sandstone series SA60A
- Loading Port:
- China main port
- Payment Terms:
- TT OR LC
- Min Order Qty:
- 1267.2
- Supply Capability:
- 100000 m²/month
OKorder Service Pledge
OKorder Financial Service
You Might Also Like
Product Brief Introduction
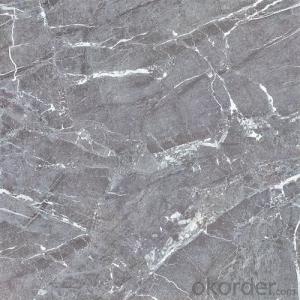
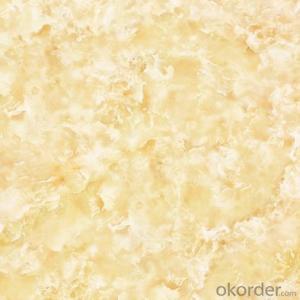
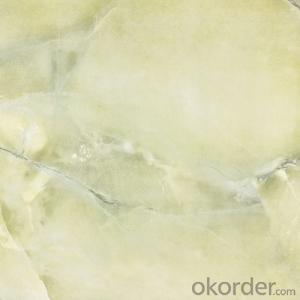
Glazed Porcelain Tile Sandstone series SA60A is one of the most popular color of Crystal Jade Serie, which is one serie of Polished Porcelain Tile in the present market. Just like other series, it could be used for interior floor for apartment, villa, super market as well as other public areas, due to its being high glossy and clean, homogeneous color shade as well as the reasonable price compared with natural stones.
Full glazed polished tiles are on the basis of the traditional polishing brick surface glazing and polishing products, whole set polished tile and glazed ceramic products archaize brick both advantages in one, not only glaze as smooth as polished tile brightening.
Product Features
Competitive price
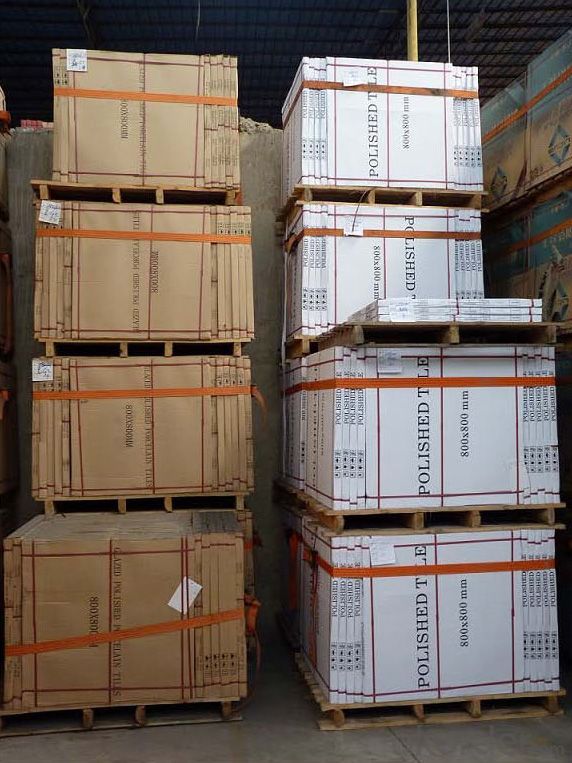
Standard export packing: Pater Carton+ Wooden Pallet
Fast delivery
OEM service could be offered
Marketing support on samples, catalogues as well as carton designing
Professional sales team for product, document and schedule of importing and exporting.
Product Specification
Tile Type: Polished Porcelain Tile
Quality standard: GB/T4100-2006, ISO13006, ISO9001
Water Absorption Rate: 《0.5%
Breaking Strength: 》 1800 N
Rupture Modulus: 》40 MPa
Length and Width Tolerance: ±0.1%
Surface Smoothness: ±0.15%
Edge Straightness: ±0.15%
Wearing Strength: 《1600 mm3
Glossiness: 》 85 Degree
Resistance to Chemical: Class UA
Resistance to Staining: Class 3.
Packing Information (For 27.5 Tons heavy 20’Fcl)
For 600x600mm, 4pcs/Ctn, 40 Ctns/Pallet, 960 Ctns/20’Fcl, 1382.4m2/20’Fcl
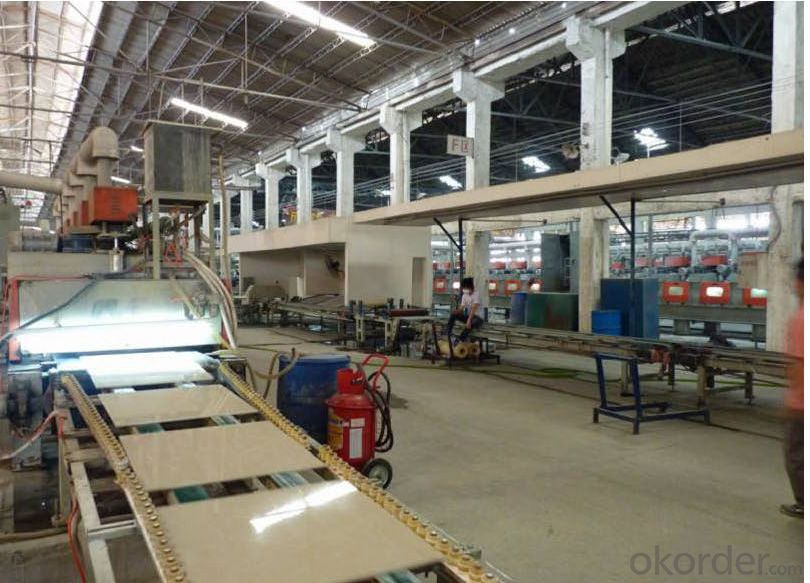
Production Line & Package
FAQ
Full glazed polished tiles are on the basis of the traditional polishing brick surface glazing and polishing products, whole set polished tile and glazed ceramic products archaize brick both advantages in one, not only glaze as smooth as polished tile brightening, like archaize brick pattern of design and color is rich, thick gorgeous color, natural texture, and the environmental protection and energy saving, service life long advantages and the low barriers to entry.
1. Why choose our Floor Tile?
1). Experienced service because we have an experienced team and we could send our experienced engineer for guving useful instruction on your jobsite.
2). Better warranty of products because we enjoy a reputation and we have got varies certificates and awards for our products.
2. What exhibition we joined?
1). Canton Fair (every year)
2). Dubai Big 5
3). American Covering
3. What's the characteristics about porcelain tiles and glazed tiles?
Glazed tiles are colorful, the effect is rather diverse, stain-slip, abrasion resistance but worse than the porcelain tiles. Long-term use may wear a large surface; porcelain tiles have the higher degree, long hard wear surface.
4. How to choose bathroom tiles? Porcelain tiles or glazed tiles?
Currently used in the bathroom tiles with glazed tiles (mainly from price considerations, some high-end can choose tiles, notice to choose tiles), divided into Shinny and Matt two kinds. Light color makes people feel shinny, but the bathroom more appropriate to create a warm feeling, so the best choose is uses matte, the shinny feels more soft and not dazzling.
- Q: 1. Why floor tiles can pop up?2. What we can do to avoid that?
- Bad prep when putting the tiles down - Cheap tiles (or Cheap adhesive) - Excessive water (either standing water or water continuing to leak in the same area) - Clean the area before placing the tiles - Buy the right tiles adheasive for the area your doing. - Keep water from pooling-up on tiles
- Q: It has been installed on a concrete slab for about five months now, could the slab not have cured right or is the tile layed wrong?
- It is common on a poorly made one such as yours. People who laid them for has no masters degree, thats why they make a living of laying tiles. The work should have guarantee for one year and Im sure you kept some extra tile. Now you can get them to fix it for you with no charge.
- Q: I am installing 13x13 porcelain tile on a wall. Should I leave a 1/4‘‘ gap for grout or can I butt them up tight for a smaller grout line?
- Tile with no gap will not accept grout. A gap less than 1/8 will accept on non-sanded grout. Most large tiles are set with a 1/4 gap or a bit more. That will accept sanded grout. It's very difficult to get butted tile perfectly straight on a wall so it will look good afterward. If that wall is in a wet location, you definitely need grout.
- Q: In a professionaly done job, what level of imperfection is acceptable. 12x12 porcellaine tile installed over backerboatd.at least a dozen tiles set either higher, lower, or tilted. Comapny says this is acceptable.
- Depends on how much higher or lower, and how level the floor was to begin with. Are they following the contour of an uneven floor? Or are they just randomly out of whack? If it's a flat floor and the tiles are not flat, I wouldn't accept it.
- Q: I used acetone on my tile to get up some hair dye and it stained the tile white where the acetone was. i know now that i probably shouldn‘t have done this so please just answer question. How do i fix it?
- Without knowing what kind of tile you're talking about, it's hard to give an accurate answer. Because your tile was blemished by the acetone, I assume it is a matte finish tile, which will absorb moisture. You will probably have to replace the tile. First, go to a tile or flooring store, explain what you did and what happened and see what they recommend. As for fixing the tile, if you haven't removed old grout, fractured and removed a tile, cleaned out old thinset, laid new thinset, the tile, and grouted, I suggest you leave this to a professional.
- Q: Are you decorating the house with tiles or wood? why? How do you choose!
- Advantages and Disadvantages of Selecting Wood Flooring The advantages of the wood floor: In general, the floor has four distinct advantages: beautiful, durable; good comfort; use of geothermal heating and thermal insulation performance; price is slightly cheaper, and the construction is simple, free installation. Specifically, the floor has a beautiful, durable characteristics, natural wood species, can be a good performance of a person's quality of life. In general, the high-end brand of composite wood flooring products in the price of 90 to 120 yuan per square meter. In the high-end brands of ceramic tiles in the price of 150 to 250 yuan per square meter. Wood flooring installation method is simple, the general dealer prices are included in the auxiliary materials and construction costs, so you can let it free installation, you can save a lot of costs.
- Q: the third tile. All three tiles types have the same side length. Determine the shape of the third tile type.
- Where 3 tiles meet, they must add up to a full 360°. The formula for the interior angle of a regular n-sided polygon is: ((n - 2)*180) / n Plugging in n=4, the interior angle of a square is 90° Plugging in n=5, the angle of a pentagon is 108° The angle of the third tile is x and the 3 angles must add up to a full 360°: 90 + 108 + x = 360 Solve for x: x = 360 - 198 x = 162 Plug that into the original equation and solve for n: ((n - 2) * 180) / n = 162 (n-2) * 180 = 162n n - 2 = (162/180)n n - (162/180)n = 2 (18/180)n = 2 (1/10)n = 2 n = 2 * 10 n = 20 So the third tile must be from a regular icosagon (20-sided polygon) Answer: Regular icosagon; see the picture below.
- Q: I wanted to remove three lines of bathroom wall tiles without distrubing other surrounding tiles. These tiles were fixed on cement around 5 months back.. now we can see cracks on these tiles (different color)..
- in the tile section at homedepot they make a hand held grout saw that you can use to remove the grout from around these tiles once you do they you can gently pry up a little bit to remove the tiles, if they were set good they shouldn't come out in one piece so put something on the floor and in the tub so as not to chip anything.
- Q: I need pink ceramic 4x4 tiles to repair an old bathroom. At least 80 of them. Where might I find them?
- 1 st try and determine whos tile it is, this will help cut down the looking time and possibly stop your looking all together .. If you have 1 spare tile look on the back to see if there there is any lettering on the back , this I ll help you with if you need help. Measure the tile , if its 4 3/8 ths you don t need to look at Florida tile, if its 4 1/4 start with American Olean and Interceramic if the tile is 15/20 years or older.. Anything else start by going to tile distributors and tile shops taking a tile or a pc with you. Realizing that you may not get a perfect tile match because of dye lots and shading even after a couple months this can be a problem.. Any questions e mail me through my avatar and I ll be glad to help and you can check my qualifications there .. GL
- Q: I recently bought a home with old fashioned pink and blue tile, is there an inexpensive way to make it look better? Help.....
- i think if u paint it...it may look worse... just save up some cash and get new flooring
Send your message to us
Glazed Porcelain Tile Sandstone series SA60A
- Loading Port:
- China main port
- Payment Terms:
- TT OR LC
- Min Order Qty:
- 1267.2
- Supply Capability:
- 100000 m²/month
OKorder Service Pledge
OKorder Financial Service
Similar products
Hot products
Hot Searches
Related keywords
