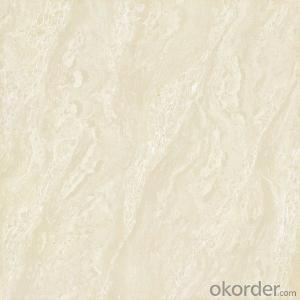

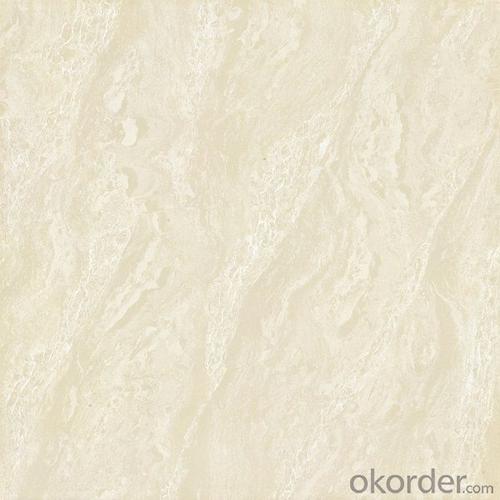

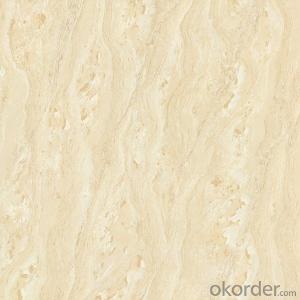
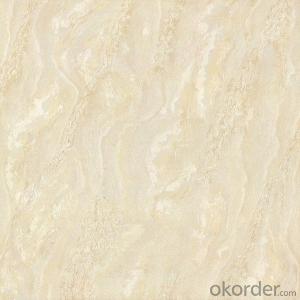
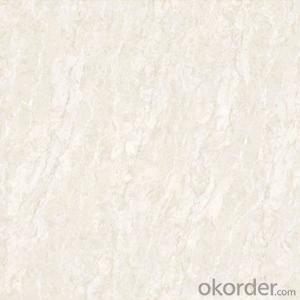
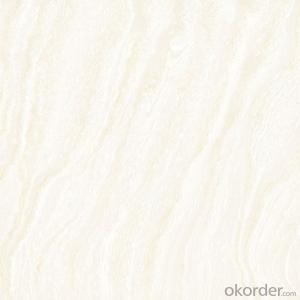
Polished Porcellain Tile Double Loading Original Stone Serie CMAX-8301
- Ref Price:
-

- Loading Port:
- Shekou
- Payment Terms:
- TT OR LC
- Min Order Qty:
- 500 m²
- Supply Capability:
- 100000 m²/month
OKorder Service Pledge
OKorder Financial Service
You Might Also Like


Specification


Product Brief Introduction
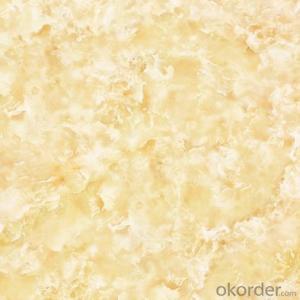
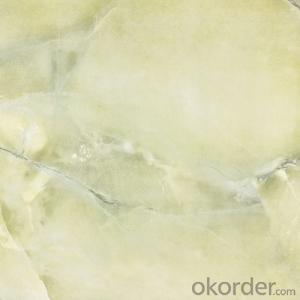
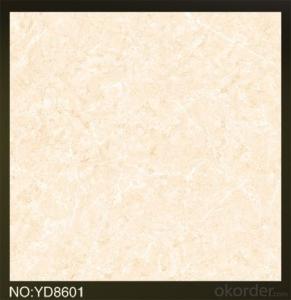
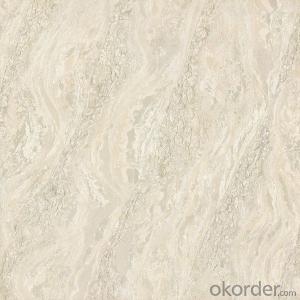
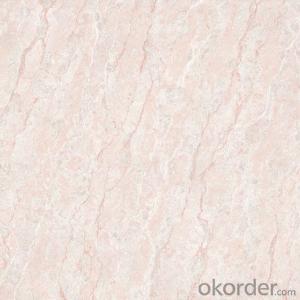
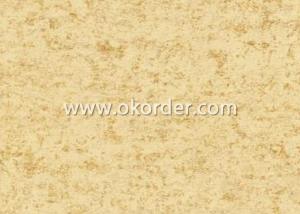
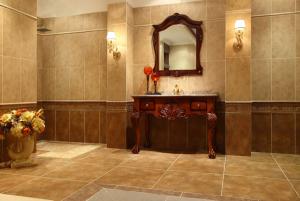
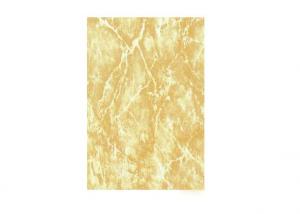
Polished Porcelain Tile Original Stone Serie White Color CMAX8301 is one of the most popular color, which is new and becoming more and more popular in the market now. Just like other series, it could be used for interior floor for apartment, villa, super market as well as other public areas, due to its being high glossy and clean, homogeneous color shade as well as the reasonable price compared with natural stones.
Product Features
Polished Porcelain Tile, Double Loading
Only Grade AAA available
Strict control on color shade, deformation, anti-pollution, surface glossy degree as well as packing
Competitive price
Standard export packing: Pater Carton+ Wooden Pallet
Fast delivery
OEM service could be offered
Marketing support on samples, catalogues as well as carton designing
Professional sales team for product, document and schedule of importing and exporting.
Product Specification
Tile Type: Polished Porcelain Tile
Quality standard: GB/T4100-2006, ISO13006, ISO9001
Water Absorption Rate: 《0.5%
Breaking Strength: 》 1800 N
Rupture Modulus: 》40 MPa
Length and Width Tolerance: ±0.1%
Surface Smoothness: ±0.15%
Edge Straightness: ±0.15%
Wearing Strength: 《1600 mm3
Glossiness: 》 85 Degree
Resistance to Chemical: Class UA
Resistance to Staining: Class 3.
Packing Information (For 27.5 Tons heavy 20’Fcl)
For 800x800mm, 3pcs/Ctn, 28 Ctns/Pallet, 616 Ctns/20’Fcl, 1182.72m2/20’Fcl
FAQ
1. For Polished Porcelain Tile, is the 30*60 available?
—— Yes, 30*60 is available. Due to the basic size is 60*60, we need to cut 60*60 tile into 30*60. 6 pcs are packed into one carton.
2. What is the MOQ for this tile?
—— Normally the MOQ is 1382.4 m2 for one 20’ container. To support our clients, we could go with 3 models to fill one container at most.
3. Can we use the carton with our own design and brand name?
—— Yes. Normally we go with Neutral Carton or our Carton with our CMAX brand name. But for carton of client’s own design, the MOQ for one size is 5 containers, due to the carton factory can’t arrange production if quantity is below 5000 pcs.
- Q: The tile guy just wants to add fresh grout, but doesn‘t that wood need to be replaced too. Help the work is to be done in 2 days.
- Is this tile in the shower? If so you need to pull up the tile and have a tile membrane installed on the floor to waterproof the area. If it is outside the shower the wood should be treated wood or it will bulge and crack the tile in the future. If it is treated wood then you can just lay replacement tile down. If they know what they are doing and have the appropriate help, then any tile job can be done in one day.
- Q: Tile TV wall is good
- Personally feel that is not possible, like my home shop posted Delan rhyme ceramic background wall can still, according to their own requirements to do, like the pattern of these are their favorite elements, my friend came to my house to see that good , Look good, the atmosphere at home are not the same.
- Q: Can you have tile insalled in your kitchen w/o using grout in between tiles? Or, can you space the tiles very close together so there is very little grout? I just keep hearing about how hard it is to clean grout.
- dont go without grout, use a minimum of 1/16 inch space. for this small of a grout space, you must use unsanded grout........
- Q: We have not picked out the tile yet, is one type better or worse/easier or harder to install?
- It okorder /
- Q: To remoe the old wall tiles between kitchen cabinet takes a lot of time or may damage the sheetrock behind it, can I install granite or new tiles on top of it. Appreciate for any input
- I think you would just have to add a level surface between the two.
- Q: Have you used the marble tiles, the quality, the price?
- Specifically, the selection of floor tiles can start from the following aspects: 1. To see whether the color of the tile body is pure. Mainly observe the back of the tile color is uniform, consistent. 2. To observe the tile cross section of the particles are delicate. Here the cross section does not refer to the tile around the cutting surface, but refers to the broken tile tile. In general, the fracture at the fine, hard and brittle, the same color for the top grade. Because the fine grain tiles waterproof ability, and the larger particles of the tile, the water is easy to immerse, affecting the quality. 3. Pay attention to the thickness of the glaze layer. Glaze thickness is the thickness of the glazed cross section. Glaze is the most expensive material in the tile cost, the thicker the glaze, the better the quality. 4. Listen. Tapping the tiles to pay attention to hear the sound is crisp, such as the sound clear, sweet for the top grade, such as the sound boring for the defective.
- Q: I have installed tile around my shower and and ready to fill in the gaps between the tile. Grouting looks messy and I don‘t know how to do it. Is there a grout that comes in a tube that can be put into a caulk gun? Can I just caulk the whole thing? This one is new to me so any help is appreciated!!!
- Grout is very easy to apply, especially if you use the tiny spacer blocks between the tiles to get the grout lines even. It is messy, but the extra wipes up cleanly with a sponge and water. Caulk is used between the bottom of the tile and the top of the tub because it's flexible and moves when the tub is filled. A solid hard grout line would break.
- Q: we are planning on replacing our livingroom carpet, !/2 of it withceramic tile. Is there any do‘s and don‘ts to consider. Thanks.
- have a good surface underneath. I lay tile, and prefer cement board as an underlayment prior to laying tile on any surface. Plywood holds moisture and eventually rots. Do it right the first time and you won't be replacing it in 5 - 10 years.
- Q: im layng tile and the room is 13 long and 11 wide how many tiles would that take
- 13x11=143 s/f. All tile is sold by the s/f and a lot of times by the whole box. So w/o knowing the size of tile your using or the box size we can t help other than giving you a total s/f of the room.. Added tiles will be needed but again w/o the tile size its hard to figure in the scrap you ll need for cuts. Any questions you can e mail me through my avatar and check my qualifications there. GL
Send your message to us
Polished Porcellain Tile Double Loading Original Stone Serie CMAX-8301
- Ref Price:
-
- Loading Port:
- Shekou
- Payment Terms:
- TT OR LC
- Min Order Qty:
- 500 m²
- Supply Capability:
- 100000 m²/month
OKorder Service Pledge
OKorder Financial Service
Similar products
Hot products


Hot Searches

