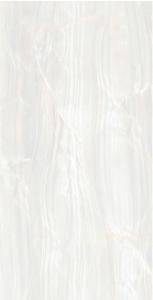
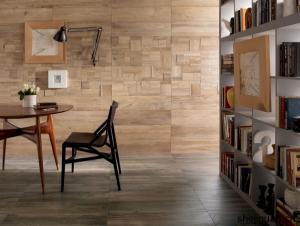
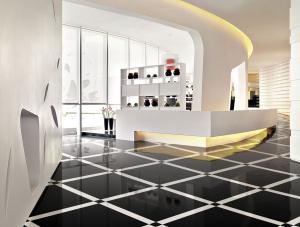
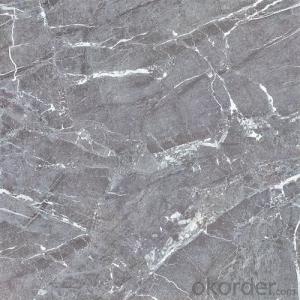
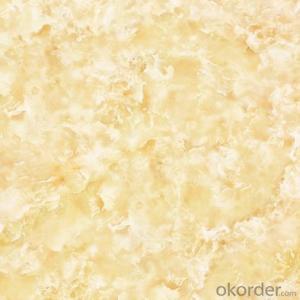
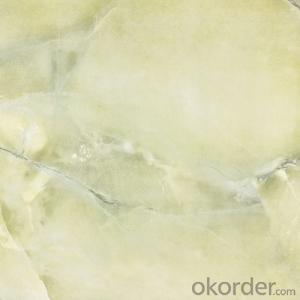
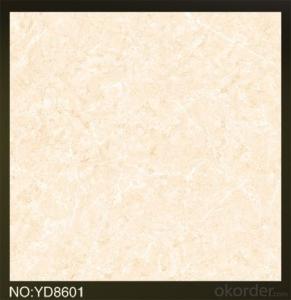
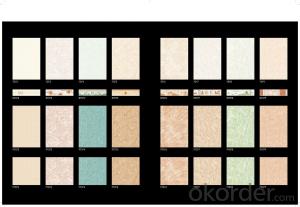
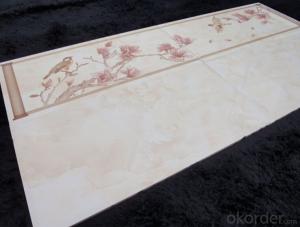
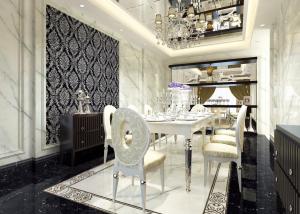
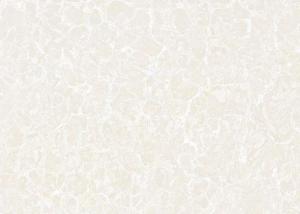
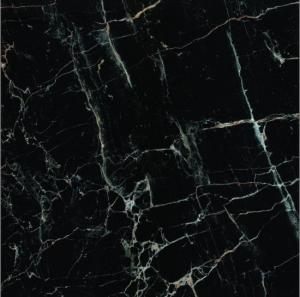
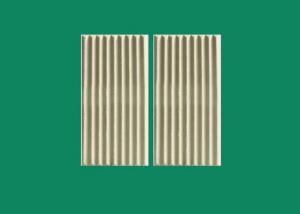
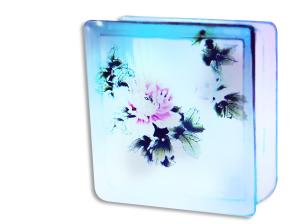
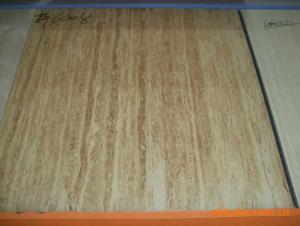
Interior Glazed Ceramic Wall Tile for kitchen and bathroom
- Loading Port:
- Qingdao
- Payment Terms:
- TT OR LC
- Min Order Qty:
- 1383 m²
- Supply Capability:
- 1123200 m²/month
OKorder Service Pledge
OKorder Financial Service
You Might Also Like
1. Descriptions of Interior Glazed Ceramic Wall Tile For Kitchen And Bathroom
Usage: Fitment-living room, bed room, study, wash room, Project-market, bank, hospital,
metro, school, office building, hotel, bar, aiport, shopping mall, deluxe club, etc..
Material: Ceramic Tiles
Function: Acid Resistance, Wear Resistance, Heat Insulation, Firebrick, Non Slip,
Antibacterial
Surface Treatment: Glazed Tiles
Technique: Inkjet Tiles
Color: Any color you want
Tile Type: Wall Tiles, Floor Tiles
OEM: Accepted
Free Sample: Available
Certificate: ISO 9001:2008, ISO 14001:2004
Size: 300×300, 300×450, 300×600, 400×800mm
2. Features of Interior Glazed Ceramic Wall Tile For Kitchen And Bathroom
1) Acid Resistance, Wear Resistance, Heat Insulation, Firebrick, Non Slip, Antibacterial
2) Adopted international advanced machines such as Italy SACMI Pressing Machines, Spain
KERAjet Digital Printing Machines, EDING Nano Coating & Antifouling Production Line,
EDING Calibrating Machines, and so on.
3) Big fatory, excellent quality, competitive price, quick delivery
3. Specifications of Interior Glazed Ceramic Wall Tile For Kitchen And Bathroom
1) Size: 300×300, 300×450, 300×600, 400×800mm
2) Average Water Absorption: 14.6%
4. Test Report of Interior Glazed Ceramic Wall Tile For Kitchen And Bathroom
No. | Test Item | National Standard (GB/T4100-2006) | Test Result | Conclusion | |
1 |
Size and deviation |
±0.5% | Long sides +0.01% ~ +0.03%
Short sides +0.03% ~ +0.07% | Passed | |
±0.3% | Long sides -0.01% ~ +0.01%
Short sides -0.03% ~ +0.02% | Passed | |||
2 | Straightness of sides
|
±0.3% | Long sides -0.02% ~ +0.04%
Short sides -0.03% ~ +0.05% | Passed | |
3 | Rectangularity | ±0.5% | -0.16% ~ +0.19%
| Passed | |
4 | Side Curvature |
-0.3% ~ +0.5% | Long sides +0.04% ~ +0.16%
Short sides +0.08% ~ +0.18% | Passed | |
5 | Warpage | ±0.5% | -0.08% ~ +0.11%
| Passed | |
6 | Center Curvature | -0.3% ~ +0.5% | +0.06% ~ +0.21% | Passed | |
7 | Water Absorption
| Average Value | > 10% | 14.6% | Passed |
Minimum Value | > 9% | 13.9% | Passed | ||
8 |
Rupture Modulus
| Average Value | ≥ 15MPa | 19.9MPa | Passed |
Minimum Value | ≥ 12MPa | 19.4MPa | Passed | ||
9 | Breaking Strength | ≥ 600N (Thickness ≥ 7.5mm ) | 1156N | Passed | |
10 | Surface Quality | At least 95% without surface defect | 100% without surface defect | Passed | |
11 | Stain Resistance | Minimum three levels | Five levels | Passed | |
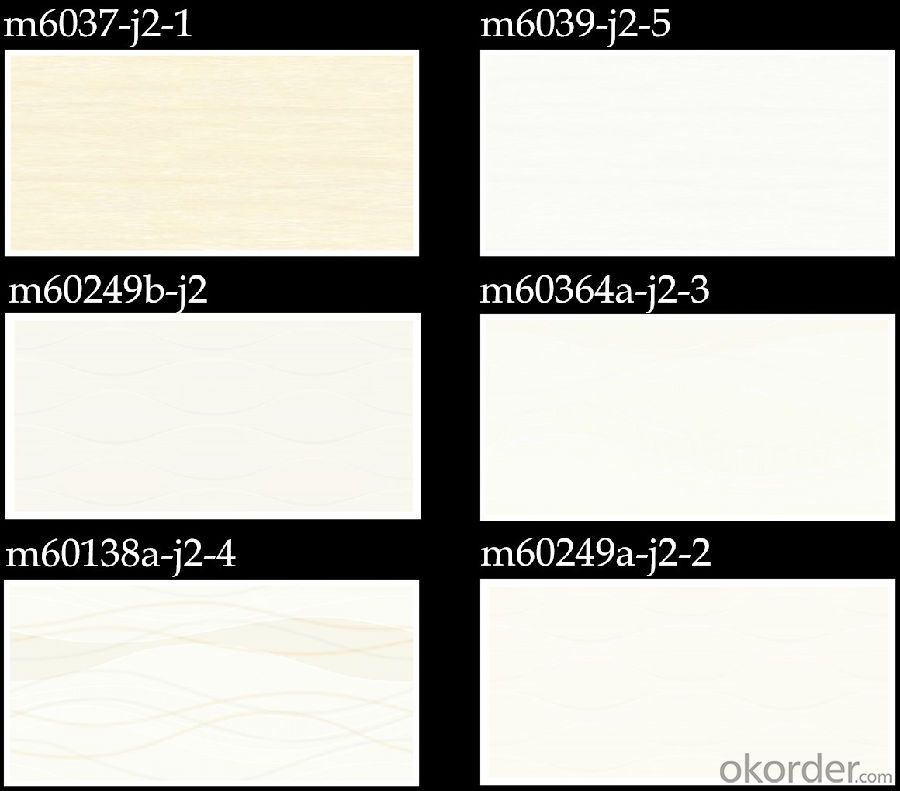
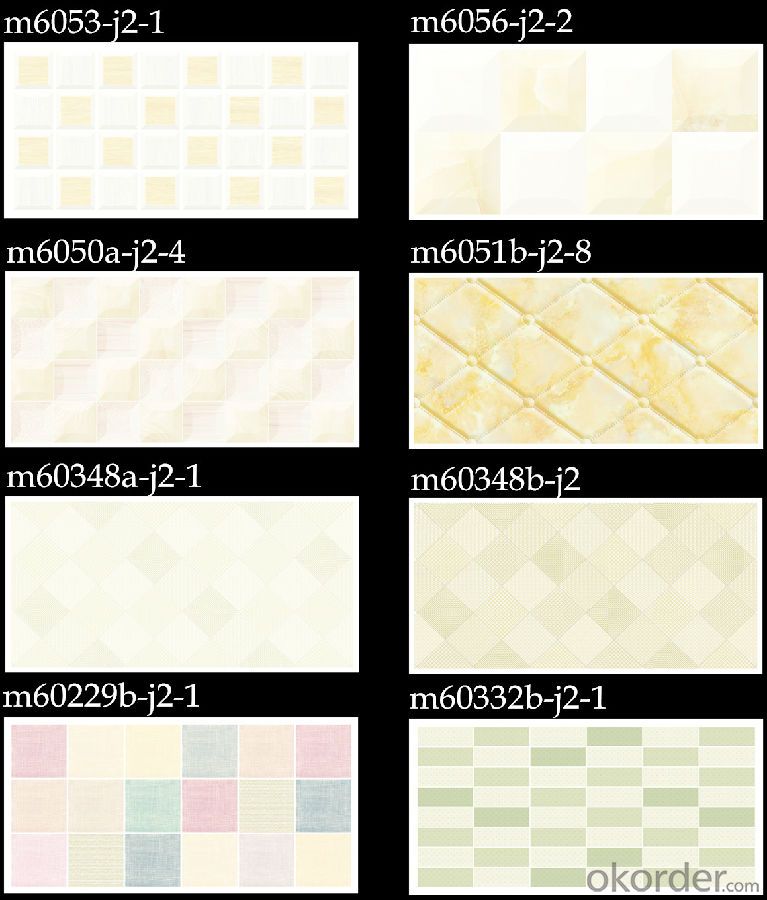
5. Pictures of Interior Glazed Ceramic Wall Tile For Kitchen And Bathroom

- Q: 1. Why floor tiles can pop up?2. What we can do to avoid that?
- You didn't mention what type of tiles (ceramic, vinyl, etc.) Vinyl pop up because the glue did not adhere properly, applies to both spread mastic and self adhesive. Surface prep is usually where the mistake is made. If the fault is that of the adhesive, the manufacturer often will make some amends. Ceramic usually pops up because the floor is uneven, or the tile was not seated correctly in the quick set. If some effort of was expended for surface prep, this is not the usual cause (this type of flooring has some degree of forgiveness related to surface prep). Future avoidance requires clean working conditions and following all instructions of the manufacturers of whose products you are using. (quick and easy cheat to repair=liquid nails, to glue tile down in place-hopefully before you applied grout!)
- Q: I purchased a DIY tile backsplash kit which costs originally $134.00. Kit includes 15 sq feet of tile, grout and tools needed to install. Lowe‘s sells the kit. The problem is the color is not the color I need. So I have this bright idea to paint the tile the color I want. I only paid $40.00 for the kit. I called one of the paint suppliers and they told me a spray paint I could use for the glass tile, however, I am afraid tha after I paint the tile, install it and then add the grouting, it may take the paint off!. I don‘t know, if it would or not. I was thinking I could spray polyurethan over the tile before I grout it or would that work? Not sure what to do. This kit is a new method for putting up a backsplash in your kitchen. It is actually peel and stick and then you must grout within 2 hours.
- The first problem was buying the glass back-splash kit. This is a fad. It looks bad. You can get a very high end back-splash with granite or marble tiles, 12 in. by 12in. Glue the tiles in place with loctite cement. No grout lines needed. Buy a used wet tile cutter on OKorder . Practice with cheap tile from the DIY stores. Then, you can move the the bath floor and tub surround. Not too long you could be doing granite tile counter tops.
- Q: How I can install ceramic tile on a wall and what tools do I need to do so? Any other tip that I should know about it to do a good job would be appreciated.
- the okorder , or diynetwork online and type in ceramic tile, and you'll get dozens of hints/ tips and tricks that will show you what you need to know. i'm not taking anything away from the other answer, he's completely right, just a little vague maybe. do some research, and this is something you can do. just know what you're doing first. tile is expensive.
- Q: I want to install Travertine tile to a fireplace surround. This would be travertine tile directly to sheetrock, painted with flat latex paint. This areawould never see moisture other than something the wet grout and sealer. Is this OK? Will the sheetrock hold the weight of the tiles? What prep is needed? Or am I asking for trouble?
- NO. You need to put cement board under the tile. You can buy 3 x 5 sheets that are 1/4 thick. If you put it directly onto the sheet rock they will fall off and/or crack. Do it right the first time
- Q: I want to remove my carpet in the bedroom. I know about pulling it up and all that but what I don‘t know is what the next step is after it‘s totally up. I want to put down tile I‘m not sure if I want to put down ceramic or just the plain old sticky tile. my question is can i put tile down directly on the floor boards. I don‘t think that there is hardwood underneath i just see like plywood or whatever that board is called. Is there anything specific that needs to be done to the floor before tiling?
- While the peel and stick will stick to the floor, I'd still recommend an underlayment. Underlayment properly put down will even out the rough spots on the floor. The subfloor, directly over the joists, is probably structurewood or commonly called OSB. You could use plywood or fiberrock. Stagger the seams of the underlayment with the seams of the subfloor. For example, if the first sheet of underlayment will land on the seam, cut it in half so the remainder of the seams will stagger, hopefully that makes sense. If you go with ceramic tile, there is one method that go directly on top of structurewood. It requires a special prep, adhesive and grout. And it is definitely not for the novice. It is uses TEC's 1step mortar. It may not even be available in your market. Google TEC 1 step But for the novice, no offense, I recommend using either backerboard or Duro-Rock. You spread, thinset mortar, doesn't need to be latex modified for underlayment, set the board, nail with roofing nails or screw. The instructions are available on line. But nail or screw every 4 along the edges and 8 in the middle. Use the fiberglass tape before you set tile. This should latex modified. There are different ways people like to do this. Some say as you tile, some just stick the tape down and skim the top. What I like is to skim a thin layer over the seams, put the tape down, then make sure there are no ridges. Let sit over night. That way the next day, I can pop lines, and set tile. As far as setting tile, it easy to do when you know what you are doing. It also easy to screw it up when don't know what you are doing. I've seen novices screw it up pretty bad. If you know someone that has tiled before, I hope you get some help. With perhaps a thousand dollars of material on the line, it will be well worth a free lunch and a couple beers at the end of the day.
- Q: I rent but we have cracked a couple of white kitchen counter tiles. Is there a quikfix alternative to replacing them? We realize the solution would be cosmetic.
- Unfortunately, matching white anything is usually difficut. There are hundreds of whites. Also, many tiles discolor over time. Buy replacement tiles from several places (returning should be no problem w/receipt). In spite of what the flooring specialist stated, there is no need to buy a grout SAW (not called a grout chisel). Since the tiles are already cracked, you can pry them out with a screwdriver, putty knife, etc. Install the new tiles with premixed mortar/grout (she was correct about that).
- Q: i want to use broken tiles for flooring in the balcony. what is the procedure?? and how do i start??please suggest.
- I suggest that you first prep and fill your concrete and let dry. Next you should lay out some tile pieces on an area near your starting point fitting the pieces together like a jigsaw puzzle. Next spread some tile mastic over an area equal to the size of the area where you have laid out tile pieces that fit together. Next, quickly set the tiles in the mastic in the same pattern that you had them laid off to the side leaving at least about 1/8th gaps between the tile pieces. When you are finished, scrape off any mastic that does not have tile set in it. Repeat this process until you completely cover your floor. Allow to dry for a day and then fill the cracks with grout. Allow the grout to dry for a day and then do an acid wash to remove the grout residue.
- Q: I‘m tiling a shower in a small bathroom, should I go with ceramic or something like vitreous? Any experience welcomed greatly!!
- After installing thousands of sq. ft. of tile and remodeling more bathrooms than much else I cant imagine NOT using glazed/fired ceramic...especially in a shower/tub area. The reason is fairly obvious...ceramic/porcelain, is Not strictly porous, and certainly easier to clean. Although my entire bathroom is done in 16 x 16 tile to match the floor, I suggest no larger than 4 x4 or 6 x 6 and/or accomodate any trim type/ decorative tiles you want. I also tile all the way to the ceiling. Steven Wolf Obviously ceramic can be purchased in LOOK LIKE ANYTHING. It need not strictly have a GLOSS, but certainly should be glazed to allow no niches for mold; etc; which you'll have to address regularly in the grout lines anyway.
- Q: what is vitrified tiles
- Vitrified tile is a tile that has undergone a certain process that gives it extremely low porosity, and thus, very low water absorption. This makes the tile hard and strong, as well as stain resistant.
- Q: My husband and I put ceramic tile floors in our kitchen, dining room, office, and laundry. We cannot seem to get them clean. I use to scrub them with a brush and bleach but can‘t with a small child and being pregnant. We have tried swiffers (wet jet and sweepers) a mop and bucket, a steam mop, nothing seems to get them very clean, just pushes the dirt around. I need something that will get them sparkling and be easy to do while pregnant, please help.
- Nothing should stick to a glazed tile surface that fast and hard.. In my mind I have to ask you what else in the past have you ve been using on the floor and what kind of sealer did you use and how long ago? If you have the exact tile name and manufacturer I d be glad to help you. E mail me thru my avatar and check my qualifications there.. Get me any and all the products you ve used and maybe we can figure it out.. I do this with lots of people GL
Send your message to us
Interior Glazed Ceramic Wall Tile for kitchen and bathroom
- Loading Port:
- Qingdao
- Payment Terms:
- TT OR LC
- Min Order Qty:
- 1383 m²
- Supply Capability:
- 1123200 m²/month
OKorder Service Pledge
OKorder Financial Service
Similar products
Hot products
Hot Searches
Related keywords


