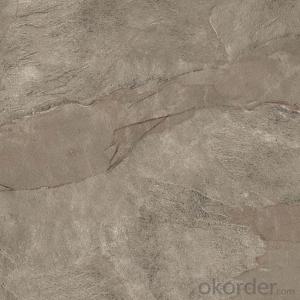

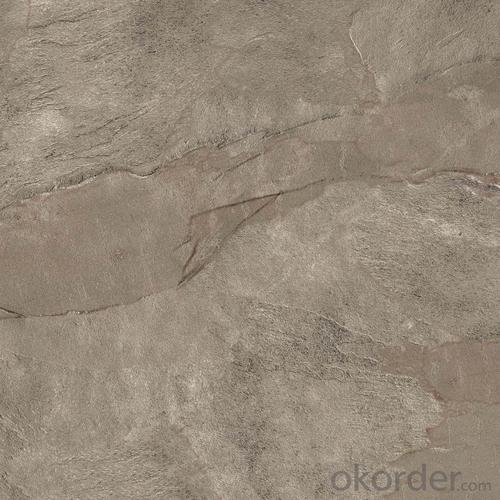

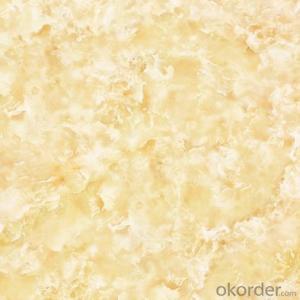
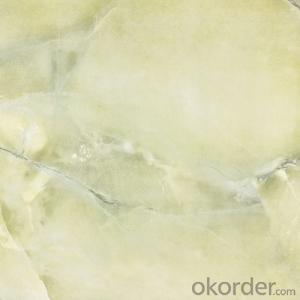
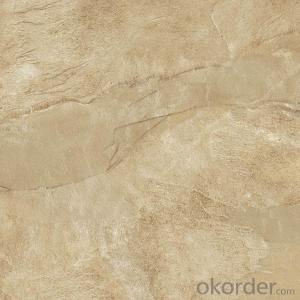
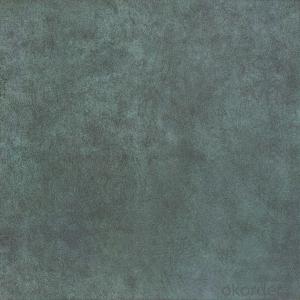
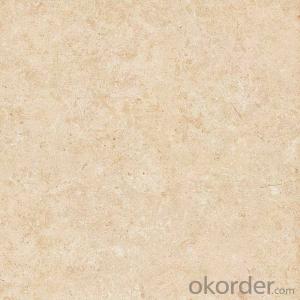
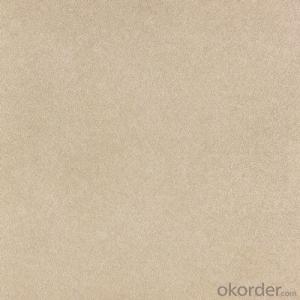
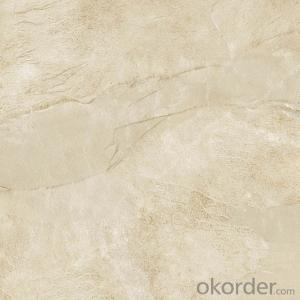
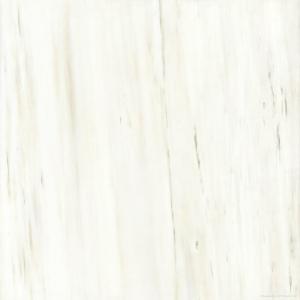
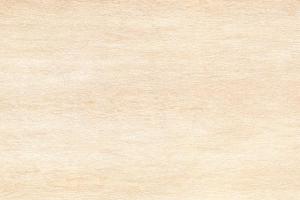
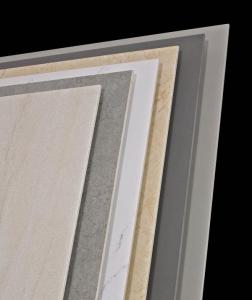
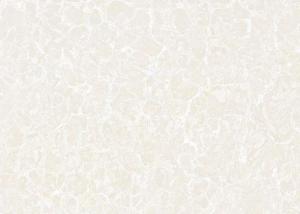
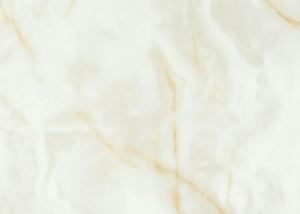
Glazed Porcelain Tile Urban Series MO60DP
- Ref Price:
-

- Loading Port:
- China main port
- Payment Terms:
- TT OR LC
- Min Order Qty:
- 1180.8
- Supply Capability:
- 100000 m²/month
OKorder Service Pledge
OKorder Financial Service
You Might Also Like


Product Brief Introduction
Glazed Porcelain Tile Urban Series MO60DP is one of the most popular color of MO Serie, which is one serie of Glazed Porcelain Tile in the present market. Just like other series, it could be used for interior floor for apartment, villa, super market as well as other public areas, due to its being good quality as well as the reasonable price compared with other suppliers.
Product Features
Glazed Porcelain Tile
Only Grade AAA available
Strict control on color shade, deformation, anti-pollution, surface flatness as well as packing
Competitive price
Standard export packing: Pater Carton+ Wooden Pallet
Fast delivery
OEM service could be offered
Marketing support on samples, catalogues as well as carton designing
Professional sales team for product, document and schedule of importing and exporting.
Product Specification
Tile Type: Glazed Porcelain Tile
Quality standard: GB/T4100-2006, ISO13006, ISO9001
Water Absorption Rate: 《0.5%
Breaking Strength: 》 1800 N
Rupture Modulus: 》40 MPa
Length and Width Tolerance: ±0.1%
Surface Smoothness: ±0.15%
Edge Straightness: ±0.15%
Wearing Strength: 《1600 mm3
Resistance to Chemical: Class UA
Resistance to Staining: Class 3.
Packing Information (For 27.5 Tons heavy 20’Fcl)
For 600x600mm, 4pcs/Ctn, 40 Ctns/Pallet, 960 Ctns/20’Fcl, 1382.4m2/20’Fcl
Production Line & Package


FAQ
1. For Glazed Porcelain Tile, is the 30*60 available?
—— Yes, 30*60 is available. Due to the basic size is 60*60, we need to cut 60*60 tile into 30*60. 8 pcs are packed into one carton.
2. What is the MOQ for this tile?
—— Normally the MOQ is 1180.8 m2 for one 20’ container. To support our clients, we could go with 3 models to fill one container at most.
- Q: We're remodeling our bathroom and looking for tile. Thanks in advance!
- if i was you i would first go to a tile shop ...many shops ..and find the tiles you really like first ..take down their number and batch number ..they vary a lot in shade ..then see if you can get the same on the net ..in my experience ..you can do as well in the shop as on the net ..they are all so easier to deal with if something goes wrong
- Q: I have three ceramic tiles that need a special curved cut. I‘m just looking for some place where I can take the tiles in and they cut them for me onsite and I walk out with my cut tiles. Home Depot doesn‘t offer this service. Who does? I live in Atlanta.
- Cutting Tile In Place
- Q: My landlord recently had new bath/shower faucets installed, but didn‘t have matching tiles put in place of the ones that had to be removed in a small section. Do I have a legitimate case against my landlord? It‘s such an eyesore. Everytime I shower, I see the unmatching tiles and get so angry. Aren‘t I deserving of matching tiles?
- Actually, probably not. As long as the shower is covered with tile and not bare, it wouldn't be against any health issue. You could ask nicely, but I think since he didn't do it when the faucets were replaced, it isn't going to be done now. Some landlords are so stupid.....You are going to want to take better care of his property if he strives to keep in top condition. You have a bad attitude now I am sure not too eager to keep that shower clean. Am I right? Those kind of repairs are what makes a landlord into a slum landlord. EDIT: YES, you are deserving of matching tiles. Send him a note with your next rent check.
- Q: How would one grout mosaic tiles on standing mirror?
- Grout application on a mirror is exactly the same process as grouting a tile floor, back-splash, counter top, or table. Since the mirror is standing, I'd be sure that the mirror won't topple over when applying the grout because it has to be floated into the crevices between the tiles / tile pieces. If possible I'd suggest laying the mirror flat, either on the floor or on a sturdy worktable A grout float is basically a block shaped pushing tool used to force the grout between the tiles. Hold the float at an angle against the tiled surface and use a firm sweeping motion across the tile to push/force the grout into all the nooks, crannies, cracks and openings between the tiles. You'll have to work fairly quickly because grout becomes hard to work once it starts drying out. Work in a diagonal pattern and go back over any low or missed areas. Allow the grout to sit for 20-30 minutes. You'll know the grout is starting to cure when there is a light haze on the tile surface. Using a sponge and a bucket of clean water lightly buff the tile to remove the haze. This step may have to be repeated once or twice to be sure that all of the excess grout has been removed from the tile surface. If you want to seal the grout and tile, there are a number of sealant products available but you'll need to wait 3 or 4 days before applying in order to allow the grout to cure properly.
- Q: How to convert tiles how much money a square meter?
- Tiles are generally quoted according to the block, to be converted into square meters of the price you need to calculate the area of each brick (unit: square meters), and then the price of each tile divided by the area of each tile (unit: square meters) You can get the price per square tile. For example, 800mm * 800mm tile is 100 yuan a piece, each tile area is 0.64 square meters, so the price per square meter is: 100 / 0.64 = 156.25 (yuan / per square meter), and so on. Tiles, living room is generally 800mm * 800mm or 600mm * 600mm, kitchen and toilet generally 300mm * 300mm or 300mm * 450mm, then 800mm * 800mm brick, converted into rice is 0.8m * 0.8m, then 800mm * 800mm brick is 0.8 Meter * 0.8 meters is equal to 0.64 square meters, 600 * 600 brick is 0.36 square meters, 300 * 300 brick is 0.09 square meters, 300 * 450 is 0.135 square meters.
- Q: We just bought an old house and the previous owners did a really poor paint job. I scratched off some paint on the tiles in the breakfast nook and the original tile looks really nice. I want to remove the rest of the paint without damaging the tiles.
- Providing the tile you are discribing is a fired material, you can't hurt it with almost any chemical. Think of the glazed top of the tile as being a glass surface. An exception might be if the glaze has craze lines in the surface. Colors from paint spatters can find their way into these cracks and are almost impossible to get out. SO test the chemical in a small area first. Some paints will not be easily effected by thinners or mineral spirits .you may have to try Turpentine or equal. Acetone is stronger yet. It's the base for fingernail polish remover with a little oil smell good added. A small razor blade paint scraper is also handy. When using a razor make sure first that it dosn't leave a silver like scratch mark on the surface. This is the information that I found at the site below. I bought big bottles of cheap fingernail polish remover. Worked like a charm. I also used the finest grade of steel wool. And I used a plastic scraper so as not to scratch the surface. Hope this helps!! Have fun!!
- Q: The tile of my garage is 10 years old. The house was abandoned and I bought it. The tile that was used was a textured ceramic tile. I‘ve tried brushing it and washing it with different products but it goes back to a dusty look. Any ideas on how to bring it back to life other than paying to get it polished by a professional. Thank you in advanced.
- If you don't want to pay for the labor to have it cleaned, you will be the one to do it yourself. Elbo Grease. Get some Tile Acid Cleaner from the Home dpot/Lowes, and a couple of hand held scrub brushes, some plastic bristles, some metal bristles, (to see which works best). Get a spray bottle, poor the acid into it. do not delut with water. Not until after it has sat on it for 5 min and you have scrubbed and scrubbed. Then spray with water (lightly Misting) and wipe up with disposable towels. Dont forget the rubber gloves. After the entire floor is finished or until you are satisfied (or if you want to do in Stages) wait until entirely dry and get some Tile Sealer and begin to apply. Pay attention to the grout lines first then mop all over the tile. The cost for materials will be about $50--$70 But the labor is where the real money is. Have Fun I do not envy you.
- Q: How to choose bathroom tiles
- In general, the seller will tell the customer whether a tile is permeable, how water absorption. Met with the intention to hide it does not matter, we can try on the spot. The tile glaze layer down, pour a small glass of water on the back, wait a few minutes after the observation of the infiltration of water, and then turn over to see whether there is a watermark glaze. If the water infiltration quickly, glazed with a clear watermark, indicating that the tile permeable, and the density is small, the quality of the times. On the contrary, the slow spread of water or less water, glazed no watermark, indicating a larger tile density, the quality is relatively good. Left tiles glazed with a clear watermark, the quality is not as good as the right tile tricks 3 eye view manual
- Q: My wall tiles has been for more than 20yrs owned by first owner. Due to limited budget,i have not replaced them when i bought over as 2nd owner, but have done a coat of spray paint on it thru contractor, Now after 5 yrs, some of these spray paint are coming off, any suggestion what i can do , i do not want to hack the wall and replace new wall tiles very costly, someone suggest buying bathroom tiles stickers on those tiles with paint coming off.. anyone with better suggestion on DIY ..plse help---
- remove all of the silly paint with a heat gun and plastic putty knife, dig out the grout and regrout. Unless the tile are loose, then you will have to pop out the loose ones and re-adhere them to the wall with construction adhesive or thinset. painting is not a good plan. Especially if you paid someone to do it. It would have been cheaper to install new tile yourself than pay someone to paint it.
- Q: the white tiles for like walls.
- It was the type of tile that used to be used to tile subways. It was rectangular in shape and aside from that it was no different than basic ceramic bathroom tile. There are probably some stations around that still have the old tile but for the most part, new stations and refurbished ones get the standard square tiles now. There has been a resurgence of the use of subway tile in homes in the past few years because it makes it possible to do a herringbone pattern which you can't do with square tiles.
Send your message to us
Glazed Porcelain Tile Urban Series MO60DP
- Ref Price:
-
- Loading Port:
- China main port
- Payment Terms:
- TT OR LC
- Min Order Qty:
- 1180.8
- Supply Capability:
- 100000 m²/month
OKorder Service Pledge
OKorder Financial Service
Similar products
Hot products
Hot Searches

