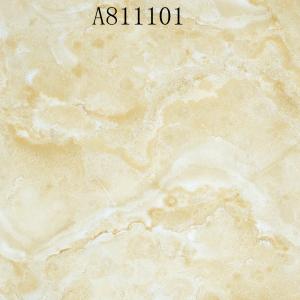


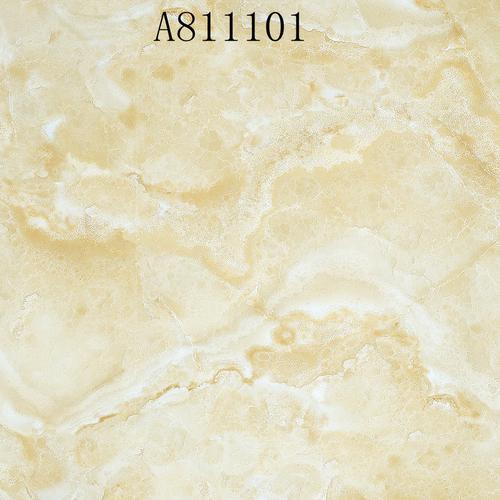


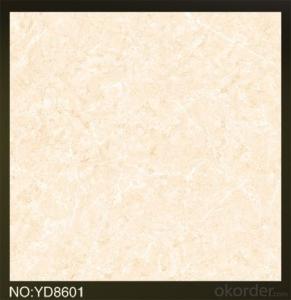
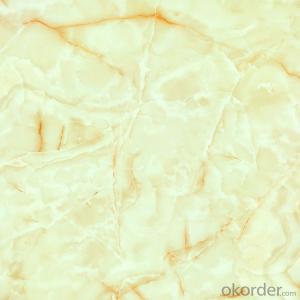
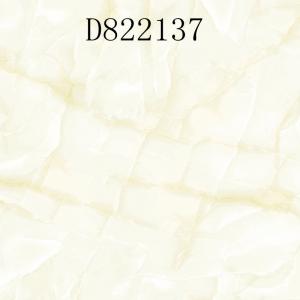
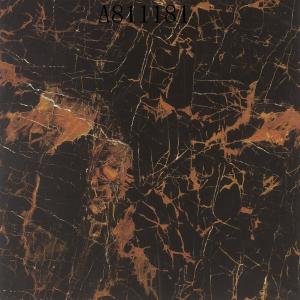
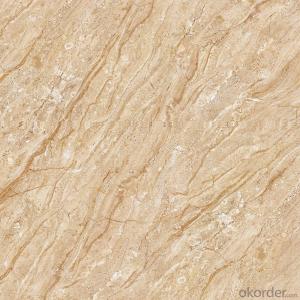
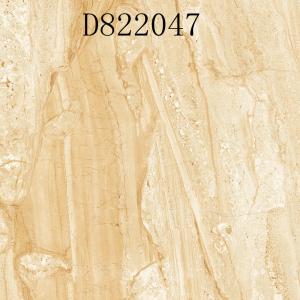
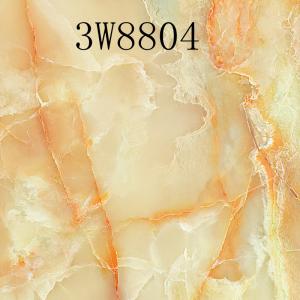
FULL POLISHED GLAZED PORCELAIN TILE
- Ref Price:
-

- Loading Port:
- Guangzhou
- Payment Terms:
- TT OR LC
- Min Order Qty:
- -
- Supply Capability:
- 100000 m2 m²/month
OKorder Service Pledge
OKorder Financial Service
You Might Also Like


Basic Information :
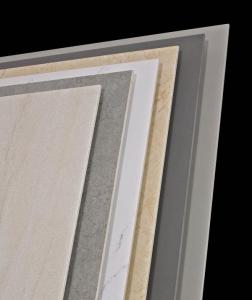
Tile Type | Full Polished Glazed Porcelain Tile |
Certificate | ISO13006, ISO9001 |
Finish | Nano Finish |
Size | 60x60 80x80mm |
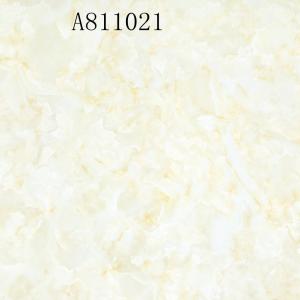
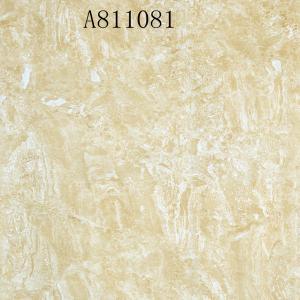
Other Choices | many designs, size, colors |
Features:
1) Available in many designs, specifications and assorted color,unique designs and exclusive quality
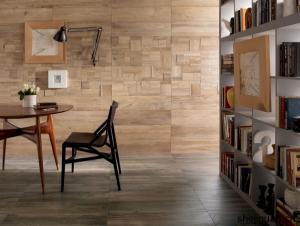
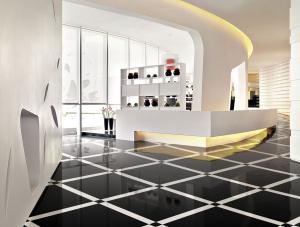
2) Used for indoor & outdoor wall and floordecorations, as well as Stair Case Product;
3) Easy to install, anti-dust, washable, acid-proof,alkali-proof, durable
4) Material: glazed porcelain
5) Customized sizes available according to clients’ requirements
6) Available dimensions
Material | Porcelain |
Dimension | 600x600 800x800 mm |
Packing | Carton + Wooden Pallets |
Finish | Glossy, over 90 degree. |
Usage | Floor and wall |
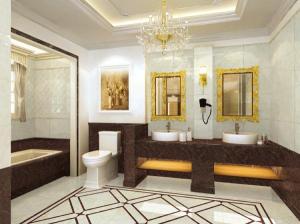
The polished porcelain tile is widely used for interior houseflooring, hotel lobby flooring, shopping mall as well as other public sites.
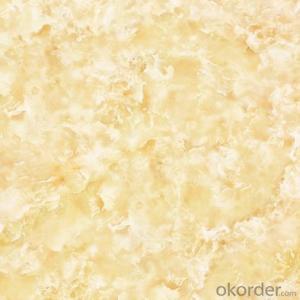
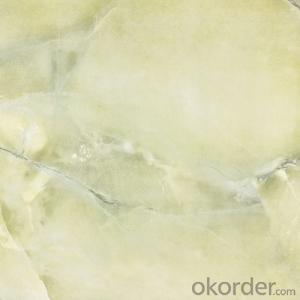
Vivid stone texture and vein bring our decoration the naturalstone beauty with much lower cost, easier quality control and easier decorationproceeding.
Advanced glazing technology to make sure the tile surface beautyvivid and clean, via ink-jetting or silk printing.
We could go with OEM model, making 2nd production basedon client’s requirement;
We could offer flexible service on shipment and better supporton payment term;
Our quality guarantee is based on the strict productionprocedure, quality controlling on the shade, straightness as well as whitedegree.
Specification and technologyinformation:
· NANO polished
· Water absorption:<0.1%
· Delivery:within 15~20 days after 30%deposit received
- Q: The tile guy just wants to add fresh grout, but doesn‘t that wood need to be replaced too. Help the work is to be done in 2 days.
- Is this tile in the shower? If so you need to pull up the tile and have a tile membrane installed on the floor to waterproof the area. If it is outside the shower the wood should be treated wood or it will bulge and crack the tile in the future. If it is treated wood then you can just lay replacement tile down. If they know what they are doing and have the appropriate help, then any tile job can be done in one day.
- Q: so i was wanting to lay some ceramic tiles down in a small room. right now in the room i think theres vinyl tiles and they r laid right on top of the pplywood floor. so im just wondering am i able to just lay the ceramic tiles right on top of the plywood floor after i tear up scrape up the old floor? any advice?
- the plywood is a subfloor. after you remove the vinyl. you should lay an underlayment before tiling. check at the tile store for instructions. Don't think you can do a quick cheap job on tiles because the tiles or grout lines will crack and you'll have to redo everything. The subfloor makes for a clean fresh starting surface and should be screwed down every few inches as per instructions.
- Q: The tile at the store says $5.00 per square foot.. so I'm assuming that's the cost of the tile only.. and then how much does it generally cost to install? Another $5 or more per square foot? I am new to this all.
- what the tile store quoted you is the price of the material only. depending on the area of the country you live in, tile installation prices vary. labor prices can range from $2-$10 a square foot depending on the size of the tiles, any pattern you may choose (brick pattern, diagonaly, etc), the type of material you choose (i charge upwards of $15 per foot for glass tiles. i know you are talking floor tiles, and i know you didn't pick a glass tile, but i've seen it done, and believe me, it's well worth $15 a foot!). moving furniture can incur an additional charge; save this money by clearing the room yourself. any floor prep can be additional. if your floor is off-grade (as in not a concrete slab, or you are referring to an upstairs room) then an installer will charge additional for the cost and installation of an underlayement, which is required for tile if installed over plywood. talk with anyone you know who has had ceramic tile installed recently and see who they might recommend. the tile store might offer recommendations as well. get about 3 before you commit to an installer. to giver you a general idea on prices--if you choose a 16 inch tile to be installed over concrete on a straight pattern (square tiles, not diagonal or diamond pattern), you're looking to pay about $3-5 labor per square foot. good luck!
- Q: The grout in my bathroom is cracking bad and i just had it installed a little over a year ago. I called a different tile guy to look at it and tell me why its cracking. So im trying to figure out who riped me off or whos trying to rip me off. this new tile guy said the grout is cracking because the other tile guy didnt pull the old vinyl up. I remember the other tile guy told me that the vinyl was my moisture barrier so i didnt need anything put on the floor other than the glue ( or whatever you call it) So this new tile guy is saying thats the reason why my grout is cracking because he needed to pull up the old vinyl and the grout would continue to crack until that was done. So that means i need my whole floor re-done with new tile.....so is this new tile guy telling me the truth. Can you install tile over vinyl?
- All I can say is: its on the whole now not a excellent concept to position it proper on best. It turns into much more likely for it to arise. And then the procedure of taking on a layer of laminate and a layer of ceramic tile might be that a lot more difficult while it got here approximately. I suppose the one technique to make that paintings with out taking on the ceramic tile is to make an air tight seal among the two. I could not supply you any strategies on how to try this although.
- Q: if there are 24 square tiles in a box and there are enough to cover 3 square feet, how big are the tiles?
- 24 tiles/3 sq ft =8 tiles per square foot. Since 8 is not a square, there is no solution, or the tiles cannot be square.
- Q: I have calculated that I need 388 tiles, each 9 inches big, how many come in one box?, I need to know how many boxes to order
- Peter is right, each tile manufacturer will box their tile in different size boxes (per s/f). And w/o know the s/f of the area to be tiled no one can tell you how many tiles you need. Most tile is sold by the box now any ay. So in most cases you ll need to buy whole boxes plus waste for cuts. Any questions or if you come up with more info you can e mail me through my avatar and check my qualifications there. GL
- Q: → tile background wall is good tiles background wall renderings
- Tiles are not suitable for the back of the wall, the grade is not high, reflective 1, pavement trouble, technical parameters difficult to control: tile pavement commonly used wet and wet two methods, because the tile manufacturing accuracy is not high, Tile specifications are generally too large, pavement is not homogeneous patchwork, high and low gap. Dry shop is easy to cause the tiles off, wet shop easy to increase the gap. 2, slippery: tile surface treatment process so that it used in the process of friction is very small, so very slippery; if the tiles after the oil is more slippery. 3, cold: every pavement of the units and the family are all deeply appreciate the cool tiles in the winter! So suffering from rheumatism, arthritis, but also a lot of people, not to mention the original suffering from rheumatoid arthritis in the cold and long winter how hard brains.
- Q: What is the drill bit?
- We generally use a small sandblasting bit on the market can buy a good use
- Q: Ok.. what i mean is this. Let‘s say you have hard tile beside the toliet and water damaged occured. Once you press down on the tile you can actually feel the weakness in the tile.. Does this automatically determine bad subflooring or is it possible just bad tile, Can I just killz over the subflooring repaint and lay new tile?
- Justin, tile is rigid and doesn't flex. If you can feel it move, what's under it ain't gettin' it. Sure, the subfloor is suspect, but it may also be missing proper tile underlayment, like concrete board on top of the basic underlayment. If the tile was just installed directly onto a wood subfloor, big fail. Properly installed, it should feel like it's on a concrete slab.
Send your message to us
FULL POLISHED GLAZED PORCELAIN TILE
- Ref Price:
-
- Loading Port:
- Guangzhou
- Payment Terms:
- TT OR LC
- Min Order Qty:
- -
- Supply Capability:
- 100000 m2 m²/month
OKorder Service Pledge
OKorder Financial Service
Similar products
Hot products

Hot Searches

