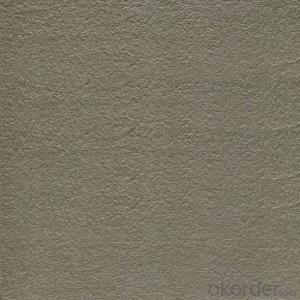


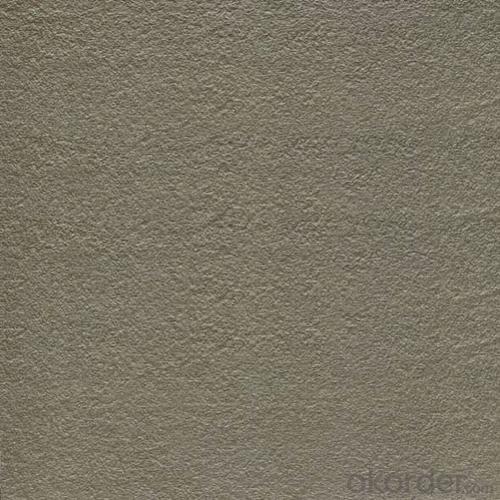


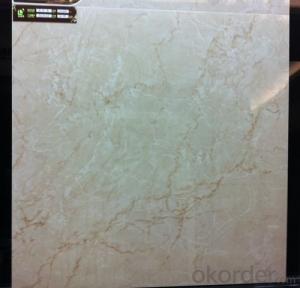
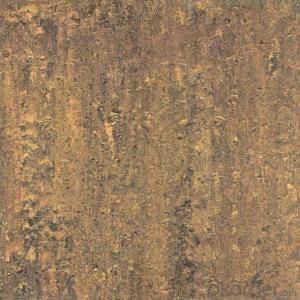
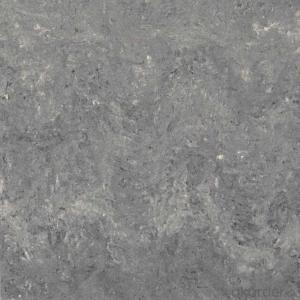
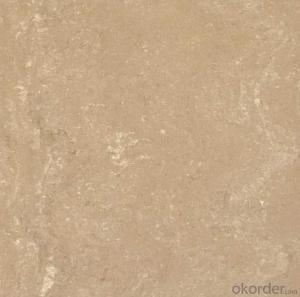
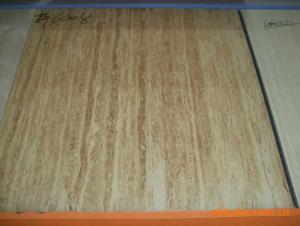
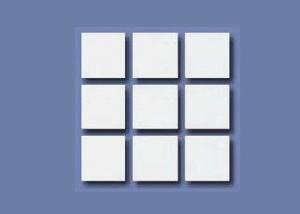
Double Loading Series Polished Porcelain Tile Brown Color ZSL06084Z/G
- Ref Price:
-

- Loading Port:
- Shekou
- Payment Terms:
- TT OR LC
- Min Order Qty:
- 1267.2
- Supply Capability:
- 100000 m²/month
OKorder Service Pledge
OKorder Financial Service
You Might Also Like


Product Brief Introduction
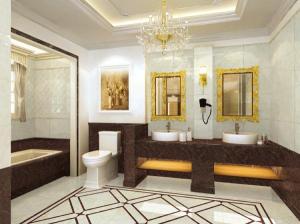
Polished Porcelain Tile Double Loading Serie Brown Color ZSL06084Z/G is one of the most popular color of double loading Serie, which is one serie of Polished Porcelain Tile in the present market. This kind of tiles could be used for interior floor for apartment, villa, super market as well as other public areas, due to its being high glossy and clean, homogeneous color shade as well as the reasonable price compared with natural stones.
Product Features
Polished Porcelain Tile, Double Loading
Only Grade AAA available
Strict control on color shade, deformation, anti-pollution, surface glossy degree as well as packing
Competitive price
Standard export packing: Pater Carton+ Wooden Pallet
Fast delivery
OEM service could be offered
Marketing support on samples, catalogues as well as carton designing
Professional sales team for product, document and schedule of importing and exporting.
Product Specification
Tile Type: Polished Porcelain Tile
Quality standard: ISO13006, ISO9001
Water Absorption Rate: 《0.5%
Breaking Strength: 》 1800 N
Rupture Modulus: 》40 MPa
Length and Width Tolerance: ±0.1%
Surface Smoothness: ±0.15%
Edge Straightness: ±0.15%
Wearing Strength: 《1600 mm3
Resistance to Chemical: Class UA
Resistance to Staining: Class 3.
Packing Information (For 27.5 Tons heavy 20’Fcl)
For 600x600mm, 4pcs/Ctn, 40 Ctns/Pallet, 880 Ctns/20’Fcl, 1267.2m2/20’Fcl
Production Line & Package


FAQ
1. For Polished Porcelain Tile, is the 30*60 available?
—— Yes, 30*60 is available. Due to the basic size is 60*60, we need to cut 60*60 tile into 30*60. 6 pcs are packed into one carton.
2. What is the MOQ for this tile?
—— Normally the MOQ is 1267.2 m2 for one 20’ container. To support our clients, we could go with 3 models to fill one container at most.
- Q: anyone familiiar with laying tile flooring? never done it myself but i just bought a house and want to do it. is there anything an amature would mess up?? any info would be great
- firstly don't use ceramic tiles on a wooden floor, you will need to do a lot of preparation before doing so. right, concrete floors, basically you find the centre of the room by measuring off the same wall twice, once along each return wall, ping a chalk line across the two marks. repeat in the other direction. you will end up with a large cross. use each corner of the cross as a starting point. the reason for this is that when you reach the walls your cut tiles will be even.. bin tilin' for 10 years. good luck ps don't knock up more adhesive or grout than you can use within approx. 1 hour. its easier and cheaper to knock up small quantities than wasting a load 'cause you've knocked up to much. oh and don't bury your spacers leave them sticking up after about an hour remove and re-use. when left in they can sometimes be difficult to cover with grout.
- Q: What should you pay attention to when installing tiles?
- Empty drums, shedding flatness after 3 days to see just finished shop looks like can not see
- Q: Recently, my carpet got a bit singed in front of the fireplace. so, I decided to place tile in front of the fireplace. I plan to remove the carpet and the padding. what will be left is the plywood and 2x4‘s. not exactly sure if there is anything under the plywood since this was an addition and is on top of the garage, where the garage is not underground but has cinderblock walls. when my son jumps around, it kinda shakes the floor.what I need to know is if cement board has to be used. can I just place tile over plywood with the appropriate adhesive? remove plywood all together? what is the simplest method for a single momma with low funds who is not familiar with laying tile? my second inquiry is about finishing it off. I can do the grout easy enough, but what about where the tile meets the carpet? I really hate the cheap look of those metal things, but I don‘t know what other options there are except for folding (?) the carpet under (?). suggestions?thanks in advance!!
- 3/8 drill. square drivers, trowel. grout float several 5gal buckets and sponges. Buy a sheet of tile cement board. its 3/8 thick and a box of backer board screws made specifically for the tile board. it comes in 3'x5' sheets. Standard code is 18 from the edge of the fireplace. I built mine 24 because it looked better. I had to also add carpet strips around it to hold the carpet down. built that part up a bit as well and used a strip of bamboo flooring trim made to hide the transition between wood flooring and tile.
- Q: I have calculated that I need 388 tiles, each 9 inches big, how many come in one box?, I need to know how many boxes to order
- i think you need to measure the size of your tile again .a 9 inch tile is very very uncommon I have been doing tile for many years and never have layed 9 inch tile there is 6 inch 8 inch and the most common will be your 12 inch tile you need to check
- Q: I wish to change the bathroom colour,re-tileing is too expensive so maybe painting the tiles is a option howbest do i prepare for this
- John, I know of no one that has painted over ceramic tile and is satisfied with the results. It's a finish that will not hold up through the constant use of cleaning products. Retiling is honestly the anser. It can be done easily. You'll want to cut through the drywall along the edge of the existing tile aolong the entire perimeter. Remove all the drywall and tile (still adhered to the drywall) in sections. Place cardboard or something that will protect the tub while this process occurs. After that install 1/2' hardi-backer with 1 1/2 screws and install the tile. If you use the 4x4 glazed tile, you can rent a tile cutter for about $15 (or buy one for double that). The tile will cost about $1.40p/sf. Typically you'd need about 70sf of tile (or around $110.00), and 50 pcs of 2x6 cap (about $70) and 2pcs 2x2 corner cap ($4). Grout will run $15. The hardi backer will be $50. Mastic to set tiles will be around $30. An alternative is lay tile over the existing. You will have to remove the existing soap dish to do this.. You save the cost of hardibacker, and some labor. If you do endeavor into this, set the soap dish with the grout, not the mastic. it's a common mistake by DYIers. Use some tape to hold it in place until the grout dries.
- Q: Tile setters? I paid someone to tile my bathroom floor using the 1 in hex tiles meshed together in 12 x 12 in pieces. Ive seen that type of tile done before and it each tile looks evenly spaced. The tiles he installed for me look like they were installed in 12 x 12 pieces as the perimeter of the meshed tiles has much wider grout lines than the interior. He says its normal and it happened because the floor is uneven but he installed the hardybacker himself so he should have leveled it.
- I can t believe these builders and tile setters didn t pick up on what you said..You said he installed the backer board and should ve leveled the floor. Un even grout will occur if the floor isn t flat so the installer is right about that. But he was wrong in doing a job that had a floor that wasn t flat. Part of his duty when bidding or time of installing is a floor inspection. And he should ve brought it to your attention and tell you that it ll be a bit extra to fix it or tell you that you have a dip or hump. It may have been a simple fix or something costing some money, I can t see it from here. Give him a chance to fix it. Then work w/ him to see if it can be worked out..Any questions you can e mail me thru my avatar and check my qualifications there GL
- Q: THis will be done in the powder room. Also, I am planning not to use backerboard because the tiles will be 9 x 12
- I recently tiled a room of approximately the same size. Not including the cost of the tile, it cost about $150.00. I used quick set, which costs about $40 per tub. One tub, if used properly, should be enough. If the floor on which you are installing the tile is not concrete, you should stronly consider using the backing board. This will help reduce the chances of the grout, and tile from cracking. If installed on a wooden (plywood) floor, the floor can flex, resulting in cracking of the tile and grout.
- Q: I purchaced this tile in 2003 fromThe Tile Shop. I had an incident occure which led me to look for 5 more tiles. I was told by The Tile Shop that they were discontinued. I‘ve called everywhere( in Kansas and Missouri). So far I haven‘t had any luck. where can I find the ceramic tile color Yosemite Sand 13 inch square. I need atleast 5 of them. Thank You..
- you okorder . they have alot of hard to find tiles.
- Q: Kitchen is open to living area. Kitchen has tile already and living room has carpet. We want replace carpet wit hardwood if it look right, or should we just tile it all. Entry way from frony door is tile then living room begins with carpet then kitchen begins with tile.
- do the hardwood with the tile
- Q: A few tiles in my building flat give a cracking noise when i step on them.Upon inspection i found that the tiles make cracking sound even when i press them with my hands but requires some strength.There is a small airgap in a few joints but the gap is very small.The tiles were installed almost 15 years ago and i dont know how old the building is but is considered an earthquake proof structure.The cracking sound is sometimes even for as long as 1-2 seconds when standing on it.So is it a lose tile or a foundation crack?
- It sounds like the tiles has become loose. There is a chance that the subfloor may be loose as well depending upon what it is made out of and how it was installed. Wood subfloors can become loose if they are nearly nailed down and not screwed down. The best thing to do at this point is to take up the floor and inspect any problems with the subfloor and make any repairs. Then install new tile. If you want to save a few bucks you can take up just the ones that are loose and install new tiles that look best in their place.
Send your message to us
Double Loading Series Polished Porcelain Tile Brown Color ZSL06084Z/G
- Ref Price:
-
- Loading Port:
- Shekou
- Payment Terms:
- TT OR LC
- Min Order Qty:
- 1267.2
- Supply Capability:
- 100000 m²/month
OKorder Service Pledge
OKorder Financial Service
Similar products

Hot products
Hot Searches

