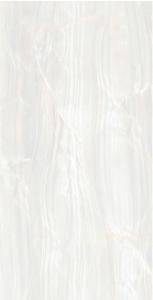
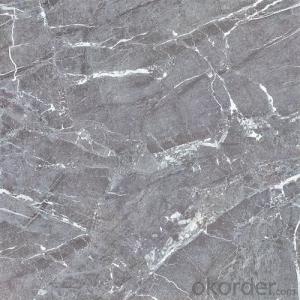
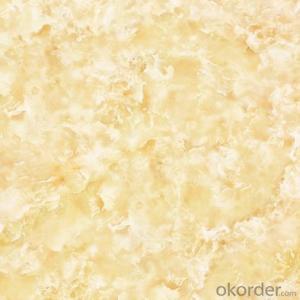
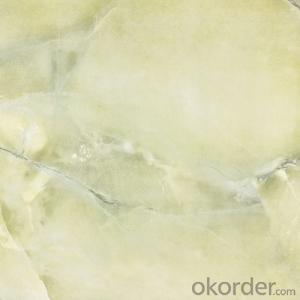
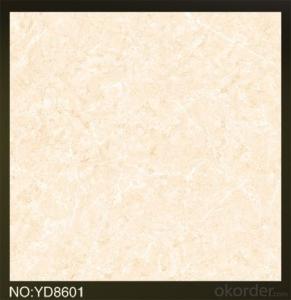
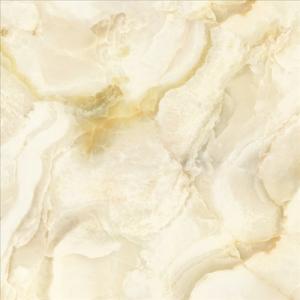
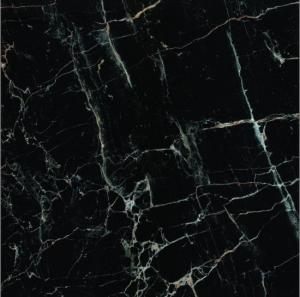
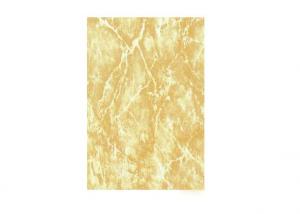
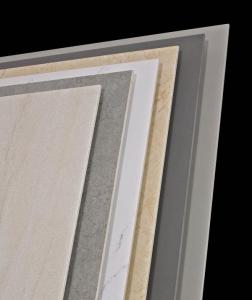
Polished Porcelain tile Offer SB6818
- Loading Port:
- China Main Port
- Payment Terms:
- TT OR LC
- Min Order Qty:
- -
- Supply Capability:
- -
OKorder Service Pledge
OKorder Financial Service
You Might Also Like
Product Description:
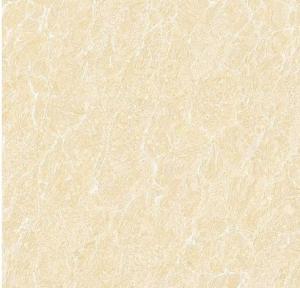
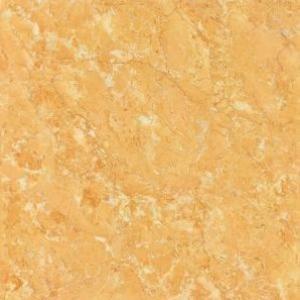
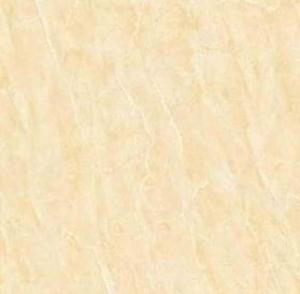
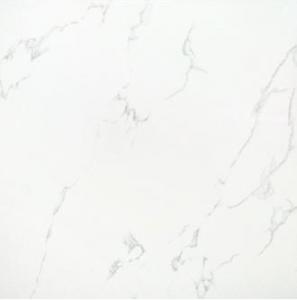
Key SpecificationsPolished Porcelain Tile SB6818:
Product information:
Material: soluble salt porcelain
Various colors are available
Size: 600 x 600mm
Thickness: 10mm
Features: non-slip, wear- and water-resistant
Packing: 4 pieces/carton, 29.5kg/carton
20-foot container: 880 cartons
20-foot FCL container: 1267sqm
Carton with pallets or customized
Primary Competitive Advantages Polished Porcelain Tile ST36046 :
First choice,top grade.
Water absorption:<0.1%.
Delivery Time:15~25 days after deposit.
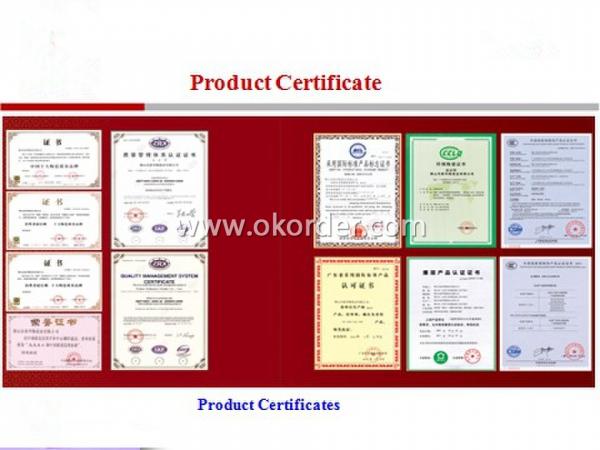
Certicate: CE,ISO9001,Soncap,etc.
Competitive price and good quality
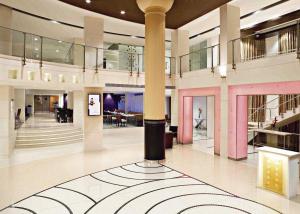
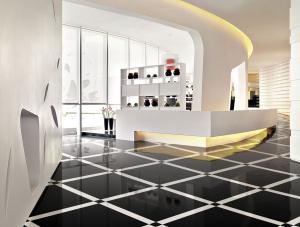
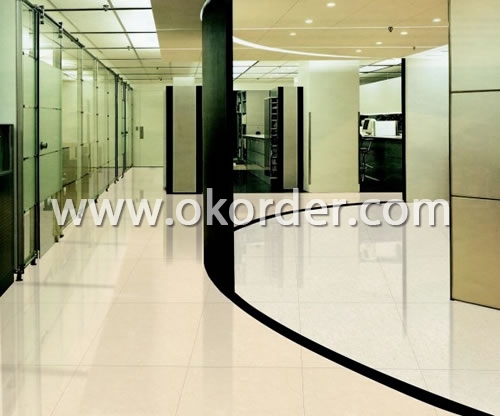
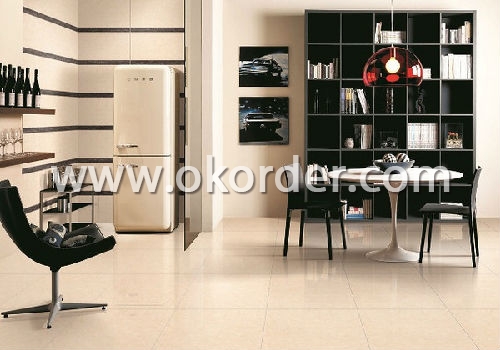
Usage— Suitable for home, high grade office buildings, high-grade hotel, airport, shopping mall,
deluxe clubs floor and wall tiles etc.
This series of products in addition to good wear resistance with ultrafine tiles, flexural strength,
and low water absorption, the appearance of the product, due to be fired into a crystal frit, so
three-dimensional effectprominent, white the texture clear, natural, delicate harmony and balance without duplication, with impeccable decorative effect, close to natural stone.
Technical characteristics:
Adopt international advanced ceramic cloth exquisite processing technology, selected high
quality pure raw materials, on the product body, with moist and gorgeous color, microcomputer
total precision control, multiple temperature control forming technology create gorgeous texture
hd grain boundary, bottom dense embryo thicker, pure texture, deduces the natural stone material through the external environment and the geological characteristics and the dynamic form of change,
also make products with high hardness, high gloss, low water absorption, strong dirt resistance, easy
to clean, etc excellent characteristic
Main Export Markets:
Mid East/Africa
Central/South America
Asia
Australasia
Southeast Asia, Mideast Asia
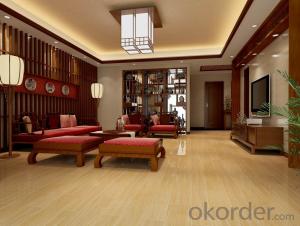
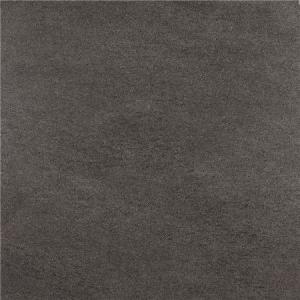
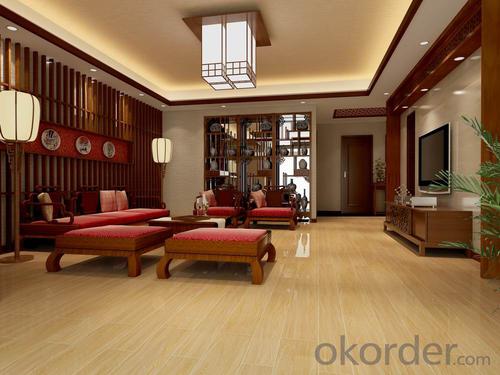
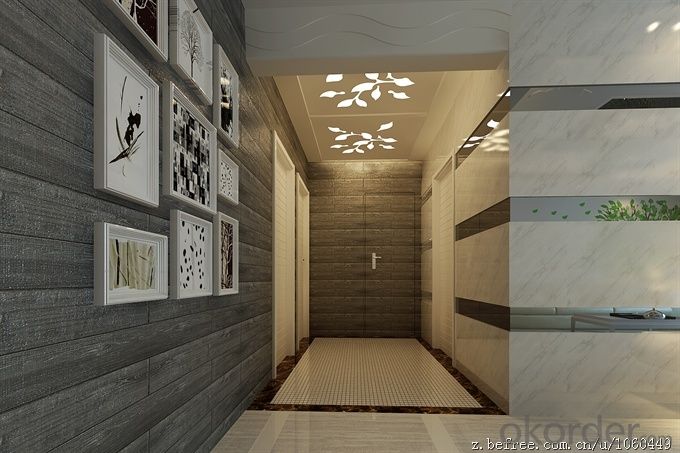
Product Picture :
Production Line :

Product Certificates :
Packing Details :

- Q: HI ,THIS IS MY FIRST TILE PROJECT. I AM INSTALLING A BACKSPLASH ON SHEETROCK USING 4.5X4.5 PORCELAIN TILES. USING OMNIGRIP MASTIC APPLIED WITH A 1/4 X 3/16 V-NOTCH TROWEL. THE TILES HAVE A WAFFLE BACK. MY CONCERN IS DO I HAVE TO FILL IN THE WAFFLE DEPRESSIONS,WHICH SEEM TO BE 1/16 DEEP,BY BACK BUTTERING PRIOR TO APPLYING TILE TO COMBED MASTIC. ALSO, IS THE TROWEL SIZE CORRECT?P.S. WHY DO SOME TILES HAVE A WAFFLED BACK AND SOME A PRACTICALLY FLAT BACK? THANKS!
- you must change your space for your kitchen space first
- Q: hi i started a tile job yesterday. i was supposed to pull up the old linoleum tile and put new linoleum yile. the only problem was that the ols tile had been put over older tile without being pulled up. so i chipped away a little at a time and it just seemed like it took a long long time. i have blisters all over my right fingers and hand. i still have a big patch to finish tonight, and if anyone knows how to get this stuff up faster please let me know, thank you
- try a small torch,we used it to get tiles warm it seems to melt glue some. Just be careful gets hot fast.
- Q: Is there a simple way to lay ceramic tile. It is for a small bathroom. Never laid it before but There is a first time for everything. Should I use small tile or large.About 50 sq feet
- Before you begin, make sure you have a smooth and rigid sub-floor to support the installation. Ceramic tiles crack easily if installed on an uneven or thin surface. Next, assemble your tools and materials. You will simply need tile adhesive, a tile cutter, and, of course, tiles. Also have a rubber mallet, chalk line, a long board, and level on hand. Plan the layout of your tiles by placing them without adhesive. Using a chalk line, snap a line perpendicular to the door. Lay tiles along this line, using a spacer (such as the side of another tile) between each tile. Start laying out tile from the door-you want a full row of tiles visible upon entry into the room. When you reach the other end of the room, install a long 1 thick piece of wood along the wall, perpendicular to your first row. This temporary installation will help you line tiles across the room.
- Q: tile. any advice?
- A good quality floor tile will be fine, provided they are well supported underneath with no air gapes.
- Q: a few tiles are cracked near the sink. How can i fix it temporarily ( is it worth it?) or should i replace the tiles or the whole thing? how would i go about doing that?
- see if you can find new tile same color at store, then chip it out, buy some thin set or use liquid nails, then mix up a small amount of grout or buy the liquid squeeze out of a can grout,
- Q: Im trying to figure out how to apply (vct) Vinyl tile squares? Whats the best way to start a project? What adhesive do you use if any? Is it like ceramic with some form of grout? etc!
- OK! okorder if you have any questions
- Q: I wanted to remove three lines of bathroom wall tiles without distrubing other surrounding tiles. These tiles were fixed on cement around 5 months back.. now we can see cracks on these tiles (different color)..
- in the tile section at homedepot they make a hand held grout saw that you can use to remove the grout from around these tiles once you do they you can gently pry up a little bit to remove the tiles, if they were set good they shouldn't come out in one piece so put something on the floor and in the tub so as not to chip anything.
- Q: What kind of ceramic tile?
- Polished tiles: polished tiles is polished after the polished polished brick. In contrast to the roughness of the whole body bricks, polished tiles will be more clean. The hardness of this brick is very high, very wearable. In the use of infiltration technology on the basis of polished tiles can make a variety of imitation stone, imitation wood effect. Classification can be divided into seepage type polished tiles, fine powder type polished tiles, multi-tube fabric polished tiles, microcrystalline stone. Scope In addition to the bathroom, kitchen, the rest of the majority of indoor space can be used. Features: quintana brick polished after polished tiles, the hardness of this brick is very high, very wearable. Tiles: tiles are made of quartz sand, mud in accordance with a certain percentage of firing, and then polished bright but do not need to polish, the surface as smooth as the glass mirror translucent, is the hardest of all the tiles. Tile in the water absorption, edge straightness, bending strength, acid and alkali resistance are better than ordinary glazed tiles, polished tiles and general marble. But the tiles are not perfect, it is the flaw after grinding, the pores exposed, dust, oil and other easy to penetrate. The classification is mainly floor tiles. Belong to a kind of polished tiles. Scope of application Tile for the living room, bedroom, walkway and so on.
- Q: More specifically, do you lay the tile right against the floorboard with no groat visible? Or would you put a spacer in between the floorboard and the tile so that it you have grout along the edge?
- when i lay tile i cut as close as i can to the base board it looks much better than having a wide grout line next to the base board that's how it should be done good luck
- Q: What brand of tiles good? How to choose?
- Choose the tiles to remember just a few, the other is not important: 1, look at the back of the swivel to see if the color is pure, the general pure color display for the milky white (partial white), can not be black, not yellow, Point no more, black hair to prove that the brick itself has impurities, impurities, the density of the brick is more determined to decline, usually in the course of practical problems prone to fracture, damage. But the back of the brick body can not be very white that is not normal, indicating that zirconium silicate raw materials used too much, the national test tiles have no radioactive one of which is the detection of zirconium silicate raw materials practical amount of zirconium silicate raw materials can make brick Whitening, but zirconium silicate is also one of the main killers of radioactive, be sure to pay attention. General manufacturers have a national test report certificate, you ask them to produce it, note: must be booked with the kind of color certificate book or product brochure behind the parameters that is not a copy of the inspection report, that thing is Can be forged. 2, to see the side of the granules of granules are fine and even, the granules are large, rough, then the brick body density crisp, the use of the process will certainly be a problem, give a simple example: you get the house is usually the embryo room, wall The surface is very rough cement surface, when you use the putty powder after the wall is relatively smooth, delicate, and you use such a standard to see just fine. 3, the brick stand up, hand tapping the brick body, the more crisp the sound to prove that the higher the density of brick, the better the quality, the more dull the tones to prove that the worse the density of tiles, tiles, anti-fouling,
Send your message to us
Polished Porcelain tile Offer SB6818
- Loading Port:
- China Main Port
- Payment Terms:
- TT OR LC
- Min Order Qty:
- -
- Supply Capability:
- -
OKorder Service Pledge
OKorder Financial Service
Similar products
Hot products
Hot Searches
