Polished Porcelain Tile from China Foshan
- Ref Price:
-

- Loading Port:
- China main port
- Payment Terms:
- TT OR LC
- Min Order Qty:
- 1324.8
- Supply Capability:
- 1324800 m²/month
OKorder Service Pledge
OKorder Financial Service
You Might Also Like


Specifications
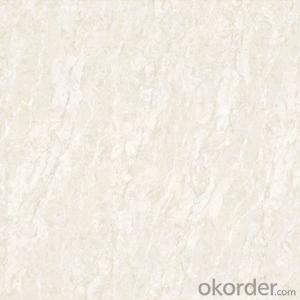
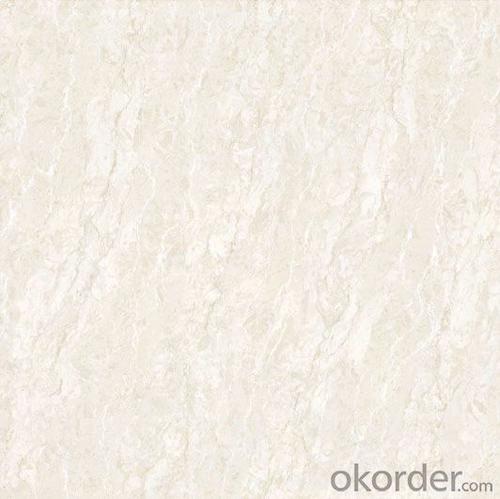
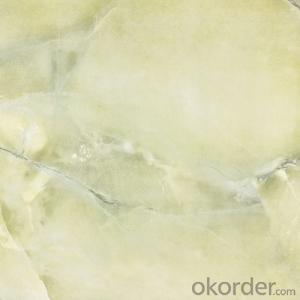
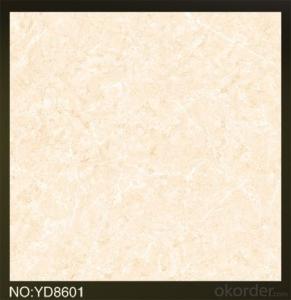
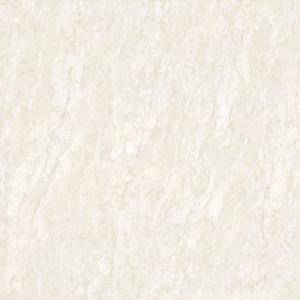
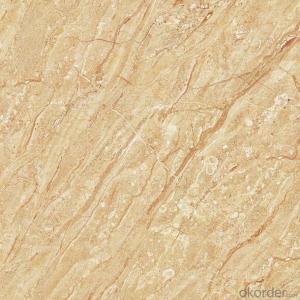
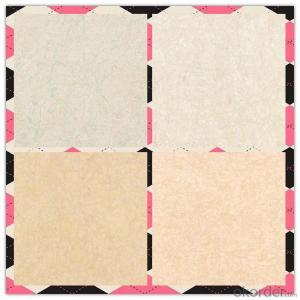
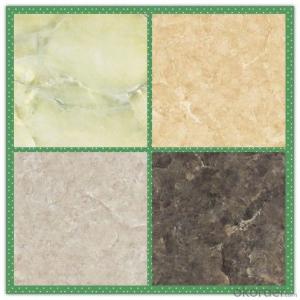
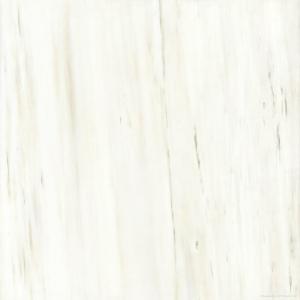
China polished porcelain tile
Size : 600 x 600 cm, 800 x 800 mm
Surface:Nano polished finish
Water absorption:< 0.2 %
CE&ISO
China polished porcelain tile
Product Description
Basic Information :
tile type | Porcelain tiles, porcelain polished, floor tiles |
certificate | CE, ISO9001 |
inished | Nano finish, matte finish, semi polished |
Size | 60x60 80x80 |
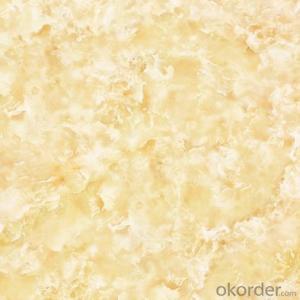
vailable in | many designs, size, colors |
Features:
1) Available in many designs, specifications and assorted color, unique designs and exclusive quality
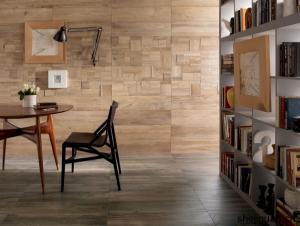
2)Used for indoor & outdoor wall and floor decorations, building exterior,
3)Easy to install, anti-dust, washable, acid-proof, alkali-proof, durable
4)Material: porcelain
5)Customized sizes available according to clients’ requirements
6)Available dimensions
Material | Porcelain |
Dimension | 600x600 300x600 300x300mm |
Packing | Paper packing and wooden pallets |
Finish | polished finish with superglossy |
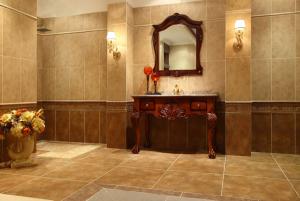
Usage | Floor and wall |


It’s good for hotel lobby flooring, shopping mall, big project etc
We have many different color and different design for you to choose. If you want to know more about us, go on
web please there are many new products showing on our web.
Our products are good quality with reasonable price.
We have CE & ISO9001, SASO for most of our tiles
Specification and technology information:
· NANO polished
· Water absorption:<0.1%
· Price terms:FOB Foshan
· Delivery:within 15~20 days after 30% deposit received
· Payment:T/T,L/C
· CE mark,ISO certificate
- Q: I have a commercial pool thats about 100 years old ( with modern modifications). The ceramic tiles on the floor area are original. We have been begged by just about everyone not to replace them. It looks soo dirty. Our comepetition is more expensive.....water quality is horrible....and their pools are packed all day. Im lucky to get 5 people in an 18 hour day. The water and inside the pool look nice.....just getting to the pool...people think they will get a disease. Its just old age stain....not sure what that is exactly.
- I okorder /... Re-sealing the tiles is not a permanent solution. Another alternative is to find matching tiles, and remove a strip wide enough for a walkway, and re-tile with the new, modern tiles. Sometimes old meets new can look terrific.
- Q: I was told by one guy at Menards to use a 1/4 teeth trowel for 6-1/2‘‘ x 1/4‘‘ floor tiles. I am worried this will be too much glue and will ooze out the 3/16‘‘ gaps between tiles. then it will be a nightmare mess, and can‘t grout.Also do you just lay the tiles on the glue? or press down ?how much?Thank you very much
- Coverage is the most important thing you need.. Although I d NEVER use a mastic on a floor because it s much more expensive I ve always used a thinset (cement based) adhesive.. When setting a tile gently push the tile into the glue w/ a twisting / turning motion.. This sets the tile into the adhesive better.Occasionally lift a tile up by carefully prying up on it and check the coverage on the backing..You ll want approx. an 80% coverage.. A 1/4 x1/4 size trowel will work but by personal choice I ll use a 1/4 x 3/8 deep trowel if it s a hard bodied tile . For a soft bodied tile ( usually have lugs or teats for spacing on the edge ) I ll then put them together and use a 1/4 x 1/4 trowel. Use the RIGHT type of grout for the type of tile your using.. If you are using a mastic I d wash or clean out the grout joint since grouts won t properly bond to a mastic like they will to a cement type adhesive.. GL
- Q: If you were going to tile an entire room would you start from the walls or floor? The room is only small 12m walls 4m floor is a basic toilet basin. There are no border tiles no fllor to wall tiles.
- not a pro but i thought you were suppose to start in the middle of the room. chalk line the center of the room and lay tile from there but i quess it would all depend on measuring to see how much of a tile size you would be working once you got to the wall. probably make an adjustment from center line so that tile size on both walls would be same size. i would do a practice layout of a few tiles to see how things look before formal tiling./// i'll check back to see what the pros have to say.
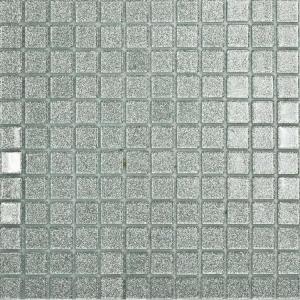
- Q: How would one grout mosaic tiles on standing mirror?
- Grout application on a mirror is exactly the same process as grouting a tile floor, back-splash, counter top, or table. Since the mirror is standing, I'd be sure that the mirror won't topple over when applying the grout because it has to be floated into the crevices between the tiles / tile pieces. If possible I'd suggest laying the mirror flat, either on the floor or on a sturdy worktable A grout float is basically a block shaped pushing tool used to force the grout between the tiles. Hold the float at an angle against the tiled surface and use a firm sweeping motion across the tile to push/force the grout into all the nooks, crannies, cracks and openings between the tiles. You'll have to work fairly quickly because grout becomes hard to work once it starts drying out. Work in a diagonal pattern and go back over any low or missed areas. Allow the grout to sit for 20-30 minutes. You'll know the grout is starting to cure when there is a light haze on the tile surface. Using a sponge and a bucket of clean water lightly buff the tile to remove the haze. This step may have to be repeated once or twice to be sure that all of the excess grout has been removed from the tile surface. If you want to seal the grout and tile, there are a number of sealant products available but you'll need to wait 3 or 4 days before applying in order to allow the grout to cure properly.
- Q: Is there any one who have knowledge about Ceremic tiles? plz suggest me.
- What okorder / We have professional tile fixers, tile distributors, technical advisors and more, to answer whatever questions you might have.
- Q: Please help! and give as much information you can about the invention of tiles!
- Every time I submit a question, even if it is the easiest one, they cannot give me a good informed answer on this site. what happened to people who actually make the effort to write an answer?
- Q: well I burned a small hole in a linoleum tile. How do I fix it?
- You can remove a single tile with the aid of heat. There is a tool called a heat gun that looks like a hand-held hair dryer that will serve this purpose. You can purchase or rent them. You may try a hair dryer first. The heat softens the tile and adhesive. I would also carefully cut several slits in the tile and use a putty knife/scraper to remove it in pieces. Once removed, scrape the remaining adhesive away and then dry fit the replacement tile to check for fit , level and smoothness. Then apply tile adhesive and weigh it down for 24 hrs. You may also attempt to patch the hole if you have a matching replacement tile [or can cut a section from under a cabinet or appliance. 1) cut a shape around the hole that will best match the pattern in the tile; cut a patch from the replacement linoleum. 2) fill the area with a matching epoxy. You might try to grind some small shavings from a replacement tile and mix with a bit of clear epoxy to fill the hole. Sand smooth after the epoxy dries. Obtain a glossy topcoat with a bit of clear nail polish.
- Q: We have small ceramic tiles on our bathroom floor. They are varied in shape and size (see photo).I think that these tiles originally came with some sort of netting on the back when they laid the floor and they added grout? I believe I saw some extra tiling somewhere in our home and this is what I had found.Anyway, the grout is breaking up between some of the tiles and some of the tiles keep popping out. I have two questions, If I regrout them do I put it on the bottom of the tile too and does that make the tile adhere to the floor?How would I get the grout to match what‘s already there, it‘s a medium brown gray. Not sure if it started out that way or became like that over the years. Would it look funny if the grout didn‘t match? How could I get it to match?
- The plastic mesh was there to make it easy to set a lot of small tiles as it they were one big tile. If a tile is loose, you have to chip out all the old adhesive on the floor and on the back of the tile (or use a replacement tile if you have some) and use fresh adhesive. This is not the same as grout. The two common tile adhesives are called mastic and thinset. For small repairs, I'd go with the mastic. You do the best you can to match the color. You can get a color palette at any home store, bring it home and pick the closest match. You should probably try to clean some of the grout as best you can with bathroom cleaners and bleach to see what the original color was.
- Q: I‘m trying to tile a map using swing (JPanel and JFrame) but don‘t know where to start. Ideally the map would end up looking like pokemon or 2D zelda games, where there is an invisible, underlying grid, and the person occupies one spot at a time. Does anyone know how to do this?I can get a sprite to move, but that‘s based on pixels, not on tiles. If you know how to do this, can you paste code and explain it?
- That's the most efficient way to do it. You use math to calculate positions, so the tiles are virtual. Unless you really need to draw tiles with boundaries, don't show them (like the original Warcraft game). Perform all of your calculations like movement and clicks-to-tile conversions based on pixel location. This is far more efficient that trying to do it with lots of actual Java subpanels merged together. But, note that it's a lot of work and you have to carefully work out your calculations to make sure your clicks are aligned correctly. One mistake I made with a hex map once was I used doubles and I casted them to integers too early, and the slight different (by losing percentage) threw all my calculations off slightly. The trick is to create your background image tiles so that they blend seamlessly together on all sides. That will take a LOT of effort.
- Q: I live in a condo. The previous owner had off-white ceramic tile installed on the entire first level! I don‘t like it - can it be covered with hardwood or does all the tile need to come up? Thanks
- The tile doesn't have to come up. Float a thin coat of a latex floor float (Home Depot) over the tile and the wood is ready to install. If you choose a wood that is 3/8 thick you may not need to trim the doors. There needs to be at least a 3/4 space under the doors after the wood is installed. The baseboard needs to be taken up and re-installed after the wood. Under-cut the door jambs so the wood will slide under and look good.
Send your message to us
Polished Porcelain Tile from China Foshan
- Ref Price:
-
- Loading Port:
- China main port
- Payment Terms:
- TT OR LC
- Min Order Qty:
- 1324.8
- Supply Capability:
- 1324800 m²/month
OKorder Service Pledge
OKorder Financial Service
Similar products
Hot products

Hot Searches

