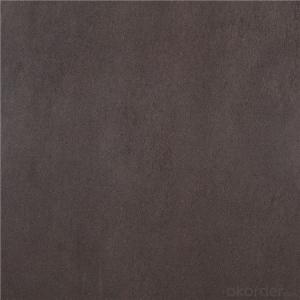
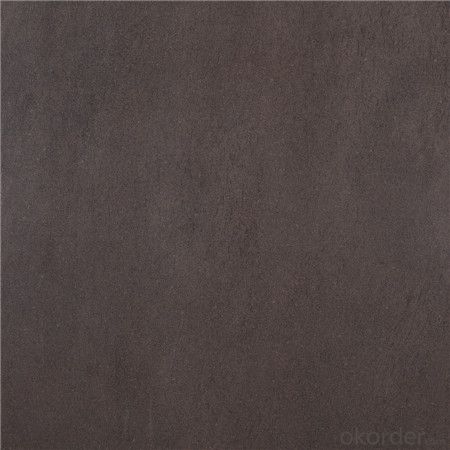
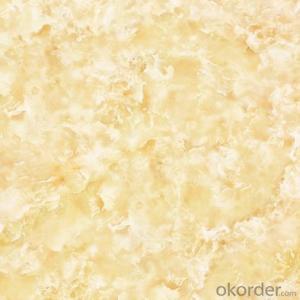
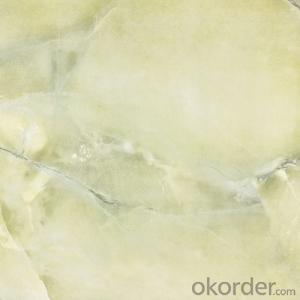
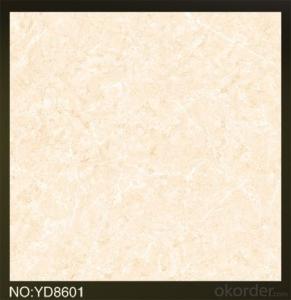
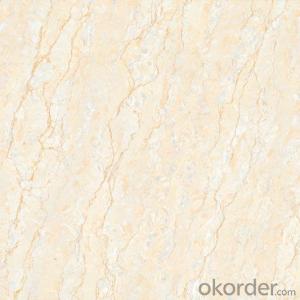
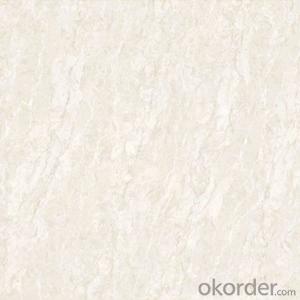
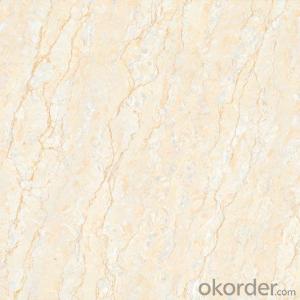
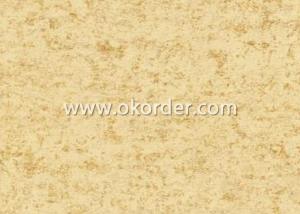
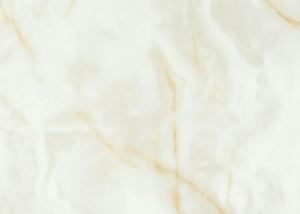
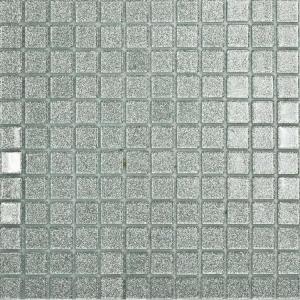
Polished Porcelain Tile Natural Stone Serie Yellow Color CMAXSB0635
- Loading Port:
- China main port
- Payment Terms:
- TT OR LC
- Min Order Qty:
- 1382.4
- Supply Capability:
- 100000 m²/month
OKorder Service Pledge
OKorder Financial Service
You Might Also Like
Key Specifications Polished Porcelain Tile Natural Stone Serie Yellow Color CMAXSB0635:
First choice,top grade.
Water absorption:<0.1%.< p="">
Delivery Time:15~25 days after deposit.
Certicate: CE,ISO9001,Soncap,etc.
Competitive price and good quality
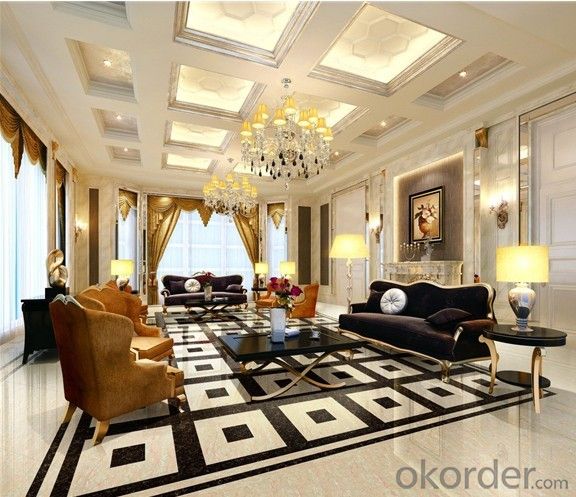
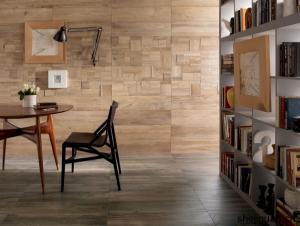
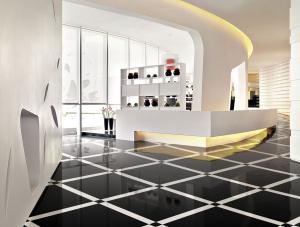
Usage— Suitable for home, high grade office buildings, high-grade hotel, airport, shopping mall,
deluxe clubs floor and wall tiles etc.
This series of products in addition to good wear resistance with ultrafine tiles, flexural strength,
and low water absorption, the appearance of the product, due to be fired into a crystal frit, so
three-dimensional effectprominent, white the texture clear, natural, delicate harmony and balance without duplication, with impeccable decorative effect, close to natural stone.
Technical characteristics:
Adopt international advanced ceramic cloth exquisite processing technology, selected high
quality pure raw materials, on the product body, with moist and gorgeous color, microcomputer
total precision control, multiple temperature control forming technology create gorgeous texture
hd grain boundary, bottom dense embryo thicker, pure texture, deduces the natural stone material through the external environment and the geological characteristics and the dynamic form of change,
also make products with high hardness, high gloss, low water absorption, strong dirt resistance, easy
to clean, etc excellent characteristic
Main Export Markets:
Mid East/Africa
Central/South America
Asia
Australasia
Southeast Asia, Mideast Asia
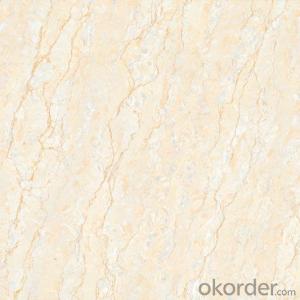
Product Picture :
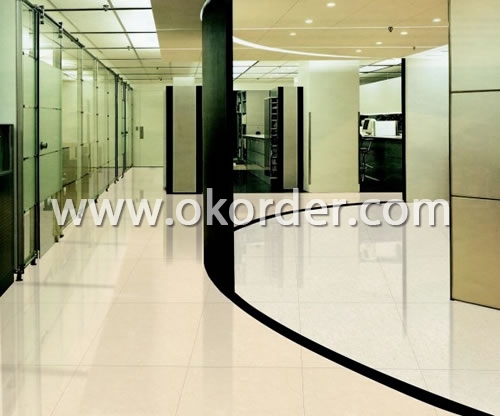
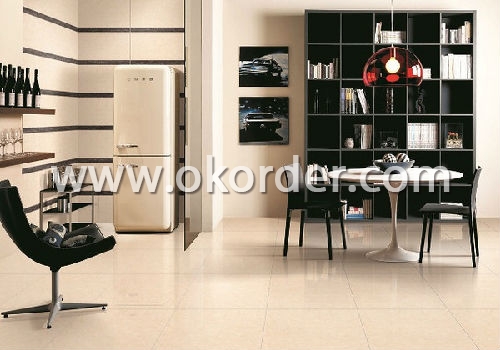
We have many different color and different design in this series, this tile is good sell in supermarket, shopping mall etc, our price is very competitive with very high quality.
Production Line :

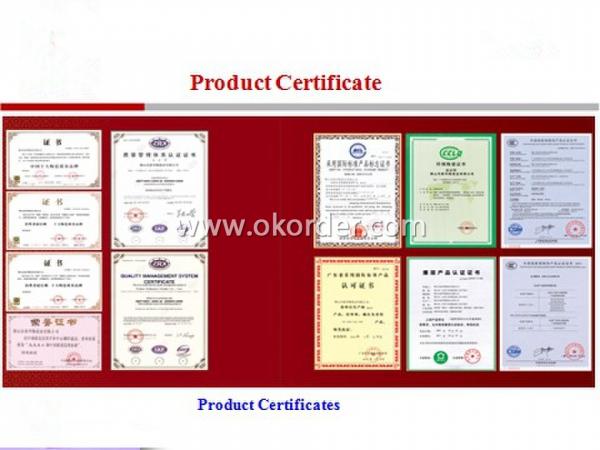
Product Certificates :
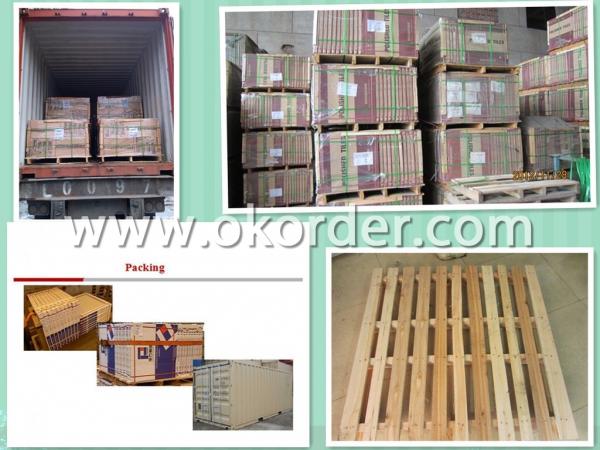
Packing Details :
FAQ
1. For Polished Porcelain Tile, is the 30*60 available?
—— Yes, 30*60 is available. Due to the basic size is 60*60, we need to cut 60*60 tile into 30*60. 6 pcs are packed into one carton.
2. What is the MOQ for this tile?
—— Normally the MOQ is 1382.4 m2 for one 20’ container. To support our clients, we could go with 3 models to fill one container at most.
3. Can we use the carton with our own design and brand name?
—— Yes. Normally we go with Neutral Carton or our Carton with our CMAX brand name. But for carton of client’s own design, the MOQ for one size is 5 containers, due to the carton factory can’t arrange production if quantity is below 5000 pcs.
- Q: I now want to match the tile and extend it into my living room and dining area. How would I go about finding the same tile?
- Can you contact the company that laid the tile? Do you remember how you picked it out? Catalogue, Store? Even if you find the name, it might not be a perfect match after all this time. I do my own tiling and I always buy extra in case of repairs later. Storing them in the original box gives you the Manufacturer and style #. The tile contractor should have done this as he has no need for any extra tile left over.
- Q: i‘m redoing the floor in a bedroom. i already picked out the ceramic tile i want but i wanted some 4x4 fleur de lis decorative tile to go with it. know where i can find some that‘s reasonably priced?
- I okorder /... Good luck in your search! :)
- Q: China 's top ten brand tiles
- Brand category First-class brands: Dongpeng, champion, gold rudder, Marco Polo, Mona Lisa, Nobel, can be strong, Europe God Connaught, Enuo, Europe and the United States, Smick, Eagle, Asia. In the brand: Omega, Bode, Valley, Fernando, crown beads, crown, Huapeng, Hong Tao, the Asia, Hongyu, Jiada, Jiajun, Chun Shi, Jane, gold , Gold and gold, cannon, Rome, romance, Owen Lai, Rong Gao, St. De Bao, Shuangling, Shun Tao, special, Vero, beautiful, new source, silver whale, Italy treasure, in Sheng The
- Q: My bathroom in my new house has the ugliest green tile halfway up the wall and then a different shade of green tile on the floor. My husband I have a little experierience with fixing stuff up, but this one has us puzzled. We want to tear the tile down and put up drywall. Then we‘d like to carpet the floor. We haven‘t got the nerve yet cause we don‘t know what to expect behind those tiles on the wall. Got ANY suggestions in my little dilemma???
- Well, if you have a little experience, all u have to do is chisel off the tile, then just cut out the wall behind the tile too because it is either cement board, or it will have way too much glue behind it to even bother getting it all off. After the tile is gone, just cut a nice straight line and replace the wall behind the tile. You should more than likely need 1/2 inch drywall depending on the thickness or your original wall. Its not hard at all to do, so just grab a claw hammer and a chisel and have at it. The removal should only take an hour or 2 depending on the size of the room, and from there its all downhill. If you need help on doing the actual drywall, drop me a email and i'd be glad to help! Have at it, just make sure when knocking out the old wall not to hit any pipes!! Hope this helped! Good luck with your project!!!
- Q: Currently the stairs are carpeted. I have heard that if this is not done properly the tiles will crack. How do I ensure that the stairs are level and stable enough for the tiles? Any guidance is greatly appreciated.
- don't , they are way to slippery, accidents waiting to happen!
- Q: We live in Phoenix and have a tile roof; most likely concrete tile. One of the tile on the lower level roof has somehow gone missing and I am trying to find one to replace it with. I don‘t think HD and Lowes sell roof tiles and I have tried to look up in yellow pages and am only finding roofing contractors. Where do you think I can just go and buy one tile. I won‘t need an installer as I can do it myself as it is on the lower level roof that I can access with a small ladder. Also tile is the one at the bottom so I won‘t need to climb up on the roof either :) Only logical suggestions are appreciated.
- you need to call a roofing supplier/ wholesale house. you wont get 1 tile, youll have to buy a stack, and its not expensive, if they have them in stock and if they will sell 1 bundle. you can also call your local contractors and ask them, give your tile style and color, like s or w or pots and pans, etc. its probably time to have some maintenance done to your roof anyway. i am a roofer. what they dont tell you when they sell you a lifetime product like slate or tile, is it still needs maintenance or it is going to leak. also dont know if you know or not, but never try to walk that tile, you dont know how, and you will leave a trail of broken tiles behind you.
- Q: Not sure it it‘s mold/mildew ot the sealer stripping off. I‘ve used Tilex but it didn‘t work. Even scrubbed it with a stiff brush. Anyone know what this film is and how to get it off?
- Are these tiles applied directly to a concrete floor that sits on the ground? If so, it sounds like efflorescence, where salt moves from the ground into the floor and then through the tile appearing as a white film on the surface of the tile (it happens through basement walls and if bricks are placed on the ground). Scrubbing may not be enough. You may have to check at your local hardware store for a sealer for your tiles or a cleaner strong enough to prevent the film from forming again.
- Q: i mean i know they make tiles obviously, but how do they go about doing that exactly?
- Hello Most of the tile makers now use dust clay(fine powder) .they have a standard 6x6 two part mould that they fill with a set amount of the powdered clay insert the filled mould in to a fly press of similar type of press remove from the mold decorate glaze and fire in the kiln. this is just to give you some idea. The traditional way is to use plastic clay that's wet clay that you can press into a tile mould by hand or a small press remove leave to dry and then fire when fully dry.You can fine a few help full books on the internet or the Library. Cheers Bob a Job
- Q: I need to repair my shower, about 6 tiles fell off. I‘m currently drying the drywall with a fan. Whats the best way to glue tile back on the wall?
- First of all I would look at the wall behind where the tile has came off. If your house is old or installation was poor they may not have the proper material behind the tile, as in the wall. If it is sheetrock, no wonder! You need either greenboard or dur-rock behind it that is the code. Anyways, once you find this out see if it's only sheetrock behind it, it won't do you any good to stick em back up. Which if the material behind is fine than just get some match stick at home depot that's cheap but creates a nasty mess. Or grab a small bag of thinset which you mix with water or some will require an extra additive which will be where ever you go for the thin set. You can get this stuff at Home Depot or Lowes while your there I 'd grab a trowel with 3/8 knotch spacers and your grout. Hopefully all of the peices were full peices. If not your gonna have to borrow a hand held maquita or cutter or saw. Make sure your rows with trowel are even with through out your spread. If you are using thinset, you have to apply thinset to wall and tile. Obviously you stick the tile first grab some sort of extra scrap to spread them appropriately. Wait a day for the thinset to set up and the next day pull out your wedges or spacers and grout. Good luck. Chic
- Q: and if so, can I just put the tile on top of the sanded laminate counter top?
- Yes you can, but it will be easier and you will get a better result if you take the sink out, tile then put the sink back. As it is possible you will get a bit of flexing in the counter top so don't use ordinary tile adhesive. Use a good quality flexible tile adhesive or high strength construction adhesive so the tiles don't pop off if the counter flexes a bit. Leave the adhesive to set at least 24 hours before you put the sink back.
Send your message to us
Polished Porcelain Tile Natural Stone Serie Yellow Color CMAXSB0635
- Loading Port:
- China main port
- Payment Terms:
- TT OR LC
- Min Order Qty:
- 1382.4
- Supply Capability:
- 100000 m²/month
OKorder Service Pledge
OKorder Financial Service
Similar products
Hot products
Hot Searches
Related keywords
